Follow these steps to discover PackBench after the product is already installed.
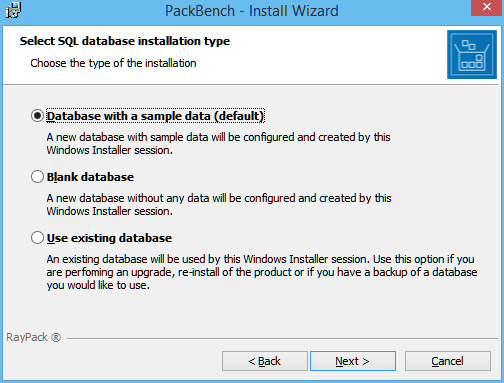
1.Install product using sample data (see Product Installation for more information) to get several out-of-the-box tools and example workflows.

2.Start the PackBench client by double clicking on PackBench.exe.
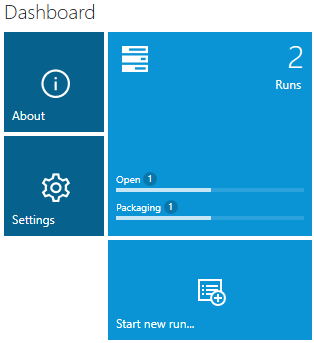
3.The home screen will be shown.

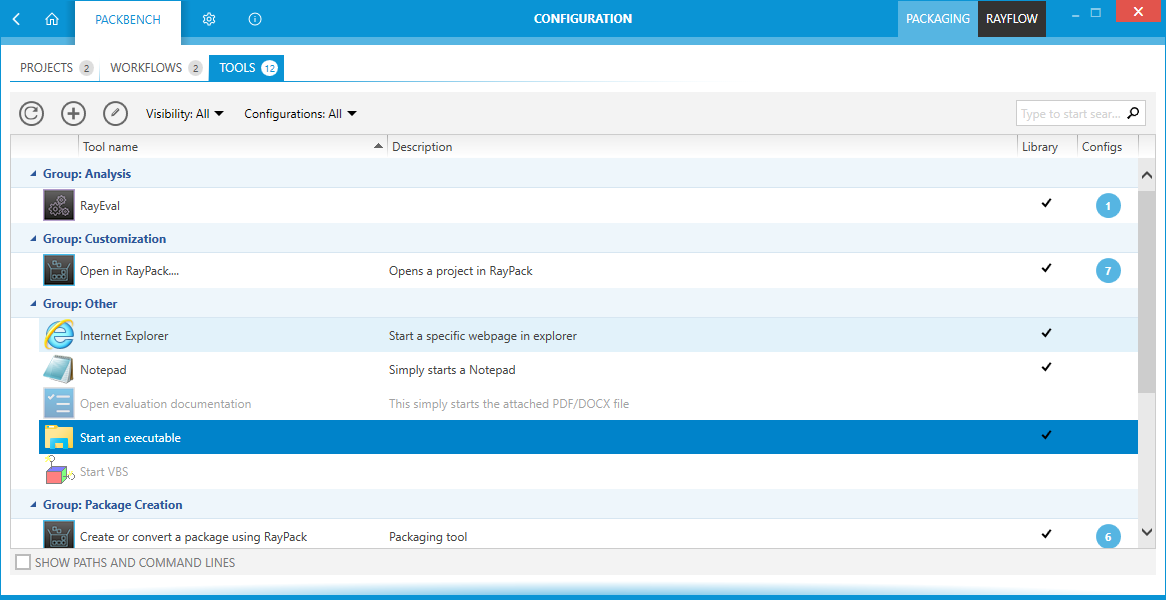
4.Go to Configuration > Tools and ensure all necessary tools are present. If any custom tools/scripts are needed, create them using instructions from chapter Creating Tools. It is also possible to tweak existing tools as described in Editing Tools.

5.Go to Configuration > Workflow and review the default workflows. Create a new workflow that matches processes in your organization, or edit existing one. It is possible to clone existing workflows to work on a fresh copy.
a.Define custom variables that should be used to describe the process (for example, package revision, packager name, additional details etc.).
b.Link tools from the library to particular steps in the workflow. Certain parameters for workflow-specific behaviors can be overridden. The variables can be used to do the work using input from user.
6.Go to Configuration > Projects and adjust the details of the current project to satisfy certain naming conventions and general settings requirements.
a.If there is the intention to use RayFlow and RayFlow URL has not been configured during installation, go to project properties to the RayFlow tab and set up a connection between RayFlow and PackBench projects.
7.Once the configuration is done, typically the configuration will be rarely visited (unless there are adjustments to existing processes). However, bear in mind that after starting a run of a workflow, it copies all workflow details, so that any future changes are not affecting already running workflows.
8.Start a new run to execute the workflow.
a.Sources can be specified on installation time. As a source, a single file, or a single folder, or a task/file from RayFlow can be selected.
b.If no sources should be specified right now, this step can be skipped and it can be done later (however, RayFlow assignment can be only configured from the New Run wizard).
c.Provide any additional details for which will be asked. Some of them may be already inserted if the package sources have been selected.
9.Once the wizard is finished, a basic folder structure in projects folder will be automatically created.
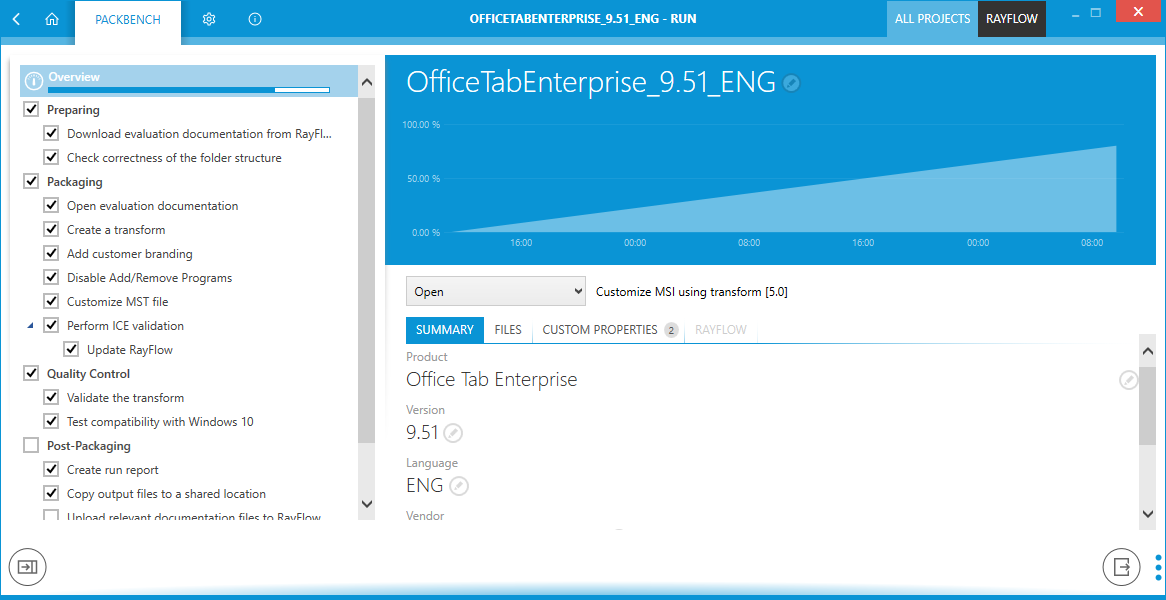
10.While in run, it is possible work through the checklist, execute associated tasks and tools, change variables, generate reports etc.

11.Any files or data are saved while going through steps.
12.Once all steps are executed, the work is done and the result are files and information created according to the process guidelines.
13.If RayFlow has been configured, upload result files and documentation back to RayFlow.
14.Refer to advanced topics for more detailed insight and to learn how to tweak PackBench even more.