To create a new tool open the TOOLS tab in the CONFIGURATION view and then either open the context menu and select New... or click on the Create new tool button ( ).
).
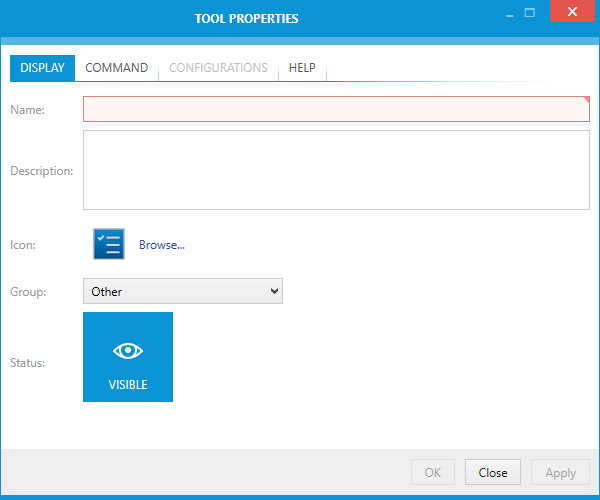
The TOOL PROPERTIES window will open.

Enter the name of the new tool into the Name field.
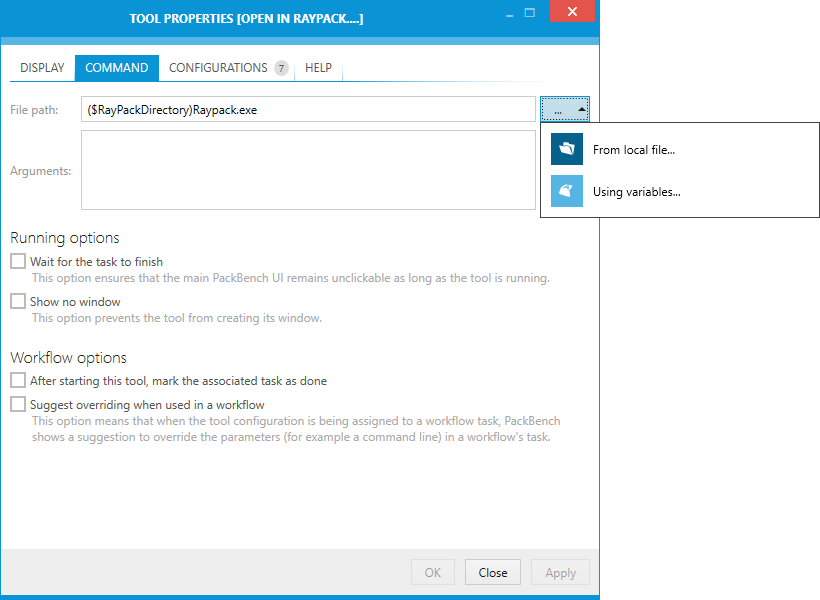
After this, switch to the COMMAND tab of the TOOL PROPERTIES and enter a File path.

The file path can be either typed in directly or added by clicking on the Browse button [...] and either choosing the From local folder... option or the Using variables... option.
•From local folder...
Choosing this option will open the Open window. Browse to the location where the file can be found, select the file, and click on the Open button to add the file to the task.
•Using variables....
Choosing this option will open the Value Editor. For information on how to use the Value Editor refer to the Value Editor chapter.
|
Note: Both Name and File path are mandatory. |
Click on the OK to save the tool and close the window or the Apply button to save the tool and configure it further. To learn how to further configure the tool refer to the next chapter.