The header of the CUSTOM VARIABLES tab shows the total number of variables that are currently assigned to the workflow. If no variable exists in the current workflow, there is no number in the header and the tab is grayed out.
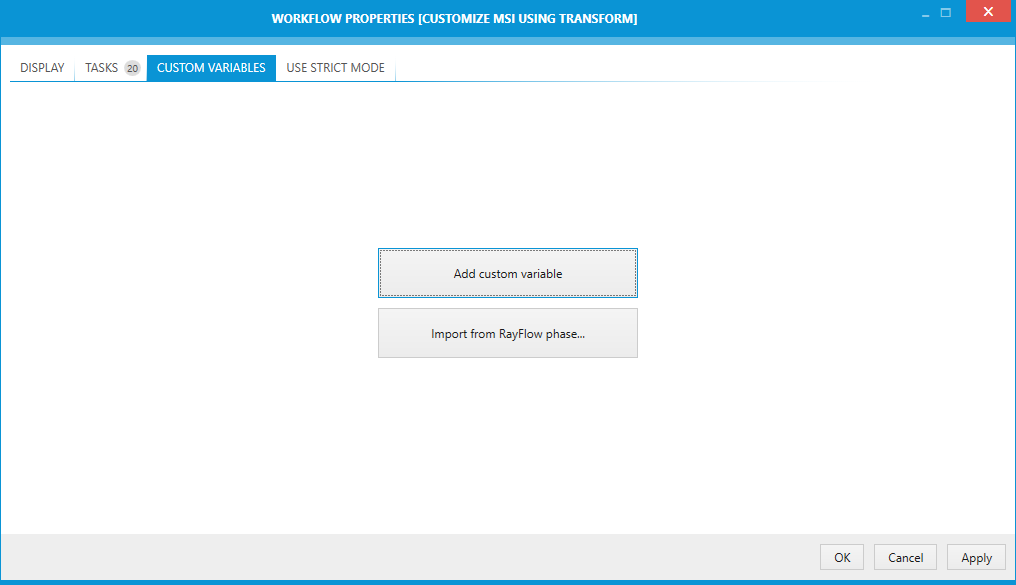
When no variables are present, a simplified view of the tab is shown:

•To create a new value, press Add custom variable button. A new variable of a type string will be created and selected.
•To import variables from RayFlow, press Import from RayFlow phase. PackBench will ask to sign in to RayFlow and select the phase to be imported.
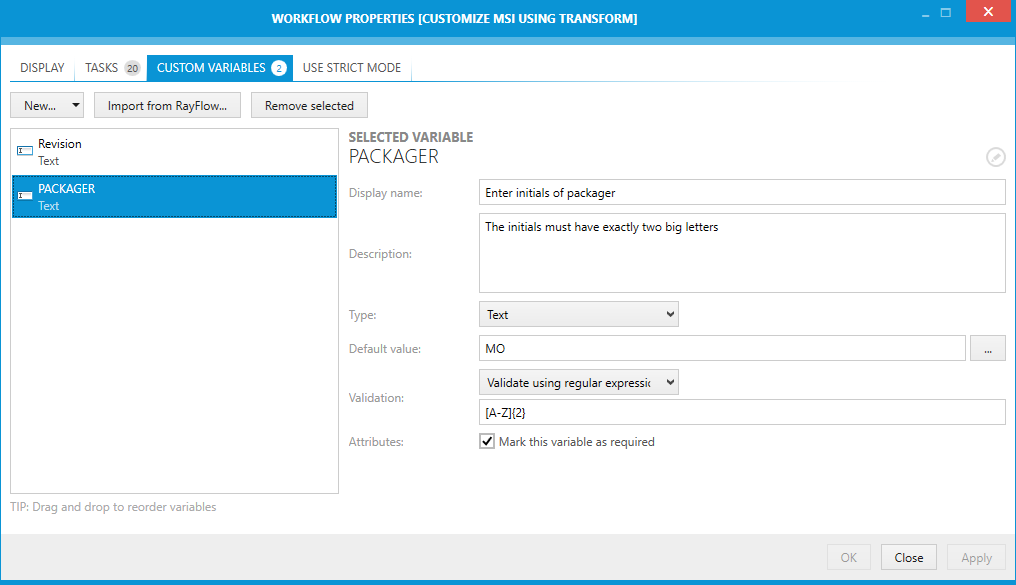
Once at least one variable is already assigned, the view changes:

The area is divided in two different sections:
•The left panel shows all variables assigned to the workflow.
•The right panel shows the details of the current selection
Variables List
In the variables overview, existing variables are shown. An icon representing the type of the variable is shown next to its name.
Creating New Variables
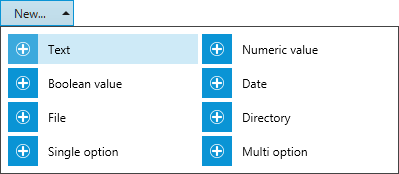
New variables are created by pressing New... menu.The menu will expand and several options (for different variable types) will become available for selection.

Select the required type of a variable. A new variable will be created and selected. It can now be configured in the variable details on the right side of the tab.
Reordering Variables
Variables can be reordered by drag and drop. Simply drag the variable and drop it into the new position.
Removing Variables
In order to delete a variable, open the context menu and press Delete.
Variable Name
The name of the currently selected variable is displayed in the top right corner of the CUSTOM VARIABLES tab. The name of the variable can be changed by clicking on it. Changes can be accepted by pressing OK, and discarded using Cancel button.

Variable Details
The content of the details panel depends on the type of the variable. Chapter Custom Variables contains a list of supported types and description of configuration options for each of them.