To Create a New Workflow...
1.To create a new workflow open the WORKFLOWS tab in the CONFIGURATION view and then either open the context menu and select New... or click on the Create new workflow button ( ).
).
The CREATE A NEW WORKFLOW wizard is used to create new workflows in PackBench.
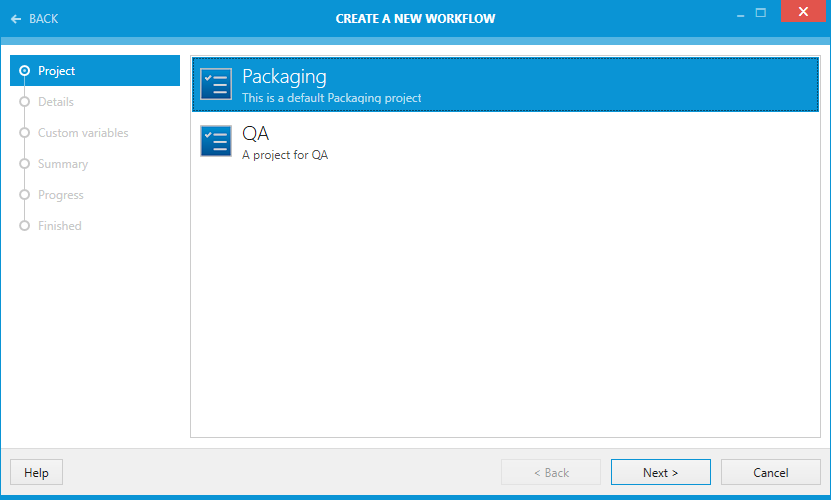
Project Page

On the Project page, select the target project for the workflow. All currently active projects are shown here. Archived projects are not available for selection.
Click on the Next > button to continue to the Details page.
Details Page

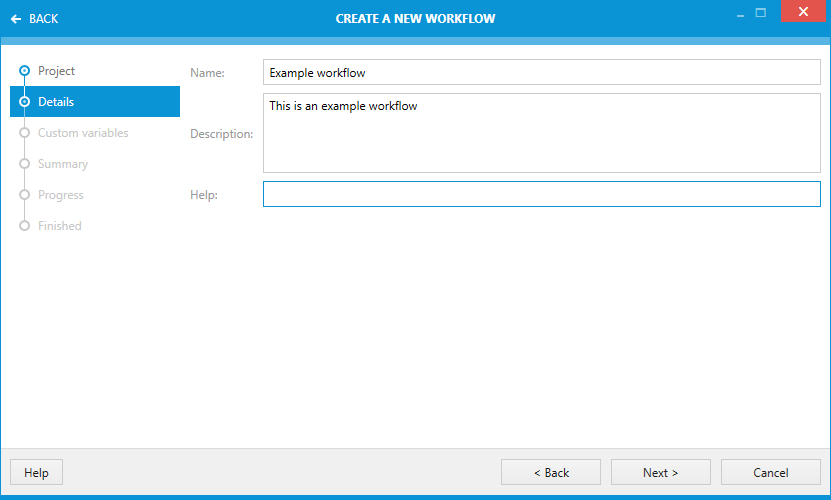
On the Details page there are three different fields available.
•Name: Enter a name for the workflow. This field is mandatory and may not be empty.
•Description: Enter a description of the workflow. The description is optional and can be left empty.
•Help: A short help text can be entered here. This field is optional and can be left empty.
Click on the Next > button to proceed to the Custom variables page.
Custom Variables Page
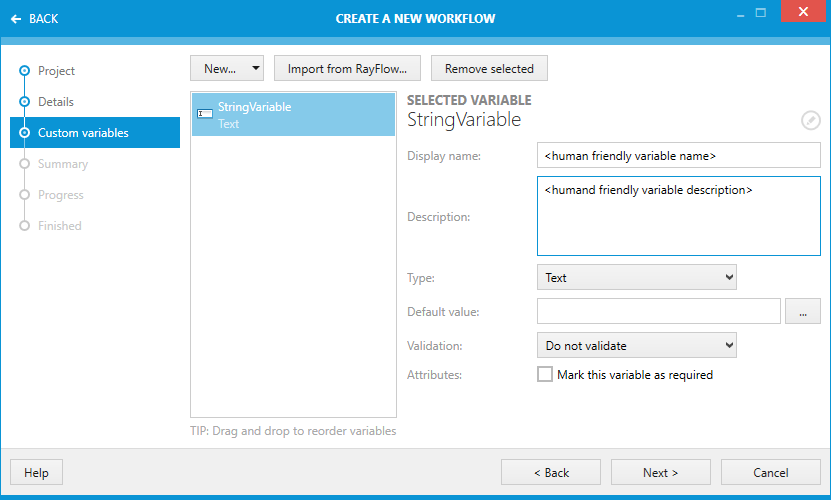
Custom variables extend the default set of standard properties. It is possible to define them here, or later once the workflow is configured and their tasks are set. For more information about variables, refer to information contained within the section Custom Variables.
The variables can be created manually, or imported from a RayFlow phase.
•To create a new value, press Add custom variable button. A new variable of the type string will be created and selected.
•To import variables from RayFlow, press Import from RayFlow phase. PackBench will ask to sign in to RayFlow and select the phase from which to import.
Once at least one variable is defined, the screen changes and shows a sidebar containing a list of all variables, and a right panel showing the details of the current selection.

•To remove a variable, highlight it first and press the Remove selected button
•To reorder variables, use drag and drop technique using the left mouse button.
On the right site of the page the details of a selected variable are shown. The field varies, depending of the type of the variable selected. For detailed information on the custom variables, refer to the Custom Variables chapter.
Click on the Next > button to proceed to the Summary page.
Summary Page

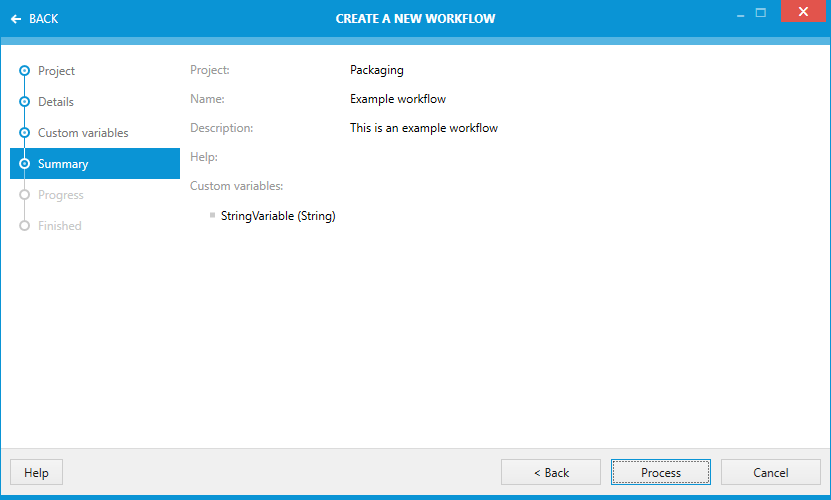
The Summary page shows a summary of all the settings that have been made on the previous pages. Verify the entries and click on the Process button to create the new workflow.
|
Note: The New Workflow wizard does not allow adding tasks to the workflow. This has to be done in post-processing, as described in chapter Tasks. |