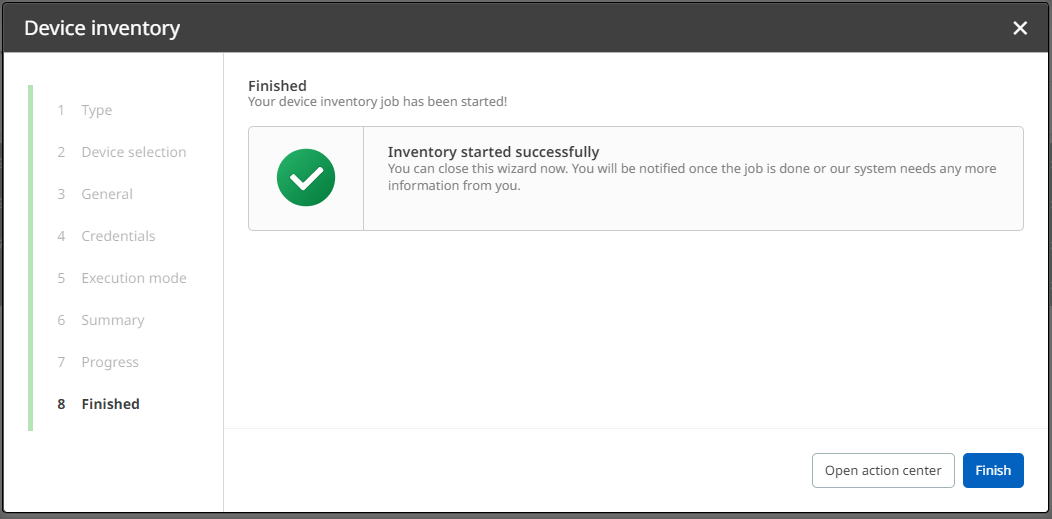
A greater part of failed inventory and discovery jobs in Raynet One results from invalid or missing user credentials which all runners rely on. Generally, it s normal and crucial for data security that you cannot access any devices which require specific user credentials, especially if many users are working with the platform. However, if you have the correct credentials at hand as an administrator, you can easily apply them during a platform job to get more extensive data results. So here's how it works. For this example, the pltform job will be a Linux device inventory. Naturally the process runs for all other jobs in a similar way.
1.Navigate to the Devices view. It is located in the Sidebar menu in the Asset Management workspace.
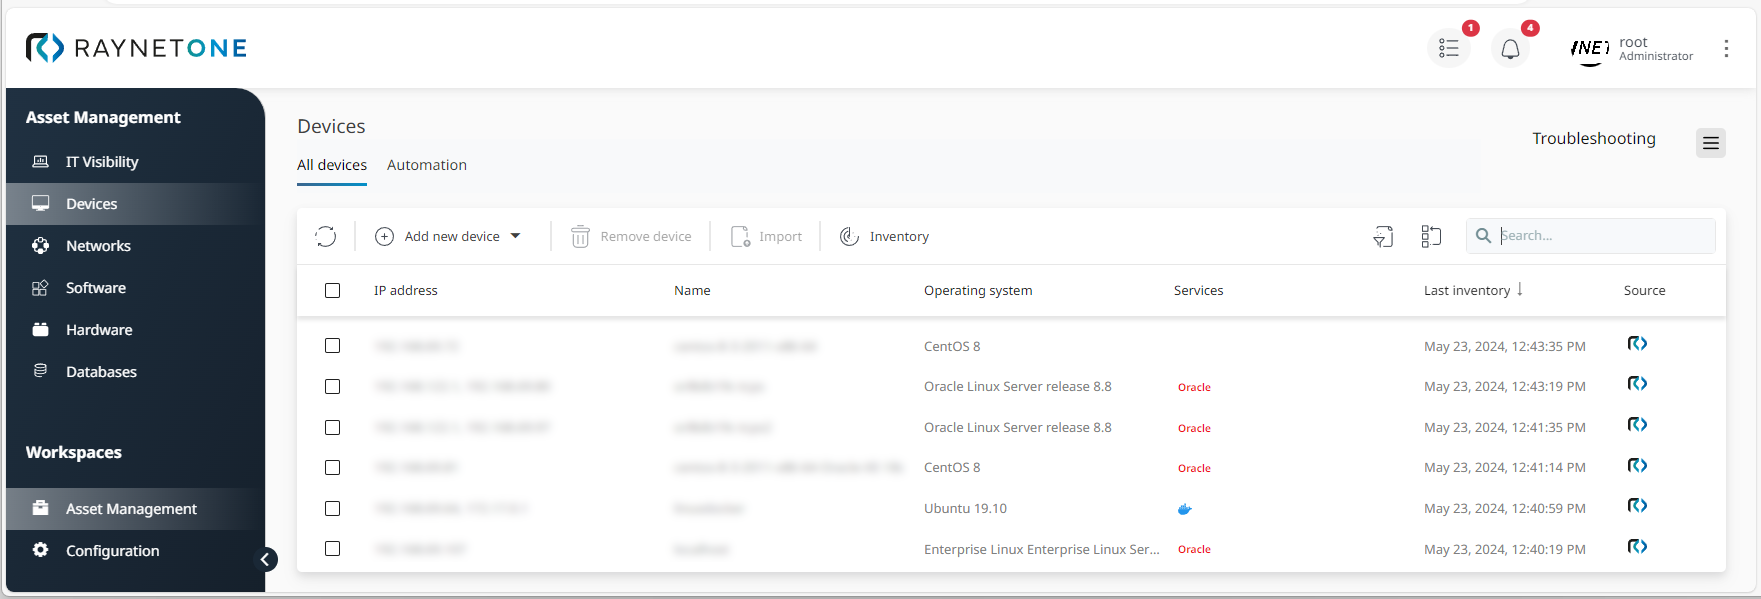
2.If required, use the filter and search functions find specific assets which you want to inventory. In this example, relevant devices were found with the keyword "Linux" in the search field. Then select all assets to be inventoried and click on Inventory to open the Device inventory wizard. Alternatively, you can also open the Automation tab under Devices and select your required platform job under Add schedule.
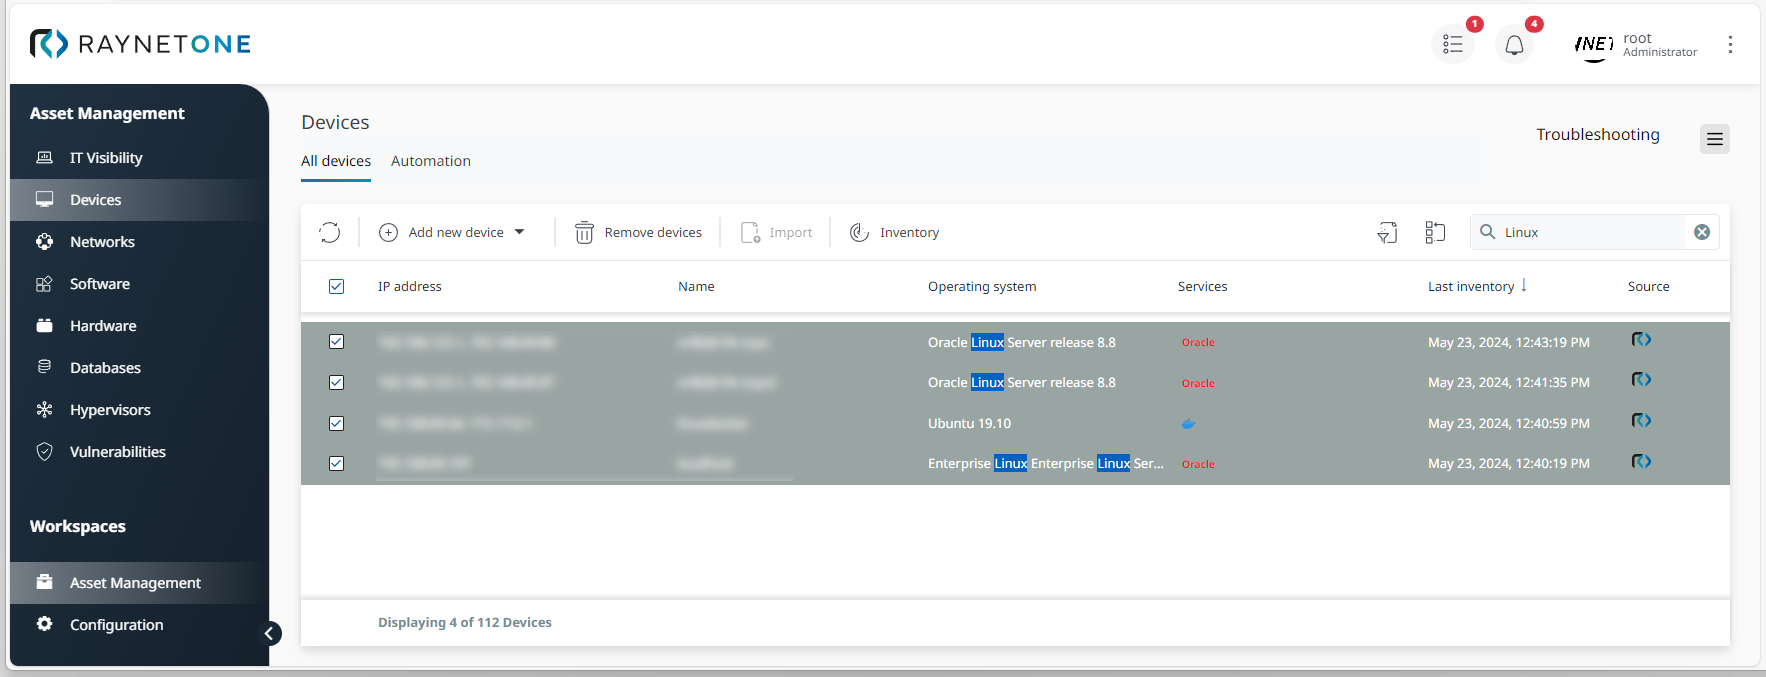
Preparing a device inventory via Devices > All devices
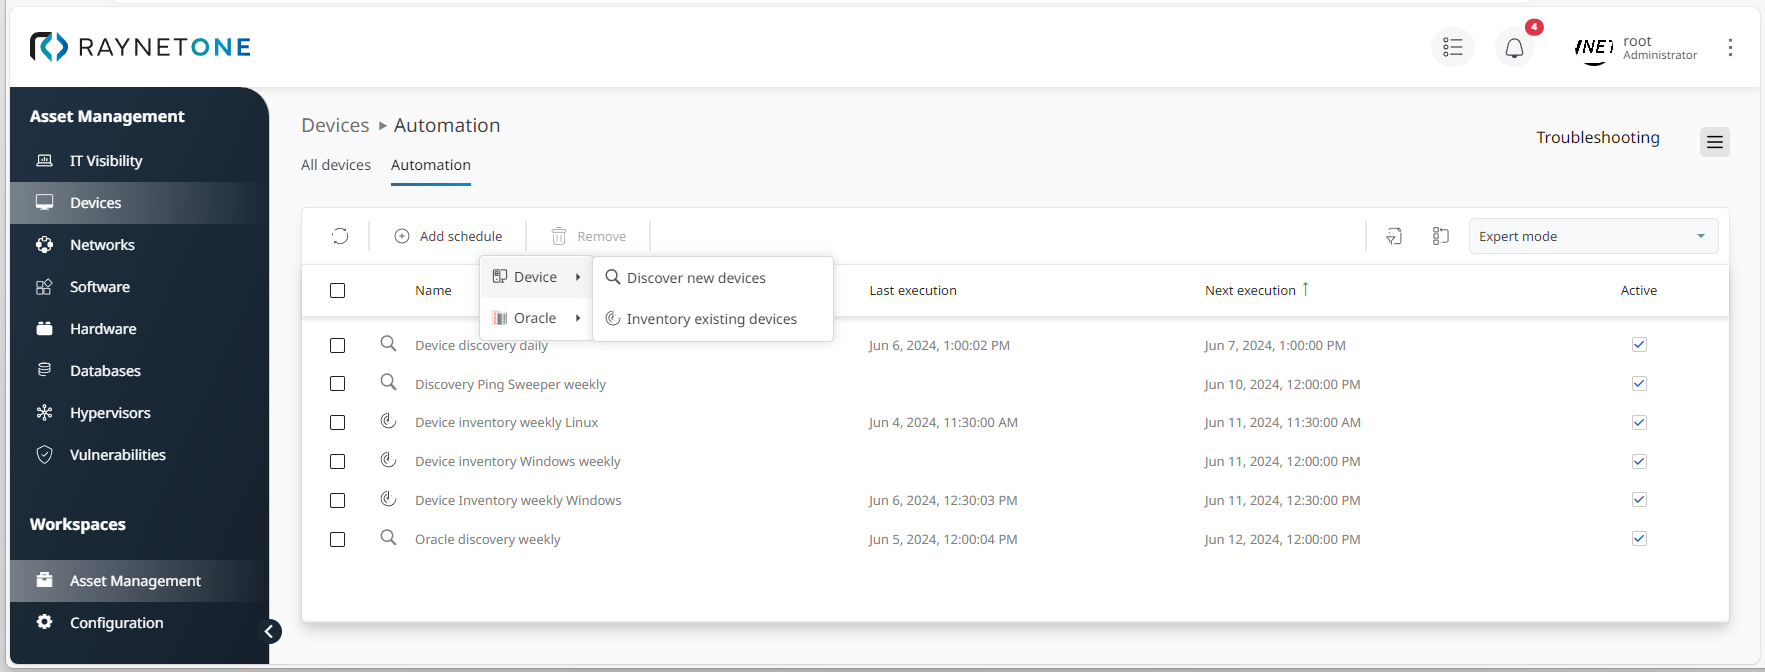
Preparing a device inventory via Devices > Automation
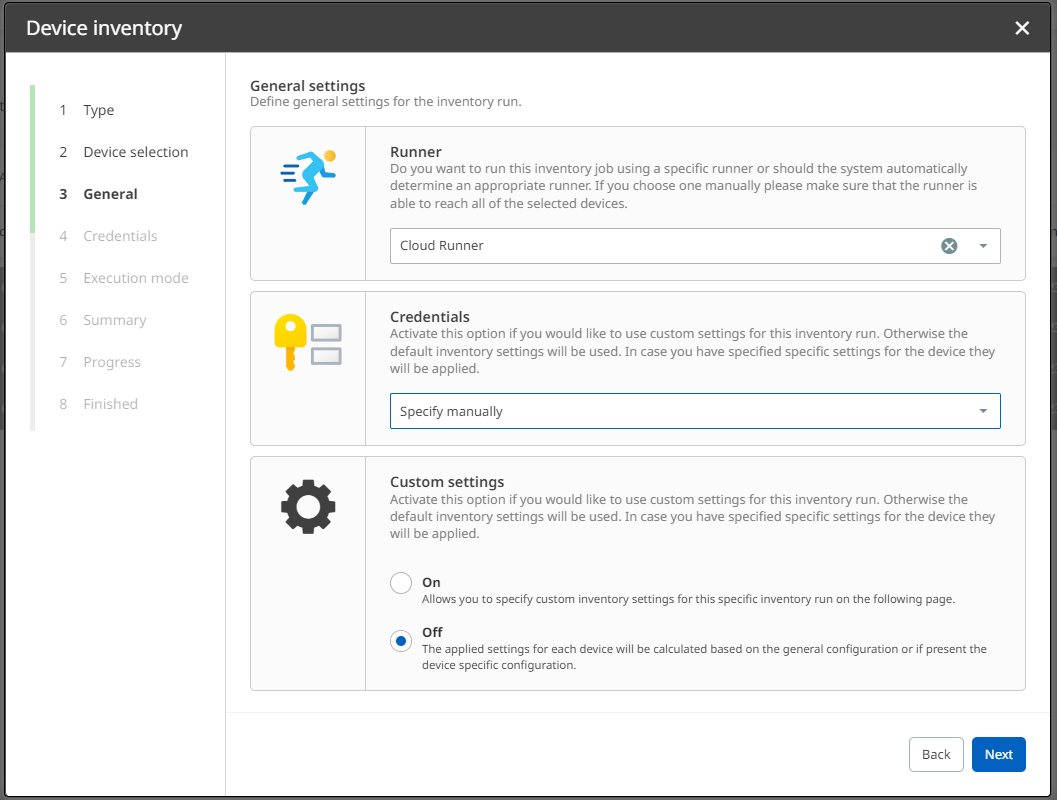
3.In the Credentials section under General settings, select the option Specify manually to define individual credentials for the job. Also select your runner according to the target devices' OS- for a Non-Windows inventory run, this should be Cloud Runner. Also define if Custom settings will be applied - in this example, they are not required. Eventually click on Next to proceed.
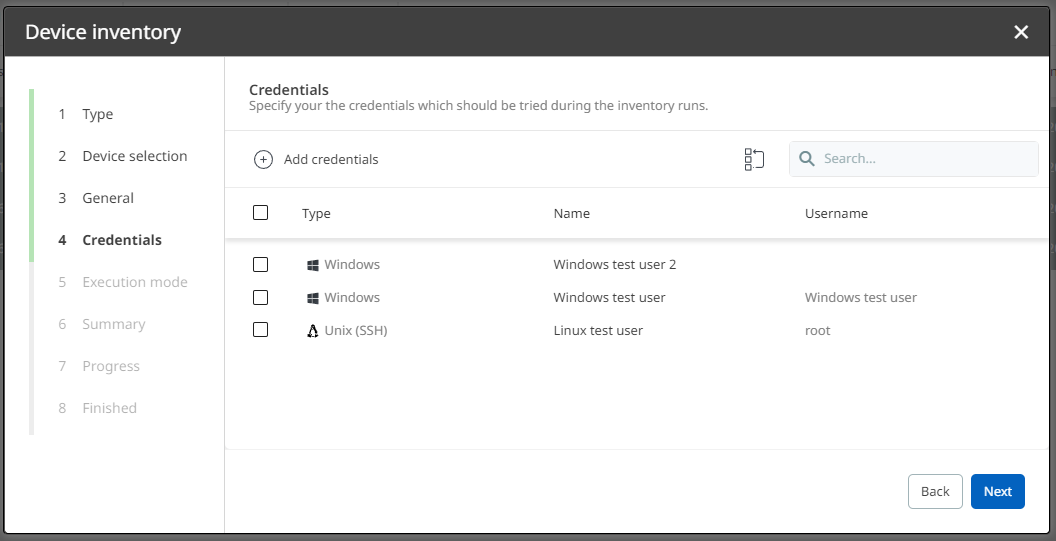
4.Decide if you are going to manually use existing credentials and select them, or click on Add credentials to create new credentials. In this example, new credentials will be created. Then proceed via Next.
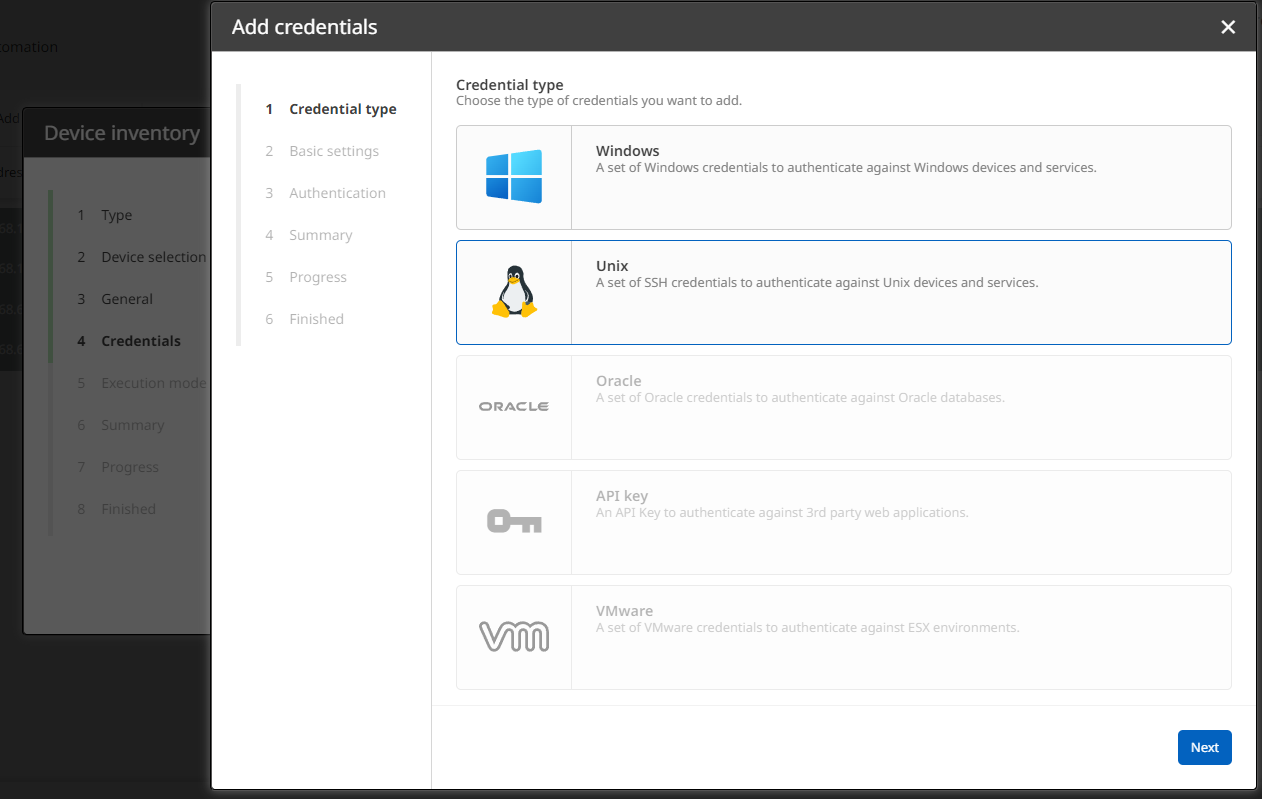
5.In the Add credentials wizard under Credential type, select Unix.
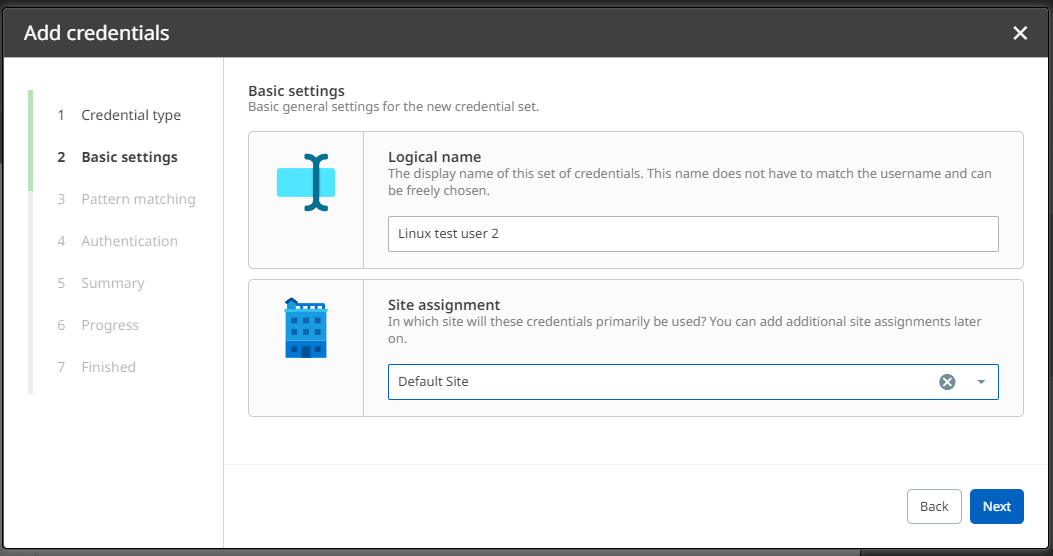
6.Enter a Logical name and a site under Basic settings.
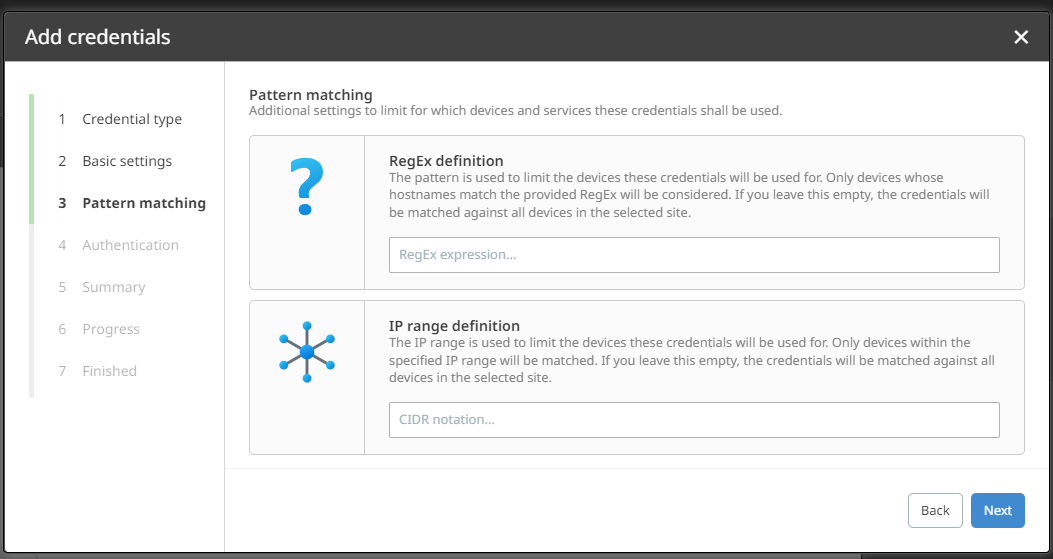
7.Under Pattern matching, enter a RegEx definition and an IP range definition (optional).
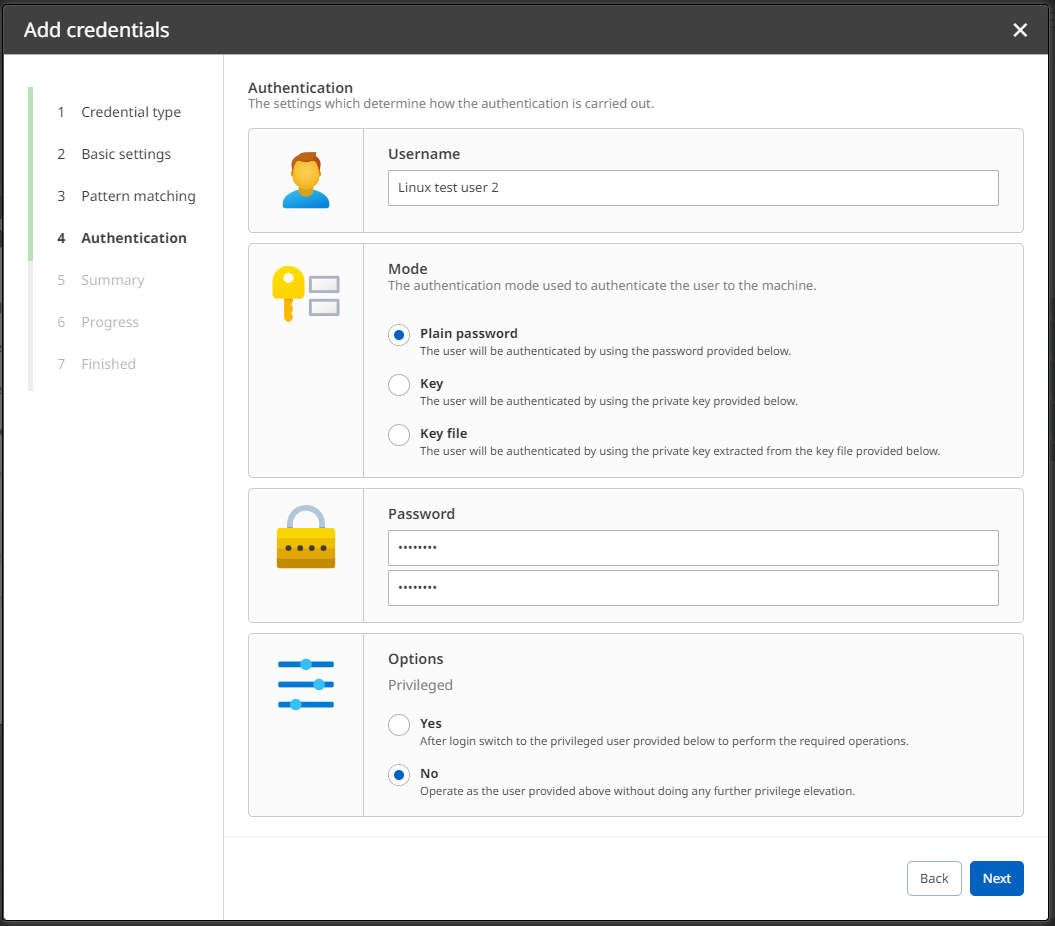
8.Enter a user name and select a Mode under Authentication. In this example, this will be Plain password - however, you can also use an automatically generated key or provide a key file. Also define if your credentials need privilege elevation (mainly important for Oracle admins).
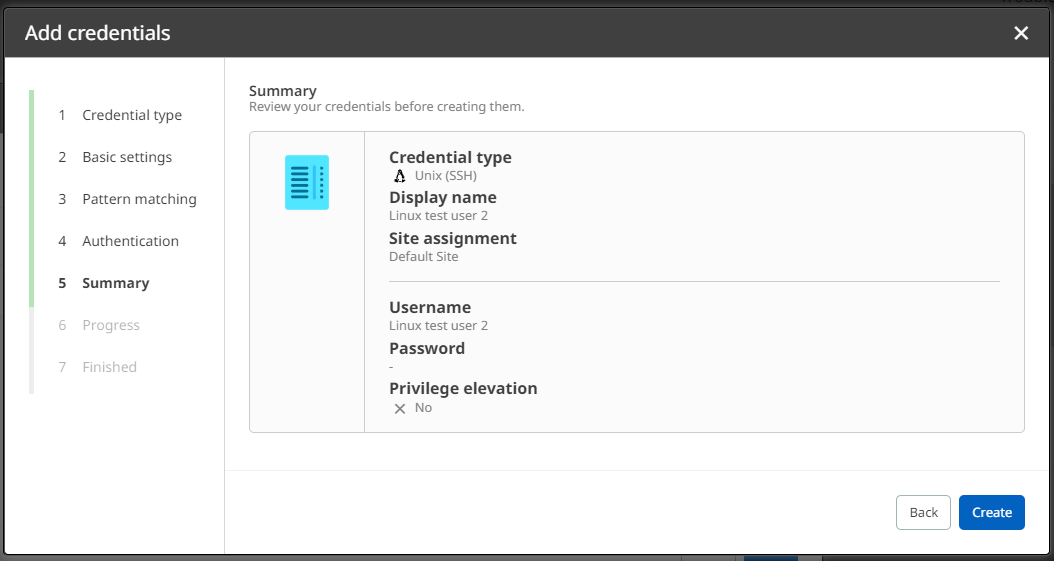
9.Check on your settings in the Summary. If all configurations are correct, click on Create to confirm them. Otherwise, you can always go back in the process.
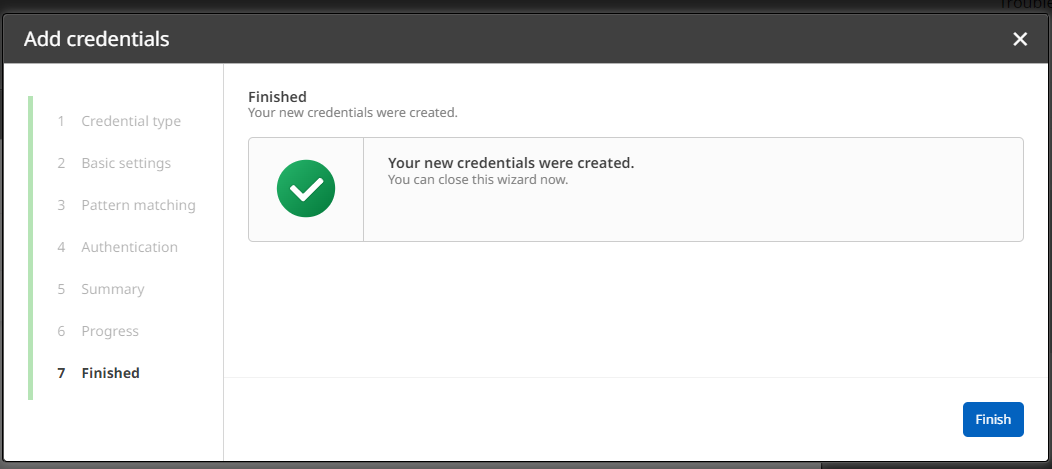
10.Click on Finish to finalize the process. Your newly created credentials are now listed in the Device inventory wizard and available under Credentials in general.
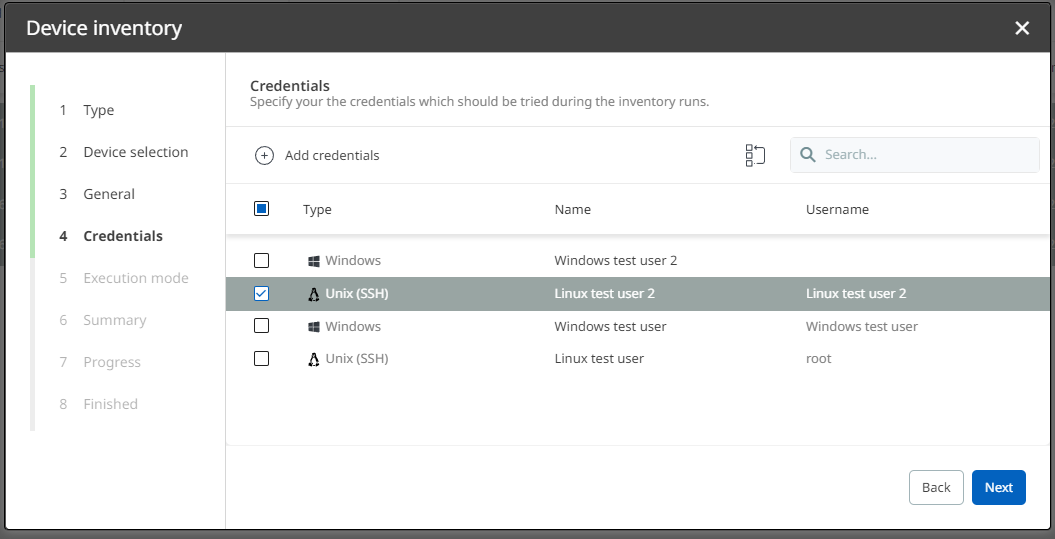
11.Back in the Device inventory wizard, select your new credentials from the list and click on Next to continue configuring the inventory run.
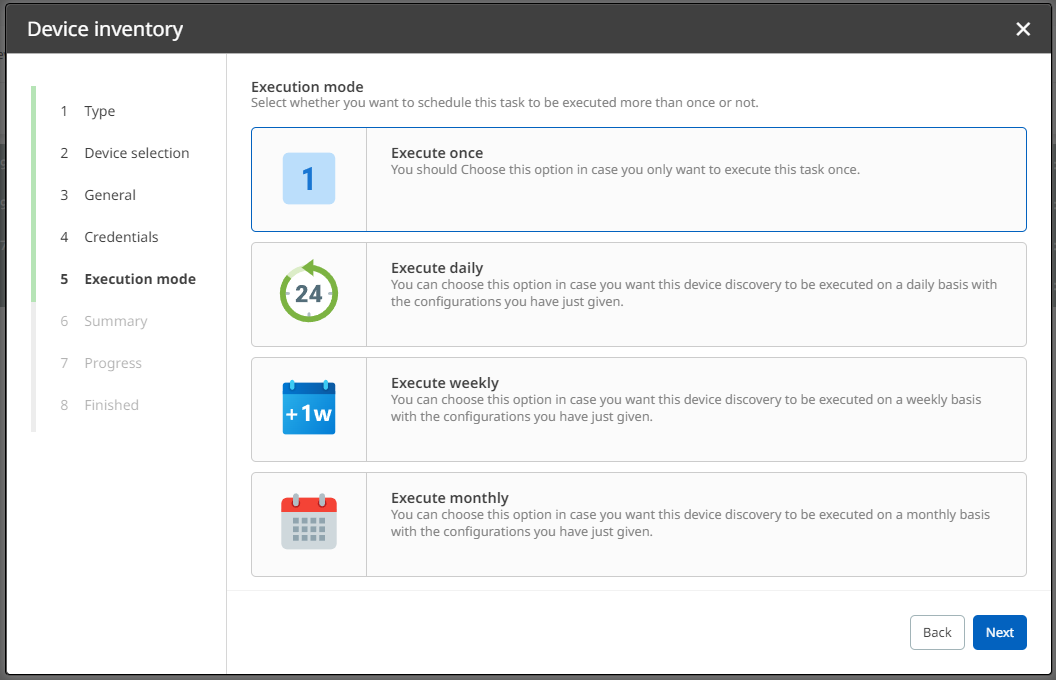
12.Define an Execution mode. In this example, Execute once is sufficient.
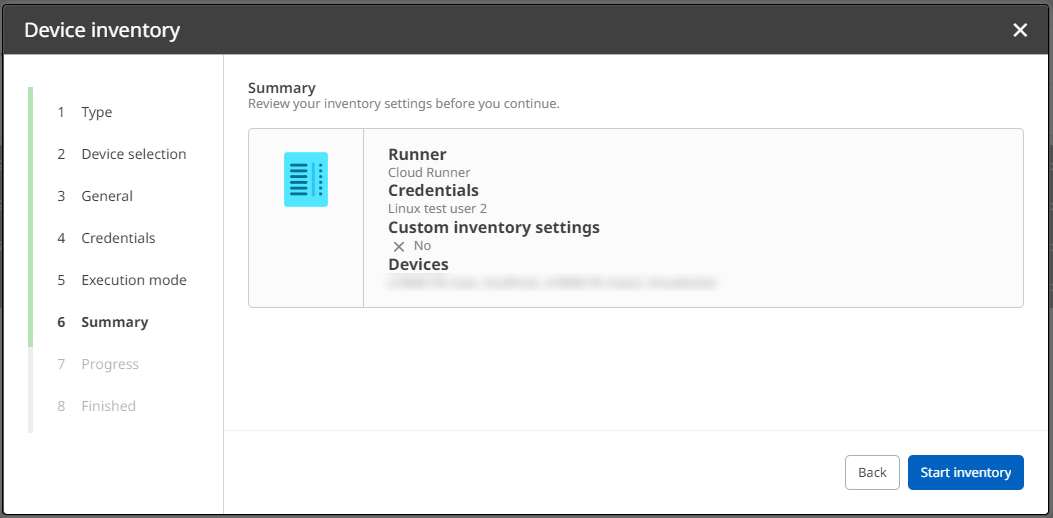
13.Check on your configurations in the Summary. If all settings are correct, click on Start inventory to confirm them. Otherwise, you can always go back in the process.
14.Click on Finish to finalize the process. Now the platform triggers your inventory run with customized credentials. The job will now be listed in the Job list. Alternatively, you can view the inventory job in the Action center.
