To import a web application into the library, first select Web Apps from the file type section in the Library view. Either select an existing folder or create a new folder for importing a web application into the library. Right-click upon the target folder to show the context menu.
The IMPORT WEB APP WIZARD is launched. On he File selection view, specify the URL to the website of the web application that is to be imported. Choose if only the entry page should be scanned or specify the maximum deepness and the maximum number of pages to crawl for the scan. It is also possible to set an URL filter. If the filter is set, the scan will only include those pages matching the filter and exclude other pages (e.g. if *.raynet.* is set as filter, only pages where the URL contains "raynet" are included).
Title and Author of the web application are optional and can be filled in either manually or automatically by clicking on the Fill from website option.
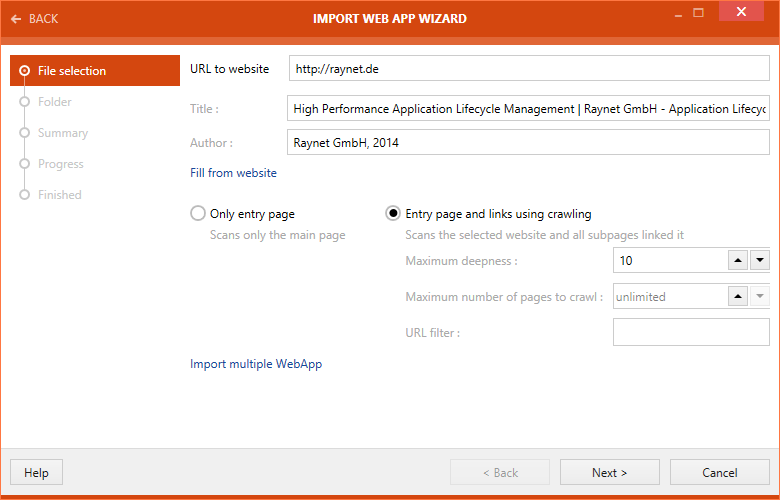
Click on the Next > button to proceed further with the import.
A target folder can be selected in the Folder section of the wizard.
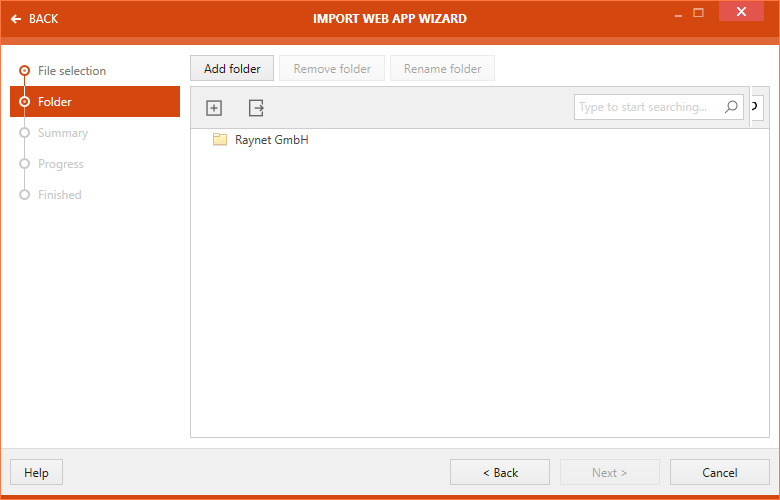
There are three buttons available at the top of the wizard.
•Add folder: This button can be used to add a new folder.
•Remove folder: This button can be used to remove the selected folder.
•Rename folder: This button can be used to rename the selected folder.
Select the target folder and click on the Next > button to proceed further.
A summary of package import properties is shown on the Summary view.
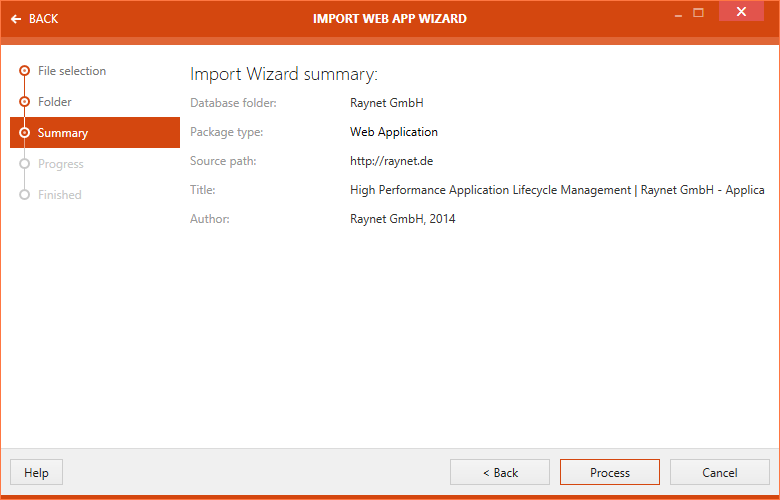
Click on the Process button to initialize the import of the Web Application. After the import is complete, the import status is shown on the FINISHED view.
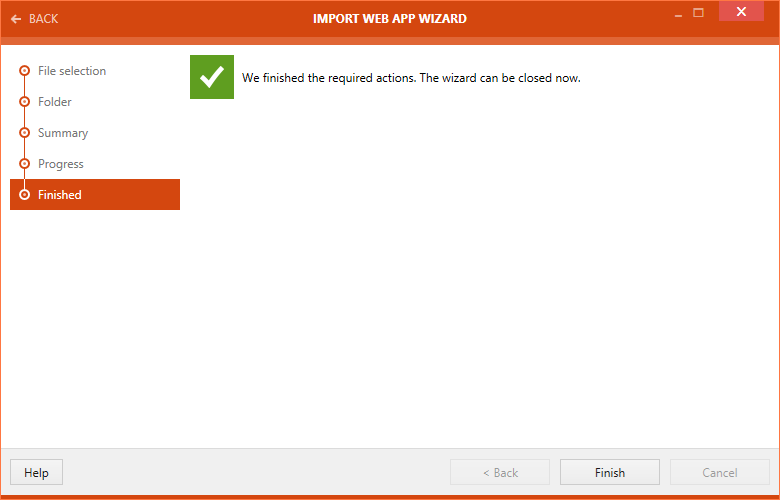
Click on the Finish button to close the IMPORT WEB APP WIZARD.