1. Select the item Import package from the swipe-bar.
The IMPORT PACKAGE WIZARD is initialized.
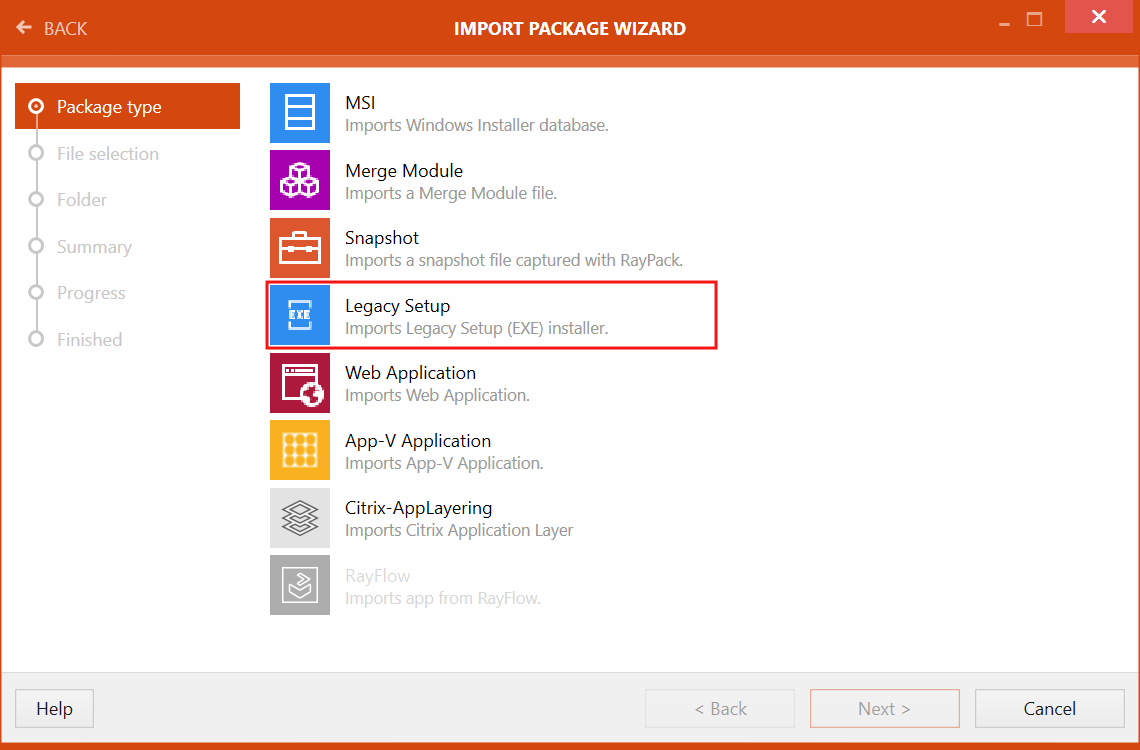
2. Select the Legacy Setup option.
|
Warning: To import a legacy package (.exe) a version of RayPack must be available on the local system (the one that is running RayQC Advanced). |
3. Click on the Next > button
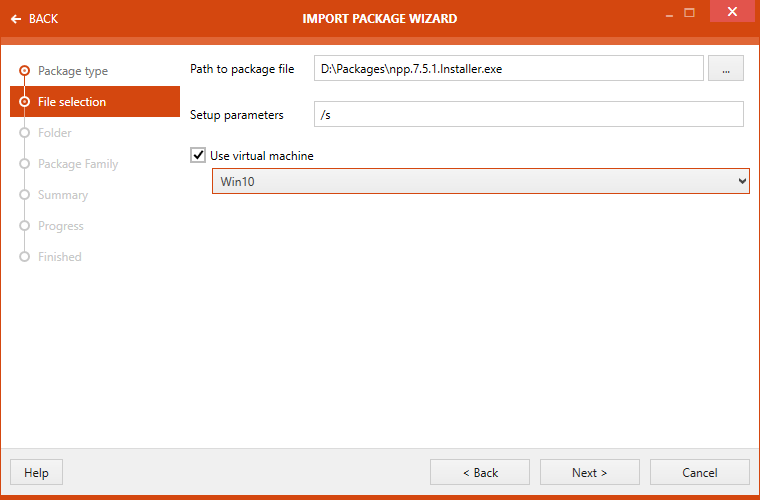
File selection page is now available. When importing a legacy file, the following options are available.
•Path to package file: The path to the .exe file is configured in this field. Either type the exact path or use the Browse [...] button to select the file browsing to the folder that contains the file..
•Setup parameters: Parameters for the setup of the file can be entered here.
•Use virtual machine: When the checkbox is checked a virtual machine from the configured virtual machines can be chosen using the drop-down list. This option is used to convert the legacy file into a temporary .msi using a virtual machine with an installed RayPack. If the box is not checked, the conversion will be done on the local machine, which then needs an installed RayPack instance.
The machines must be configured prior to starting the wizard. Refer to chapter Virtual Machines for more information.
4. Select Add folder as destination for the imported package. The folders shown or created here are related to the package type previously selected. This means that if a user has selected OS Snapshot as package type, then the existing folders within the OS Snapshots area of the library will be shown here.

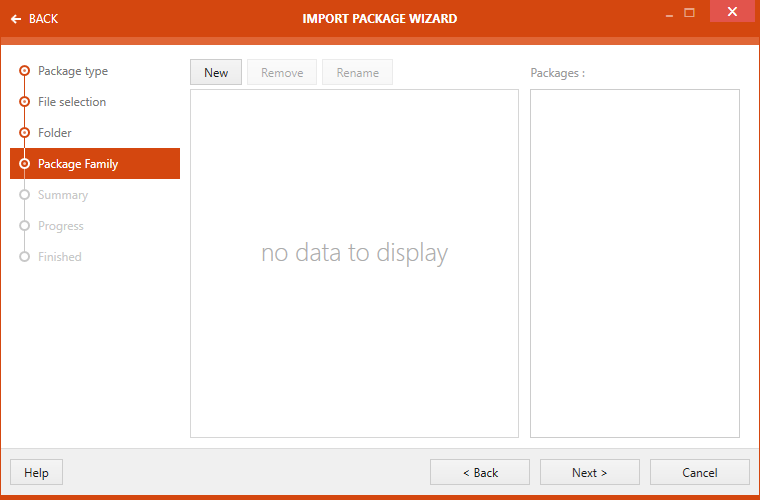
5. On the Package Family page, a user can specify the Package Family to which the package belongs. This page offers the ability to either use an existing package family or create a new one.
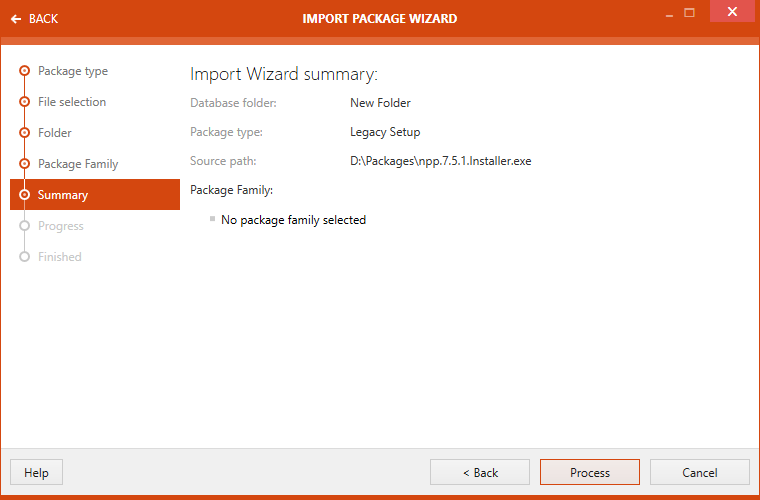
6. Next, the Summary page is shown. The user input for the package import is summarized on this page.
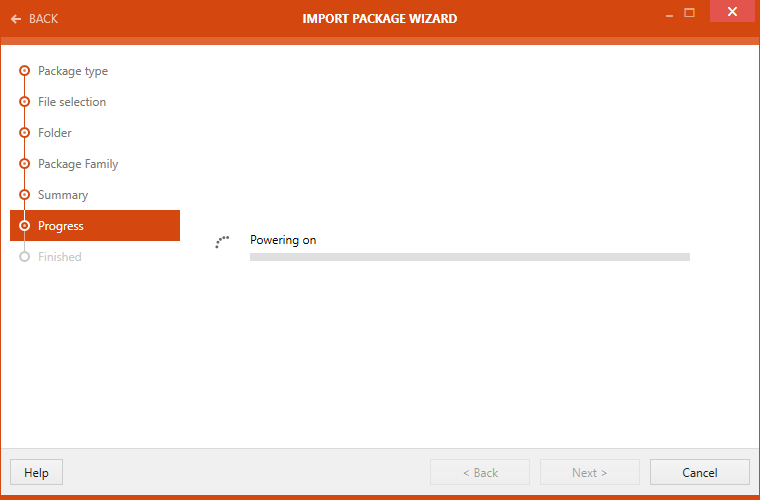
7. Click on the Process button to start the conversion and the import of the package. If a virtual machine has been selected, the Progress bar will also show the single steps that are needed to activate the virtual machine.
8. Confirmation on successful package import is shown on the Finished page.
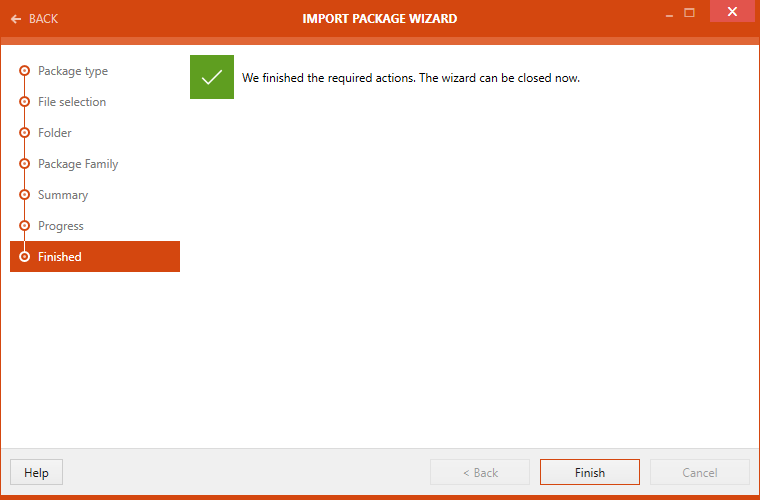
Click on the Finish button to close the IMPORT PACKAGE WIZARD.