If your computer is part of a Windows domain network, it is typically part of an Active Directory (AD). It is the standard registry of Windows computers. The Windows computer publishes its name and device details onto the central AD server. Thus, by importing the AD hierarchy into Raynet One, you provide the essentially complete set of Windows computers inside of your network. By leveraging the power of the cloud-based Azure AD, you can even extend your outreach to worldwide proportions! In this chapter, we want to learn how to import your AD hierarchy.
Secure connections from the runner to the AD host require PKI trust. It can be a difficult topic in Windows environments with multiple domains. Find the necessary cryptographical root certificate which signed the AD server connection certificate and embed it into the runner's machine certificate root trust storage.
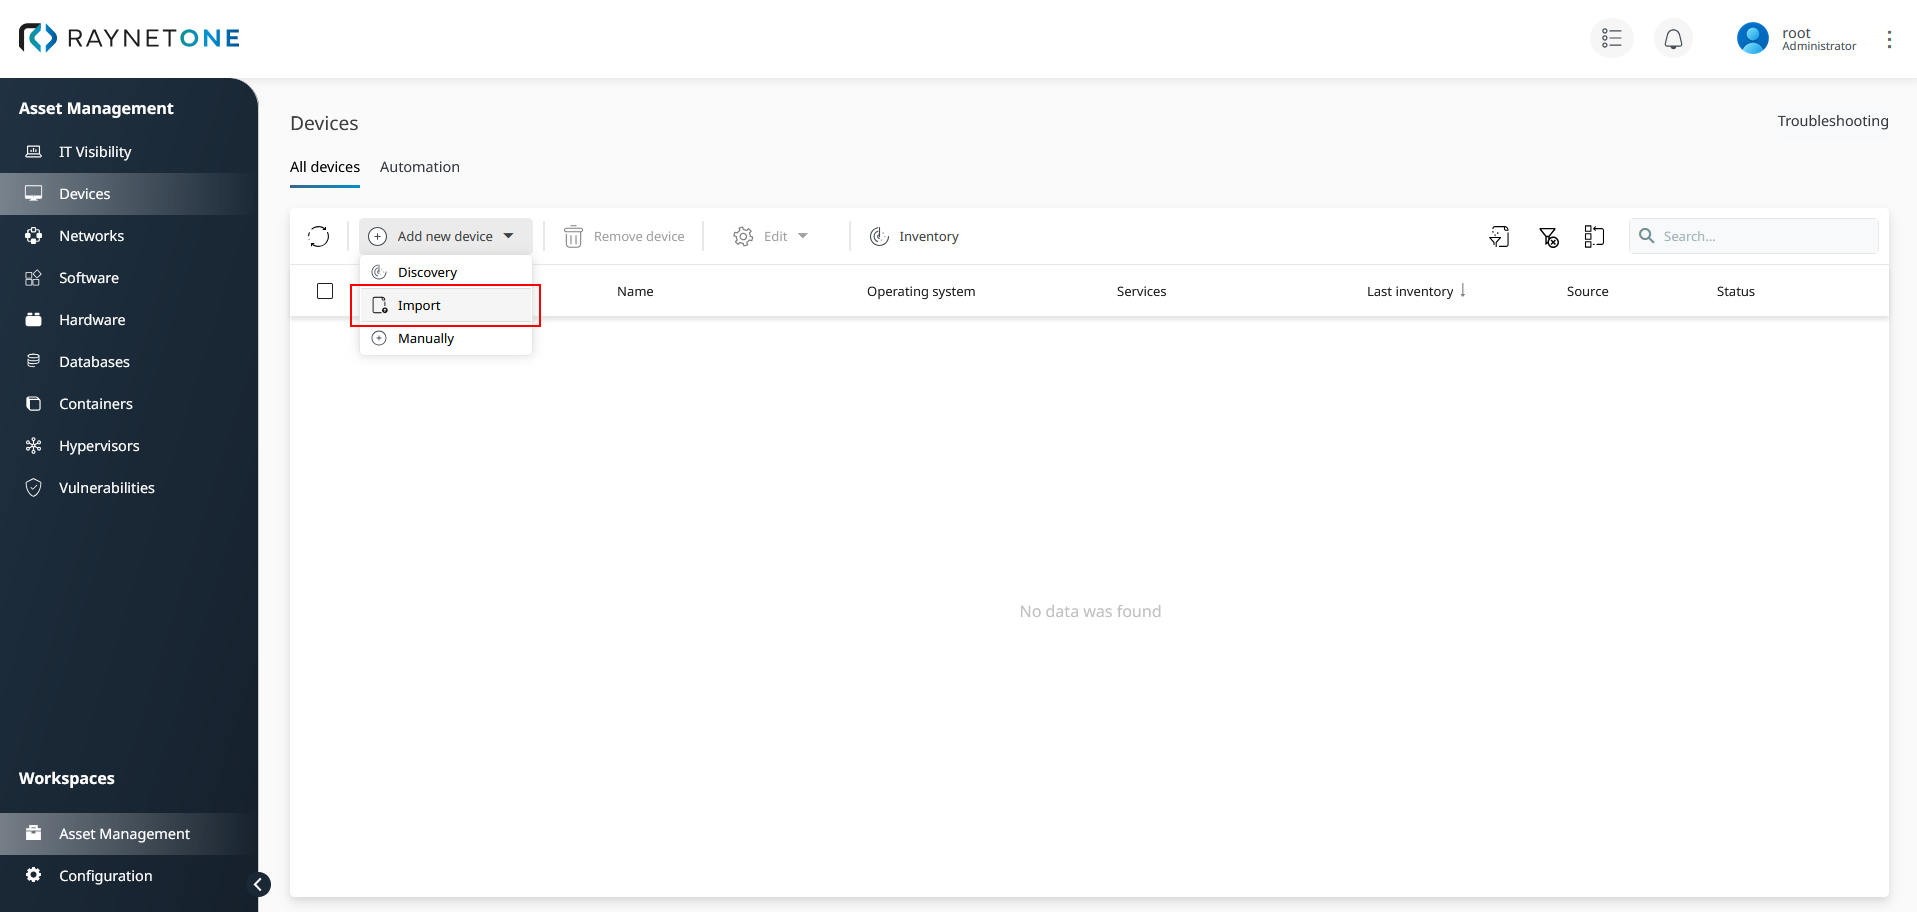
1.Navigate to the Devices view in the Asset Management workspace. Then click on Add new device and select Import to open the Device import wizard.
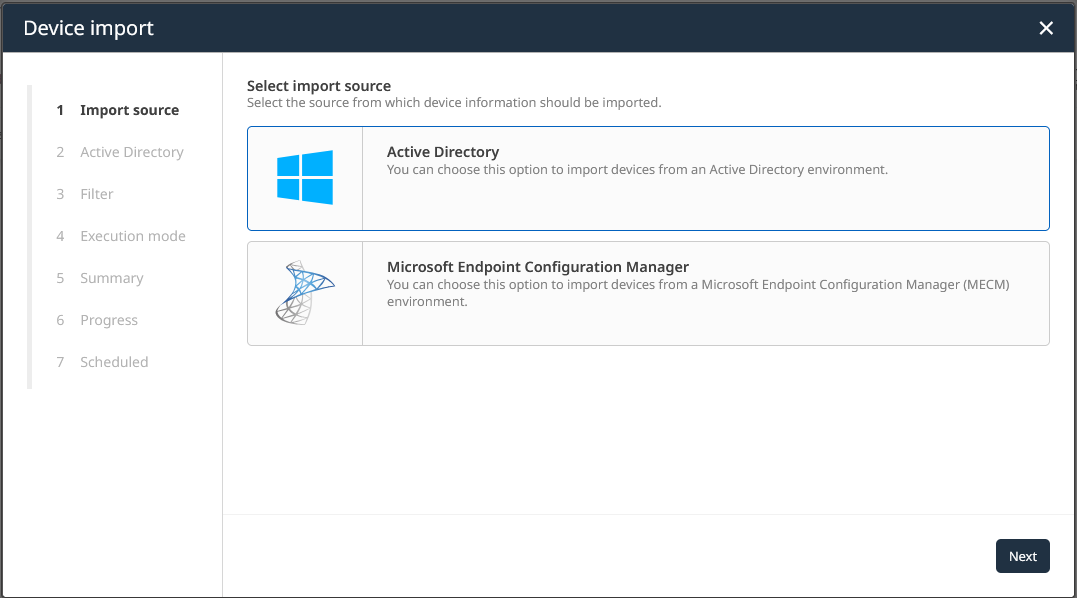
2.Select your import source according to your managed environment. In this case, it will be Active Directory. Then click on Next to proceed.
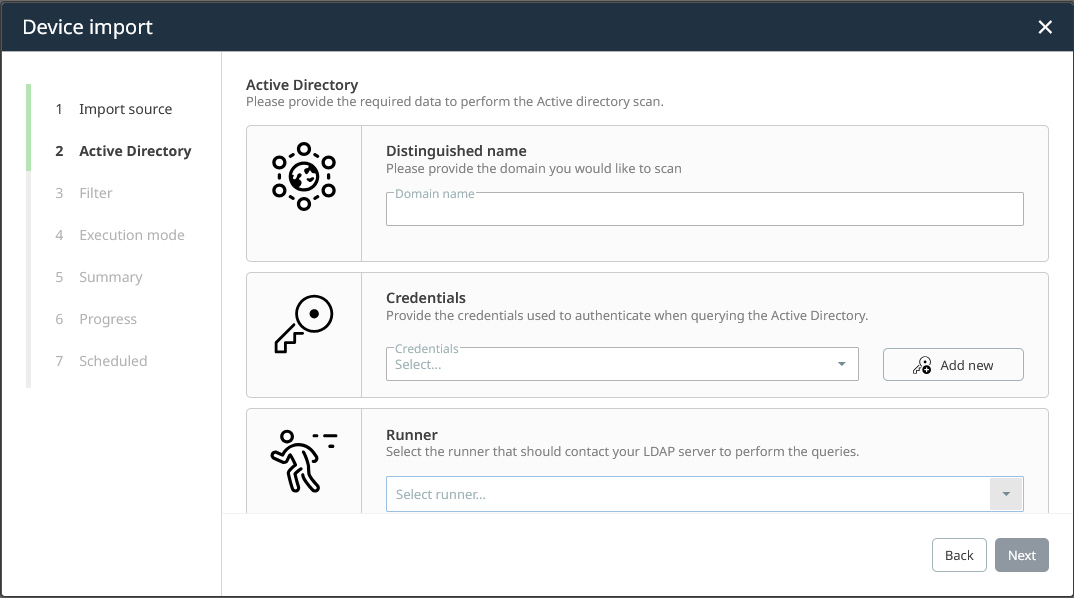
3.Fill in the field labeled Distinguished name, then select the stored credentials and applicable runner. The name has to match your Windows domain in which your AD is hosted. Provide credentials with sufficient permissions for performing AD queries. The selected runner has to be able to connect to the AD, including routes and connection security. After filling in all necessary details, click on Next to continue.
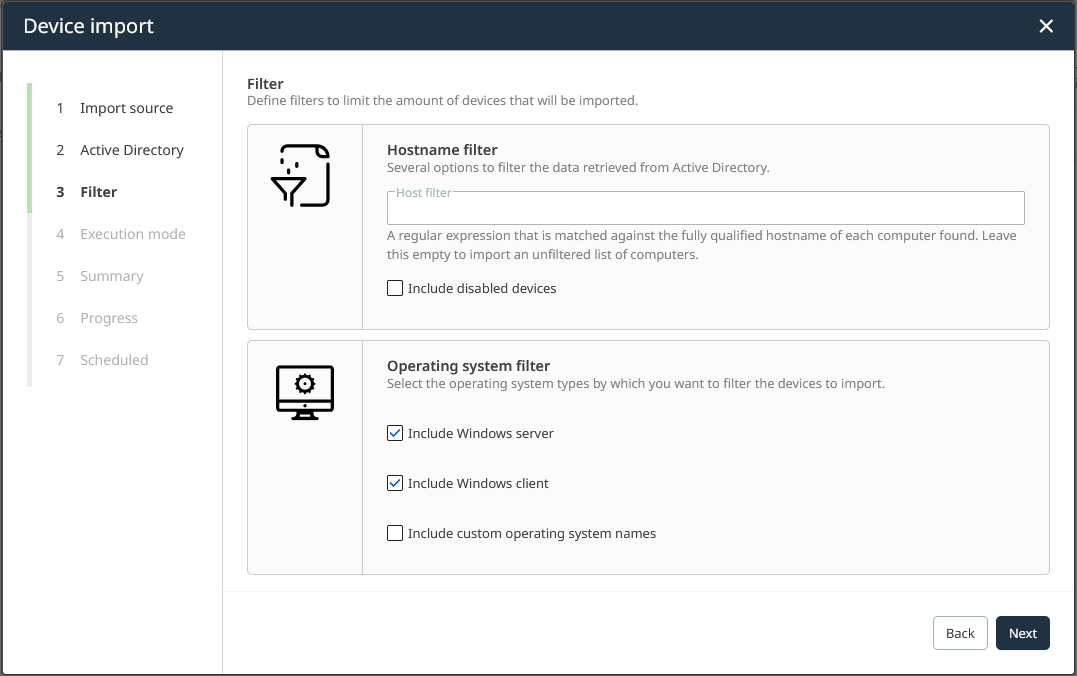
4.In this step you can set filter rules for all the data received from the AD. Each device has a hostname attribute. You can use regular expressions to filter for an accepted set of devices. The regular expressions follow the C# syntax (see the official reference). Inside of the Operating system filter section, there are options to filter for a known set of operating systems installed on the AD devices. After carefully considering and choosing the provided options, click on Next to proceed.
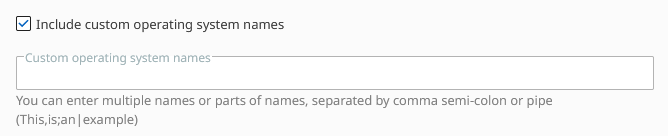
You can provide custom operating system names which mark the devices to be imported, if you enable the option.
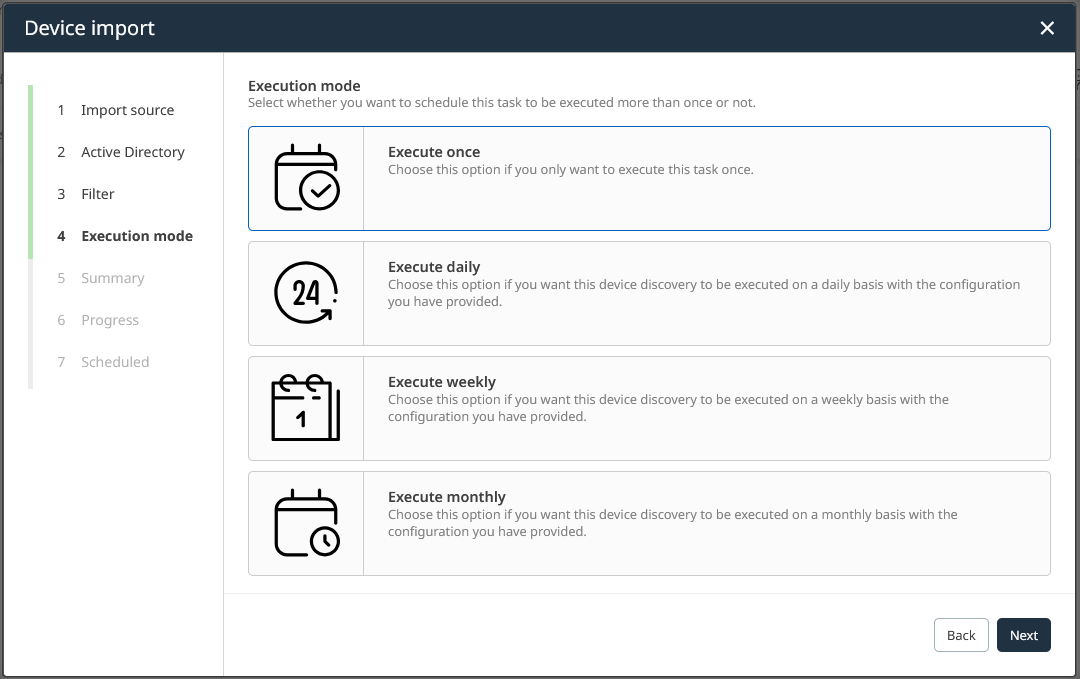
5.Define the execution mode for scheduling your discovery run. You can set exact trigger times daily, weekly or monthly according to your requirements. Scheduled device import jobs will be displayed in full detail on the Devices Automation page. Let's choose the simplest option - Execute once - and click on Next.
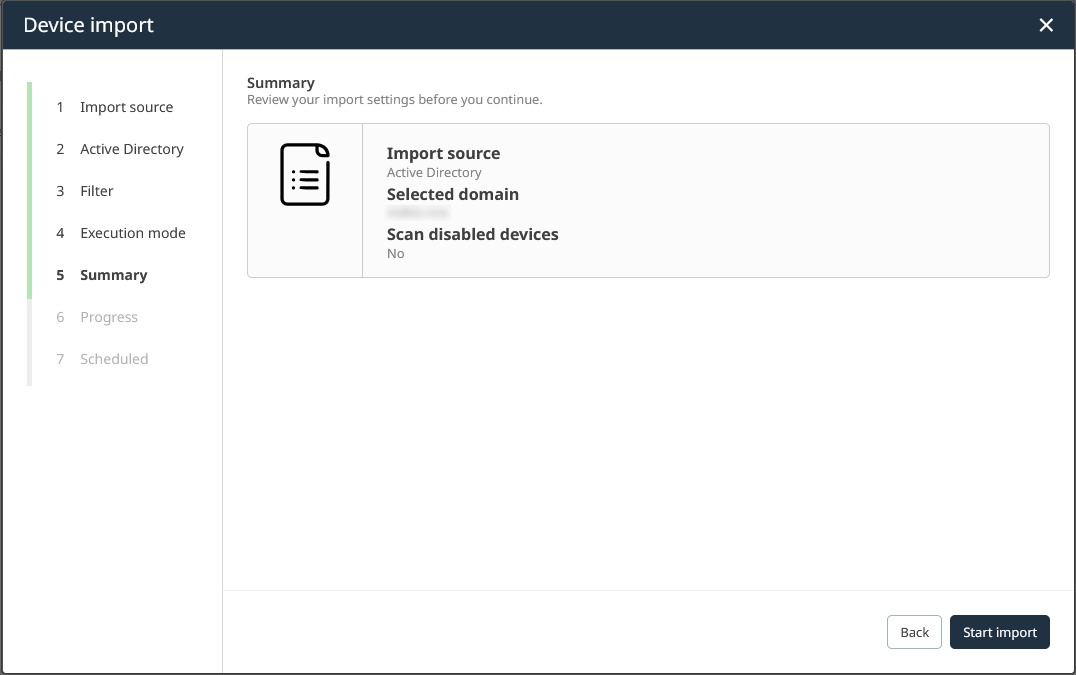
6.Verify the summary of your configuration. If it looks fine to you, click on Start import. After clicking, you will be presented with a progress page, during which the device import job is scheduled for execution. The specified runner will pick it up and collect data from the AD. If there is any configuration mistake, and you have not yet started the import job, you can go back to previous steps to revise.
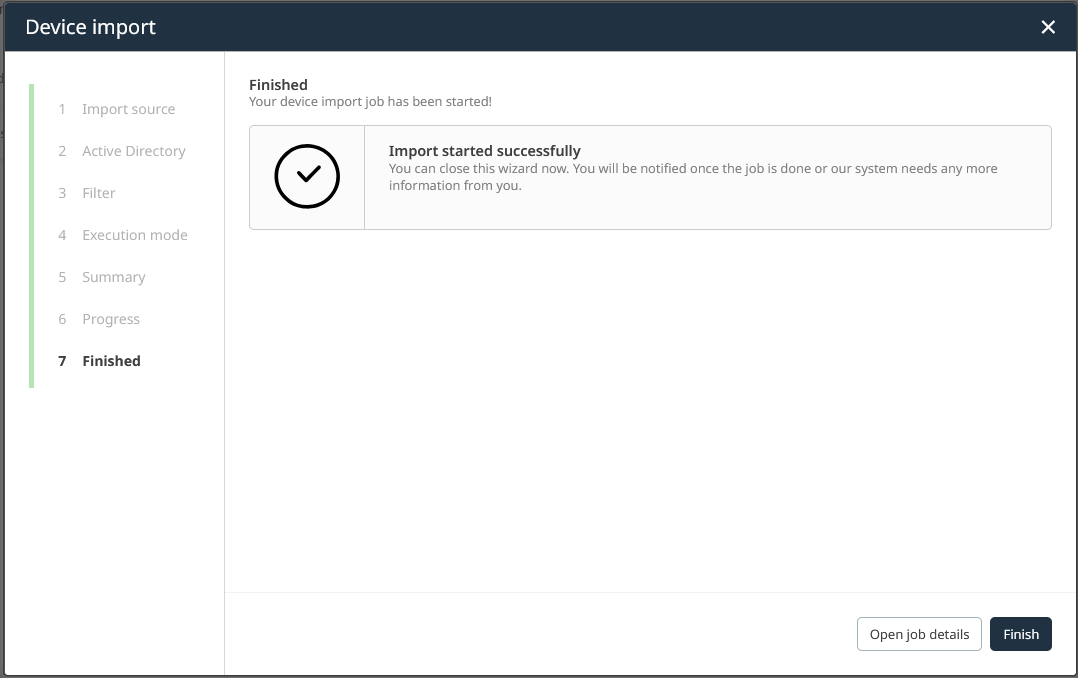
7.Click on Finish to finalize the process. Alternatively, you can open the Action Center to view details on your triggered import run.
|
Be aware: |
|
Tip:
|