In case you skipped the self-service portal, naturally, there is another way of creating required runners via the Runners menu item in the sidebar. This option is part of the Configuration workspace.
Follow these steps to add a Windows runner.
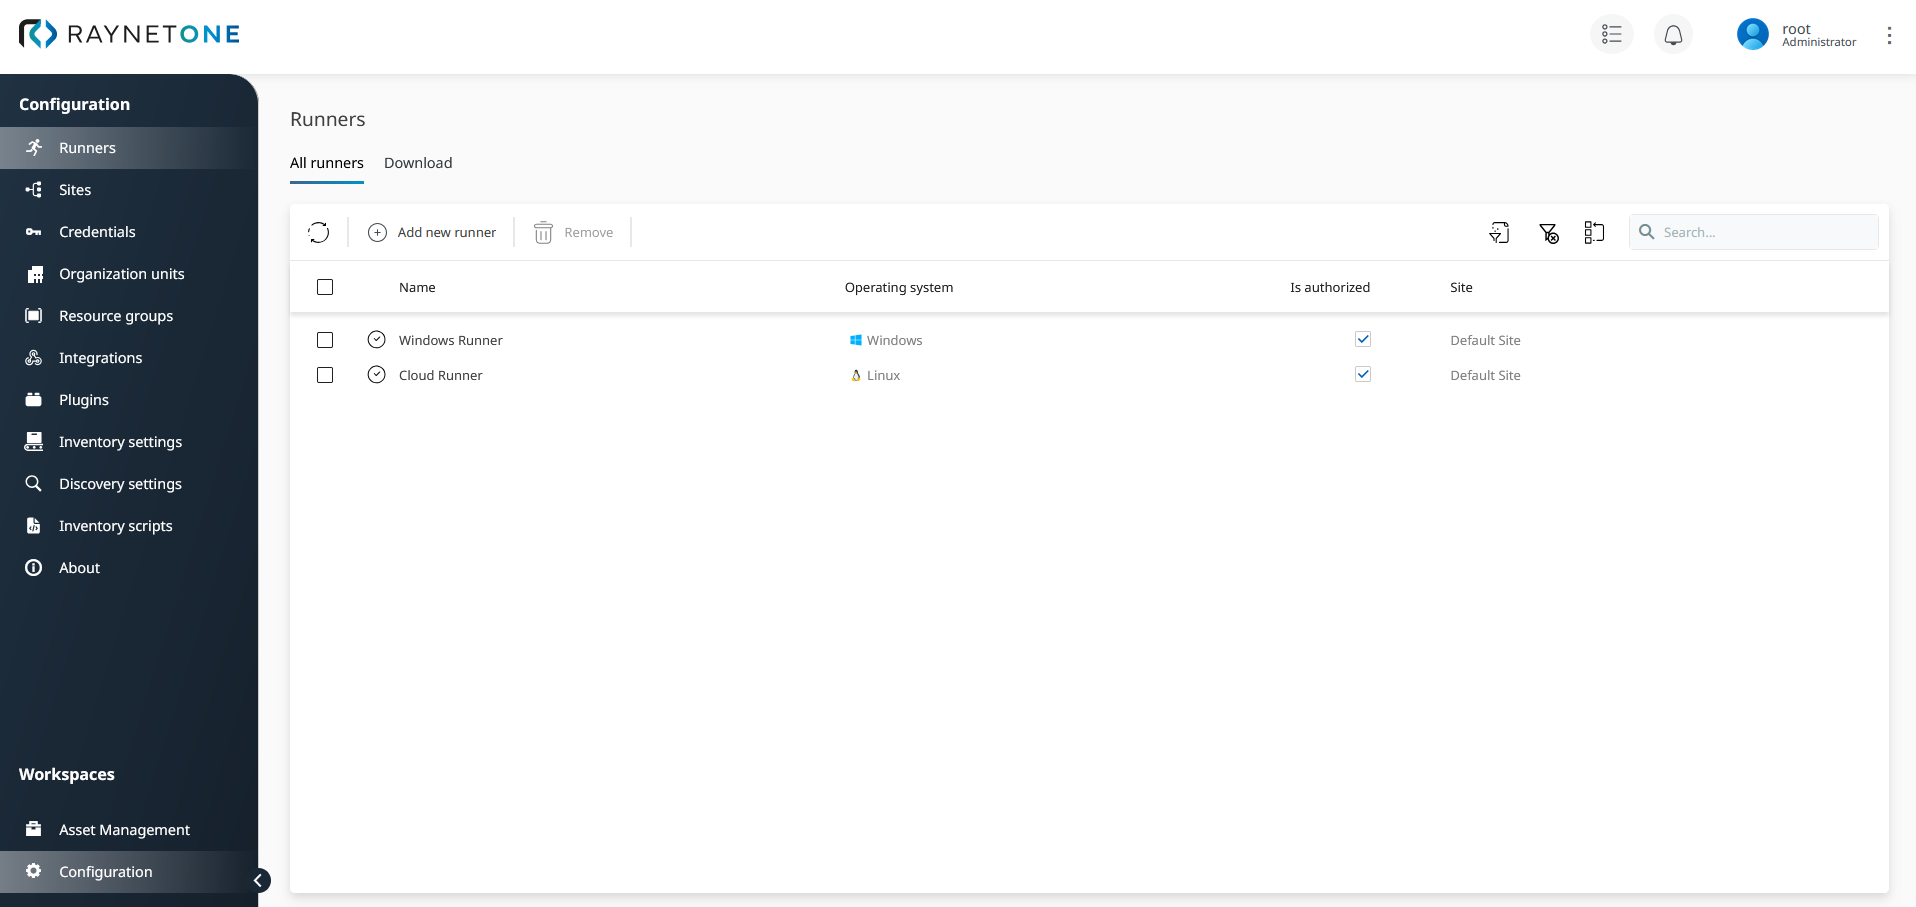
1.Select Configuration under the Workspaces menu section in the sidebar. Then, navigate to Runners.

2.Under the All runners tab, click on Add new runner to open the wizard for runner creation.
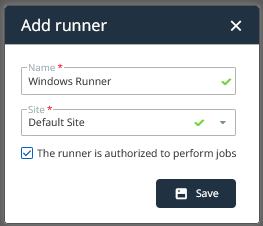
3.Define a name and site for your runner. Also, authorize the runner to perform jobs. Then click on Save.
4.You have been forwarded to the new runner's details view. Prior to its enrollment, you are presented with an idle waiting area. Copy the enrollment token on the this page as you will need it for installation. However, you can also return to this view to copy the enrollment token later.
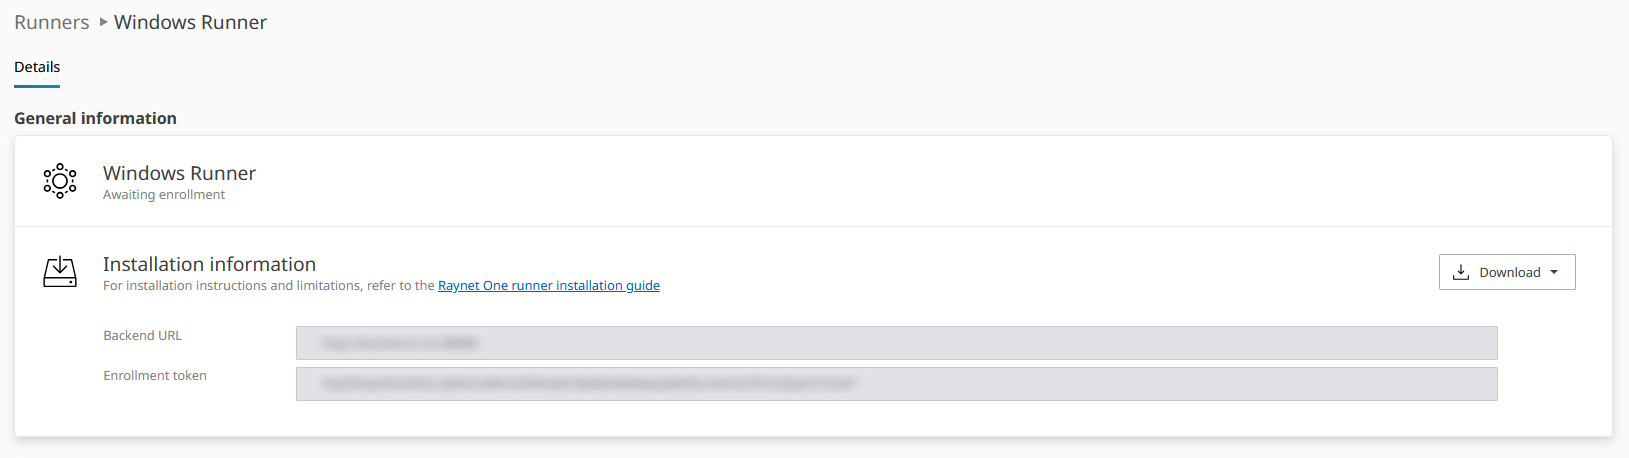
The idle waiting area page prior to runner enrollment. Once the runner has connected and registered into the system successfully, the runner enrollment phase is finished. Then, the design of the runner details page is changed. Just after runner connection and communication of the enrollment token, there is a short time-window in which the enrollment token input box is cleared. In that event the runner has successfully authenticated itself to the system, but has not finished initialization yet. Wait for the successful completion of runner enrollment patiently.
5.Click on the Download button and select the MSI option to download the Windows runner. Put the .MSI installer file on the deployment target machine and open it there.
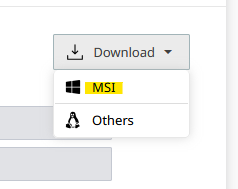
The runner download option. Find the Download button on the Runner's waiting area to display it. On this drop-down menu, you are presented with post-SSP installation packages for all supported operating systems.
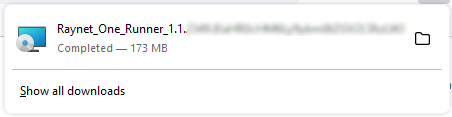
Check for download completion at your Internet browser's downloads list. You need to deploy the downloaded file onto the machine you chose to actually deploy the runner on. This choice is critical for good Raynet One operation.
6.You are greeted with the first Windows installer page. Click on Install now. You will see the installation progress page as the runner is deploying.
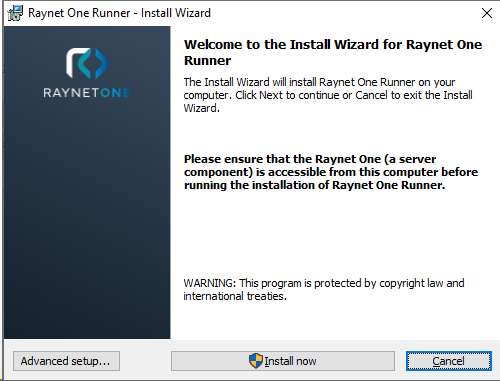
The basic and smart installation procedure is best recommended to new users of Raynet One. Assuming that network connectivity between the devices and the network access rights are established, the installation process will be just like a breeze of fresh air.
7.Click on Finish to finalize the installation process. Now that your Windows runner is installed, it will automatically connect to the server.
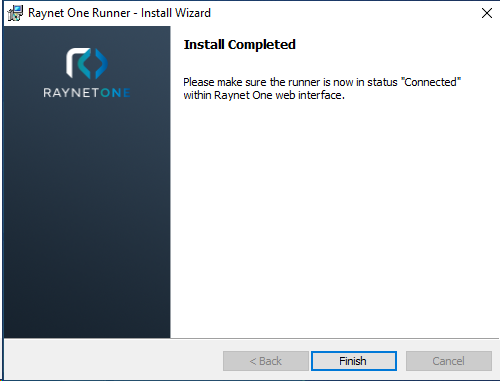
We have finished adding the runner to the system. You can switch back to the web interface. In the All runners list you should find the Windows runner we have just added. Initially, each runner entry is waiting to establish connection to the system. Successful runner connection is indicated in the runner list using a designated icon.
Switch to the Runner connectivity chapter to verify the runner's connection.