If your IT assets include many Windows-based devices, you need to download, install and apply the Windows runner. This is how to do it in the self-service portal. As soon as you've selected your main goals for platform usage in the self-service portal, you're reassigned to runner installation.
Listen to the step-by-step video instructions included in the self-service portal itself. In the following steps we elaborate the runner deployment part of the process.
1.Follow the steps to initialize the system through the self-service portal as described earlier, until you face the runner deployment step. Choose the Windows operating system for deployment. You should be familiar with the following initial screen.

2.This is the step just after you have downloaded the Windows runner. Make sure to choose the right machine for deployment and transfer the Windows installer package to that machine. Then execute the .MSI installer file on the machine.

The self-service portal step just after downloading the Windows runner. The initialization process is waiting for you to connect the first runner.

Your web browser should notify you about the runner's download completion. This is part of the notification pop-up of the Firefox browser. The filename consists of the application name, the backend URL, the communication protocol type and the enrollment token. Keep the installer file confidential as those connection details are critical to network security. Make sure to not trim the filename during the transfer to the chosen runner machine.
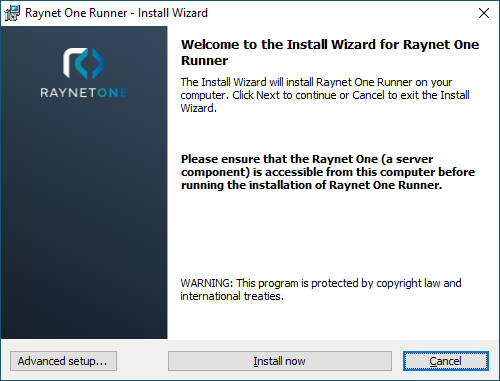
3.You are greeted with the initial welcome installer dialog. Click on Install now to start the direct installation process. The runner configuration parameters are encoded into the MSI installer filename, so if the installer file transfer has successfully completed, you don't have to fill in any details manually. By installing, you agree to the licensing terms.
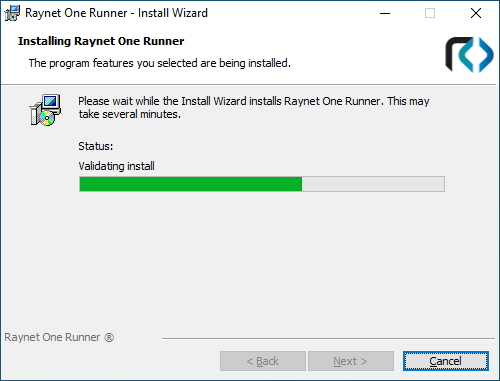
4.The installation progress page is shown immediately afterward. Wait for the installation to finish.
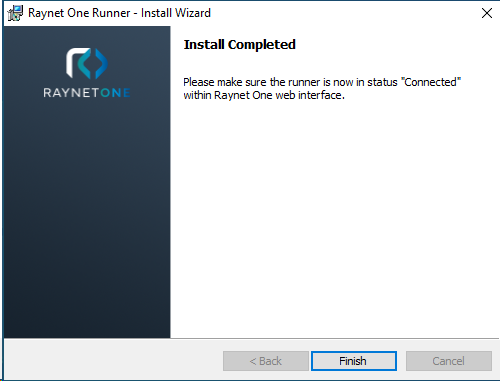
5.Click on Finish to finalize the installation process. The runner starts on the Windows machine and begins the connection process to the system.
6.Go back to the web interface to continue with the usual steps of the system initialization through the self-service portal.

The self-service portal step shown after successful connection of the runner. Please carefully listen to the instructions of the AI-assistant while performing important initial configuration.
|
Tip: |