Similarly to single assets (devices), you can assign entire networks to an organization unit of your choice. In this chapter, we focus on the creation of OU-network relationships. Once you have learned how to add one, you can do it for any of its kind.

Excerpt of the provided scenario's OU-network relationship graph. It shows a relationship between the Sales PB OU and the 192.168.1.0/24 network definition. We will add this relationship in the following step-by-step guide.
Required network definitions
Import the following network definitions using manual network import by CSV to get the scenario into your platform.
Name,Mask
A,192.168.1.0/24
B,192.168.2.0/24
C,192.168.3.0/24
D,10.16.0.0/20
E,192.168.11.0/24
F,192.168.12.0/24
G,192.168.13.0/24
H,192.168.14.0/24
Step-by-step guide
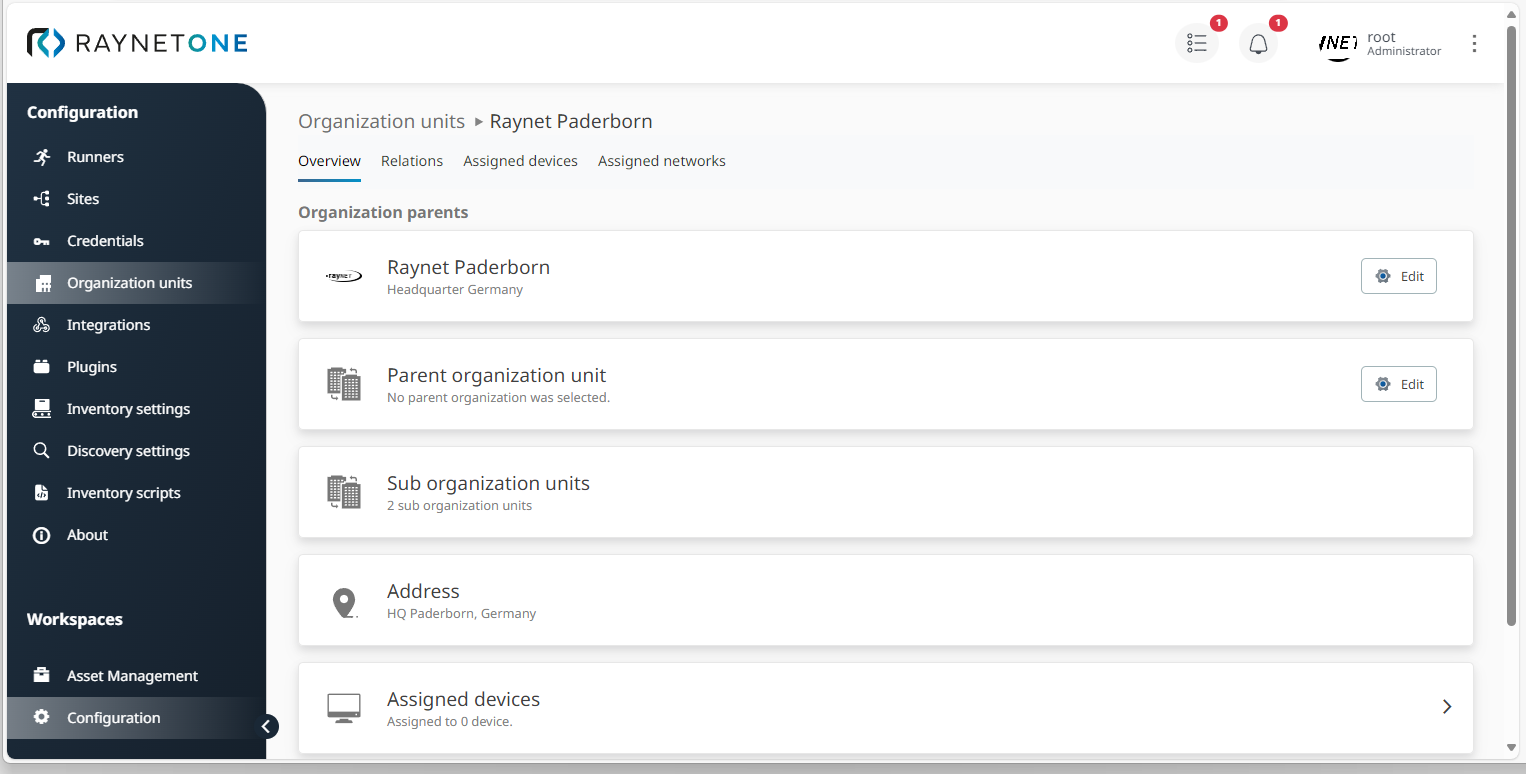
1.Navigate to the list of organization units as presented before. Then, click on the Sales PB list view item to open the OU's details view.
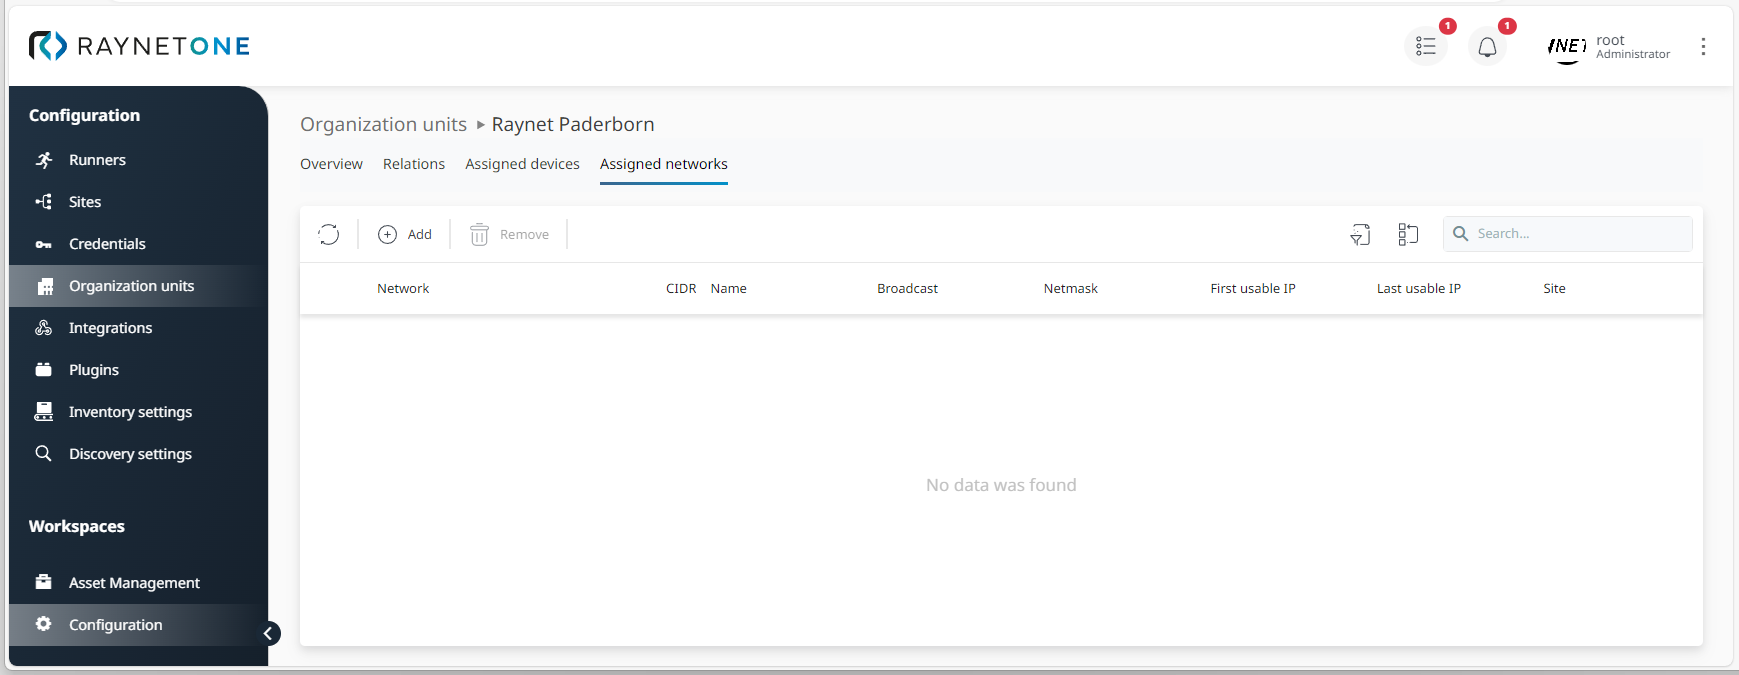
2.In the details view, click on the Assigned networks tab.
3.Click on the Add button to open the relationship creation wizard.

4.The Assign networks to the organization unit wizard is opened. The first wizard step is called Network selection. Select the 192.168.1.0/24 network definition and click on Next to proceed. As usual for list views, you can use filter and search functions to find networks quickly.
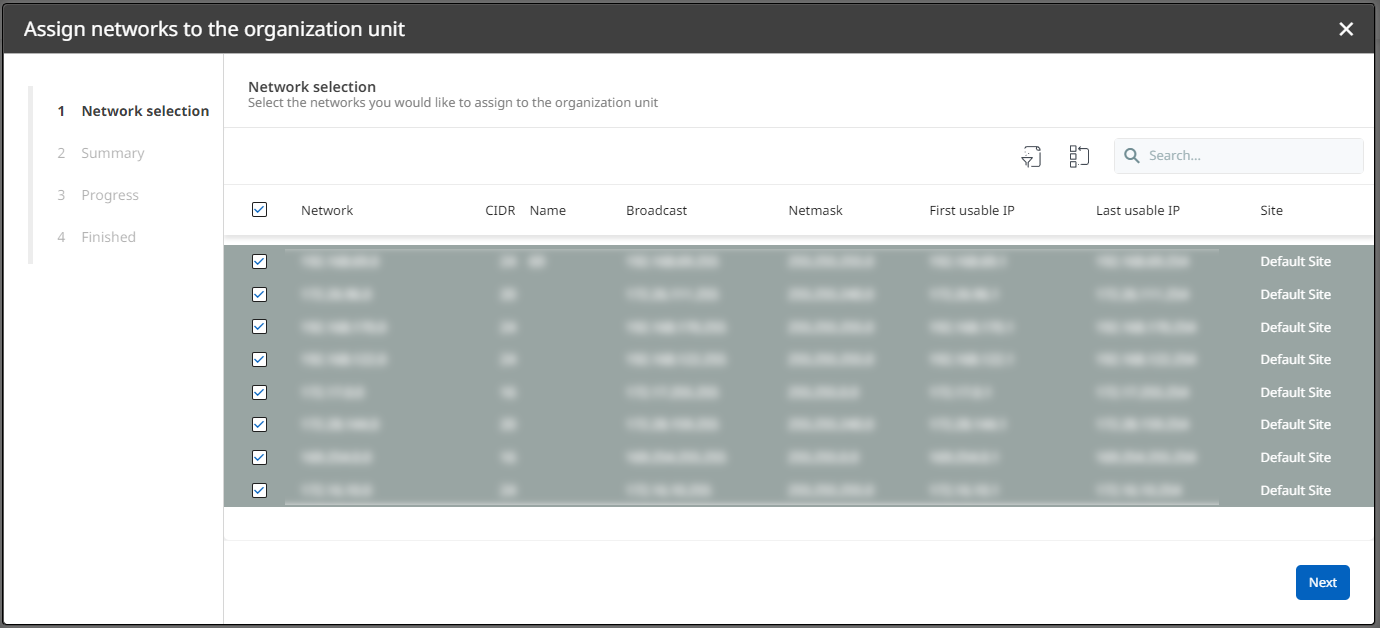
Since network names are mandatory, they are provided in distinct fashion. In the context of our guide, they serve no purpose. Generally, it is recommended to choose good network names as agreed upon with your IT administration to improve the platform user experience.
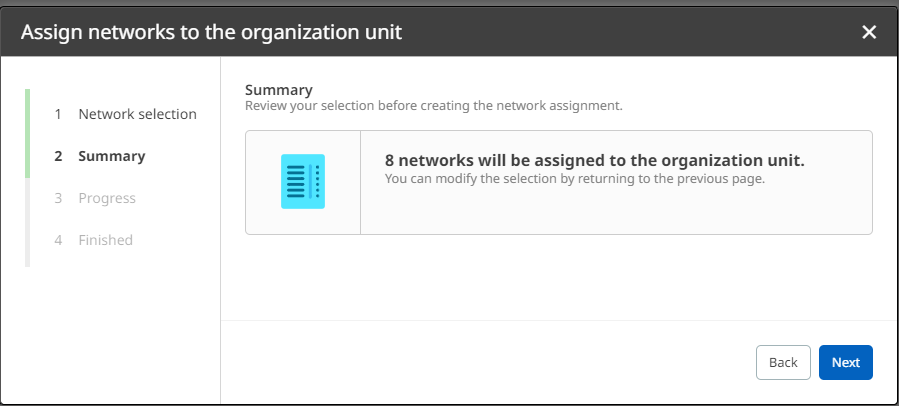
5.The Summary page shows that we want to add one relationship. Click on Next to start the assignment system process.
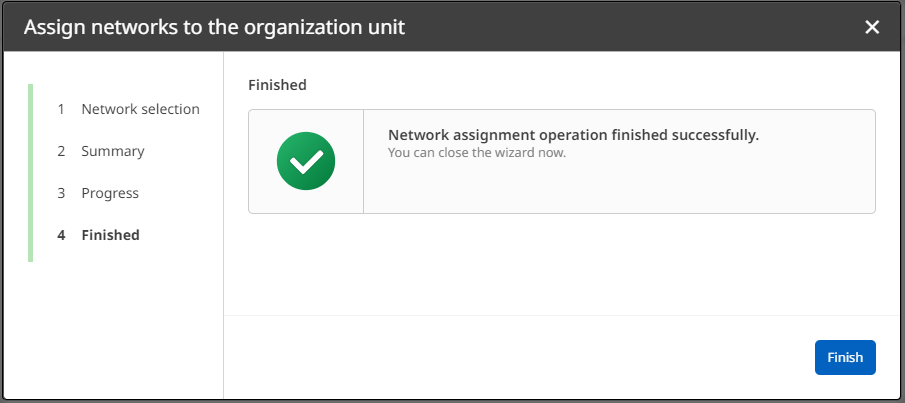
6.Finalize the process by clicking on Finish. The networks we previously selected are now assigned to the OU.
7.You're returned to the list of assigned networks of the Sales PB OU. Verify the correct addition of the requested relationship by finding the 192.168.1.0/24 network in the list.

By following this guide, you have learned how to add relationships between an organization unit (OU) and networks. It is not a big task to add the remainder of the provided scenario's relationships. In the next chapter, we want to add another site to the platform.