In order to inventory the assets in your IT landscape, you can start basic inventory runs. But this approach won't cover highly specialized company device information not sufficiently modeled by any public technology. As a solution, you can import custom inventory scripts. This option can, for example, be helpful when you already have a comprehensive inventory and data management strategy. Inventory scripts are designed for your individual inventory purposes. Working with inventory scripts is not a must, but can be a plus if done right!
Read the Inventory scripts chapter for a general introduction to this topic (purpose of inventory scripting, intention of UI elements, caveats, ...).
Prior to adding inventory scripts, a concrete inventory strategy is required. In technical terms, you need to design and create inventory scripts. Learn all relevant details of inventory script design in the dedicated chapter! There are use-case chapters with example scripts if you simply want to try this feature out beforehand.
In the following step-by-step guide, we learn how to add an inventory script into the system.
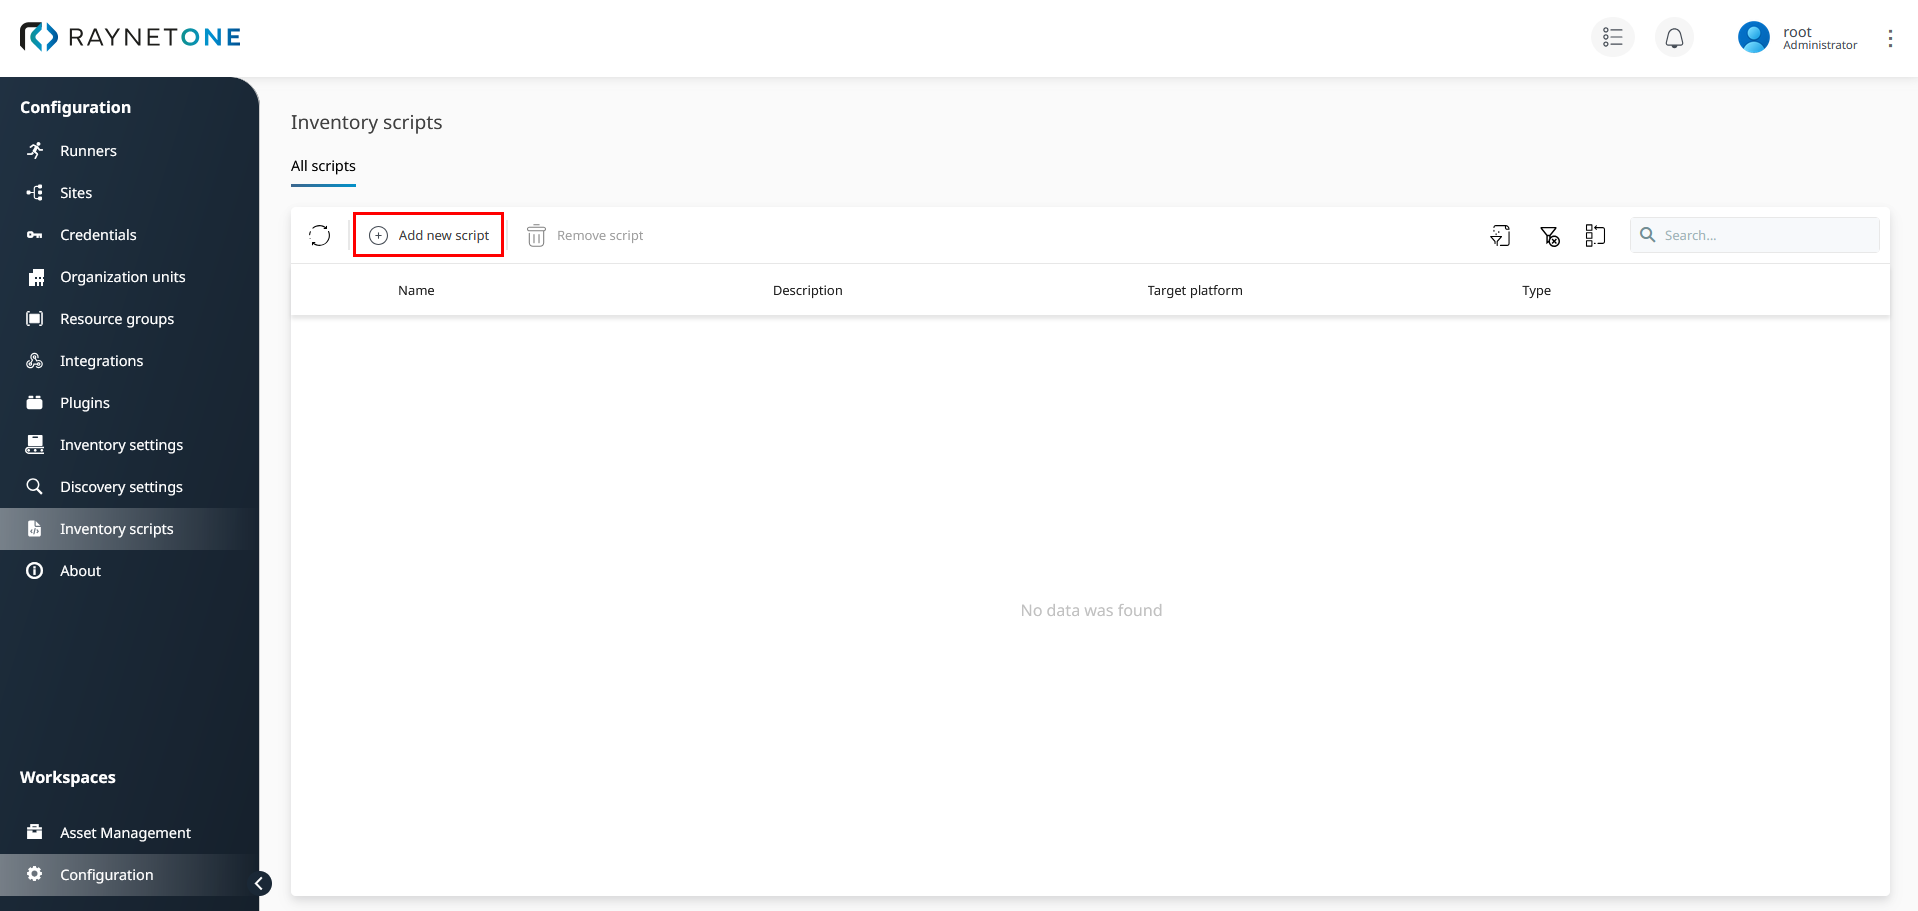
1.Check the Sidebar menu and switch into the Configuration workspace. Navigate to the Inventory scripts view. After that, click on Add new script to open the Add inventory script widget.
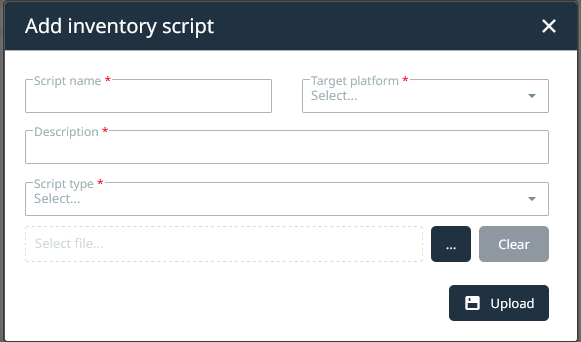
2.In this input form, enter or select the following parameters: Script name, Description, Target platform, and Script type.
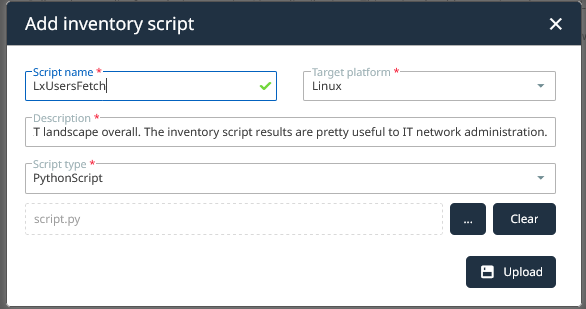
Input form parameters to import the Python Linux user fetching inventory script. In your case, fill in the parameters as required by your inventory script logic and environment. Take the recommendations from the Inventory scripts chapter to heart.
3.Click on the three dots ( ... ) button to select and upload a script file located on your device.
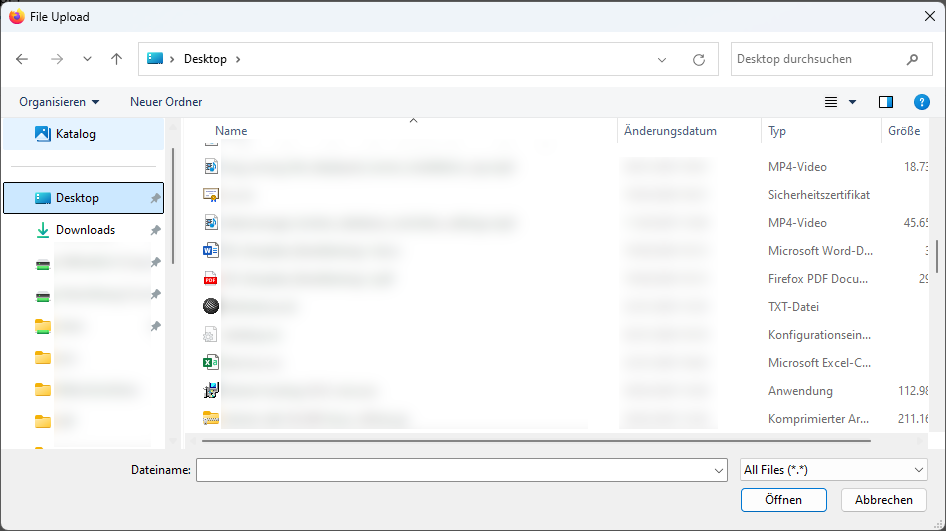
Rich file browser provided by the Windows 11 operating system. To select any file disregarding file extension restrictions, click on the combo-box right next to the filename input box and select the All Files (*.*) option.
4.Click on the Upload button to add the inventory script into the system.
|
Be aware: |
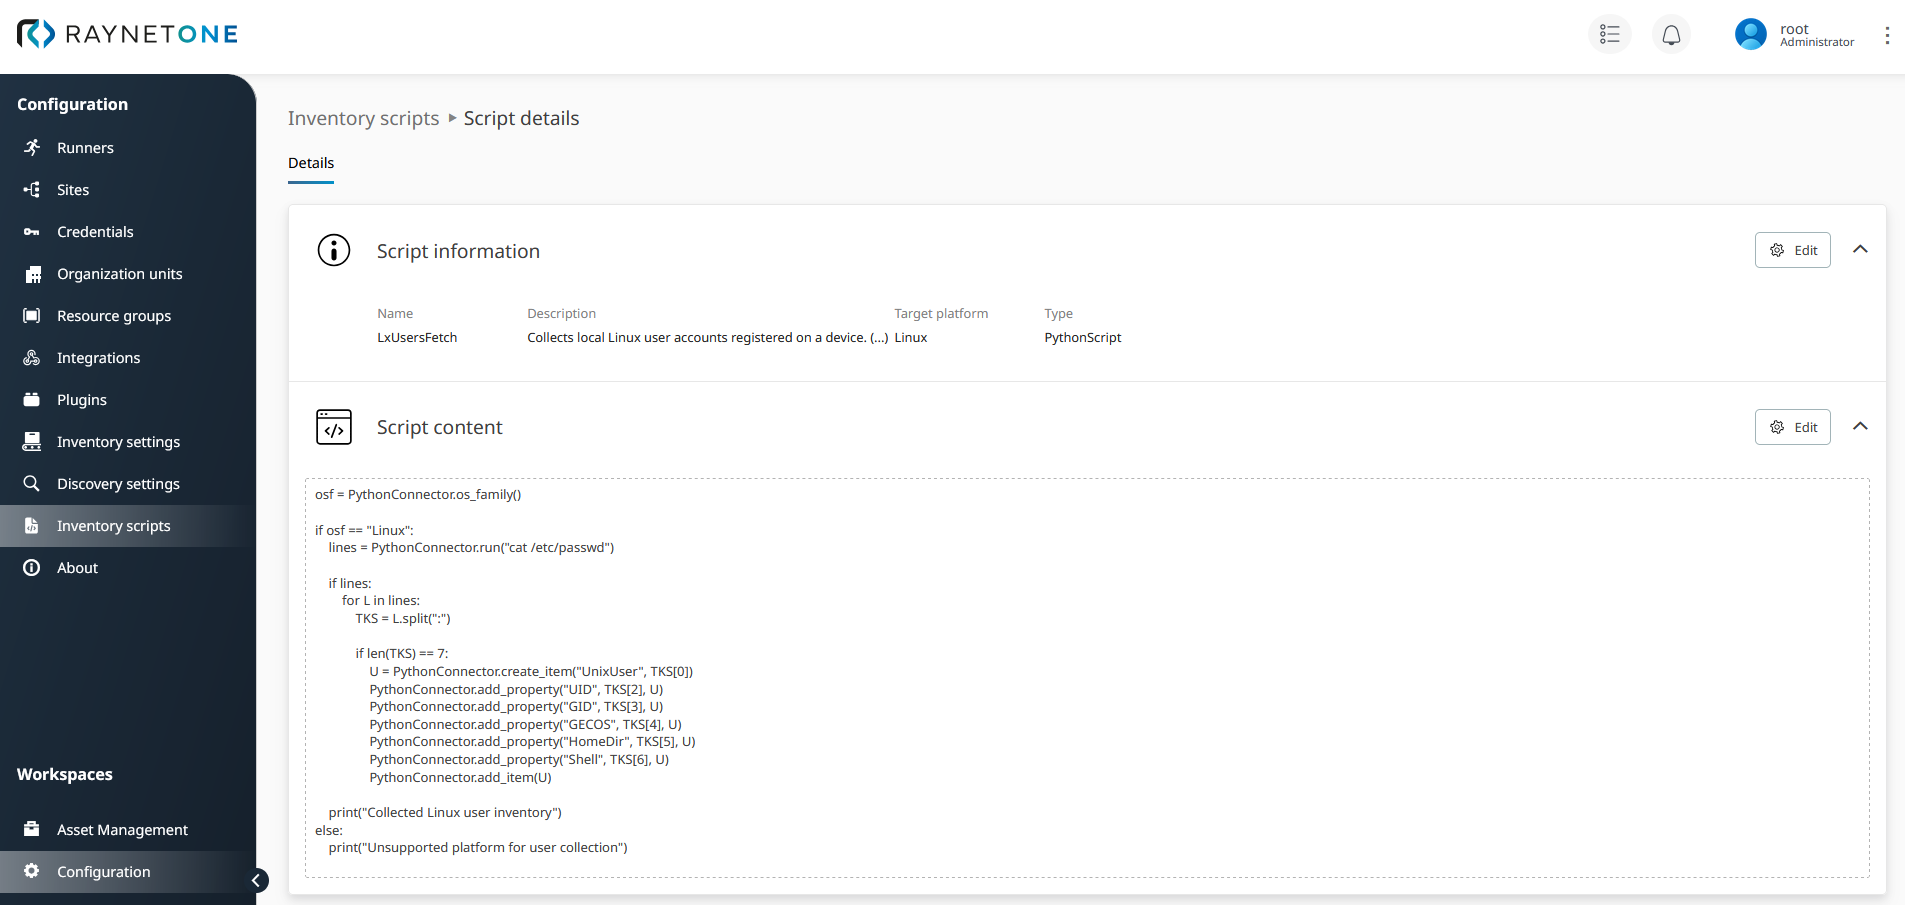
5.After script file upload, you return to the inventory scripts view. Verify the correct inventory script listing.

6.Click on the added inventory script in the list view. You are redirected to the inventory script details view. Take a closer look at its Script details. In this view, you can click on the Edit button to edit your script file within the platform. Editable properties are the meta-data and the actual scripting language content.
As soon as you click on the Edit button, its label changes to Save. During the editing state, the Script content text field is modifiable. Perform any changes to the inventory script. Do not forget to click on the Save button to confirm any changes which you have done!
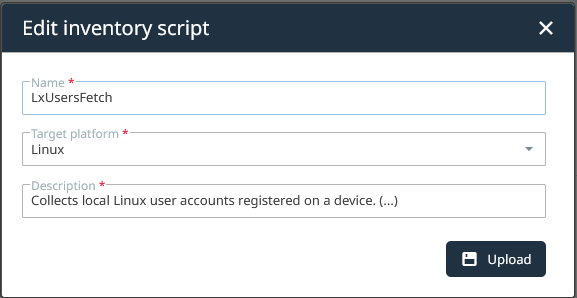
Input form spawned by clicking on the Edit button inside of the Script information section. Use it to modify the meta-data.