Configuration Page
On this page the connection to the server is configured.
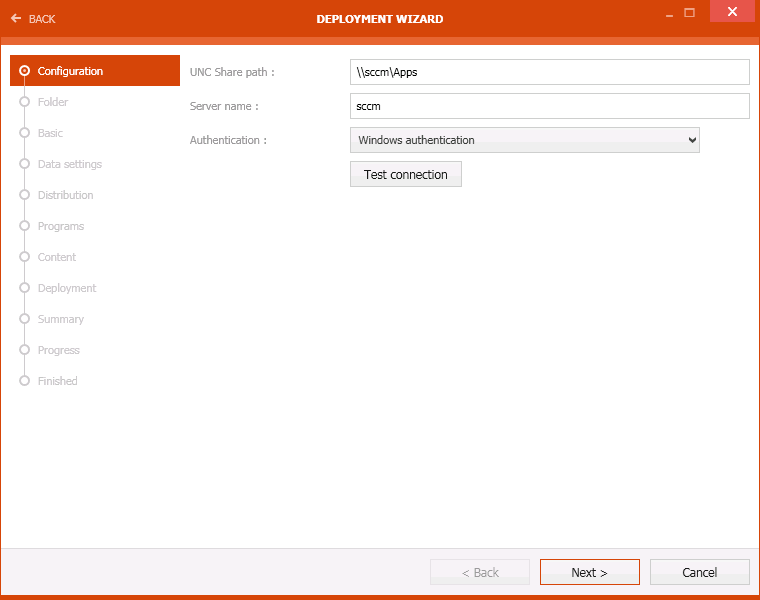
•UNC Share path: The path to the UNC share.
•Server name: The name of the server.
•Authentication: The authentication method can be selected using the dropdown menu. Depending on the authentication method, the credentials for the method may be needed.
•Test connection: This button can be used to check if a connection can be established with the given information.
Click on the Next > button to continue.
Folder Page
The folder for the application can be selected on this page.
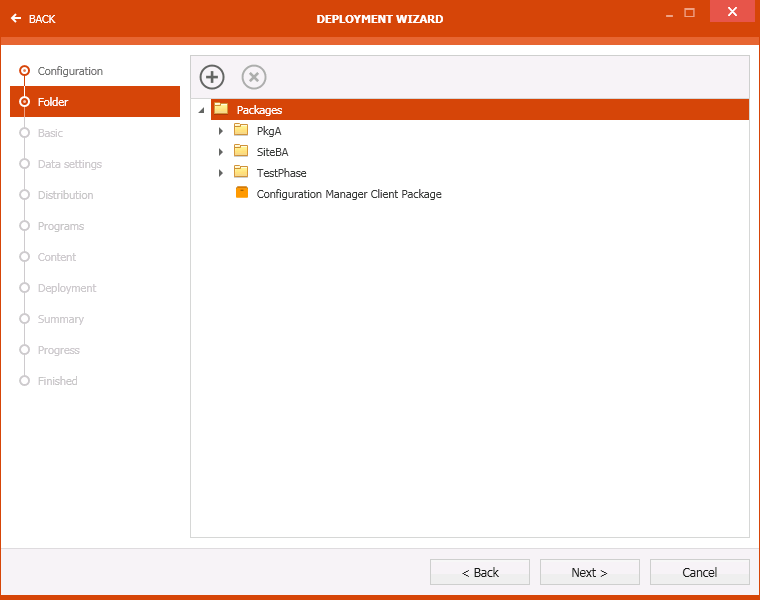
Click on the Next > button to continue.
Basic Page
The Basic page contains some general information about the package itself.
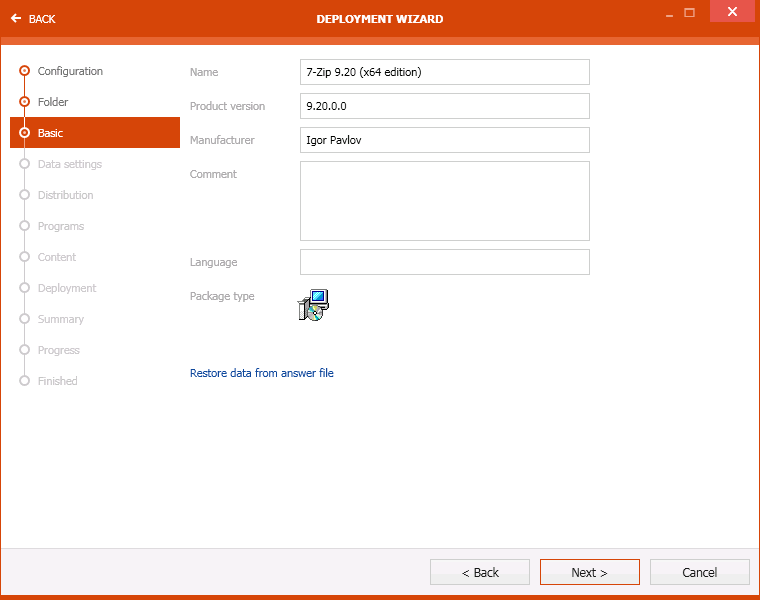
The following options are available on the Basic page.
•Name: This field contains the name of the application.
•Product version: This field contains the version of the application.
•Manufacturer: This field contains the name of the manufacturer of the application.
•Package type: The package type is shown in this field.
The Restore data from answer file link can be used to restore the data.
Click on the Next > button to continue.
Data Settings Page
On the Data Settings page the way how the data is accessed and the sources for the data are configured.
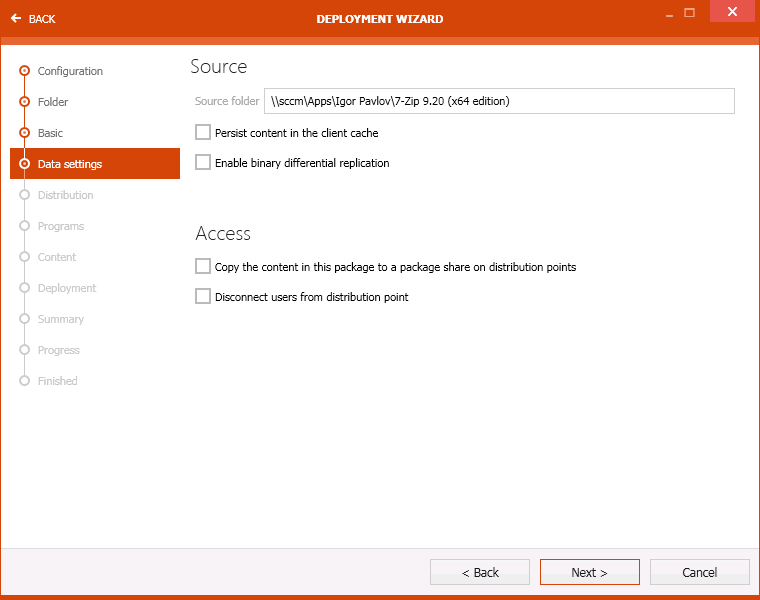
The page is divided into the Source area and the Access area.
The following options are available in the the Source area:
•Source folder: This field contains the full path to the source folder.
•Persist content in the client cache: This checkbox can be checked if the data should stay in the cache of the client.
•Enable binary differential replication: Enable this checkbox to activate the binary differential replication.
The following options are available in the Access area.
•Copy the content in this package to a package share on distribution points: This checkbox can be checked to copy the data to an existing package share on a distribution point.
•Disconnect users from distribution point: If this checkbox is checked, users will be disconnected from the distribution point.
Click on the Next > button to continue.
Distribution Page
This is where the distribution settings are configured.
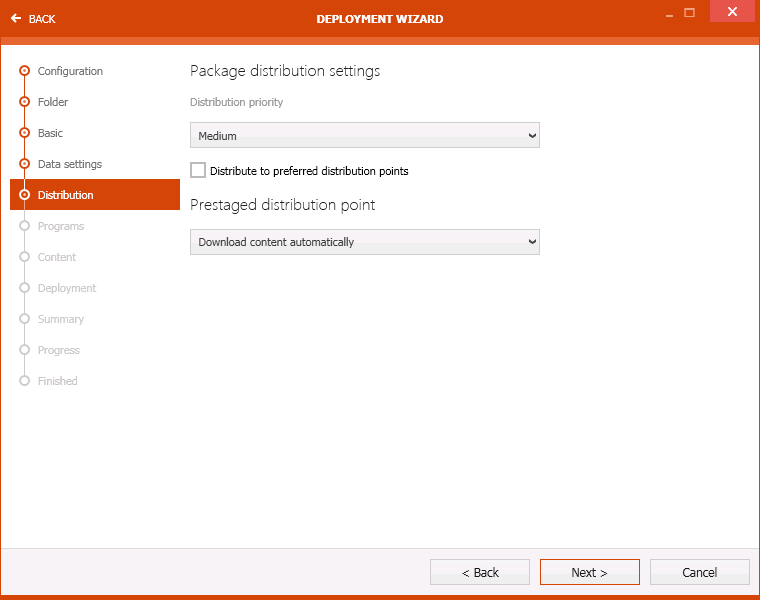
The page is divided into the Package distribution settings and the Prestaged distribution point.
The following options are available for the Package distribution settings:
•Distribution priority: The priority for the distribution can be selected using the dropdown menu underneath this option.
•Distribute to preferred distribution points: Enable this checkbox to favor preferred distribution points.
The Prestaged distribution point can be configured using the dropdown menu that is located underneath this option.
Click on the Next > button to continue.
Programs Page
This section contains the list of programs. On this page, new programs can be added.
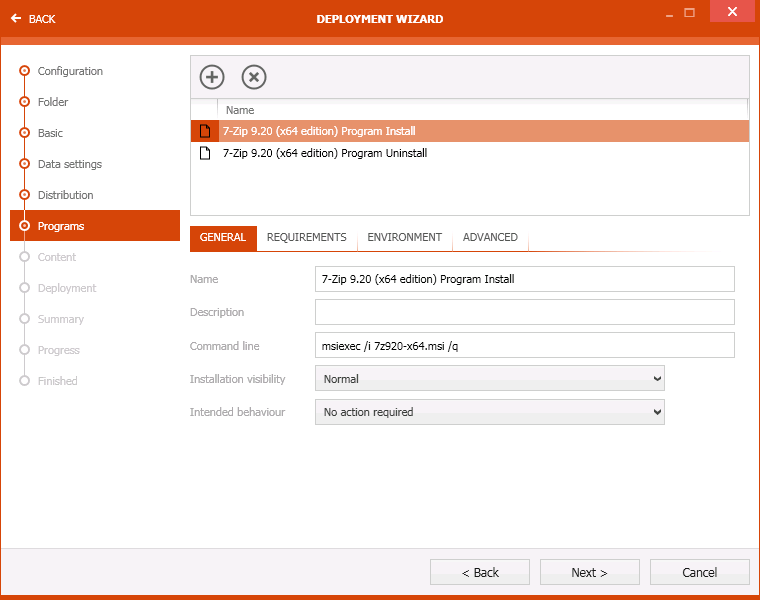
Program List: Select the package together with its intended action. Click on the x button to delete the selected program and on the + button to add a new one.
Clicking on the + button will open the Add program dialog.
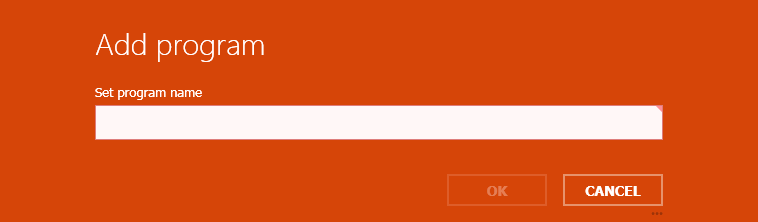
Enter the program name into the field and click the OK button to add the new program or the CANCEL button to abort the action.
Below the Progam List, four different tabs with the settings for the selected program are available.
The GENERAL Tab
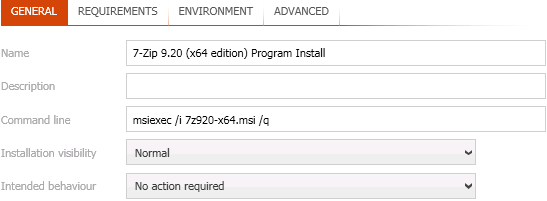
•Name: The name of the program can be configured here.
•Description: A description can be entered into this textfield.
•Command line: The command line for the action can be configured here.
•Installation visibility: The visibility of the installation can be configured using this dropdown menu.
•Intended behavior: This is a dropdown menu that can be used to configure the behavior.
The REQUIREMENTS Tab
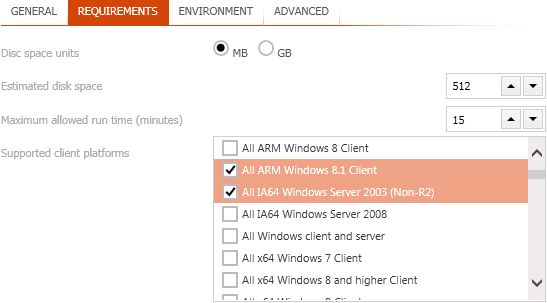
•Disc space units: Select either MB or GB as disk space units for the next option.
•Estimated disk space: This is the estimation of the disk space that is needed for the installation. It can be configured by either entering a number or using the arrow buttons.
•Maximum allowed run time (minutes): This is the maximum time that is allowed for the installation. It is measured in minutes and can be configured by either entering a number or using the arrow buttons.
•Supported client platforms: The client platforms that are supported by the application can be selected from this list. Check the checkboxes of all supported platforms.
The ENVIRONMENT Tab
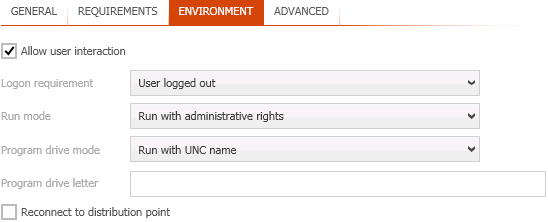
•Allow user interaction: Enable this checkbox to allow the user to interact with the installation.
•Logon requirement: Use this dropdown menu to select the logon requirements for the installation. For example, if the user needs to be logged out or not.
•Run mode: This dropdown box is used to configure the mode in which the installation is run. For example, if elevated rights are used.
•Program drive mode: The mode for the program drive can be selected using this dropdown menu.
•Program drive letter: The pogram drive letter used for the installation can be configured here.
•Reconnect to distribution point: Check this checkbox to reconnect to the distribution point.
The ADVANCED Tab
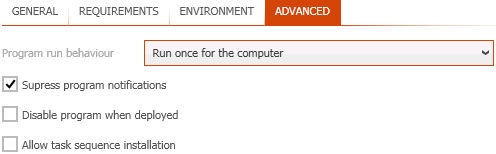
•Program run behavior: The behavior of the program (for example, if the installation is only run once for a device) can be set using the dropdown menu.
•Suppress program notifications: Enable this checkbox to suppress notifications from the program.
•Disable program when deployed: Enable this checkbox to disable the program after it has been deployed.
•Allow task sequence installation: Enable this checkbox to allow task sequence installation.
Click on the Next > button to continue.
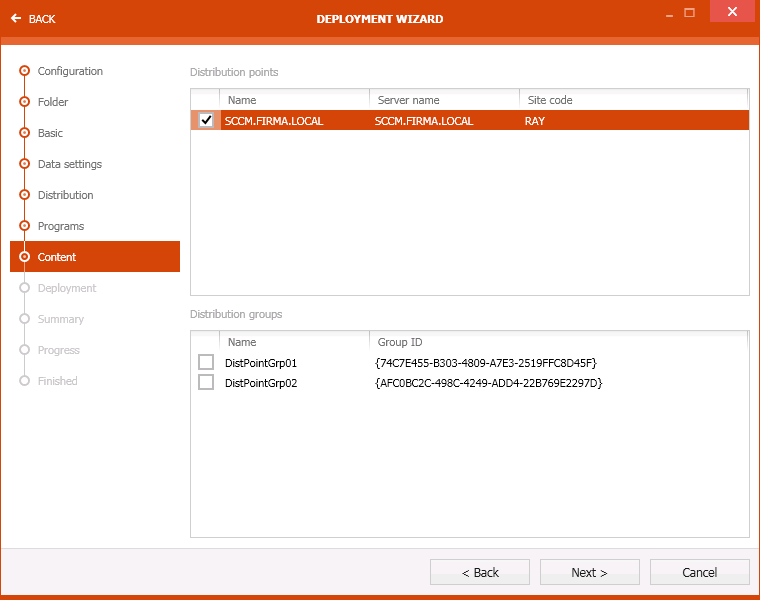
Content Page
Content and Location settings are available on this page.
The following options are available underneath the Content settings:
•Location: The full path to the location is shown in the text field.
•Persist in the client cache: Enable the checkbox to keep the data in the cache of the client.
•Allow clients share content: Enable the checkbox to allow clients to share content data.
•Allow clients to use a fallback source location: Enable the checkbox to allow clients to use a fallback source location.
•Download content and run locally: If this checkbox is enabled, the clients will download the content and execute it locally.
The following options are available underneath the Location settings:
•Distribution points: The available distribution points are shown here. Select the target distribution points.
•Distrbution groups: The available distribution groups are shown here. Select the target distribution groups.
Click on the Next > button to continue.
Deployment Page
The Deployment page is divided into to sections.
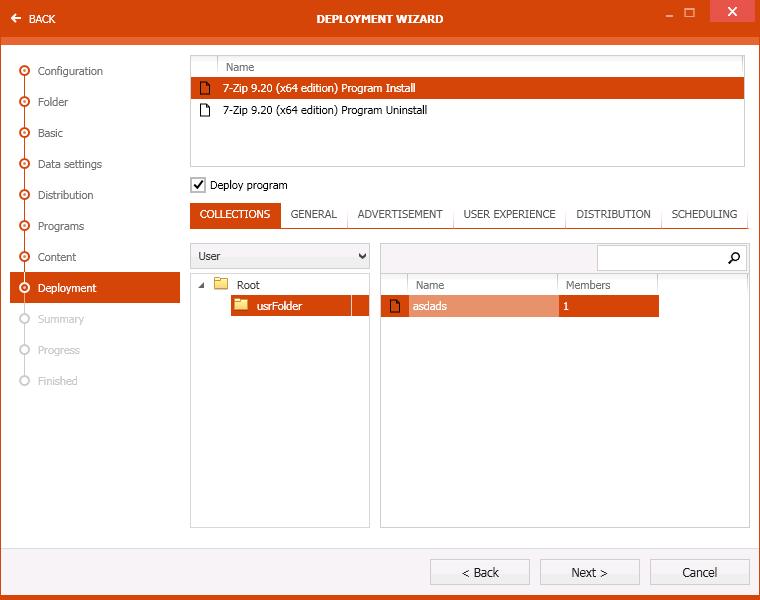
The first section contains the following options:
•Program List: Select the target program. The settings for the program will become available in the second section.
•Deploy program: This checkbox needs to be enabled in order to deploy the program.
The second section consists of six different tabs.
The COLLECTIONS Tab
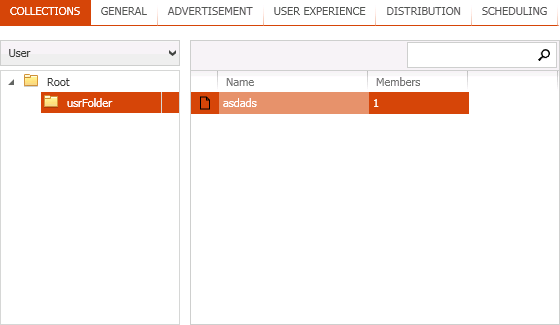
The path and the packages that are chosen for deployment are shown here.
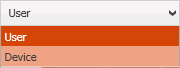
It is possible to switch between User and Device context by using the dropdown menu.
The GENERAL Tab
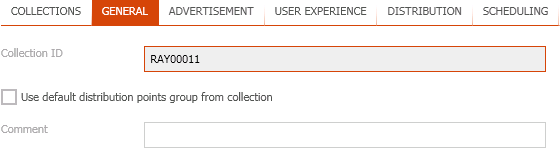
•Collection ID: The ID of the collection is shown here.
•Use default distribution points group from collection: Enable this checkbox to use the default distribution points group that is part of the collection.
•Comment: A comment can be entered into this textfield.
The ADVERTISEMENT Tab
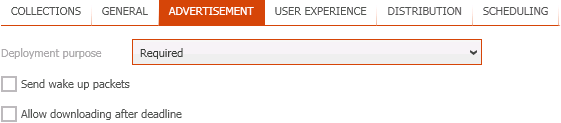
•Deployment purpose: The purpose for the deployment (if it is required or not) can be configured using this dropdown menu.
•Send wake up packets: Enable this checkbox to allow to send packets to wake up sleeping clients.
•Allow downloading after deadline: Enable this checkbox to allow clients to download the packages after the deadline.
The USER EXPERIENCE Tab
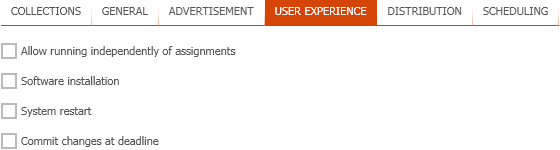
The following settings are available in this tab:
•User notifications: Which notifications are shown and where the notifications are shown can be configured using this dropdown menu.
•Software Installation: Enable this checkbox to make the software installation visible to the user.
•System restart: Enable this checkbox to allow a restart of the system.
•Commit changes at deadline: Enable this checkbox to commit changes at the deadline.
The DISTRIBUTION Tab
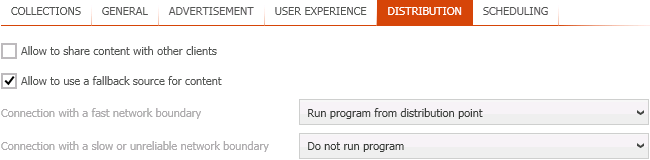
•Allow to share content with other clients: If this checkbox is enabled, clients are allowed to share data with other clients.
•Allow to use a fallback source for content: If this checkbox is enabled, the clients are allowed to use a fallback source for content.
•Connection with a fast network boundary: The behavior for clients located in a fast network can be set using this dropdown menu.
•Connection with a slow or unreliable network boundary: The behavior for clients located in a slow or unreliable network can be set using this dropdown menu.
The SCHEDULING Tab
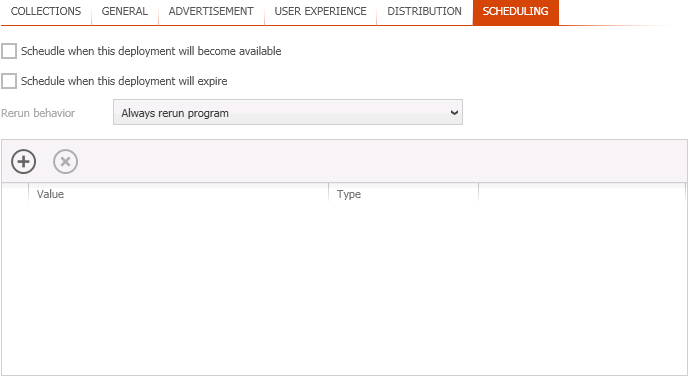
•Schedule when this deployment will become available: Enable this checkbox to schedule the time the deployment will become.
•Schedule when this deployment will expire: Enable this checbox to schedule the deadline for the deployment.
•Rerun behavior: This dropdown menu is used to define the rerun behavior for the application.
Beneath these options there is a list of schedules from which a fitting schedule can be selected. To delete a selected schedule the x button can be used. To add a new schedule the + button can be used. There are six different schedule item types available. A schedule will be added after clicking on the Add button. Clicking on Cancel will abort the action.

Schedule Event
This schedule will trigger on a specific event instead of a fixed date. The event can be selected from the dropdown menu.

Non Recurring Schedule
This schedule will be triggered once at a specified time and date.

Recurring Schedule Interval
This schedule is triggered on a recurring interval. The interval of the schedule and the start time of the schedule can be configured.

Weekly Recurring Schedule
This schedule can be configured to trigger once a week or a given number of weeks. The day of the week and the start date can be configured.
")
Monthly Recurring Schedule (by weekday)
This schedule can be configured to trigger once a month or a given number of months. The weekday, the week and the start date can be configured.
")
Monthly Recurring Schedule (by date)
This schedule can be configured to trigger once a month or a given number of months. The day of the month and the start date can be configured.
Click on the Next > button to continue.
Summary Page
This page shows a summary of all configurations that have been made in the previous step.
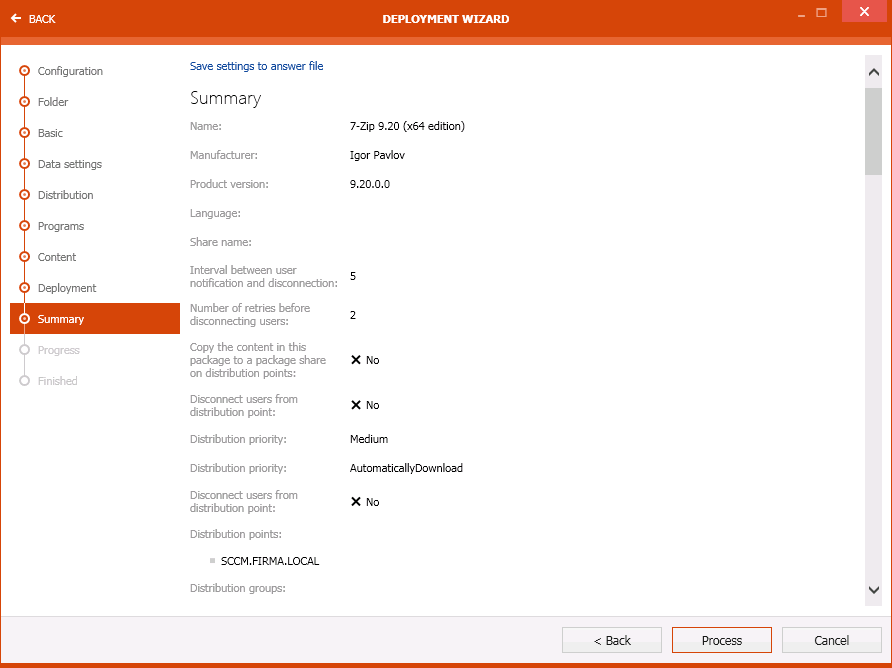
Click on the Process button to start the deployment.
Progress Page
On the Progress page the progress of the export is shown.
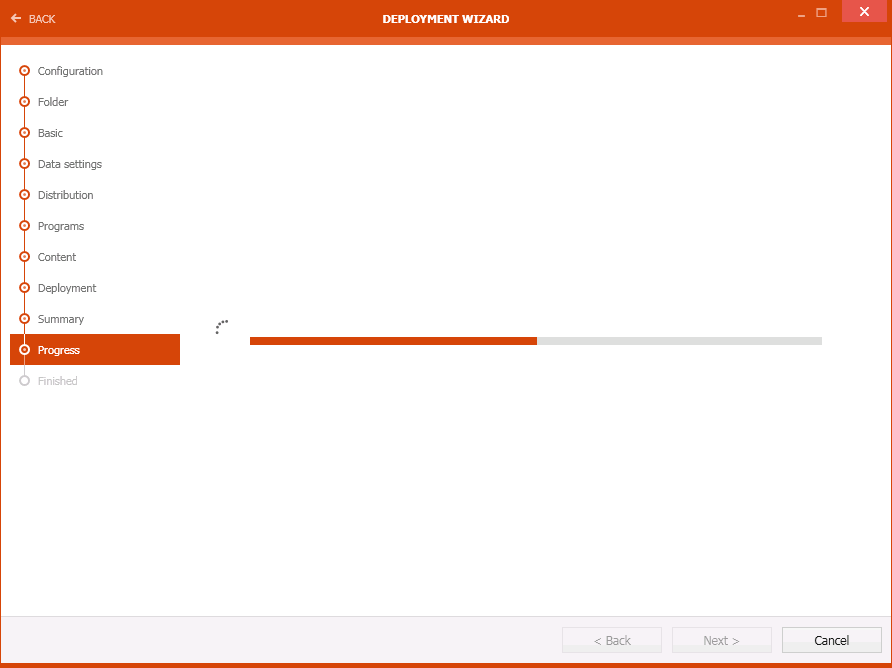
After the export has been finished the wizard will automatically continue to the next page.
Finished Page
The Finished page contains the information if the export has been successful.
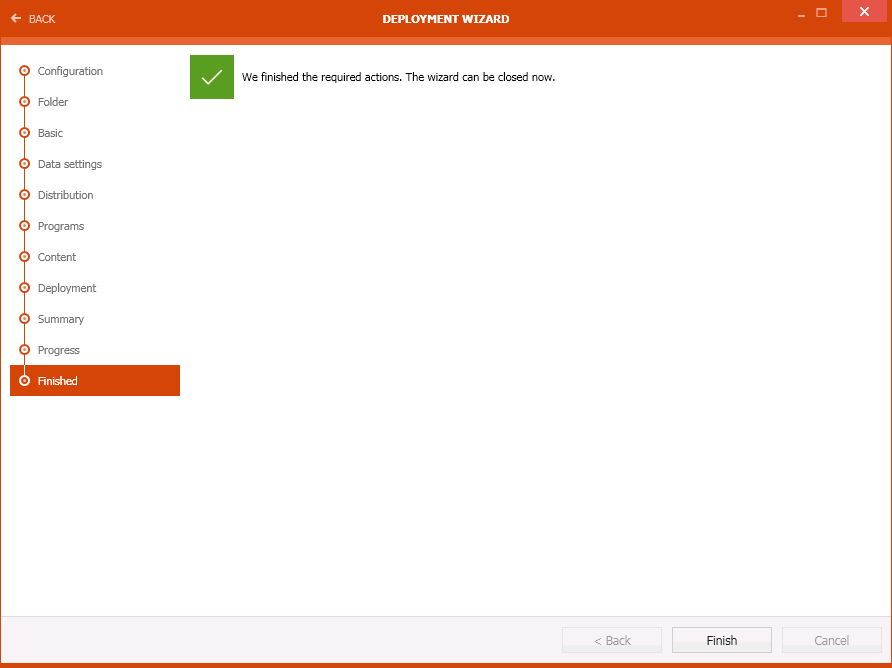
Click on the Finished button to close the wizard.