Configuration Page
On this page the connection to the server is configured.
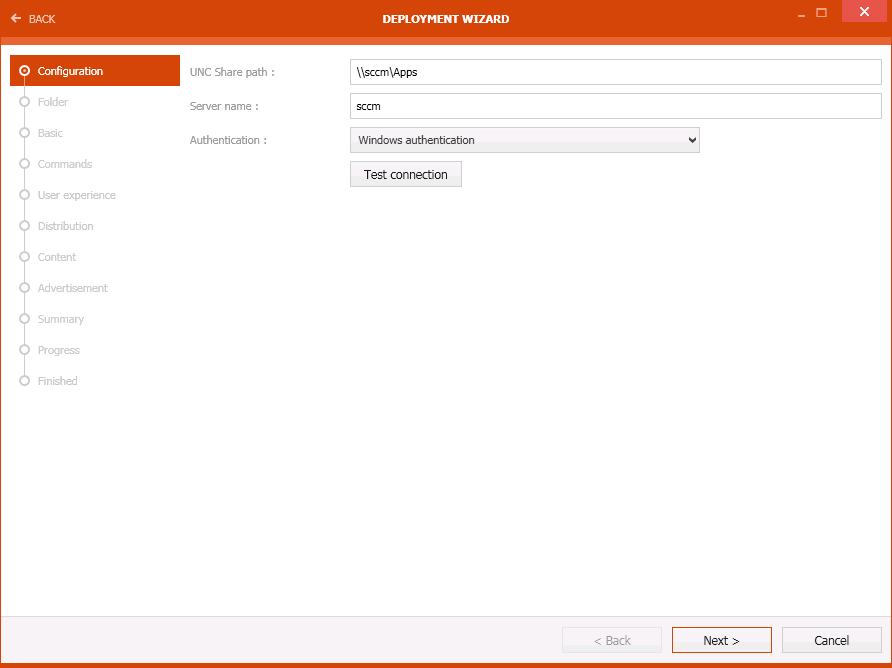
•UNC Share path: The path to the UNC share.
•Server name: The name of the server.
•Authentication: The authentication method can be selected using the dropdown menu. Depending on the authentication method, the credentials for the method may be needed.
•Test connection: This button can be used to check if a connection can be established with the given information.
Click on the Next > button to continue.
Folder Page
The folder for the application can be selected on this page.
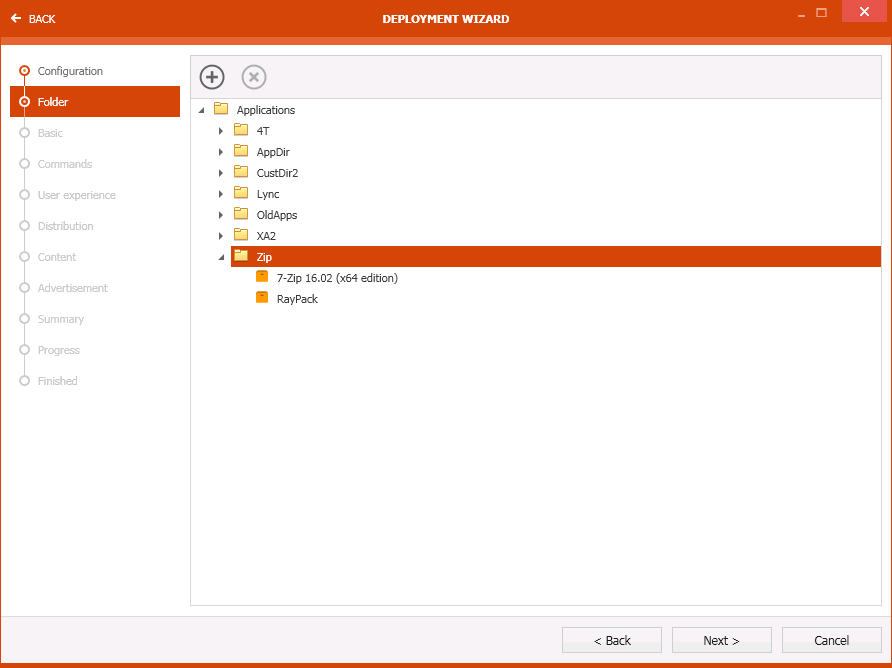
Click on the Next > button to continue.
Basic Page
The Basic page contains some general information about the package itself.
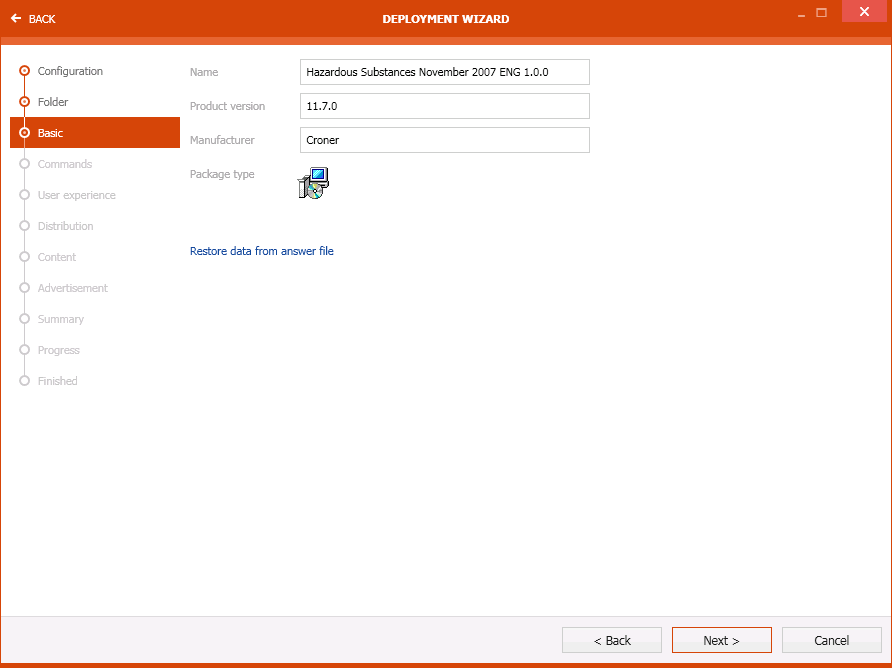
The following options are available on the Basic page.
•Name: This field contains the name of the application.
•Product version: This field contains the version of the application.
•Manufacturer: This field contains the name of the manufacturer of the application.
•Package type: The package type is shown in this field.
The Restore data from answer file link can be used to restore the data.
Click on the Next > button to continue.
Commands Page
On the Commands page, the exact install and uninstall commands can be configured.
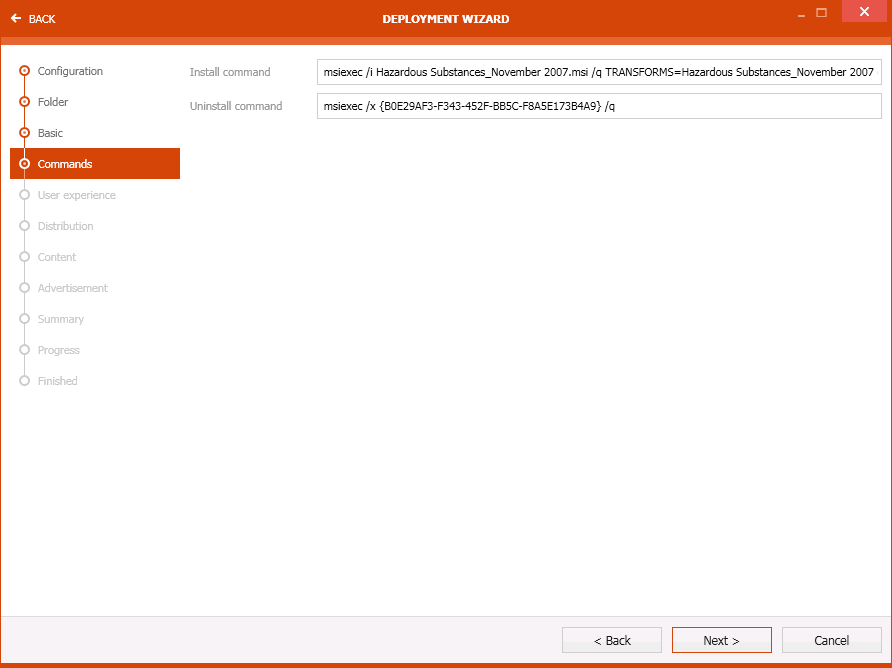
The following options are available:
Install command:The exact command for the installation can be configured here. For example, any transforms that are to be applied.
Uninstall command: The exact command for the uninstallation can be configured here.
Click on the Next > button to continue.
User Experience Page
On this page the behavior that will be experienced by the user is configured. For example, if the user is logged out during installation, or if a log out is not needed.
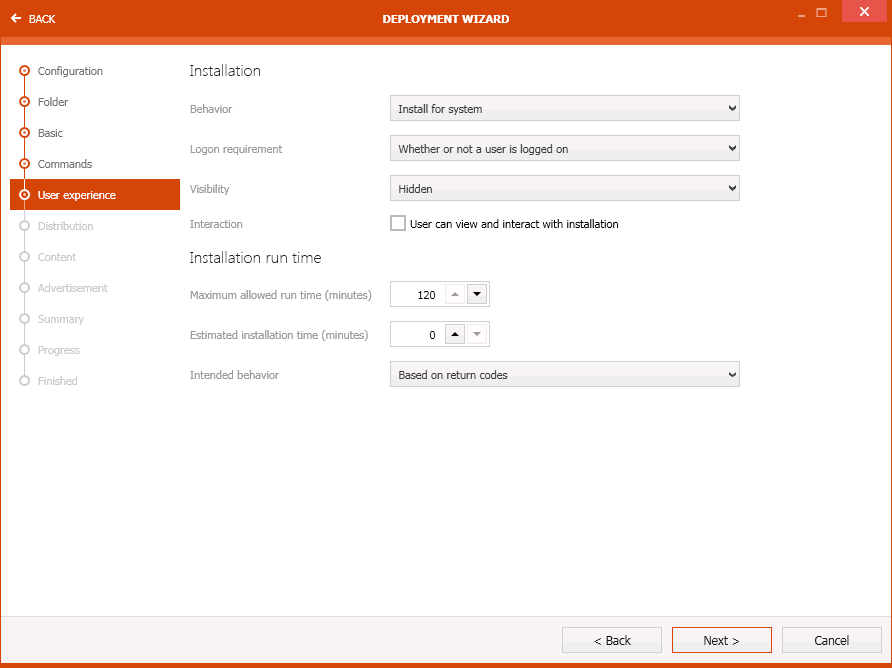
The page is divided into the Installation section and the Installation run time section.
The following settings are available in the Installation section on this page:
•Behavior: The behavior of the installation, for example if the installation is for the user or for the system, can be chosen using this dropdown menu.
•Logon requirement: The logon requirements, for example if a user needs to be logged on or not, can be chosen using this dropdown menu.
•Visibility: This dropdown menu defines the visibility of the installation. For example, if Hidden is selected, the installation is hidden from the user.
•Interaction: Checkbox that controls whether the User can view and interact with the installation.
The following settings are available in the Installation run time section on this page:
•Maximum allowed run time (minutes): This setting defines the maximum time that the installation is allowed to run. The time is in minutes and can be configured either by typing it or by using the arrow buttons.
•Estimated installation time (minutes): This is an estimation of the time that the installation will run. The time is in minutes and can be configured either by typing it or by using the arrow buttons.
•Intended behavior: The intended behavior for the installation can be configured using the dropdown menu.
Click on the Next > button to continue.
Distribution Page
This is where the distribution settings are configured.
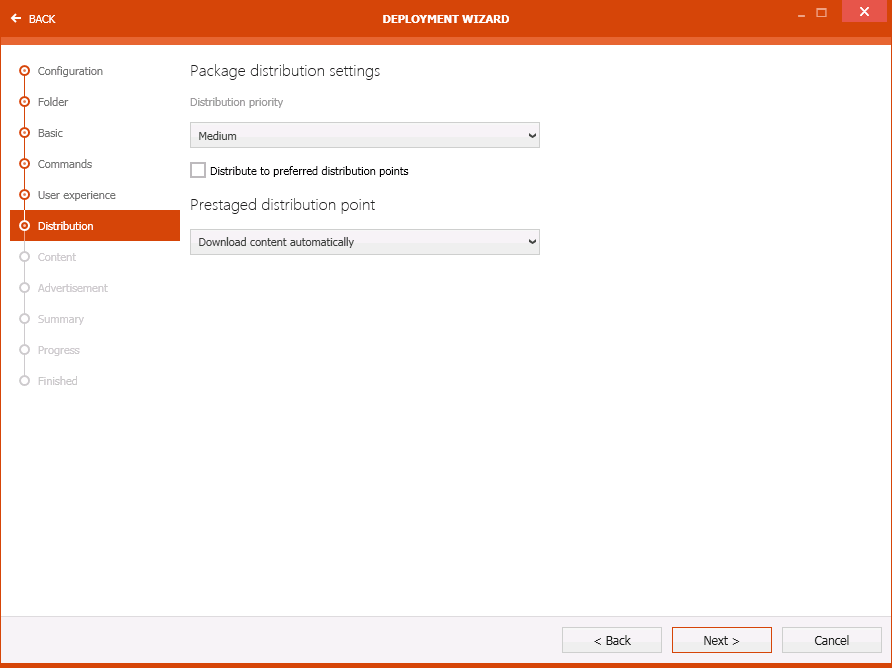
The page is divided into the Package distribution settings and the Prestaged distribution point.
The following options are available for the Package distribution settings:
•Distribution priority: The priority for the distribution can be selected using the dropdown menu underneath this option.
•Distribute to preferred distribution points: Enable this checkbox to favor preferred distribution points.
The Prestaged distribution point can be configured using the dropdown menu that is located underneath this option.
Click on the Next > button to continue.
Content Page
Content and Location settings are available on this page.
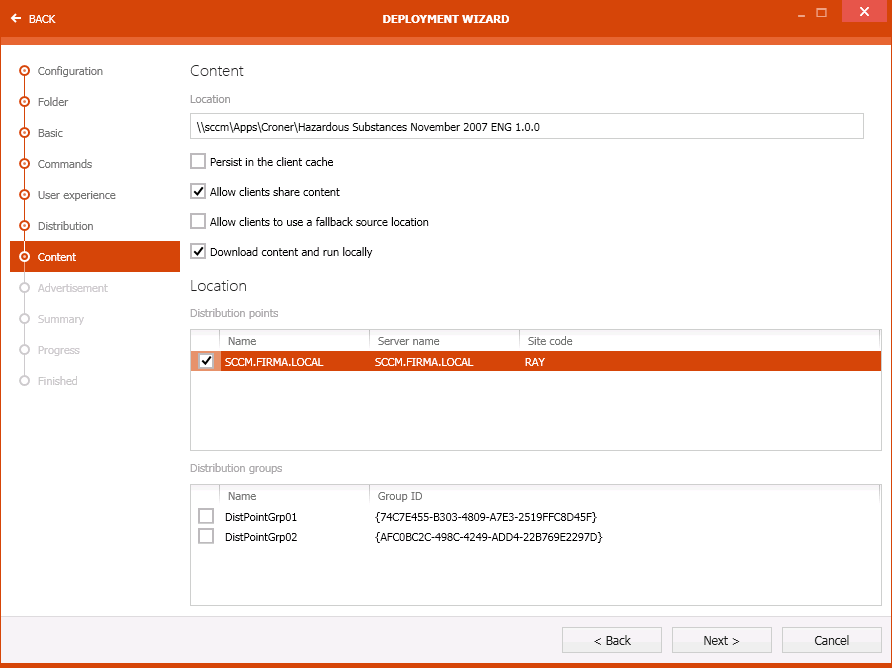
The following options are available underneath the Content settings:
•Location: The full path to the location is shown in the text field.
•Persist in the client cache: Enable the checkbox to keep the data in the cache of the client.
•Allow clients share content: Enable the checkbox to allow clients to share content data.
•Allow clients to use a fallback source location: Enable the checkbox to allow clients to use a fallback source location.
•Download content and run locally: If this checkbox is enabled, the clients will download the content and execute it locally.
The following options are available underneath the Location settings:
•Distribution points: The available distribution points are shown here. Select the target distribution points.
•Distrbution groups: The available distribution groups are shown here. Select the target distribution groups.
Click on the Next > button to continue.
Advertisement Page
The Advertisement page is divided into two sections.
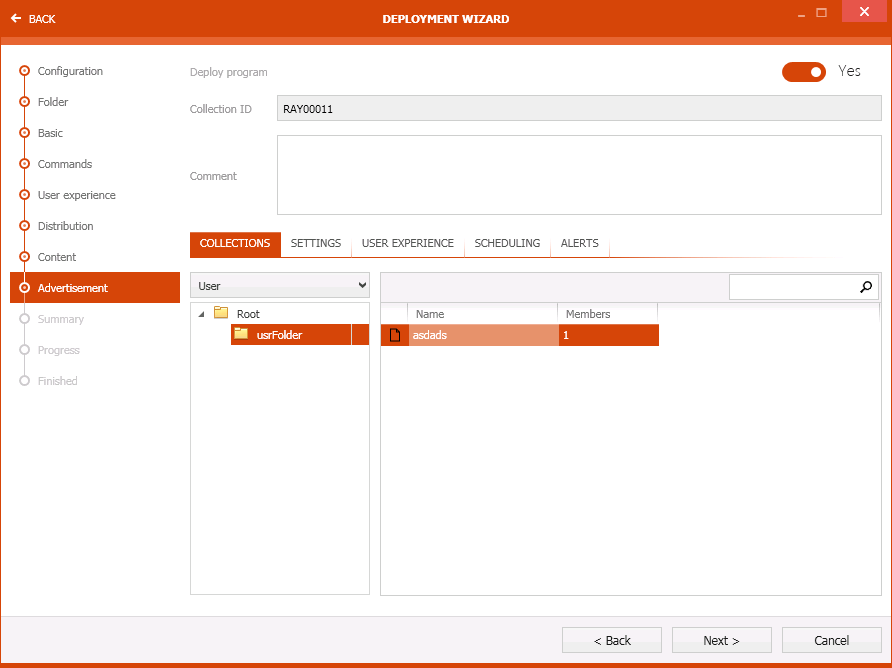
The first section contains the following options:
•Deploy program: The button can be set to either Yes or No.
•Collection ID: This field shows the ID of the the collection.
•Comment: A comment can be entered into this textfield.
The second section consists of five different tabs.
The COLLECTIONS Tab
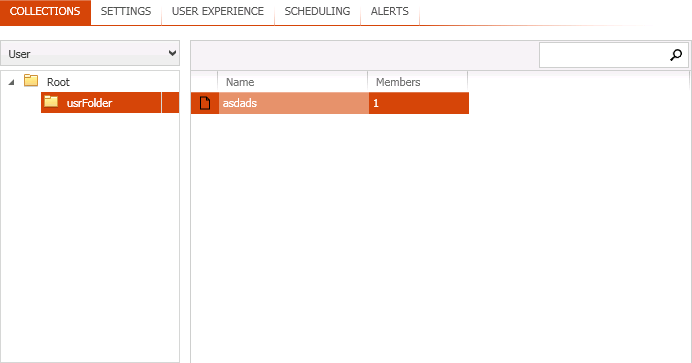
The path and the packages that are chosen for deployment are shown here.
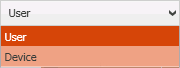
It is possible to switch between User and Device context by using the dropdown menu.
The SETTINGS Tab
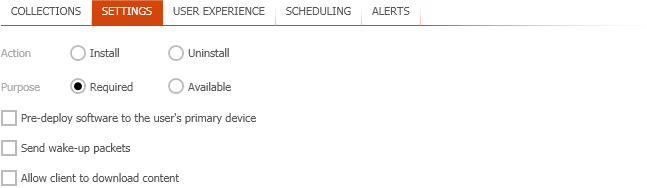
The following settings are available in this tab:
•Action: It is possible to select either Install or Uninstall.
•Purpose: Select either Required or Available as purpose.
•Pre-deploy software to the user's primary device: Enable this checkbox to allow pre-deployment for the primary devices.
•Send wake-up packets: Enable this checkbox to allow to send packets which are intended to wake a sleeping client.
•Allow client to download content: Enable this checkbox to allow clients to download the data.
The USER EXPERIENCE Tab
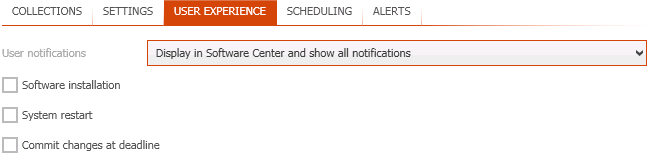
The following settings are available in this tab:
•User notifications: Which notifications are shown and where the notifications are shown can be configured using this dropdown menu.
•Software Installation: Enable this checkbox to make the software installation visible to the user.
•System restart: Enable this checkbox to allow a restart of the system.
•Commit changes at deadline: Enable this checkbox to commit changes at the deadline.
The SCHEDULING Tab
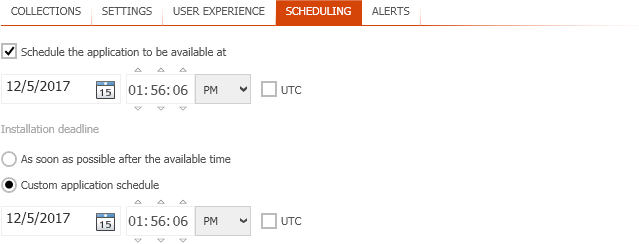
The schedule for the deployment can be configured in this tab. It is possible to schedule the availability of the application as well as the deadline for the installation.
|
Be aware: The time of availability must be scheduled before the time for the installation. |
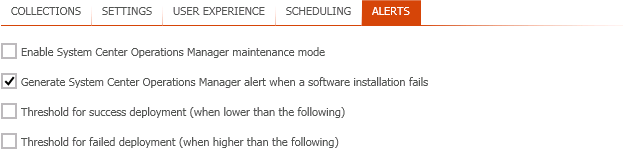
The ALERTS Tab
 ,
,
The alerts are configured in this tab. Check the checkbox of those options that shall be enabled for this deployment.
Click on the Next > button to continue.
Summary Page
This page shows a summary of all configurations that have been made in the previous step.
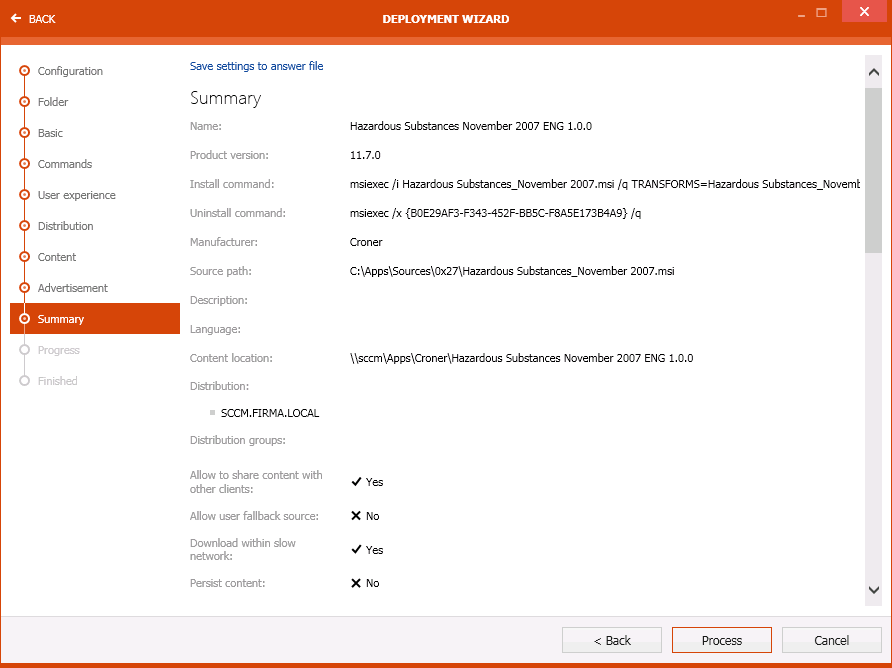
Click on the Process button to start the deployment.
Progress Page
On the Progress page the progress of the export is shown.

After the export has been finished the wizard will automatically continue to the next page.
Finished Page
The Finished page contains the information if the export has been successful.
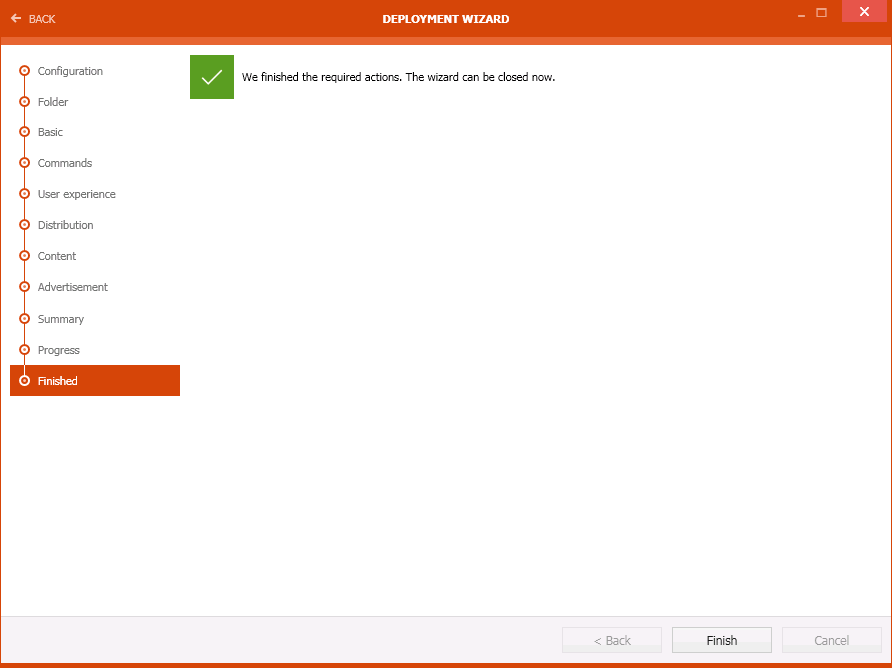
Click on the Finished button to close the wizard.