Report Bands
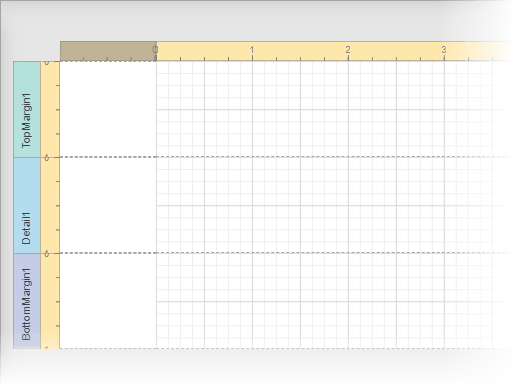
A report layout consists of bands that contain report controls and define their location on document pages. A blank report contains the following bands:
•The Detail Band displays recurring contents from the report's data source. This band is printed as many times as there are records available in a data source unless you filtered the data.
Every report must have a detail band, and you cannot delete it.
•The top and bottom page Margin bands. These bands are repeated once on every document page.
You can also add the following bands:
•Report Header and Report Footer
The Report Header is the report's first band (margins are "out-of-page" zones). Use this band to display the report's name, company logo, date of creation, username, etc.
The Report Footer is placed before the Page Footer and Bottom Margin on the report's last page. You can use the Report Footer band for report summaries or conclusions.
•Page Header and Page Footer
These bands are at the top and bottom of every page in a report. They display information that should be printed on every page.
•Group Header and Group Footer
These bands are above and below each group.
|
Tip: Only the detail and group bands can be used to display dynamic data source contents. Other bands display titles, summaries, and extra information. |
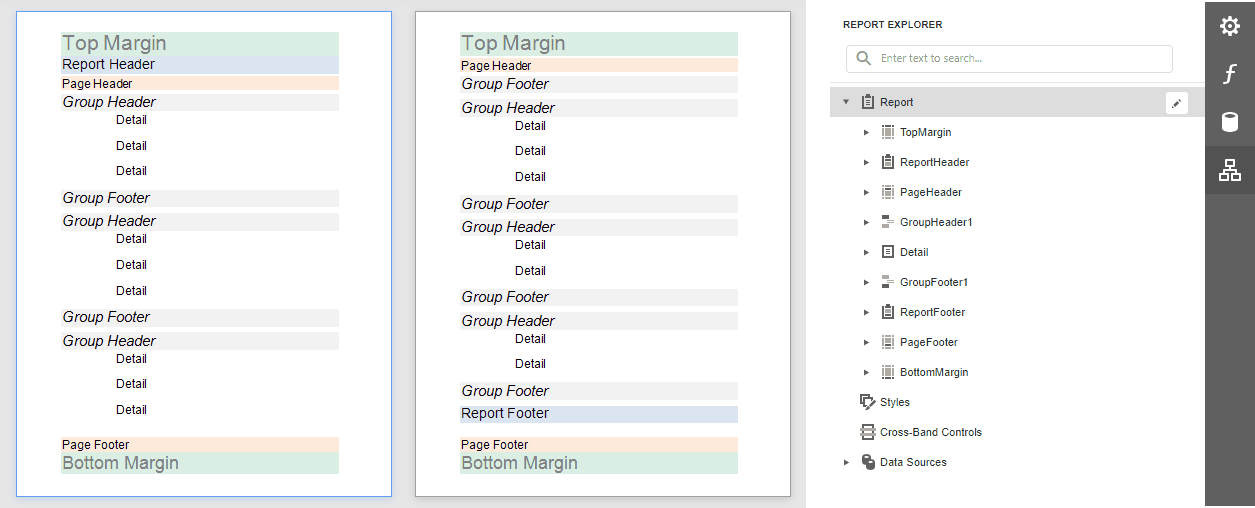
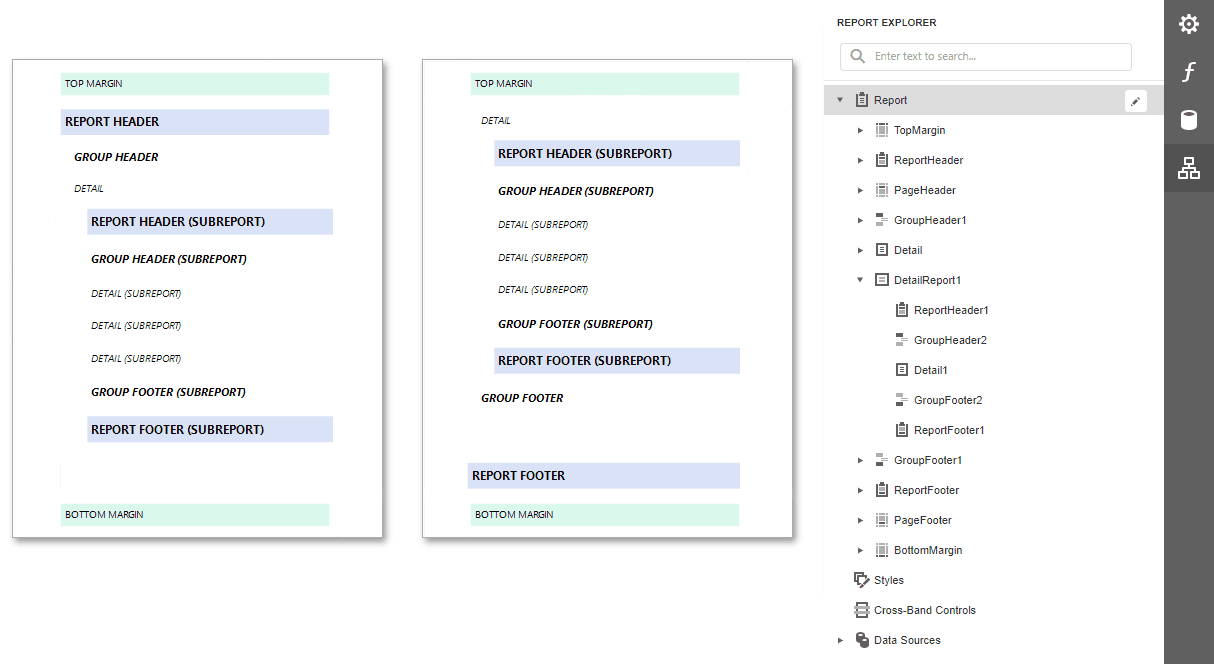
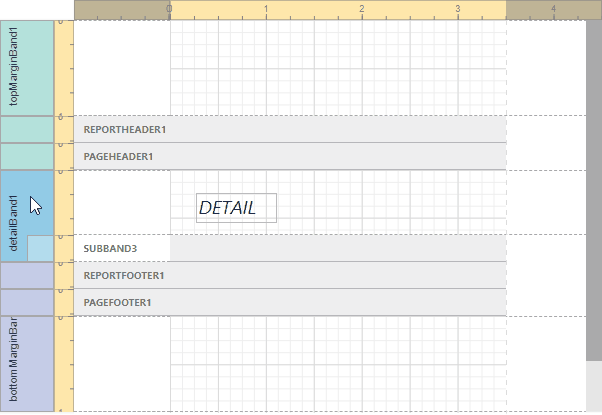
The following image illustrates a sample report layout and the Report Explorer panel that reflects the report's structure:
Add a Detail Band to a Master-Detail Band
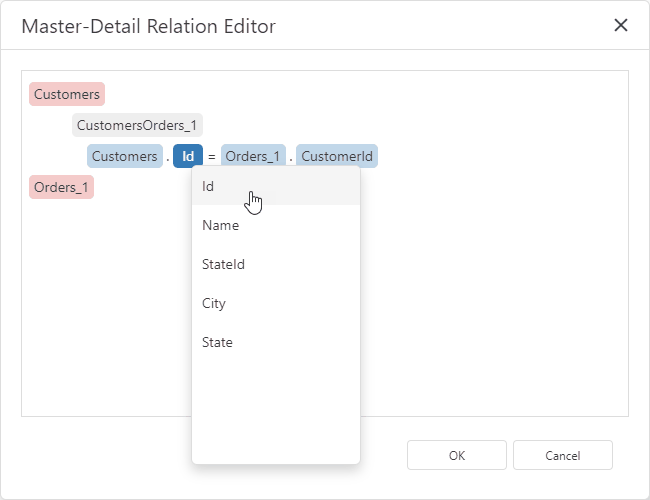
Use the detail report band to create hierarchical master-detail reports. Detail report bands provide detailed information about each record in the master report's detail band. You can create such reports when master-detail relationships are defined between data source tables:
A detail report band is a separate report (subreport) with its own data source and different bands. A report can have any number of detail reports that can also be nested.
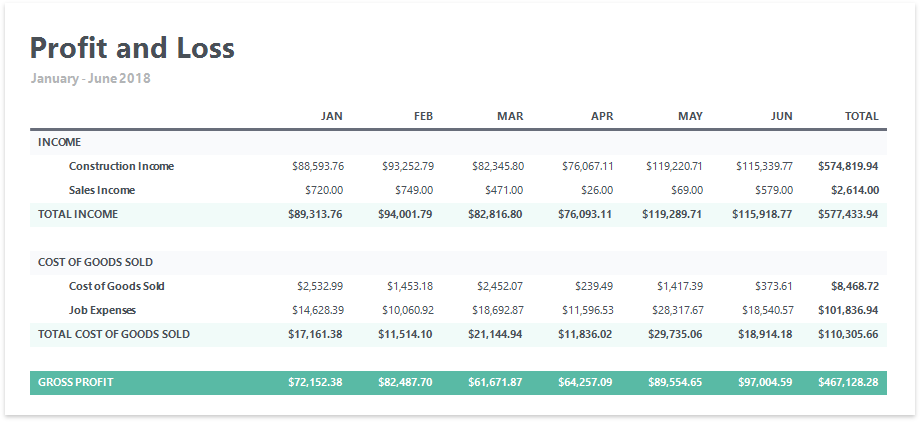
The following image illustrates a master-detail report and the Report Explorer panel that reflects the report's structure:
Vertical Bands
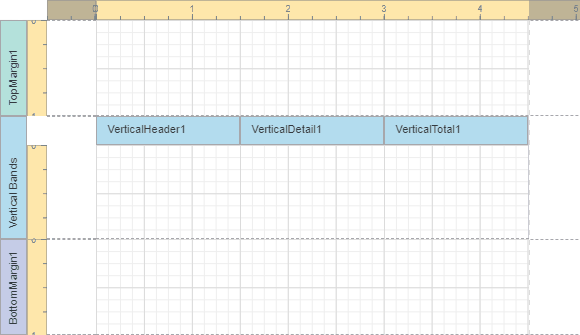
You can replace the Detail band with the Vertical Header, Vertical Detail and Vertical Total bands to display record fields vertically and print data records horizontally - from left to right.
|
Note: If your report's Detail band contains report controls, this band and all these controls are lost when you add a vertical band (the same behavior takes place in the opposite situation). |
The following vertical bands are available:
•Vertical Header
Contains headers of the report's data fields. These headers are arranged one after another in a vertical direction.
•Vertical Details
Displays recurring contents from the report's data source. This band is printed as many times as there are available records in a data source, unless you filtered the data. The records are displayed one after another in a horizontal direction.
•Vertical Total
This band is placed at the rightmost position (leftmost when RTL is enabled). You can use the Vertical Total band for report summaries or conclusions.
|
Tip: See Vertical Reports for details on how to use vertical bands. |
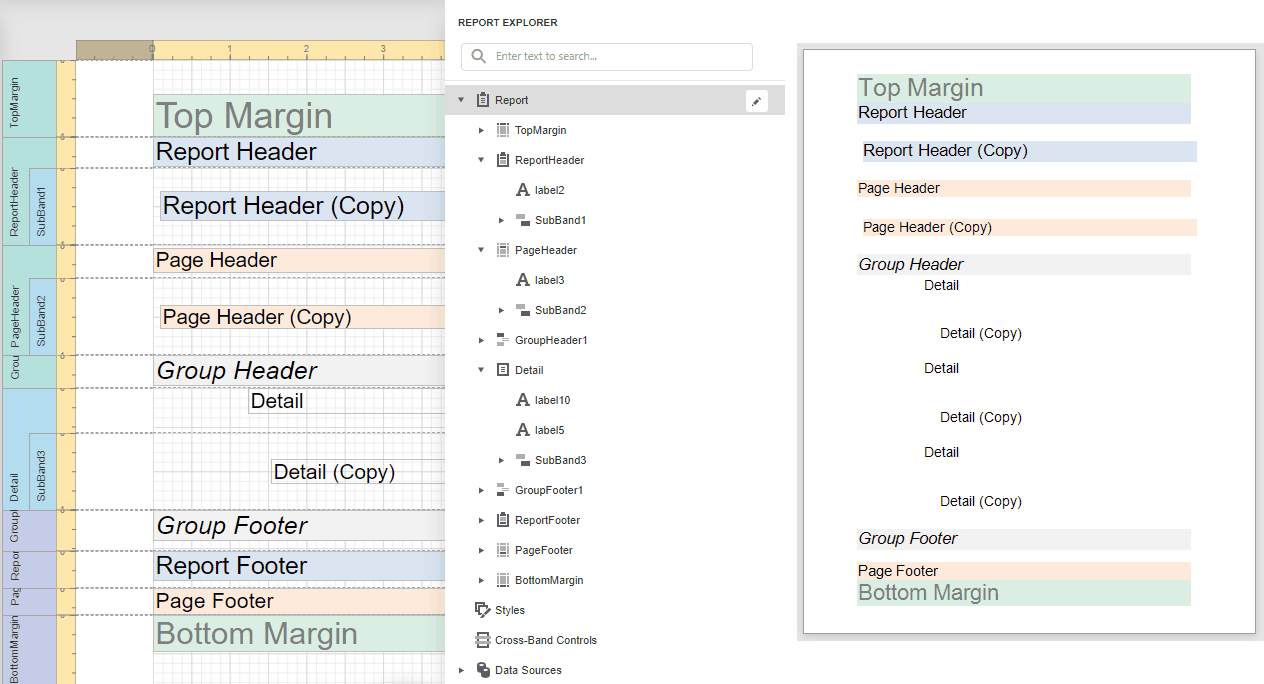
Create Band Copies
You can create functional copies of a band, for example, to display different contents based on a specific condition. To do this, add sub-bands to bands.
|
Tip: See Laying out Dynamic Report Contents for details on how to specify the location of bands' content on document pages. |
Manage Report Bands
Collapse Bands in the Report Designer
Select a band and click on the band's tab title to collapse or expand the band.
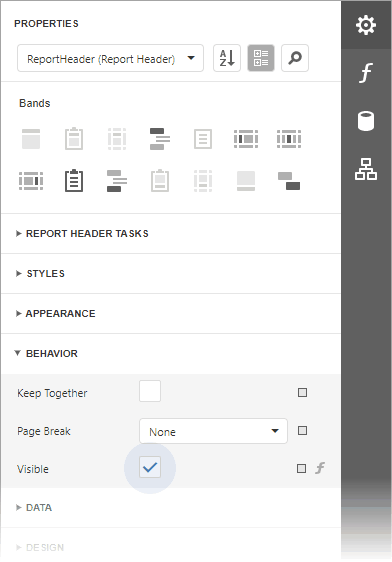
Hide Bands in the Report Document
You can avoid printing a band's content in a document. To do this, set the band's Visible property to false. Select the band and set this property in the Properties Panel.
Remove Bands
Select a band on the report design surface and press DELETE. This removes the band and all its content.
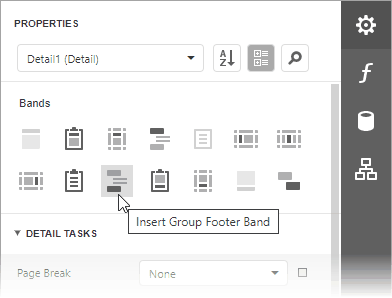
Add Bands
To add a band, select the report or any of its bands in the Properties panel and click an appropriate item in the Actions category.