Click in the All events section on + Add button. Select the event type. Your choice will determine the options available in the following steps.
Status Update tracks changes to the current state of a license or product as activations, expirations, renewals or suspensions. Click Next.
Select License contract selection. Select a license contract that is related to your event. e.g., Microsoft Windows 11 Enterprise - 500 Seats.
Display name. Event's display name. This name will help you to identify this event later. e.g., MW 11 Enterprise - 500 Seats - Status Update.
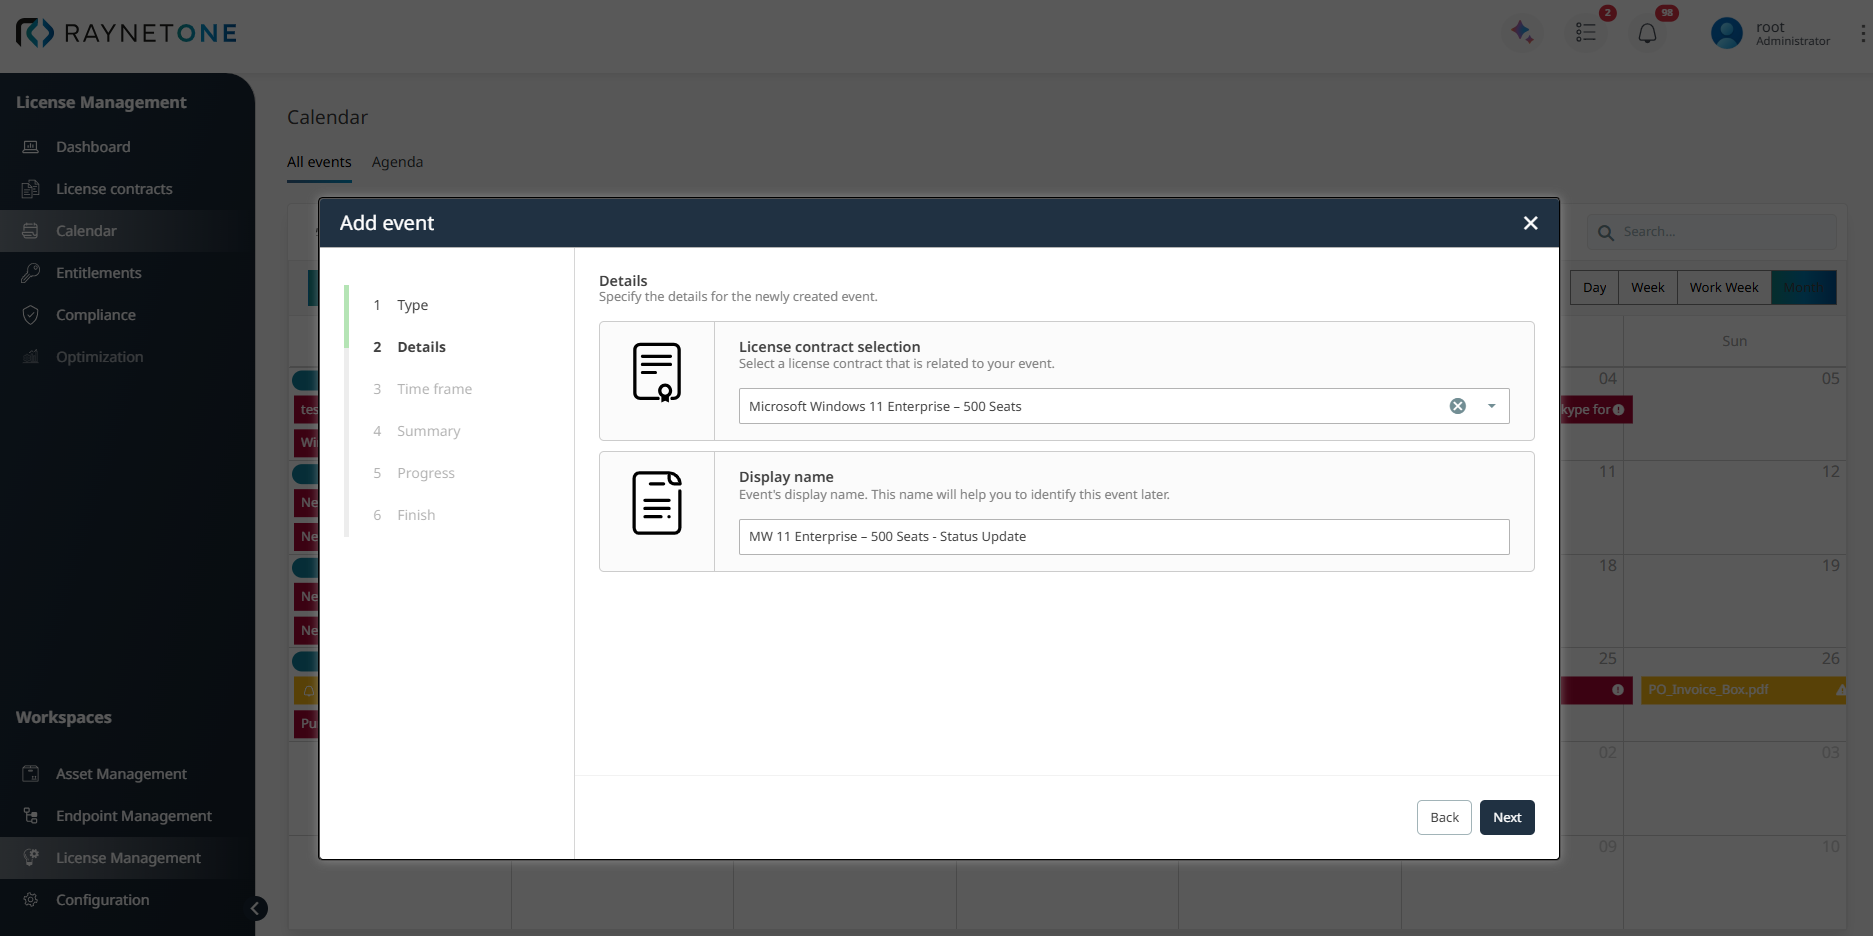
Click Next to go to the step Time frame to configure the end date, repeat schedule and timezone to control how events are scheduled and displayed.
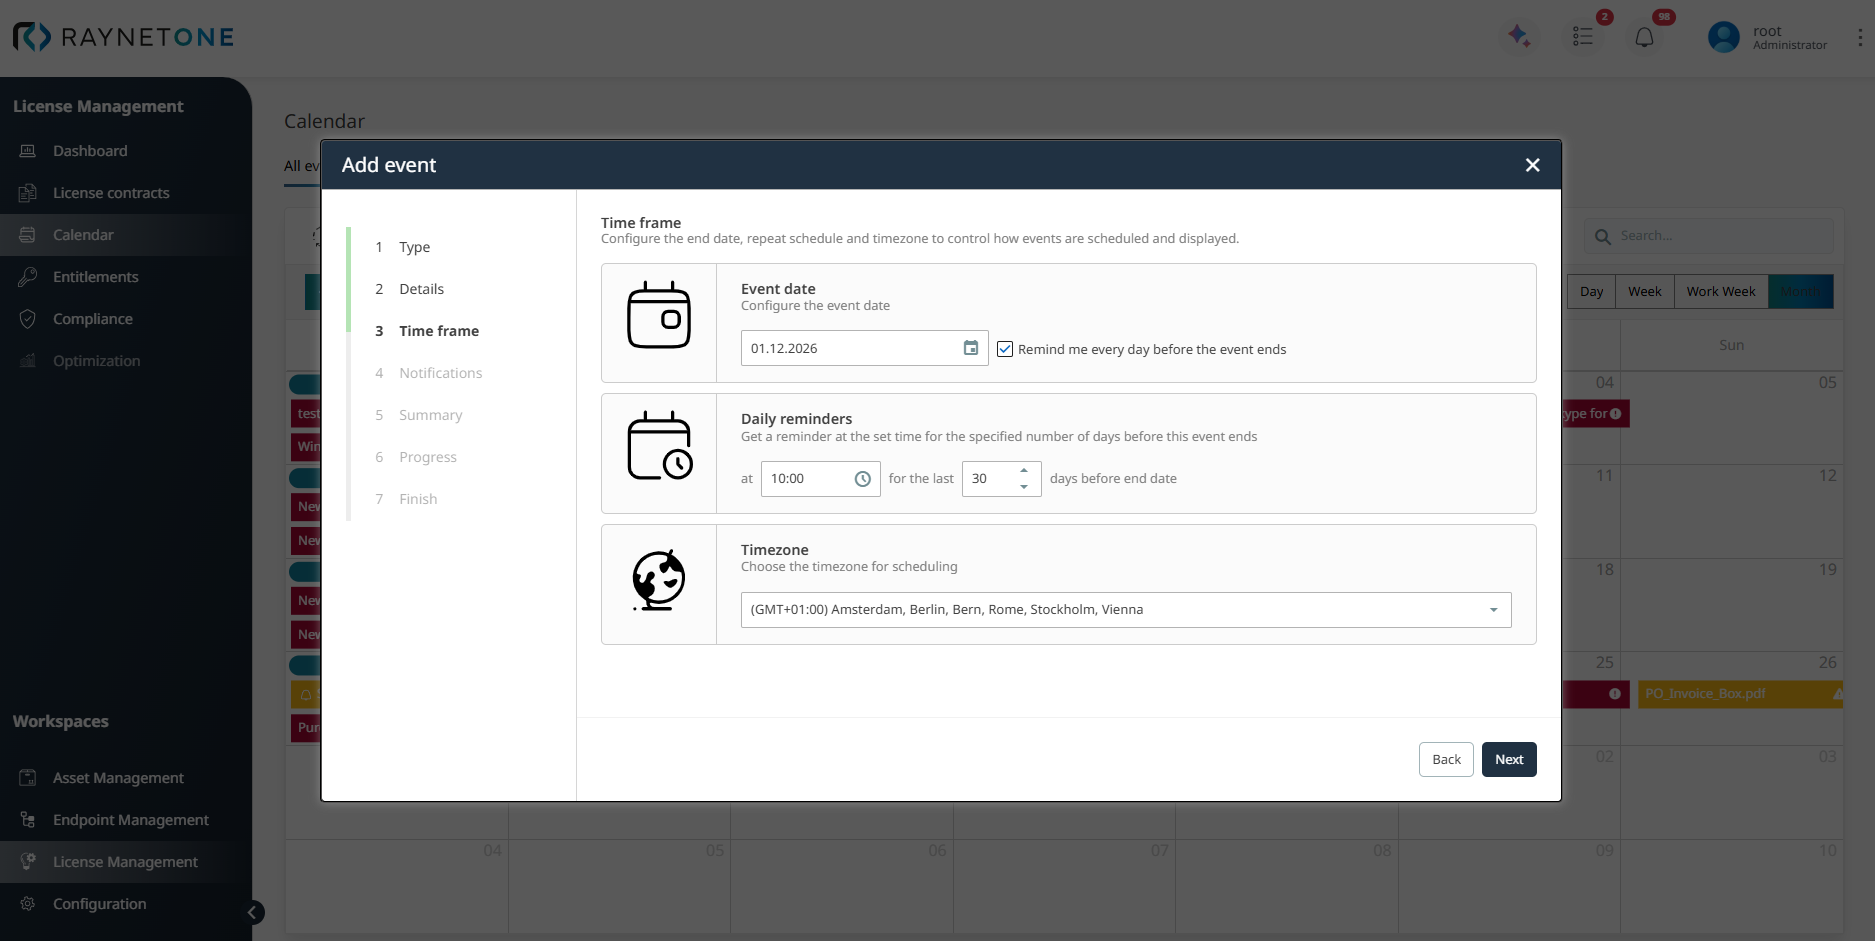
3. Time frame
In the Time frame step you define when the event should take place and how reminders should be handled.
The following settings are available:
•Event date: Set the main date of the event (e.g., 01.12.2026).
•Remind me every day before the event ends: Activate this checkbox to receive daily reminders.
•Daily reminders: Configure the time of day and the number of days before the end date you want to be reminded (e.g., at 10:00 for the last 30 days).
•Timezone: Select the correct timezone for scheduling and reminders (default is usually your local timezone).
 |
Best practice: |
After configuring the time frame and reminders, click Next to continue to the Notifications step.
4. Notifications
In the Notifications step you define whether and to whom reminders for this event should be sent.
You can choose between:
•Do not send notifications
•Notify specific user groups when the event is approaching
If you select the second option, choose the desired user groups (e.g., MainGroup).
|
Best practice: |
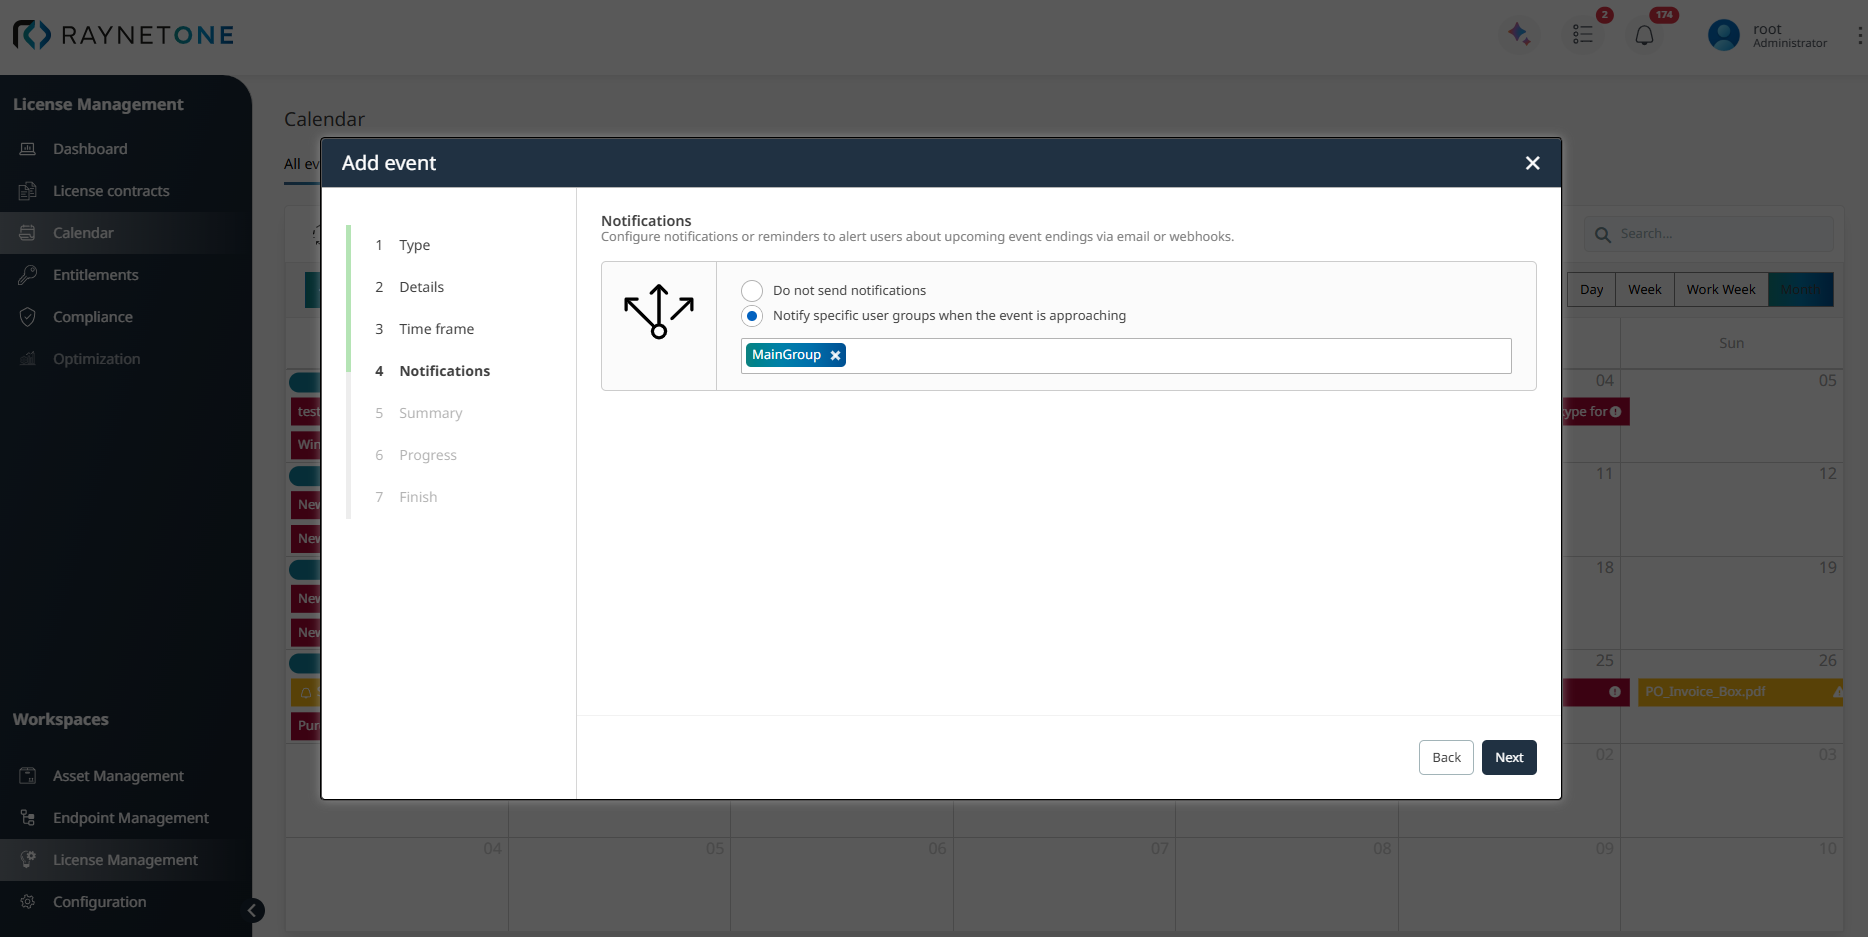
After configuring notifications, click Next to continue to the Summary step.
5. Summary
In the Summary step, Raynet One displays a final overview of all configured event details before the event is created.
Review the following key information carefully:
•Type: The selected event type (Status Update).
•Display name: The name that will appear in the Calendar.
•Notifications enabled: Whether reminders are enabled and to which user group(s) they will be sent.
•Event date: The scheduled date of the event.
•Timezone: The configured timezone for scheduling and reminders.
•Notification receiver: e.g., MainGroup
•Interval: How many days before the event end date reminders will be sent.
If everything is correct, click Next to generate the event. If you need to make changes, click Back to return to the previous steps.
|
Best practice: |
6. Progress
After clicking Create, Raynet One processes and saves the event. This step usually takes only a few seconds.
7. Finished
The system displays the confirmation:
Event successfully created.
You can close the wizard now.
You can either click Finish to return to the Calender or View details to open the event immediately.