As soon as you enter the Raynet One platform, the self-service portal is your first stop on your discovery and inventory journey. At this AI-based welcome terminal, video instructions will guide you through the following first-steps scenarios: You will get into the portal only once when first entering the platform and creating your first runner (also see chapter Runners).
The self-service portal offers you relevant information on two different levels: a general introduction to the product and its functionality, and some deeper insights into possible scenarios of use.
Information configured during the self-service portal can still be changed in the main interface provided to you afterwards, so don't worry about mistakes. Our guided steps will help you figure it all out.
Starting your journey in the self-service portal is especially recommended to first-time users of Raynet One and other Raynet products. In case you are already familiar with the platform and do not need any assistance, you can skip the self-service portal and directly move on to the platform.
It is recommended to coordinate the following steps together with your network administration. Important topics to discuss are the network bandwidth usage and the location of up-to-date device information. Not coordinating with the network administration could result in computer network outages due to network overload.
Your way through the self-service portal
The journey is basically structured in the following main steps:
1.welcoming you,
2.choose your use-cases,
3.choosing the initial deployment operating system,
4.downloading and deploying the runner,
5.network description (AD, MECM),
6.providing network credentials,
7.network scan,
8.device inventory, and
9.finish.
Let's highlight the steps for further clarification.
1. Welcoming you

Learning more about common user scenarios and the main purposes for product use
2. Choose your use-cases
If you have a clear vision of your company's IT future, then feel free to choose the most important points that we should focus on together. There is no obligation for you, but in doing so you help strengthen the focus of the IT landscape!
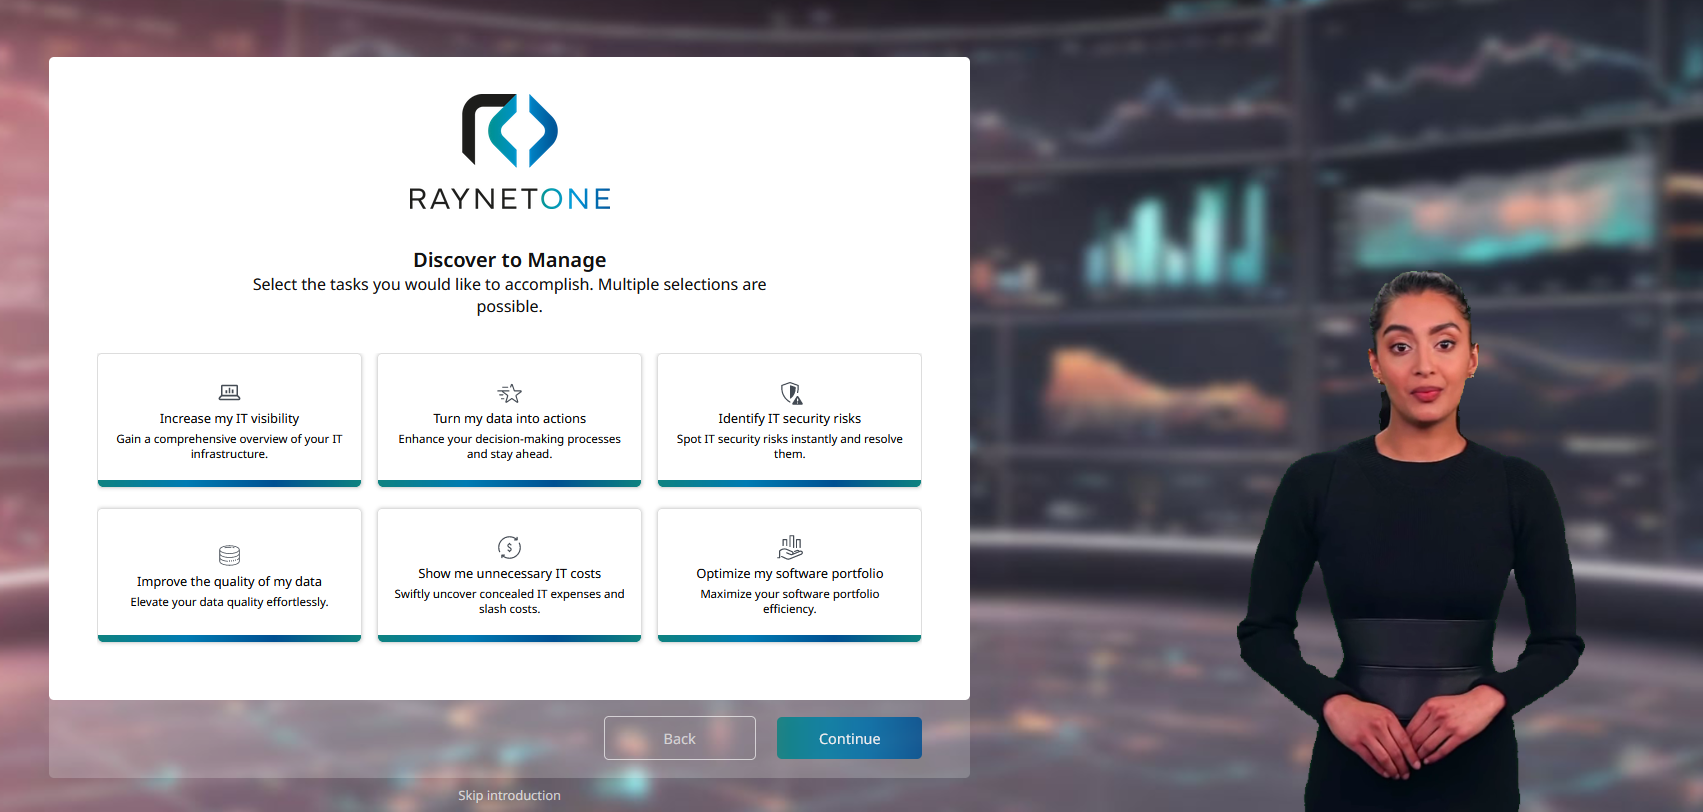
Choose your use-cases in order to successfully handle operations in Raynet One
3. Choosing the initial deployment operating system
In this step you are asked to select the operating system that should host your first Raynet One runner. If you are unsure which operating systems are available in your network environment, consider asking your network administration. Further down the line, you will be able to expand your network's reach by deploying more runners. We want to ensure that your first runner deployment is as successful as always, to make a first good example in your network.
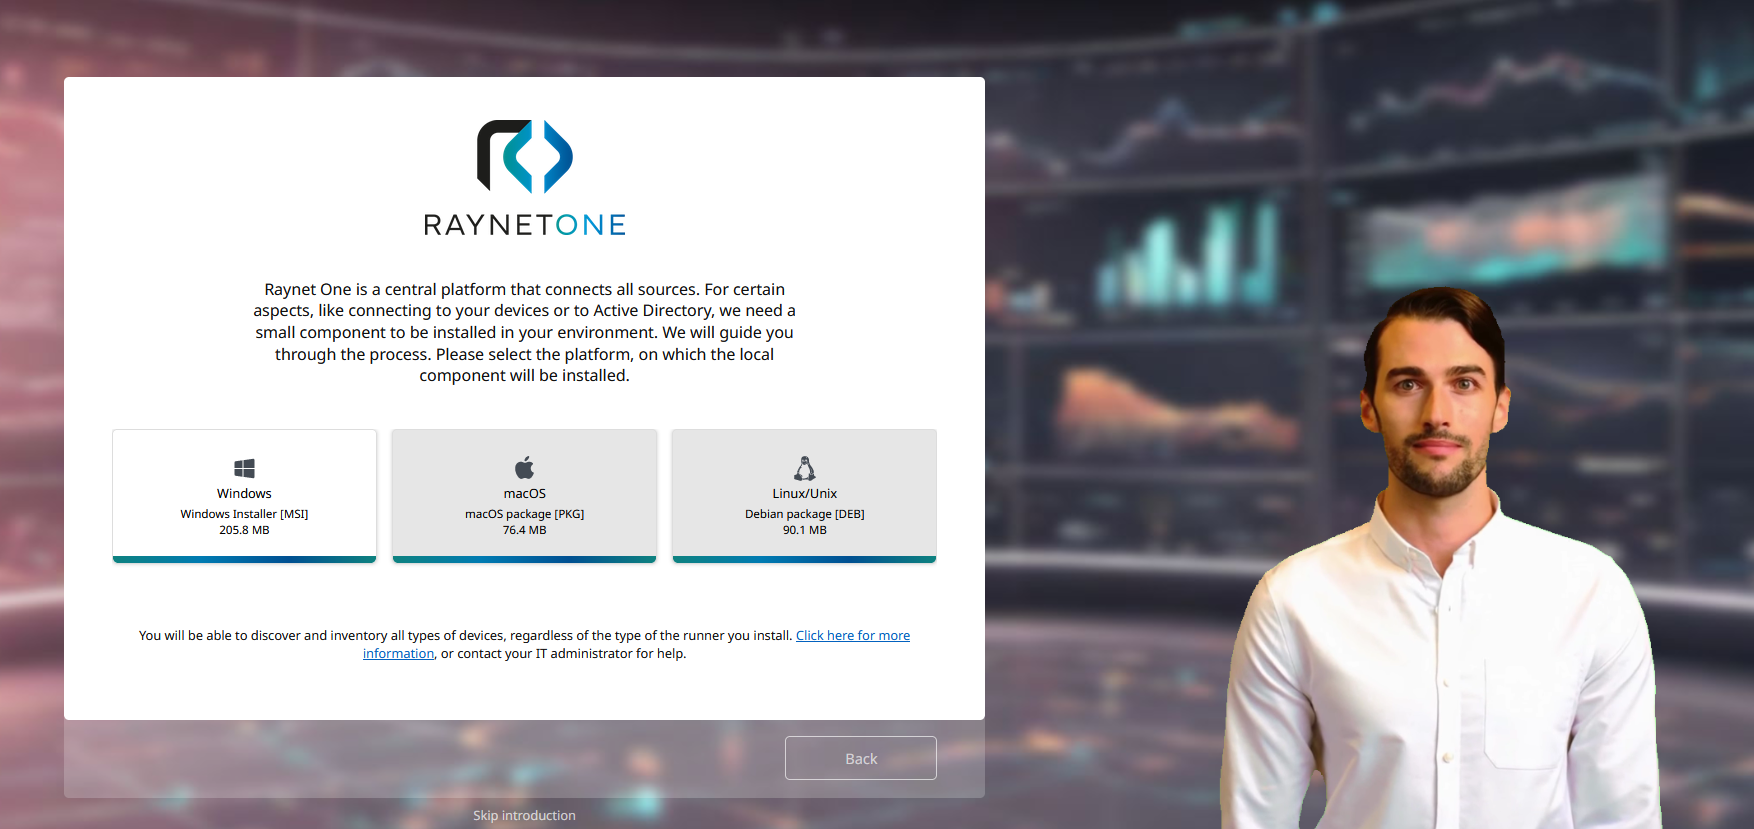
Assisted setup of your first runner, which is necessary for inventory and discovery runs
4. Downloading and deploying the runner
Once you have selected your first operating system to deploy on, the runner download starts. Wait until the download has completed, as indicated by the progressing circle, and watch out for any notifications that may appear. After completion of the runner download, you have the option to transfer the installation file onto the final runner machine of the chosen operating system. The purpose of choosing a good machine as location is to get access to strong data about your IT environment. Factors such as connectivity and network authorization are important for your choice. Install the runner on the target machine. If you have made a good choice for your runner host machine and installed it, the self-service portal will automatically detect the installation and proceed.
Before you can install the runner, please check the runner prerequisites for all dependencies that have to be set-up prior to runner installation.
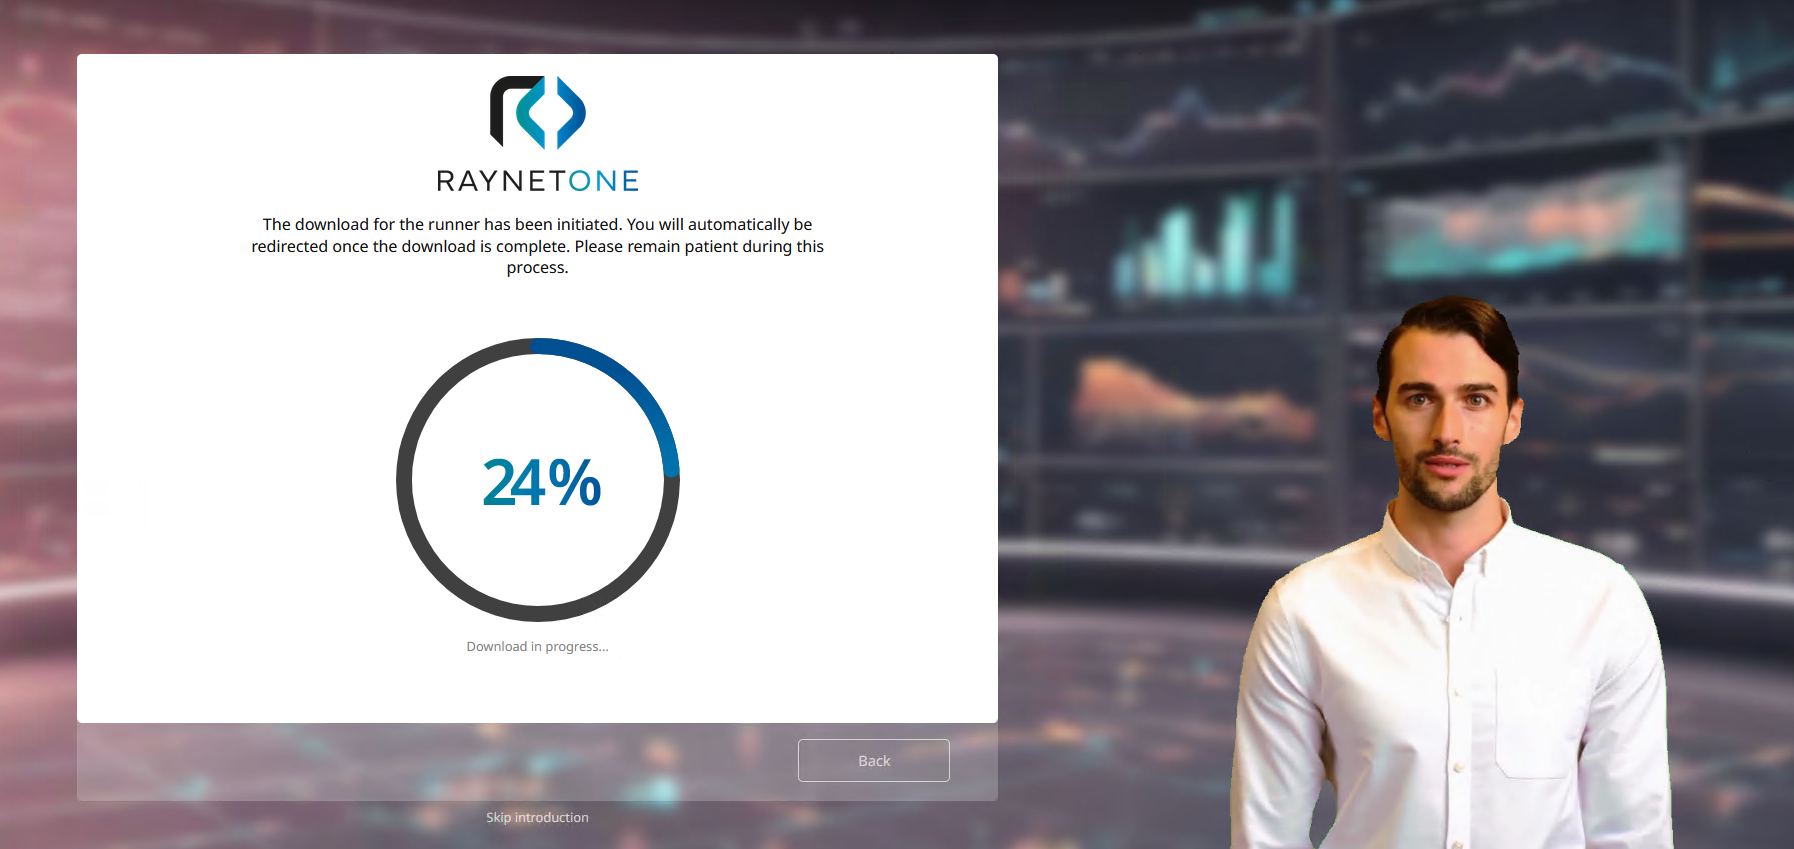
The download of the runner is in progress. Wait for further instructions after its completion.

Once the runner download has completed, you are notified about it in your web browser. Browse to the downloaded file's location to execute or transfer the runner.
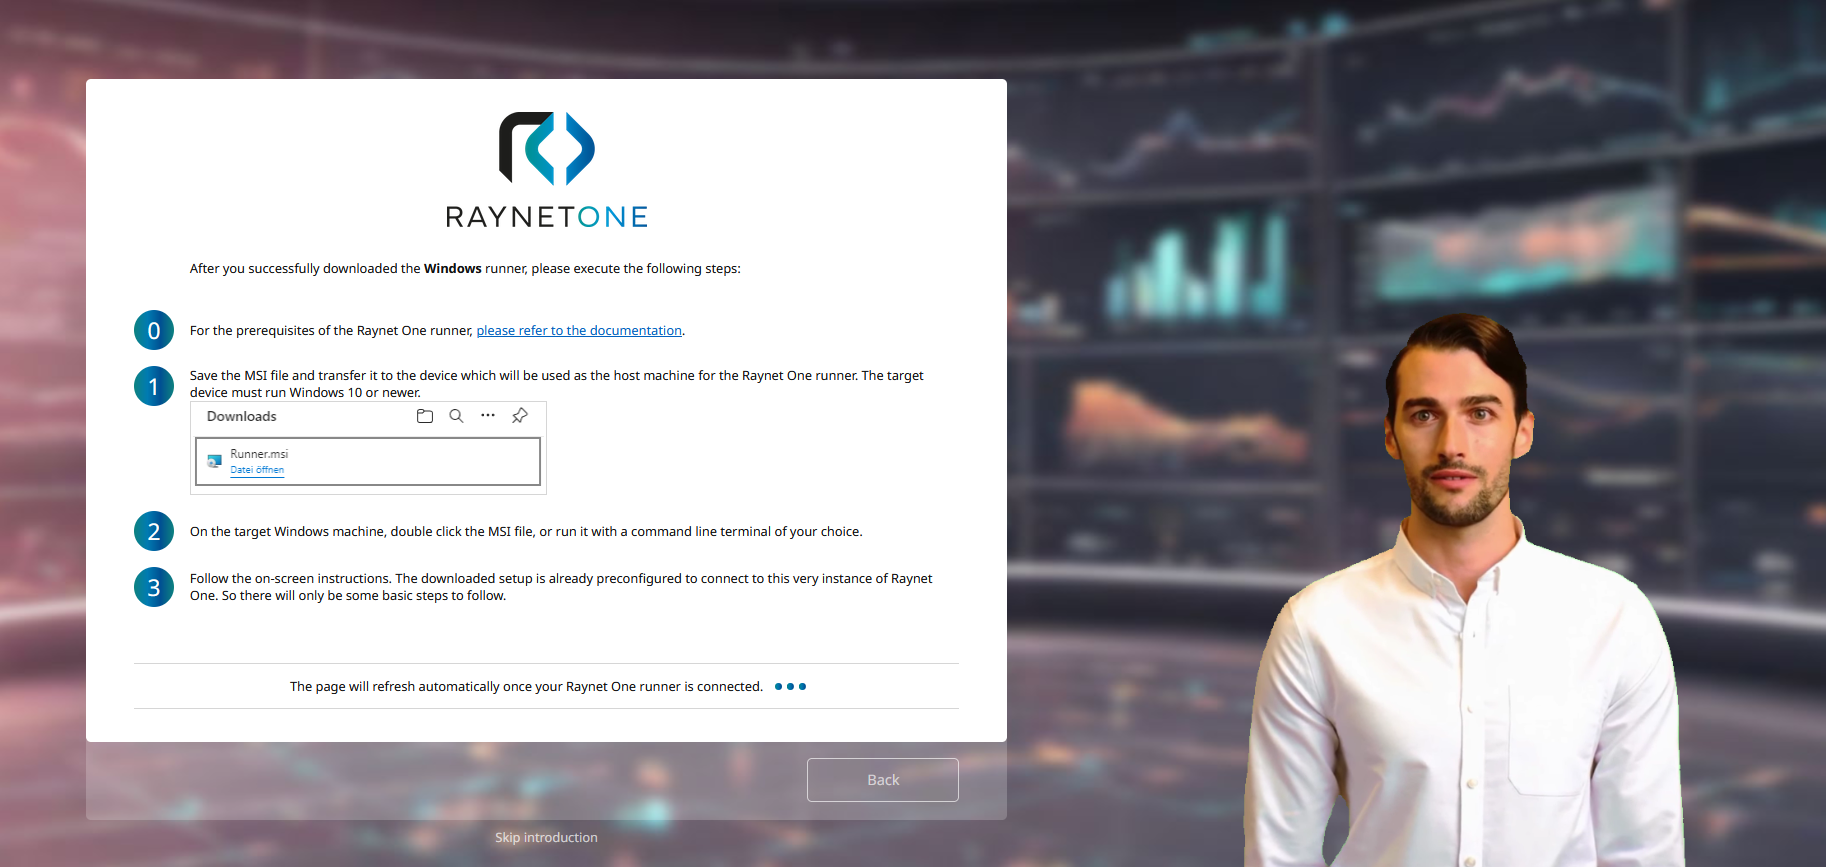
Helpful waiting page during runner deployment.
|
Be aware: |
5. Network description
In order to successfully navigate through your IT network, the runner needs identification details as well as credentials for access. Provide capable network credentials to access network machine resources. Zero Touch scanning technology is used to ensure an undisrupted experience.
Identification details include the types of network services running and their domain names.
Weigh the advantages of each network scan option. An important advantage of device import is the recognition of persistent devices in your network through a device registry. The list of devices is even maintained by network administrators, removing devices not active anymore. On the other hand, an important advantage of (direct) network scanning is the recognition of any responding and live devices, with the possibility to detect blind spots.
Attention: By using network discovery, a huge amount of traffic will be generated within your network. Have the devices on your network been inventoried already? Prefer methods based on pre-structured network device data instead.

Selecting the types of network services running or to perform a (raw) network discovery scan. Each option differs in the depth of network information retrievable.
5.1 Active Directory
The Active Directory (AD) scan requires the AD controller's domain name as well as network credentials. This step is only shown if you have chosen Active Directory during network description.
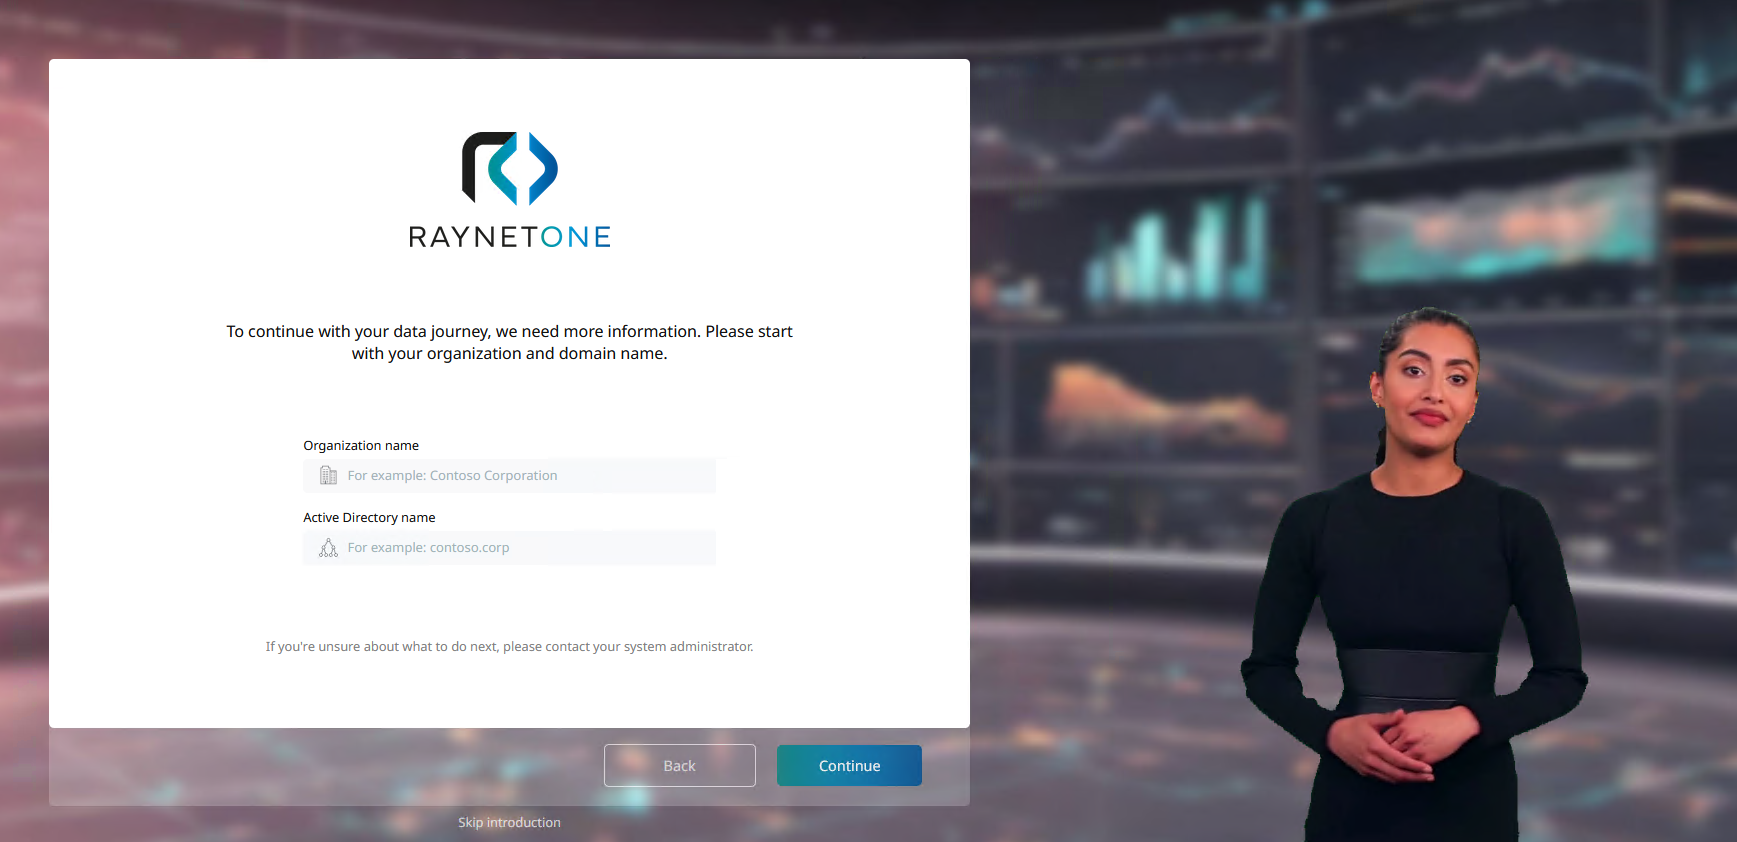
Input form for your organization's name and the domain name of the AD controller.
6. Providing network credentials
The most important technical resources to access valuable resources of your IT landscape are your network credentials. The runner requires capable network credentials to capture your IT assets in all of their complexity. Use the arrows on the left and right sides of the panel to switch between different types of credentials (for ex. for Windows or Unix-based operating systems).
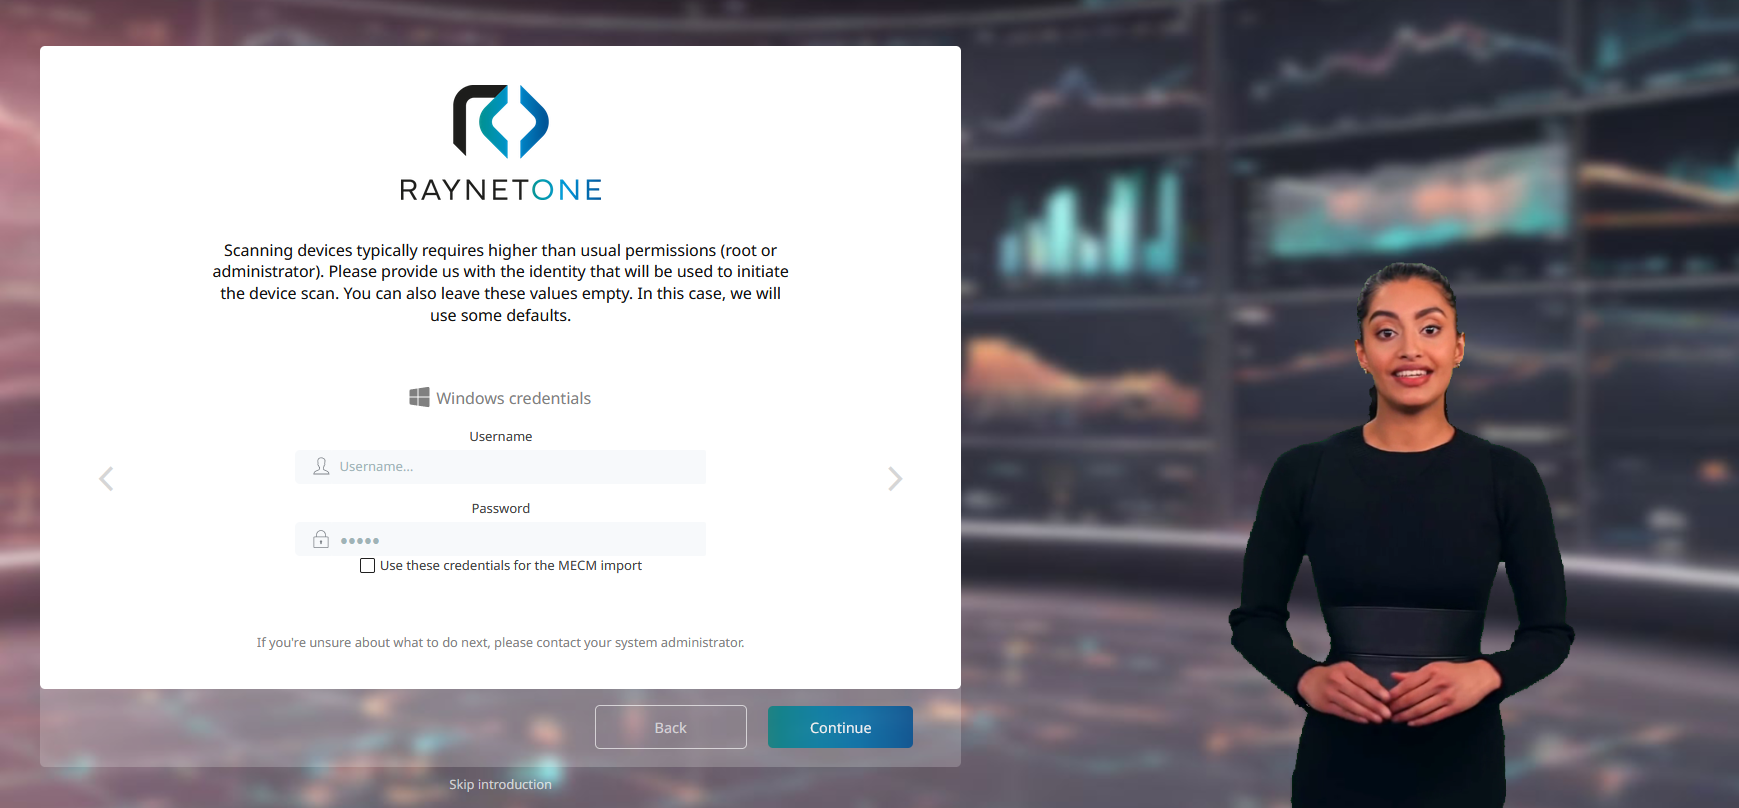
These are network credentials input forms for supported systems. The supported systems range from operating systems (Windows, Unix-like) to device management registries (MECM or Configuration Manager). The MECM checkbox is only shown if MECM was selected during network description.
6.1 MECM configuration
The runner requires the network identification of the Configuration Manager (MECM) endpoint. These details are used in DNS queries and other similar network discovery operations. This step is only shown if you have chosen MECM during network description.
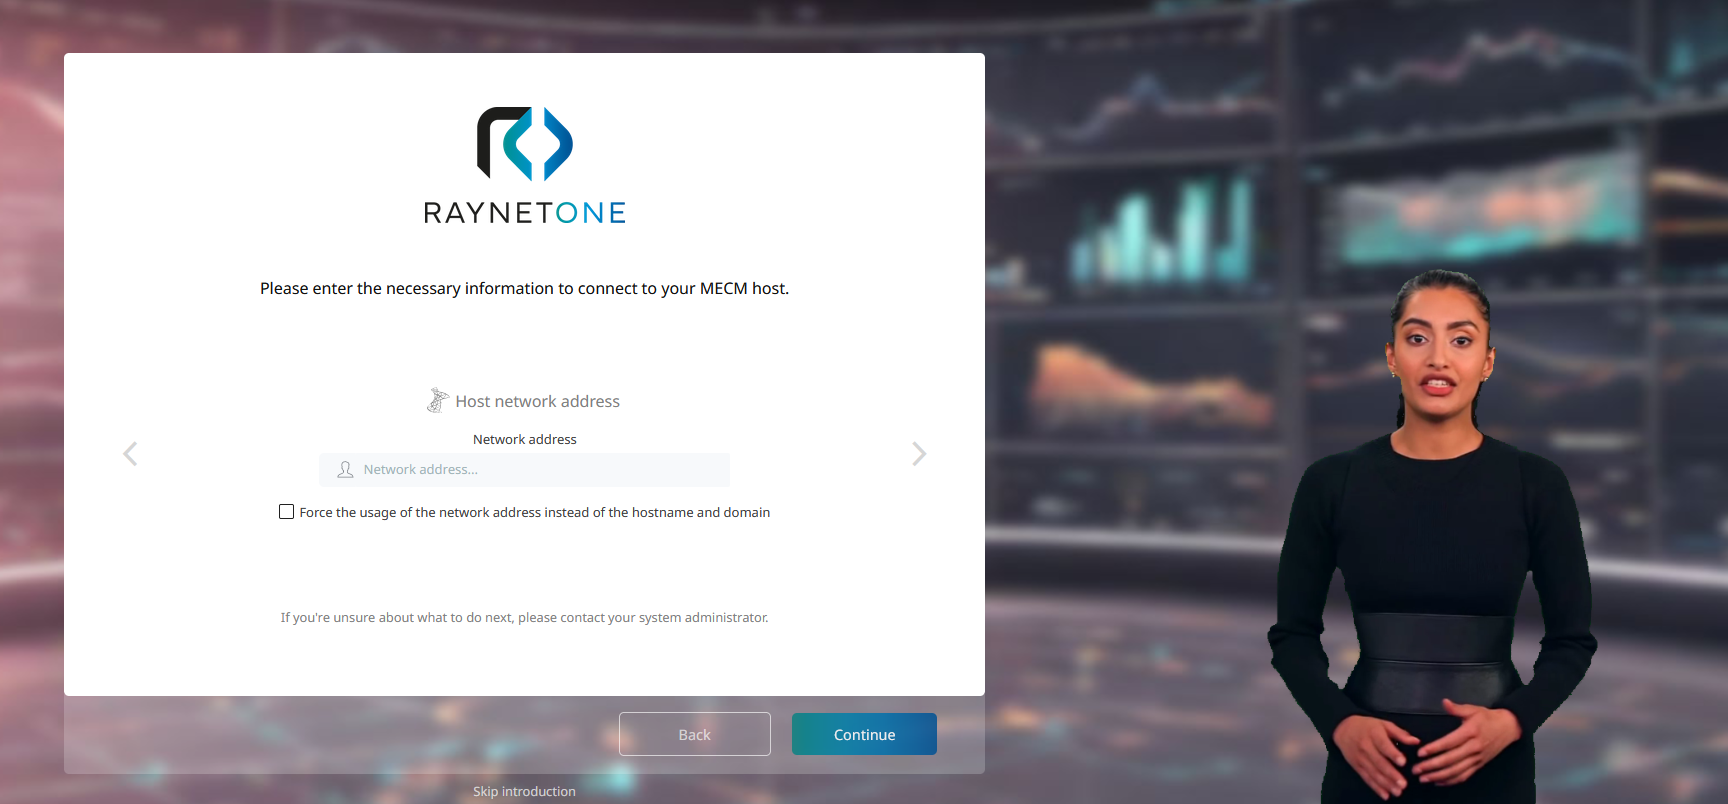
Input forms for connection details related to MECM. You have the option to provide a full network address or both Windows-network domain and hostname. Use the arrows on the left and right sides of the panel to switch between the input options.
7. Network scan
After providing all valid IT network details as requested from you in the previous steps, you can sit back and relax while the runner handles the work. As devices are discovered and imported, the counts in the boxes increase. Wait a sufficient amount of time for the network scan to progress. Then you will be able to proceed.

Network discovery is in progress, performed in comprehensive network scans. Devices are imported from the provided sources. A button to proceed will appear after waiting for a short while.
7.1 No devices detected during import
There is a special troubleshooting step in case of device import failure.
If no devices were detected during the network scan, you are given a reasonable set of choices. You should troubleshoot the configuration given to the self-service portal. Is the Active Directory domain name correct? Do the credentials have sufficient permission to access network device resources? Are the MECM connection parameters correct?
After troubleshooting, if you have decided to try again using other parameters, simply choose the Edit inputs and retry import option. If you have chosen to not perform any device import at all, the Perform network scan and inventory option is the right choice for you. As a last resort, you can choose the Skip import option to go straight to the main web interface.
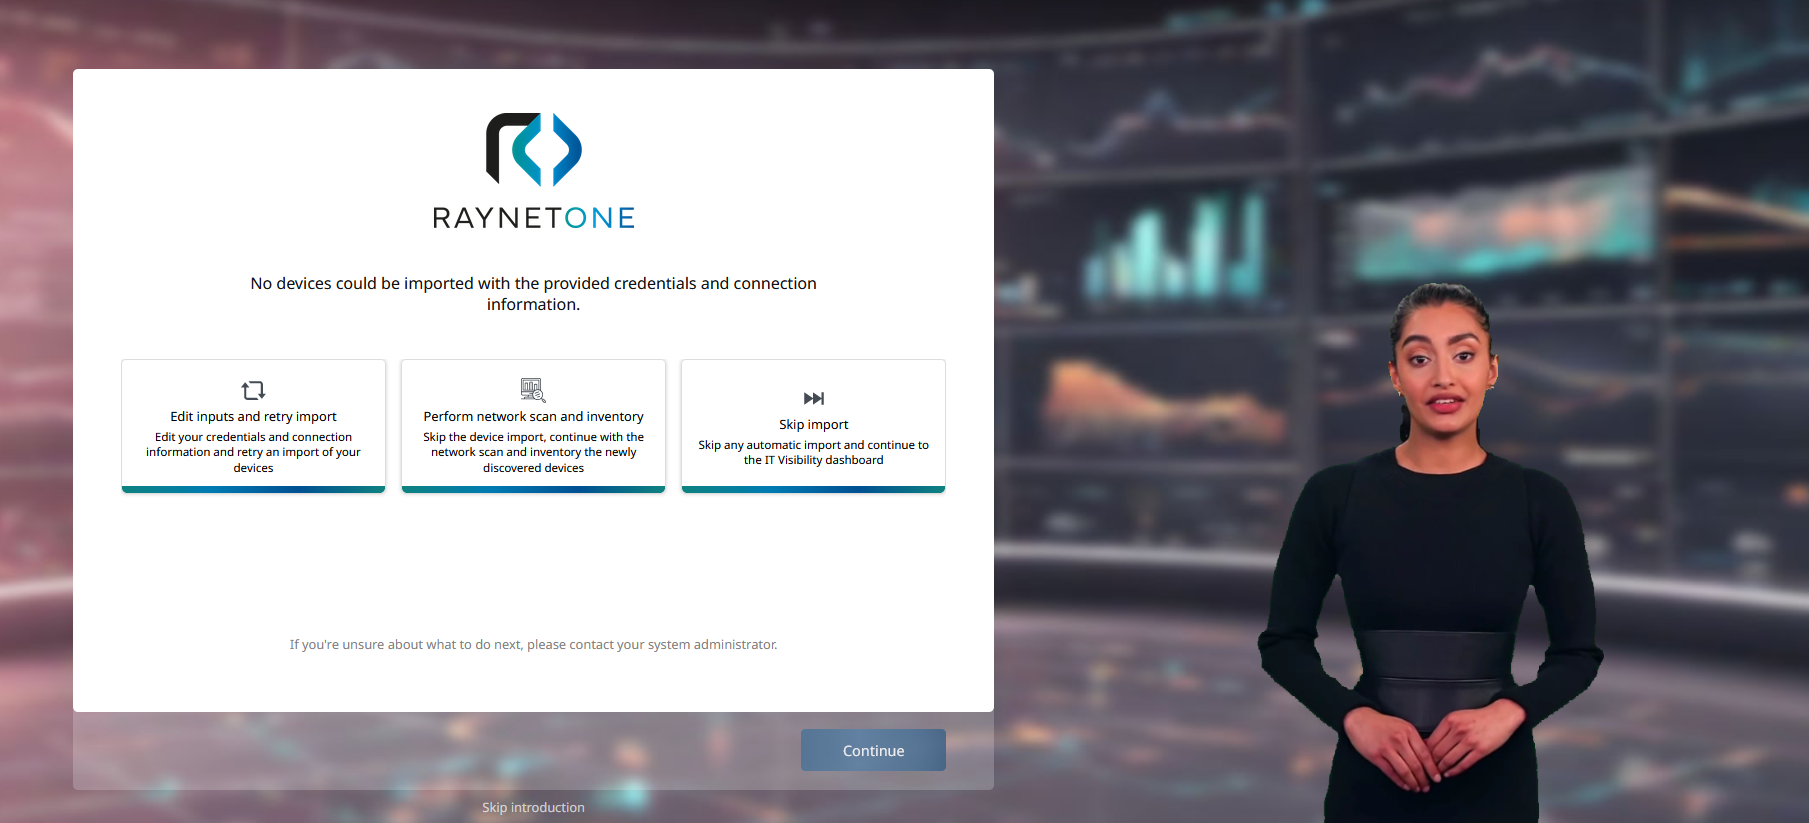
The import may not have provided the expected data. Is the provided configuration alright?
7.2 No import performed
If you have chosen to perform a comprehensive network scan without importing ready-made device configuration, the information about devices has to be fetched from the devices themselves. You have the option to request a surface-level-only scan of the responding network resources or to follow it up with device inventory. Please be aware that both of these operations induce huge network traffic, multiplied by the amount of devices found. For some networks, this type of scan is the only choice. Our advice is to plan this activity as best as possible together with your network administration.
If you choose to perform a surface-level scan only, there is no need to worry. You can execute more advanced network operations after completing the self-service portal. The options initially provided to you by the self-service portal may not cover all of your needs. But the full web interface of Raynet One will have the right tools to tailor the experience to your needs. You will be provided with options to perform network device scans of varying network granularity, scheduling the inventory of different parts of the network on different days.

This step is shown if you have decided on just the network discovery from the get-go. You can only choose one of the provided options. The right choice requires foresight of the impact on the network.
8. Device inventory
Having collected a good set of devices in the previous steps, the runner is able to inventory them. For the this purpose, we provide you with device inventory technology. Our industry standard device introspection technology is sure to collect valuable device data and amend the view on your network. You have the option to include new networks found during inventory into the process aswell, ensuring that no stone is left unturned.
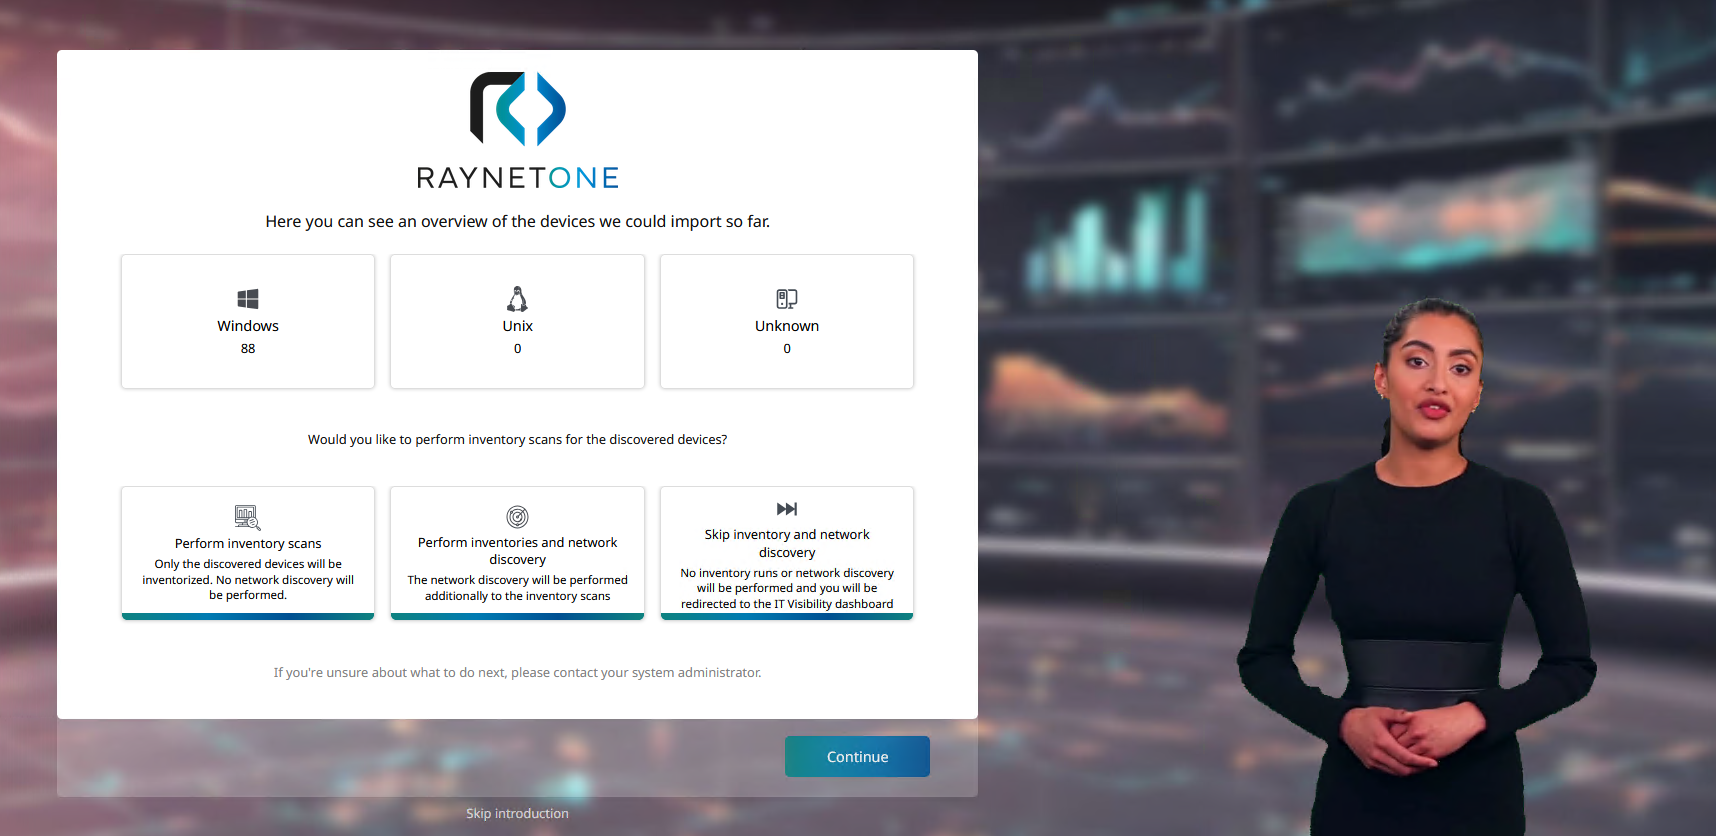
Interim presentation of device discovery results, divided into types. Inventory and exhaustive discovery are presented as an option to you.
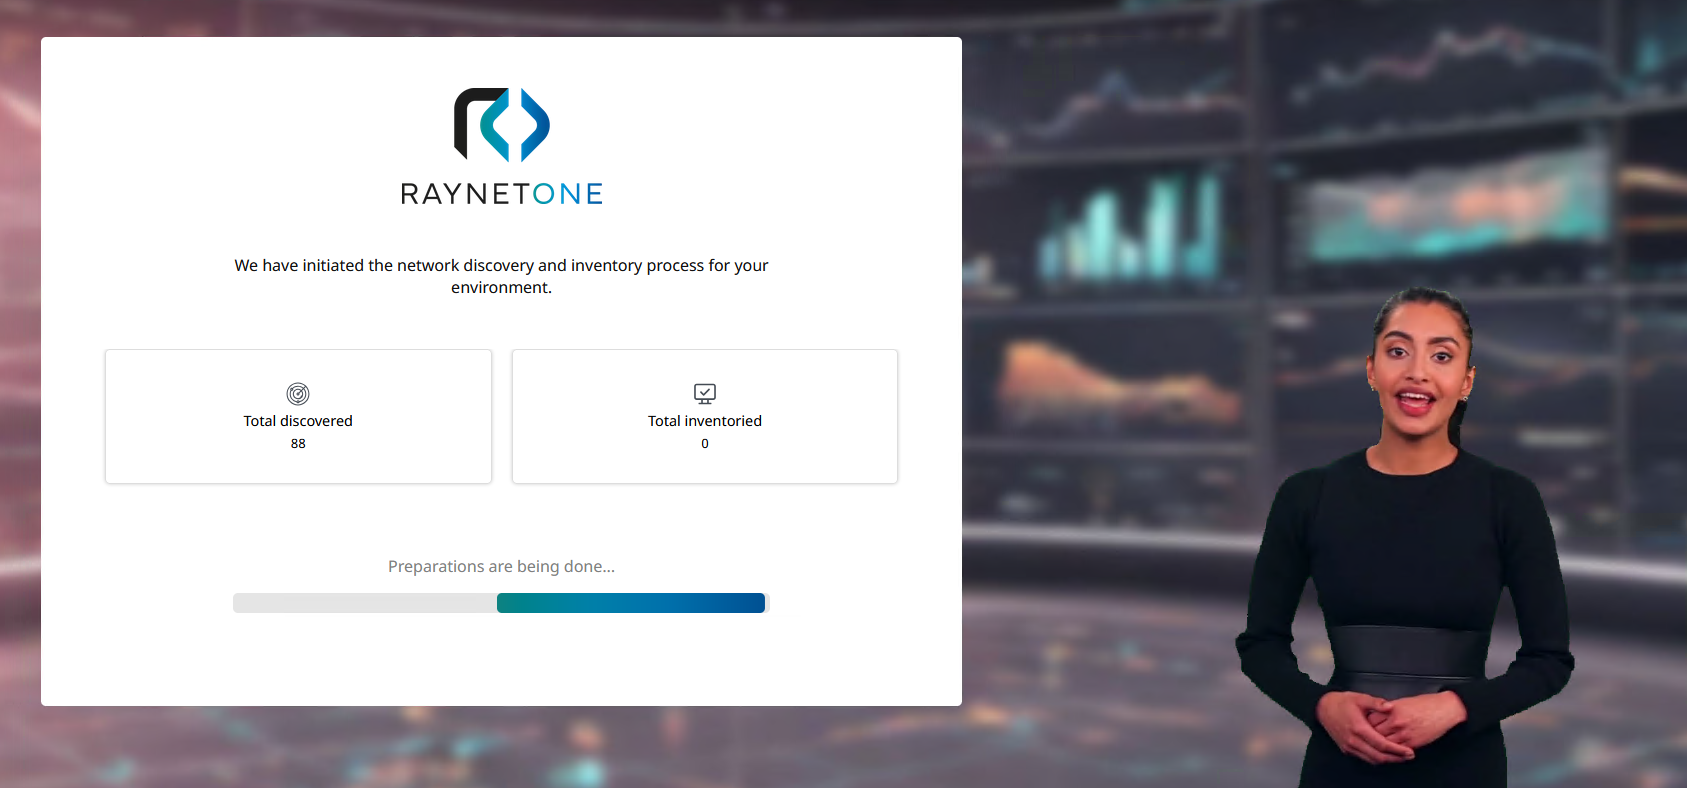
Inventory progress page. It shows the count of discovered devices, optionally increased by additional network discovery operations (exhaustive). Successful device inventory increases the count on the right.
9. Finish
We have finished initialization of Raynet One through the self-service portal. You are now ready to experience the full potential of the product. Click on the Finish button to be redirected to the main interface.
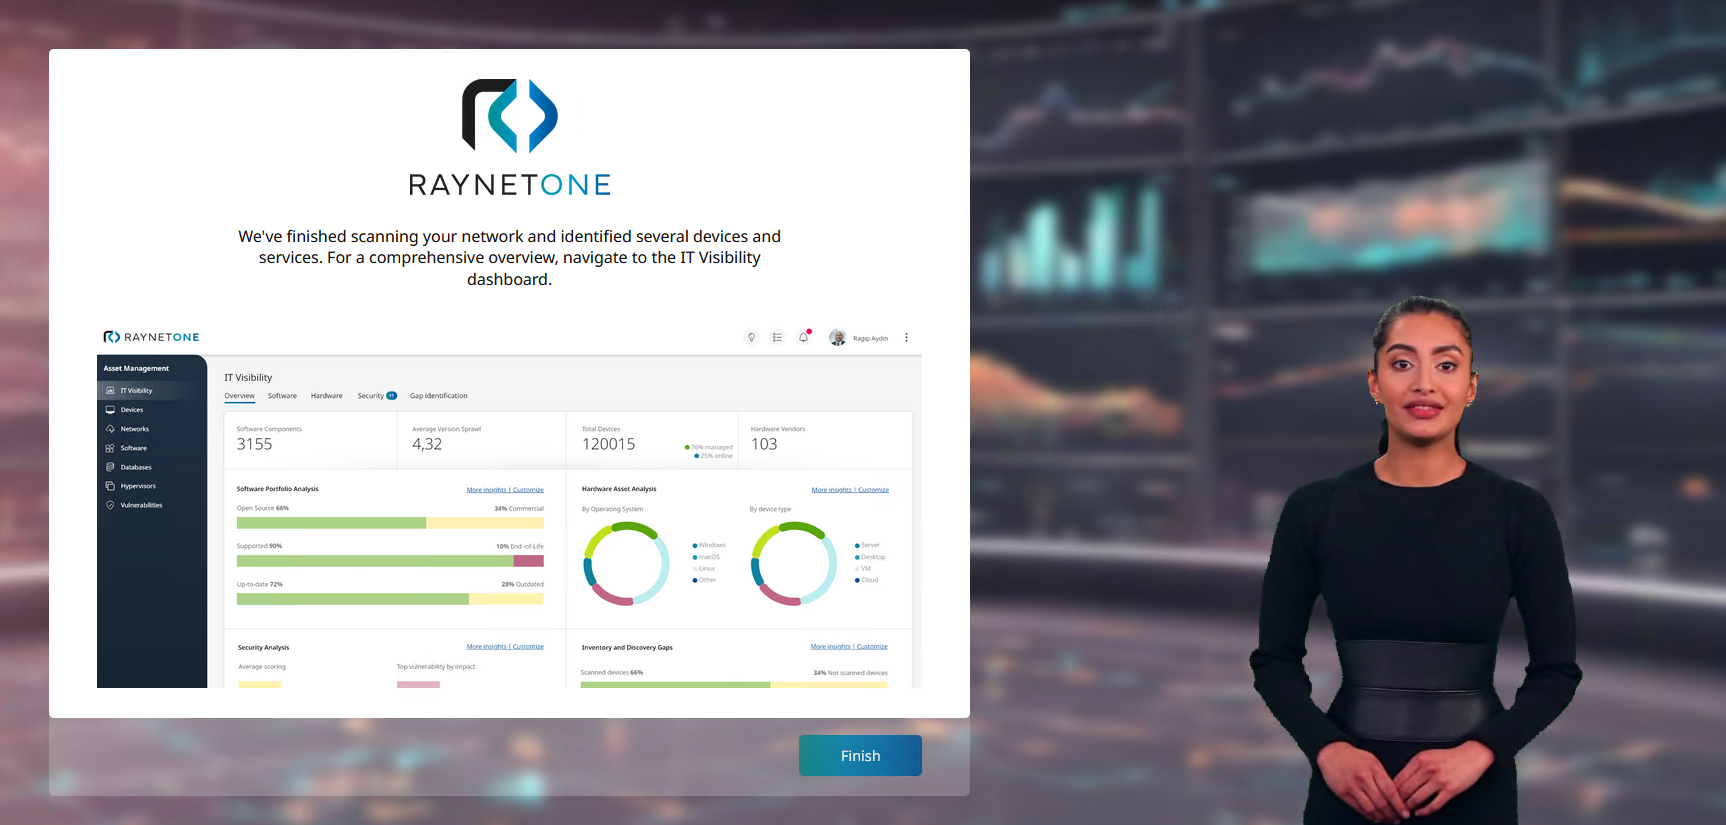
The final page of the self-service portal shows an example of the main interface. Using the Finish button you can close the self-service portal and start using Raynet One in all of its aspects.