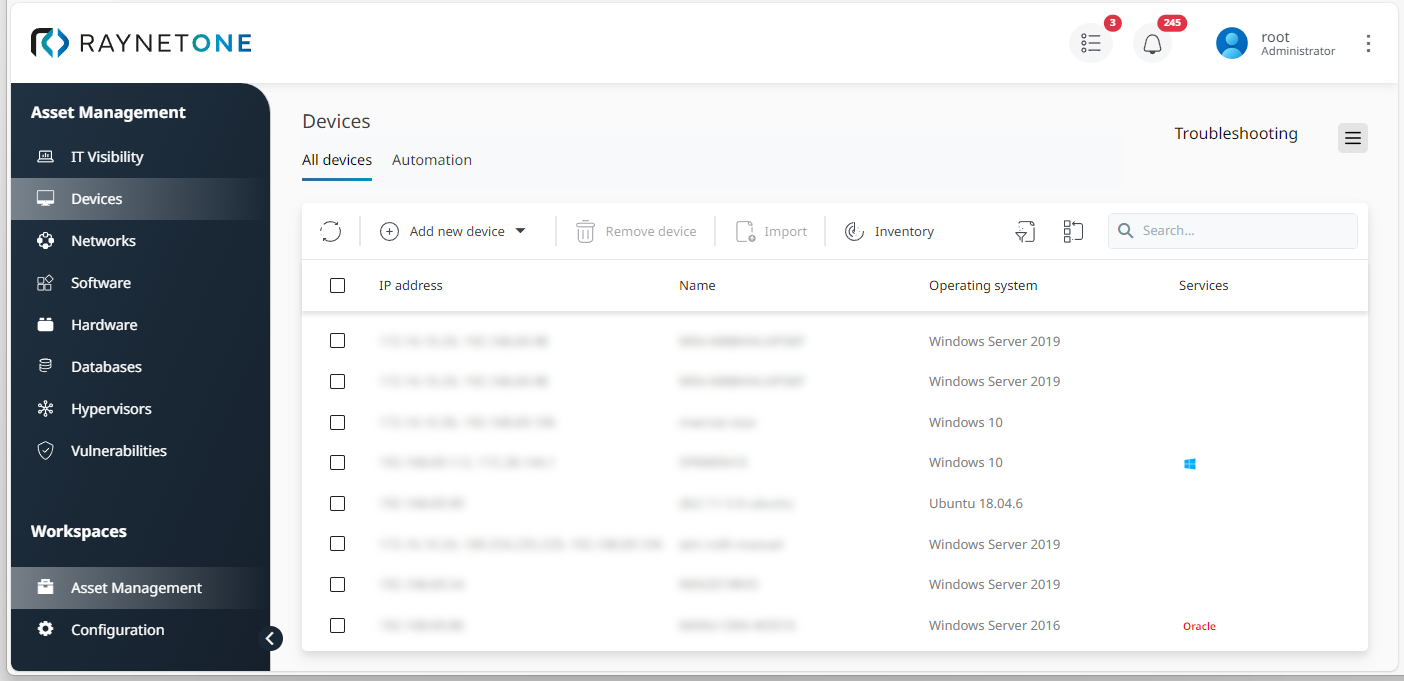
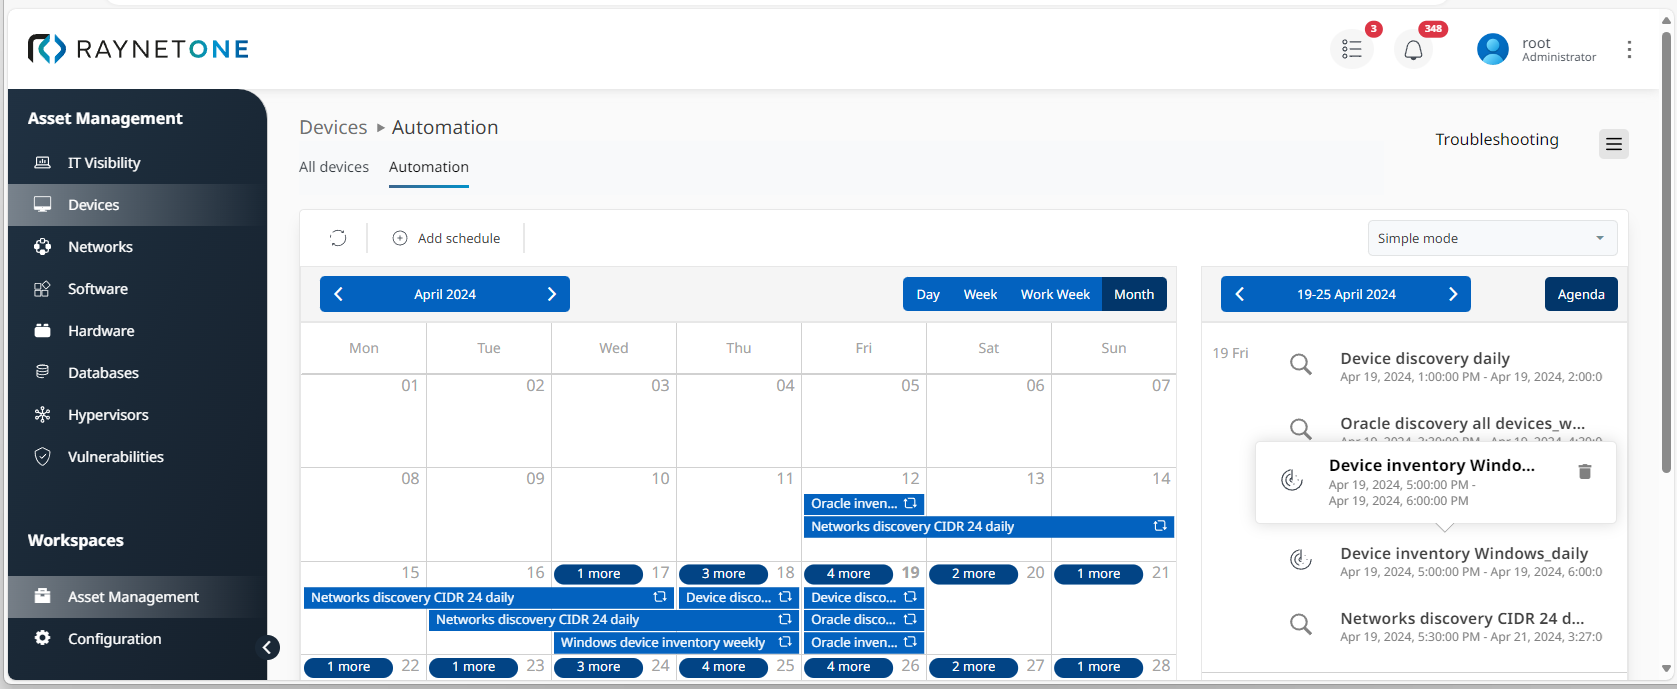
Under Automation in the Devices view, you can always view, edit and remove automated discovery and inventory jobs. You can also directly add new scheduled runs.
This is how it works:
1.Navigate to the Devices view in the Asset Management workspace. Then open the Automation tab.
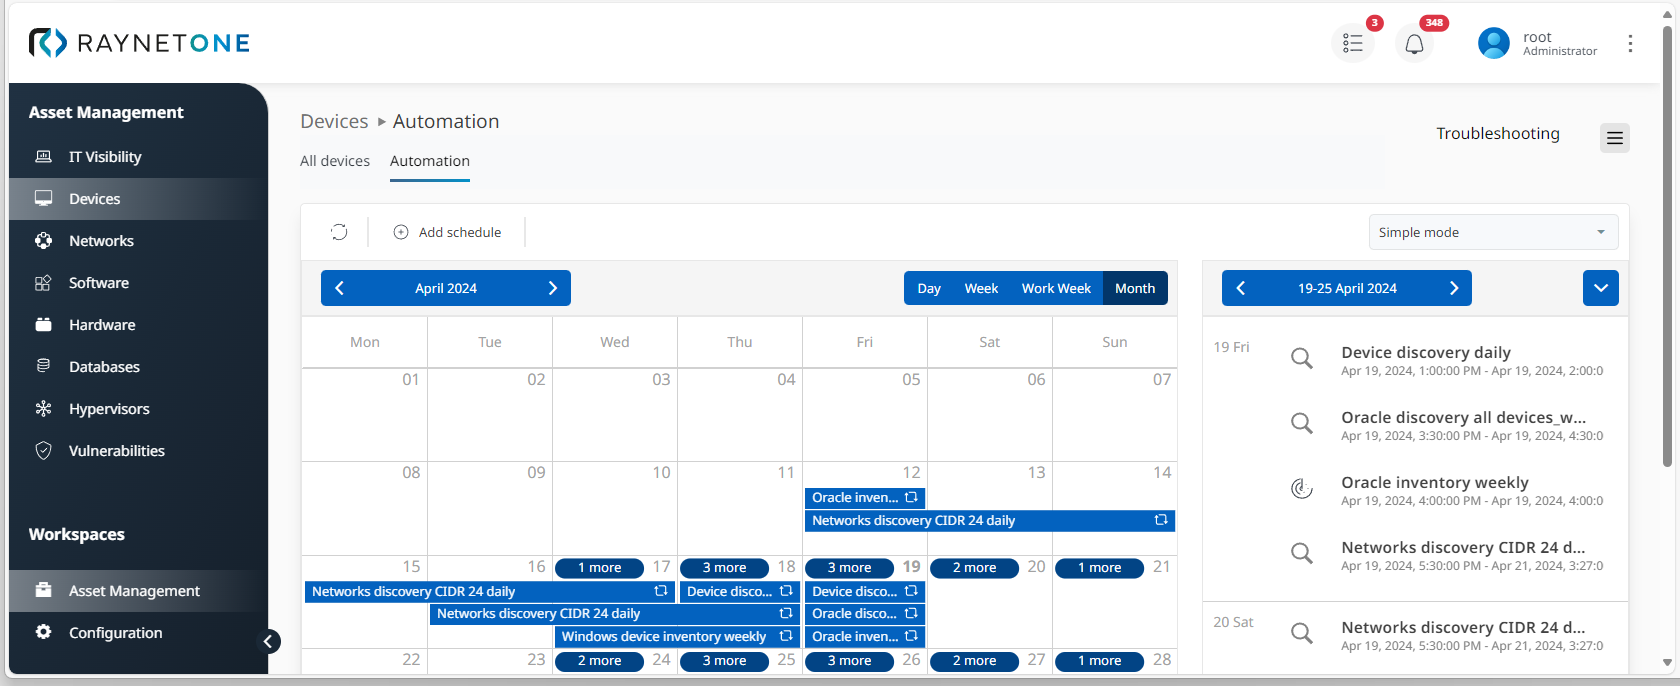
2.Click on Add schedule to select a scheduled job type. In this example, it will be Device > Inventory existing devices and the Device inventory wizard opens.
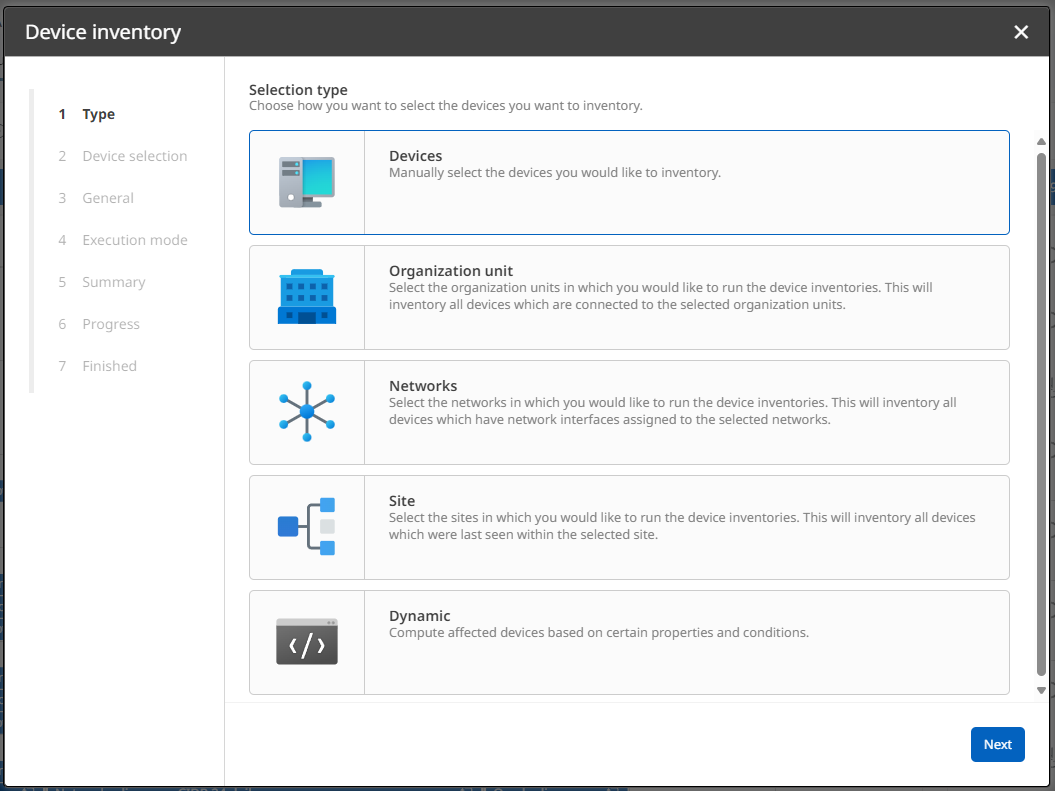
3.Choose a Selection type, In this example, it will be Devices. Then click on Next to proceed.
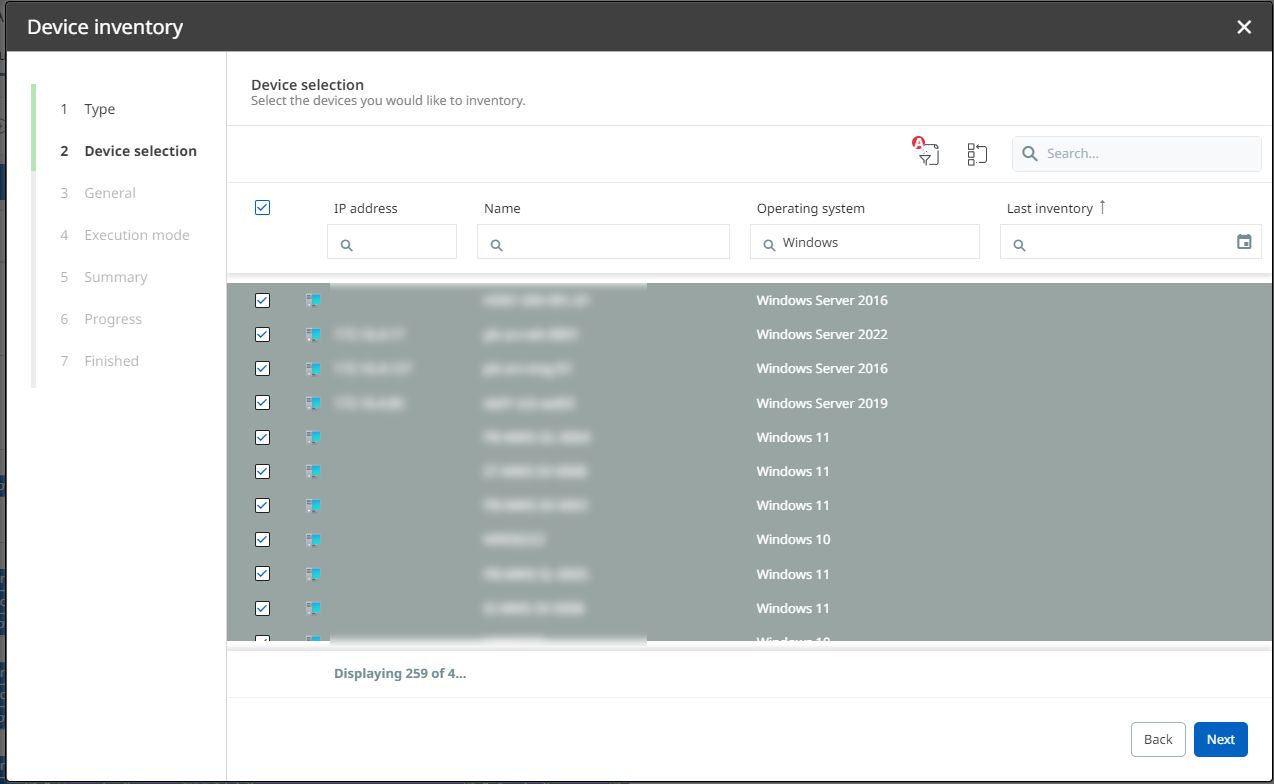
4.Select all devices which you want to start device inventory for and proceed. You can also apply filter and search functions. In this example, it will only be Windows-based devices.
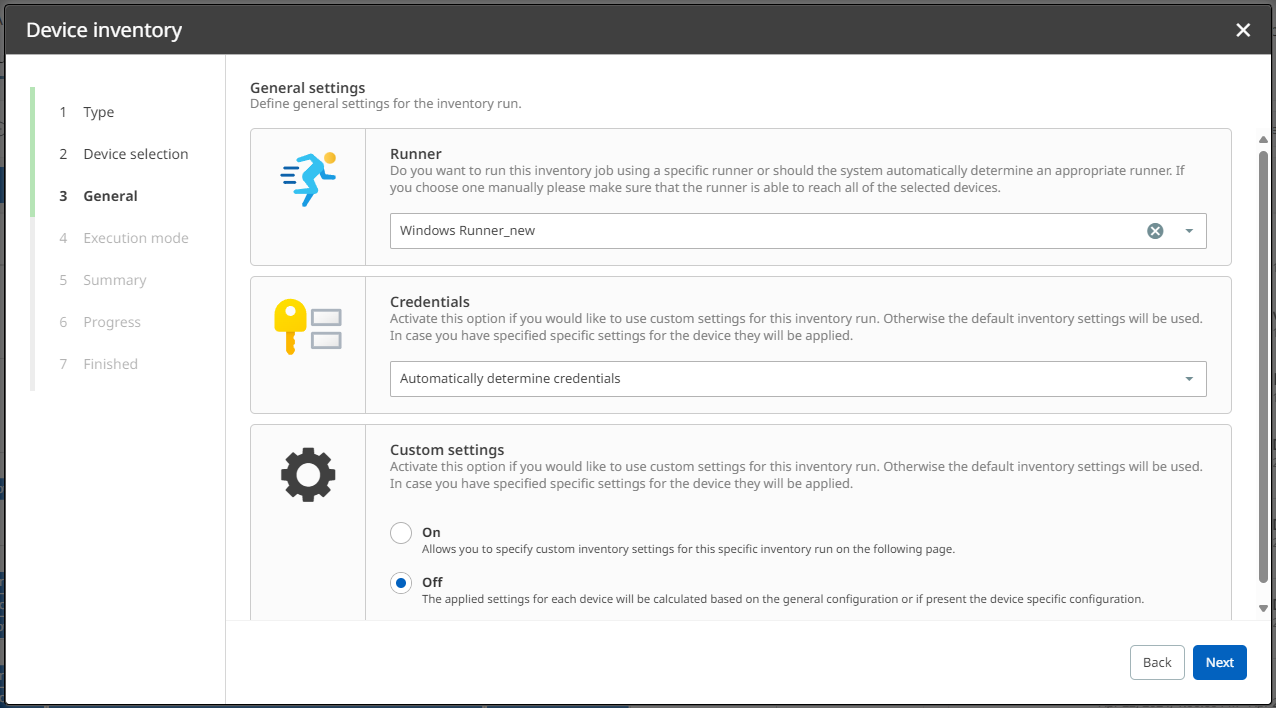
5.Under General Settings, select a runner and determine credentials. If required, also enable custom settings. For the current run, they will not be enabled.
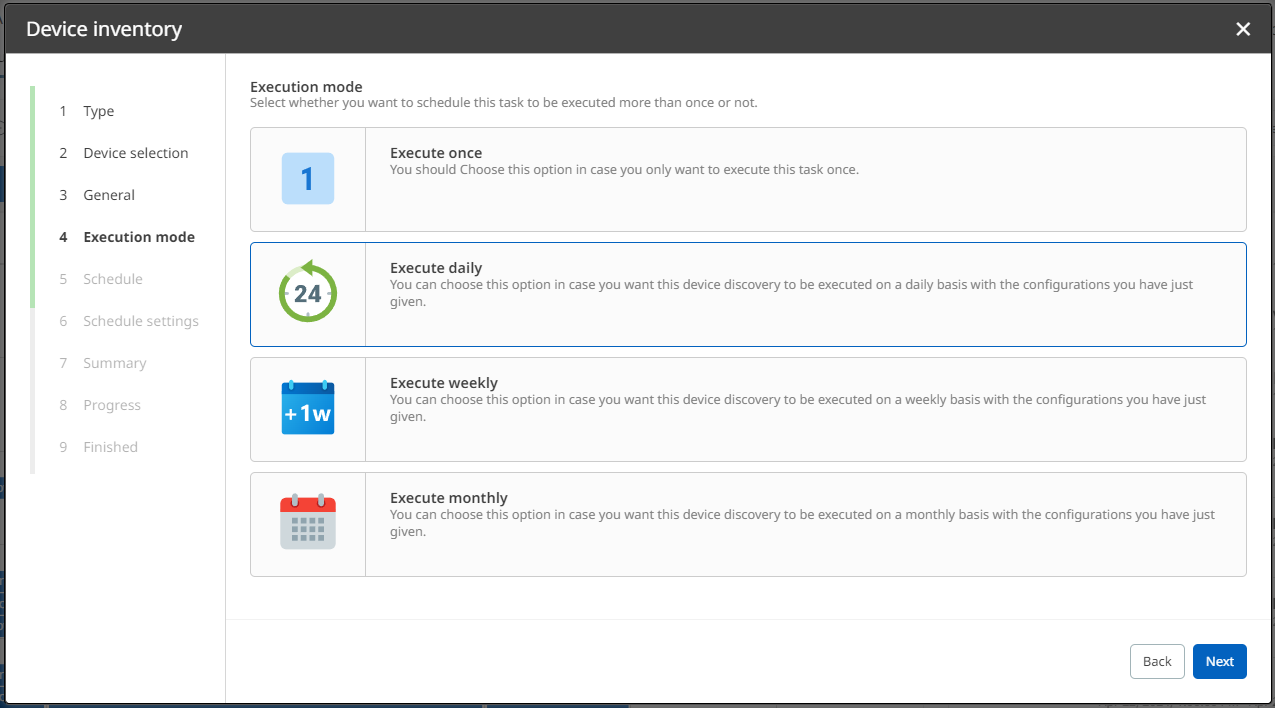
6.Select your preferred Execution mode. In this example, it will be a daily inventory run.
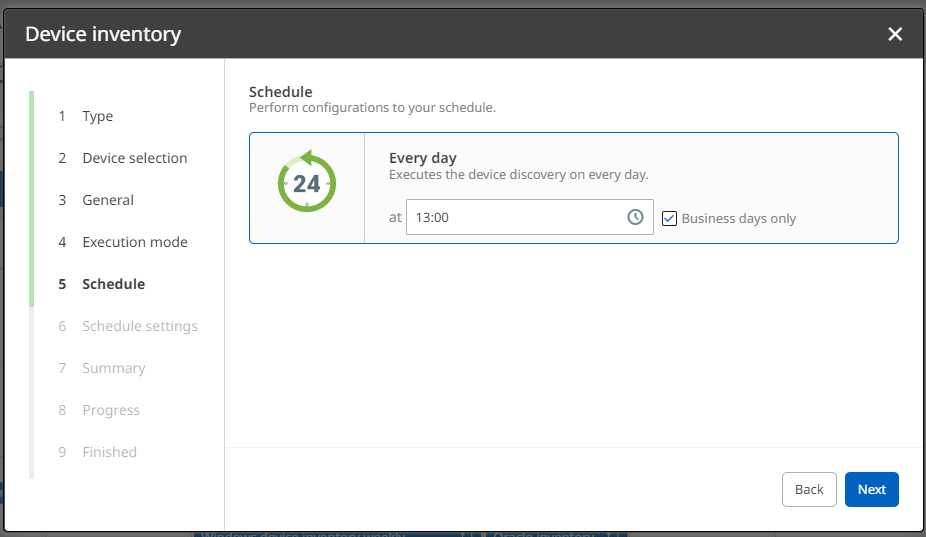
7.Define the days and time for the run to be automatically triggered under Schedule.
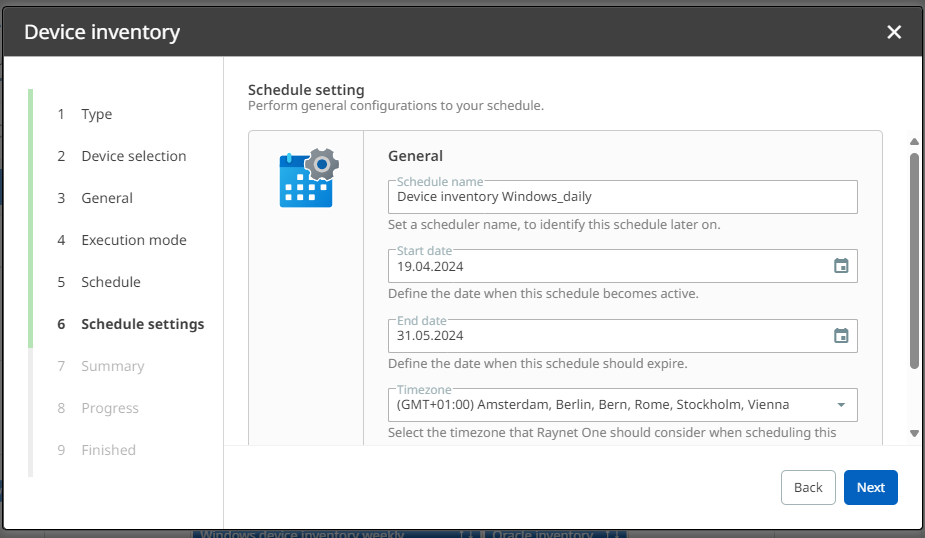
8.Determine all relevant schedule configurations under Schedule settings.
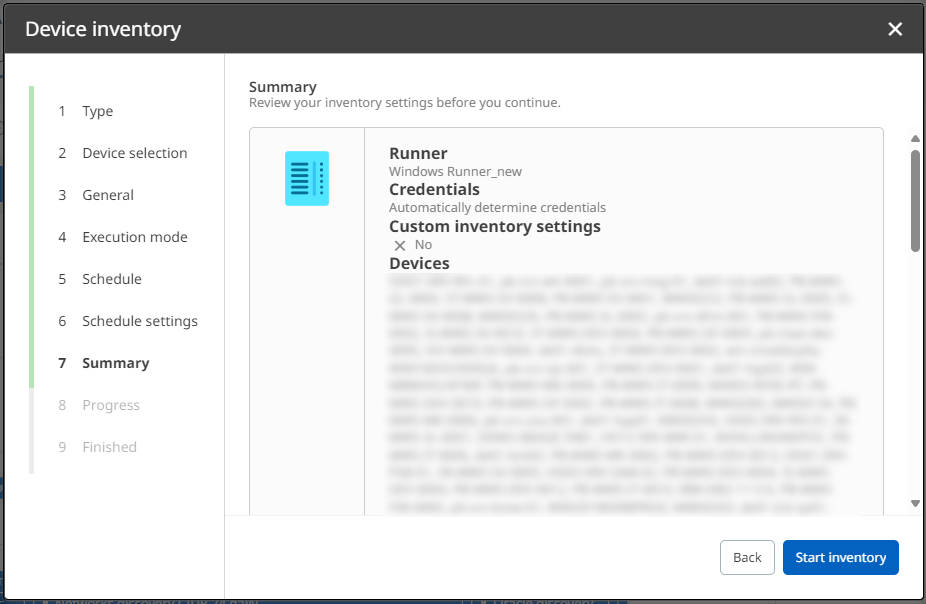
9.Check the Summary of your current discovery run. If all configurations are correct, click on Start inventory. Otherwise, you can always go back to previous steps.
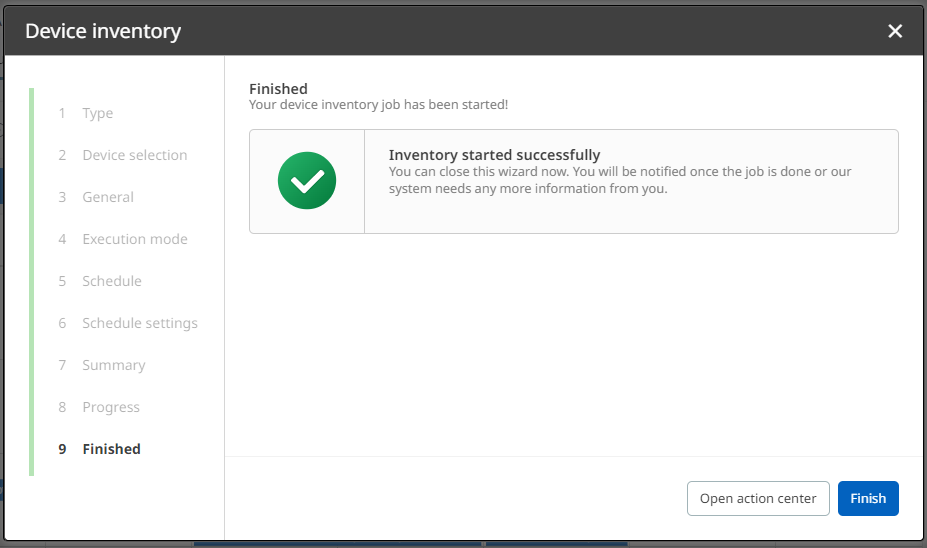
10.Click on Finish to finalize the process. Alternatively, you can open the Action Center to view details on your discovery run first.
Your recently created scheduled run is now listed under Automation in the Devices view and also in the Job list.
|
Tip: |