In many cases, it is not necessary to create a new automated inventory or discovery if your requirements change. If previously created scheduled jobs are sufficient, but require some adjustments, you can also edit them according to your needs. Here's how it works.
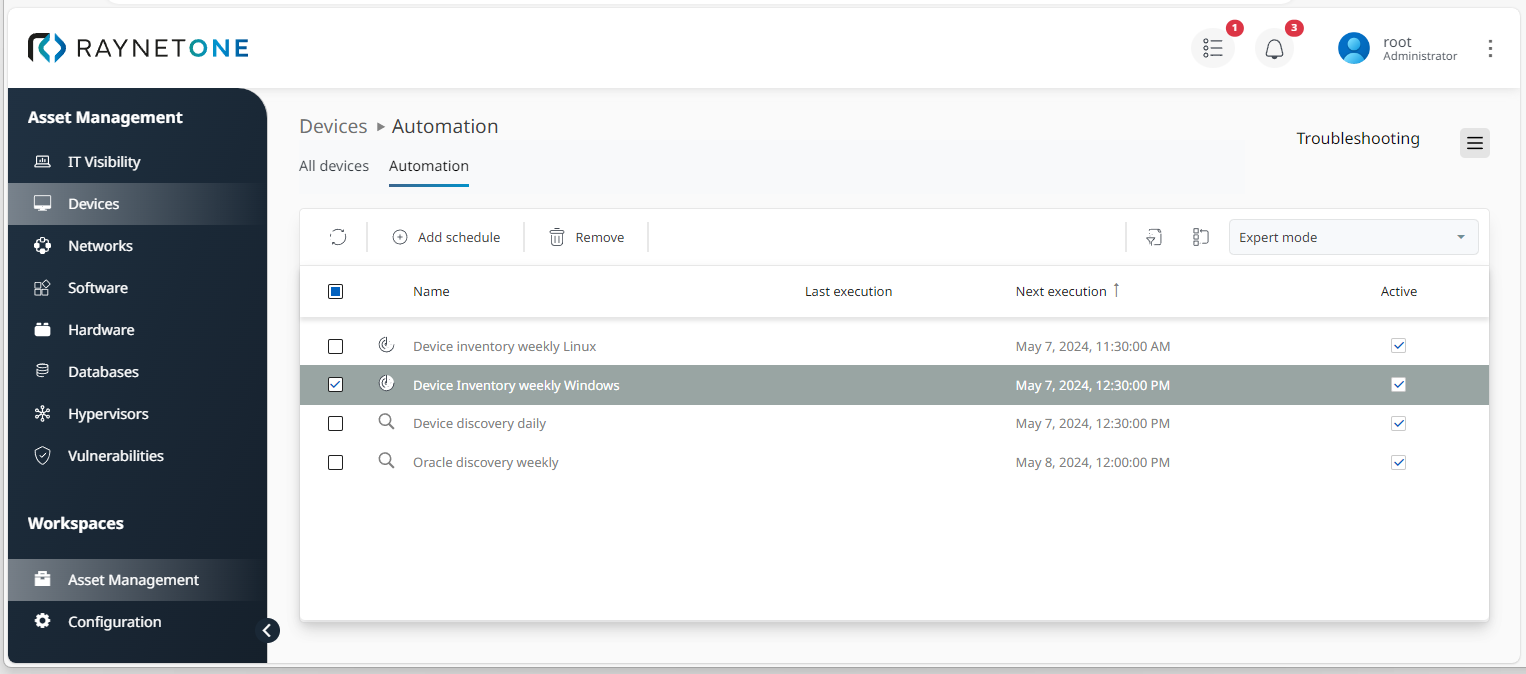
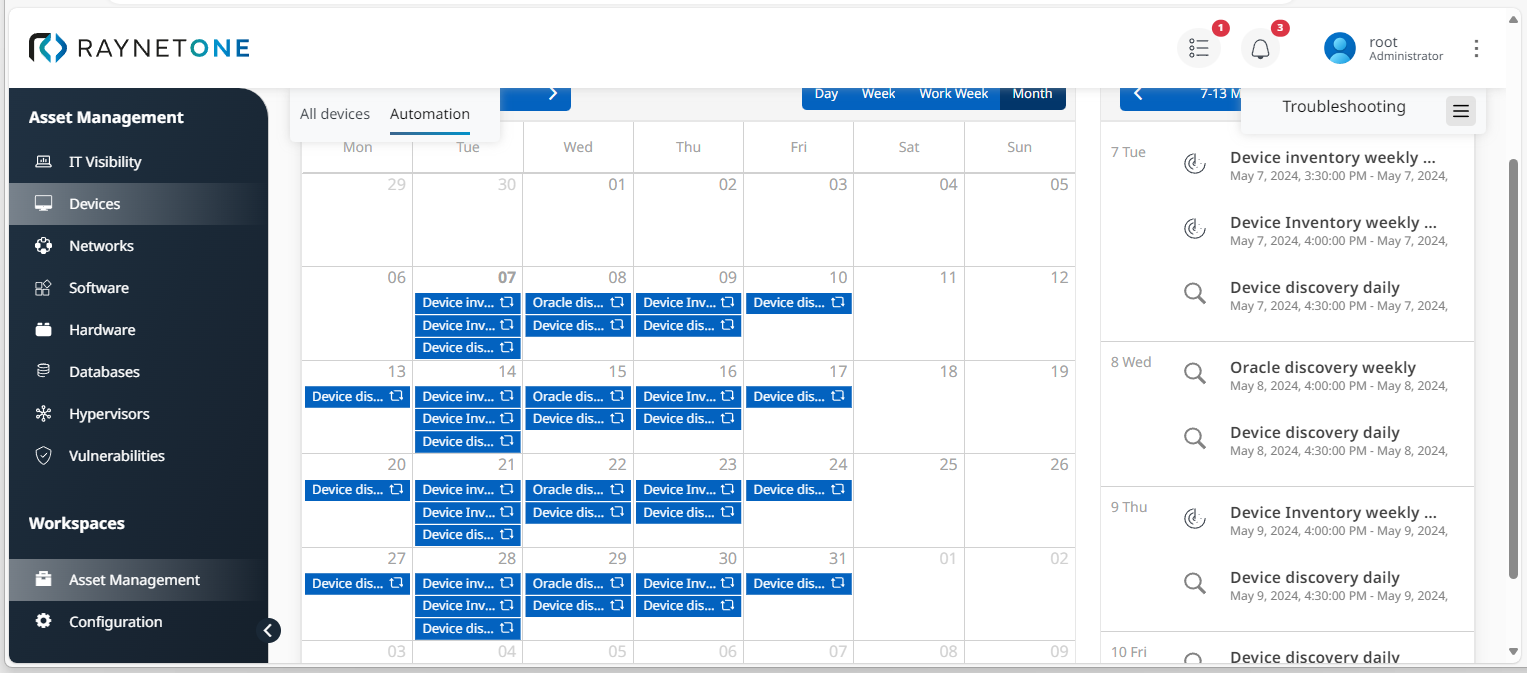
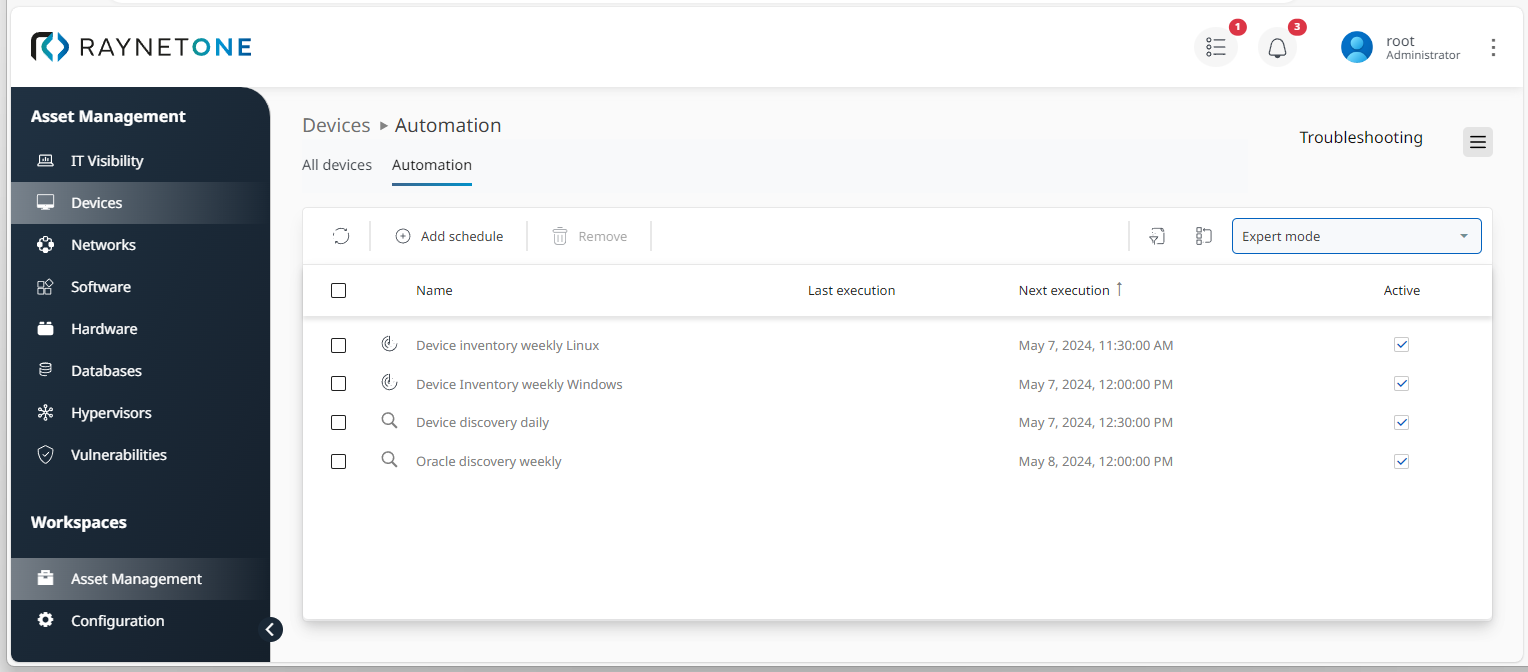
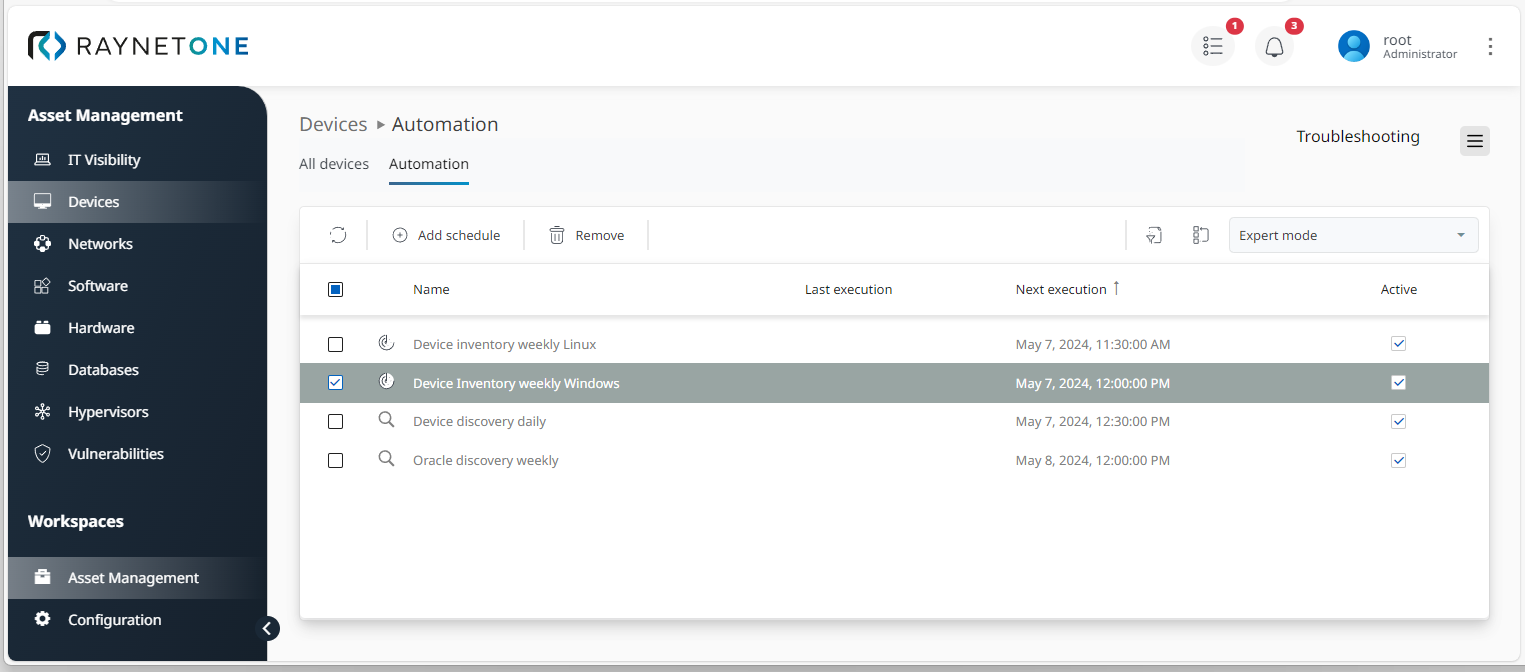
1.Open the Automation tab under the Asset Management > Devices. By default, this view displays all scheduled jobs in a calendar mode (also: Simple mode). In this case, however, Expert mode was selected to make you become more familiar with both modes.
2.Select a scheduled job by click in order to open the inventory or discovery wizard. In this case, it will be a weekly Windows device inventory job.
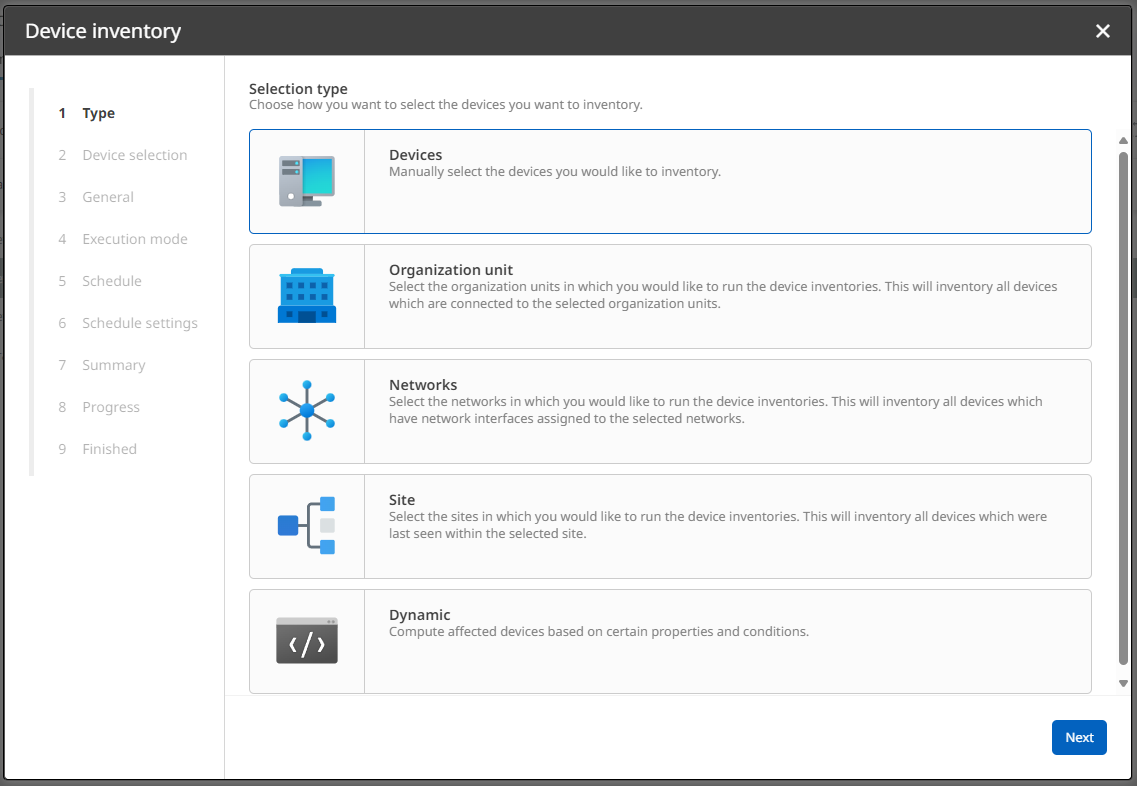
3.Choose a selection type and click on Next to proceed.
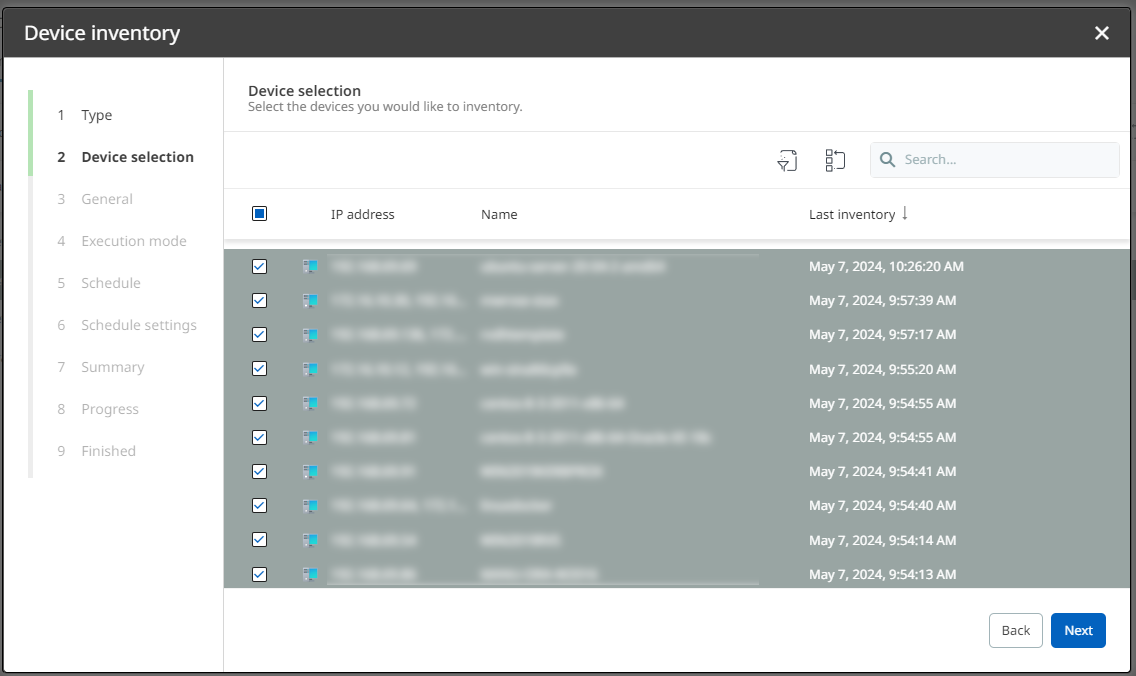
4.If required, change the selection of devices to be inventoried during this job.
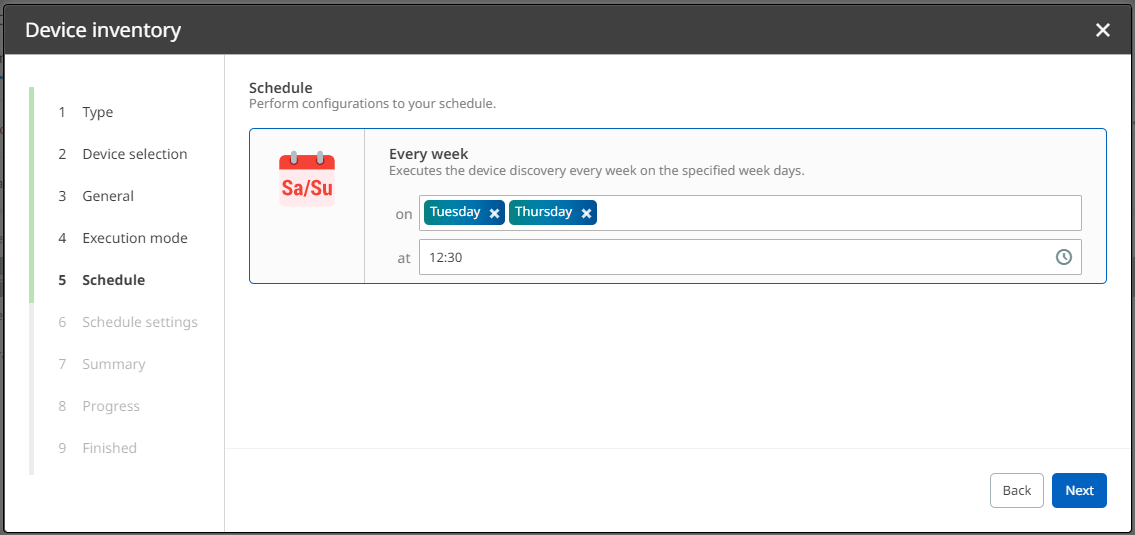
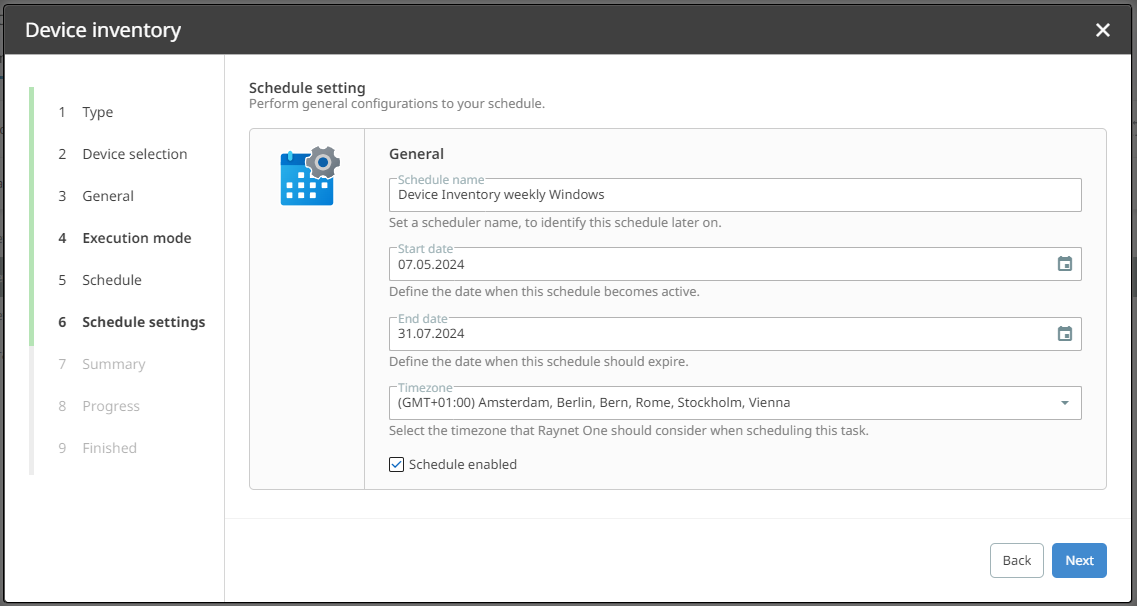
5.As scheduling via the Automation tab has been described before, only the actual adjustments will be shown. In this case, these will be changes about the time frame and end date of the weekly inventory run. Adjust all required configurations and proceed.
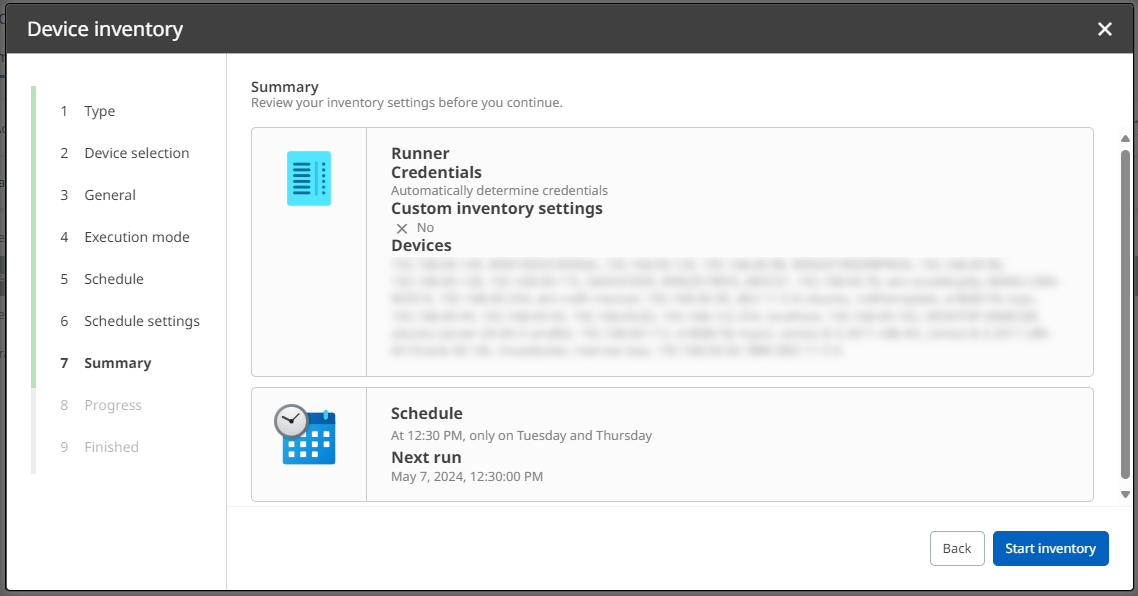
6.Check on your settings in the Summary dialog. If everything is correct, confirm them via Start inventory. Otherwise, you can always go back in the process.
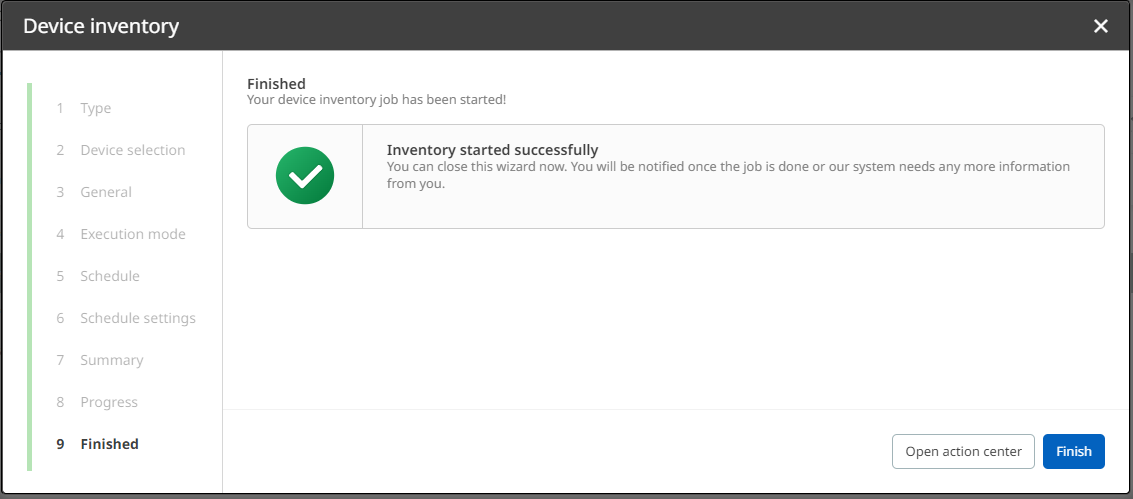
7.Click on Finish to finalize the schedule editing process and to confirm the new settings for your scheduled job. Your new settings are now listed in the Automation view.
