As mentioned before, you can and should integrate data sources into Raynet One in order to get the full array of data information during inventory and discovery jobs. If you want to add new integrations in order to simplify and automate your data work flows, here's how to do it.
1.Navigate to the Integrations view- It is located in the Sidebar menu in the Configuration workspace.
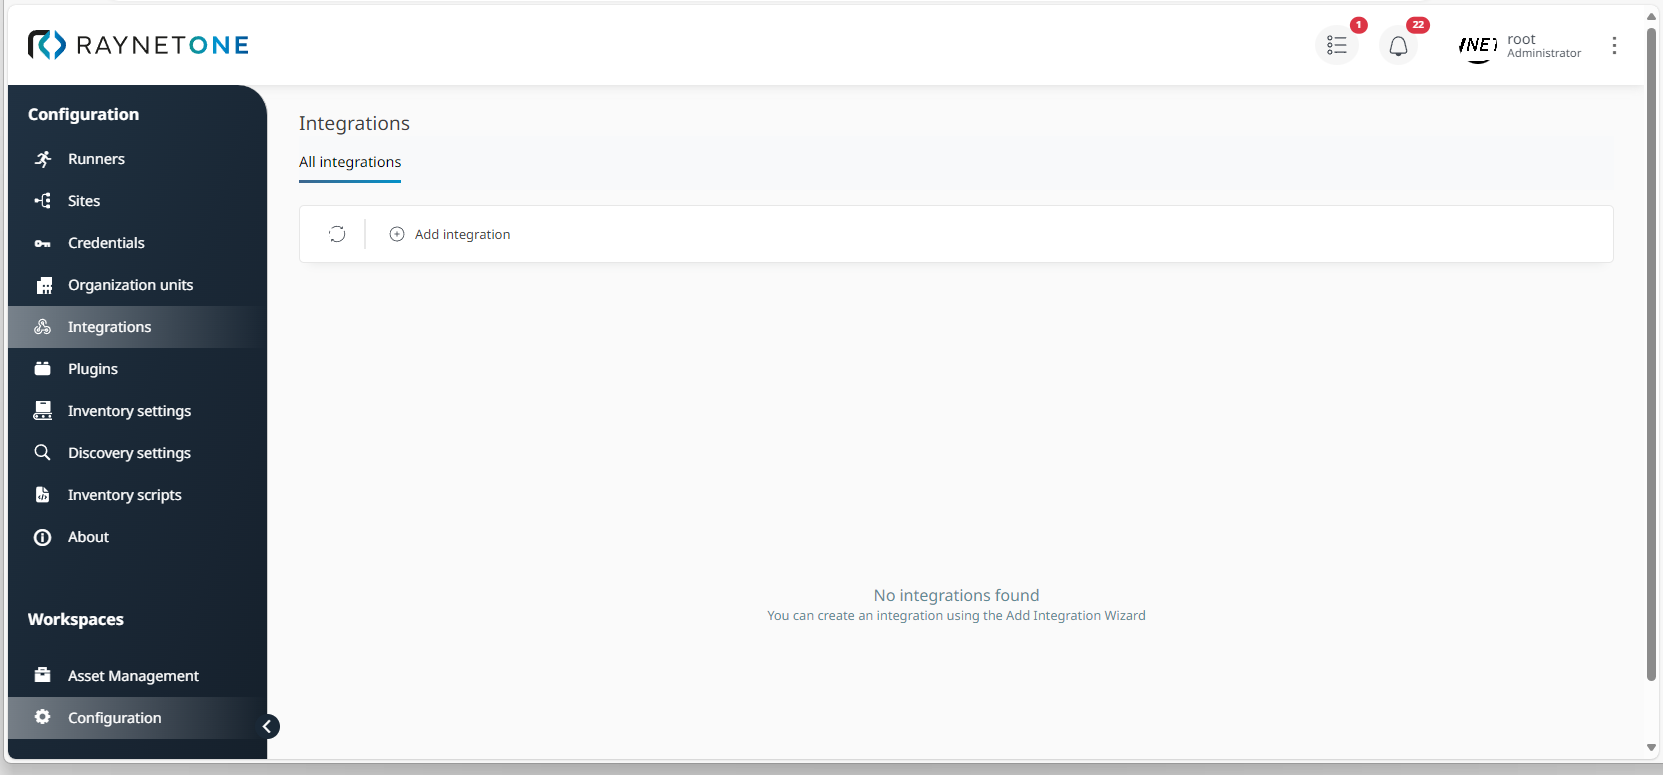
2.Click on Add Integration to open the Add integration wizard.
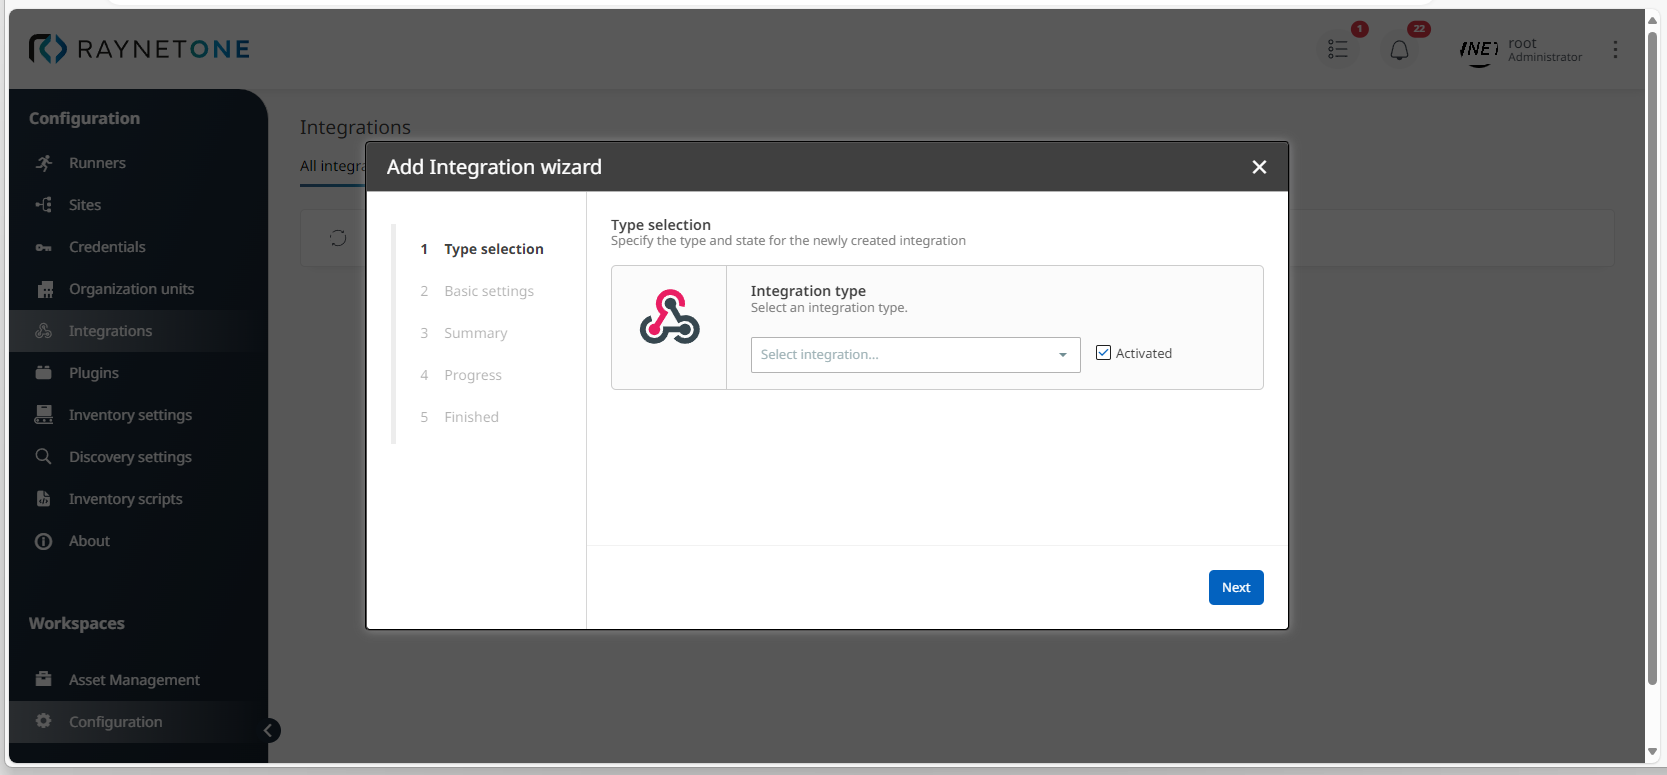
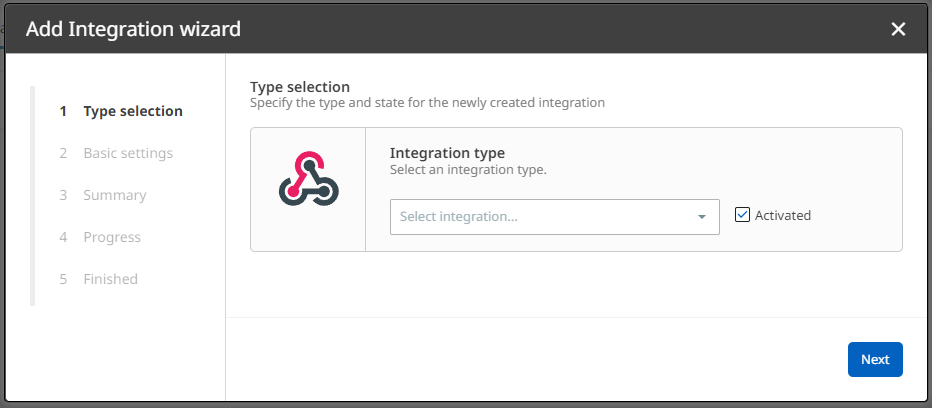
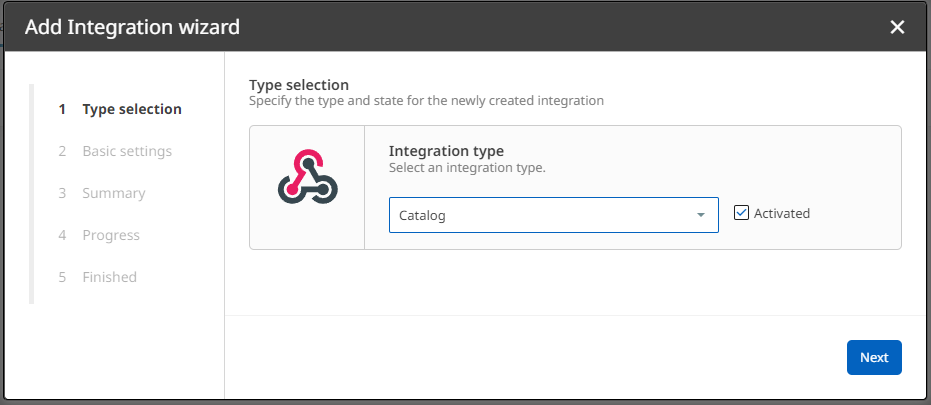
3.Under Type selection, select an integration. If you want to activate it right away, also click on the Activated check box. Then click on Next to proceed.
4.In the Basic settings dialog, enter a valid URL and an API key. If required , also select Edit default settings under Advanced settings. Alternatively, select Use default settings. In this example, Advanced Settings will be defined.
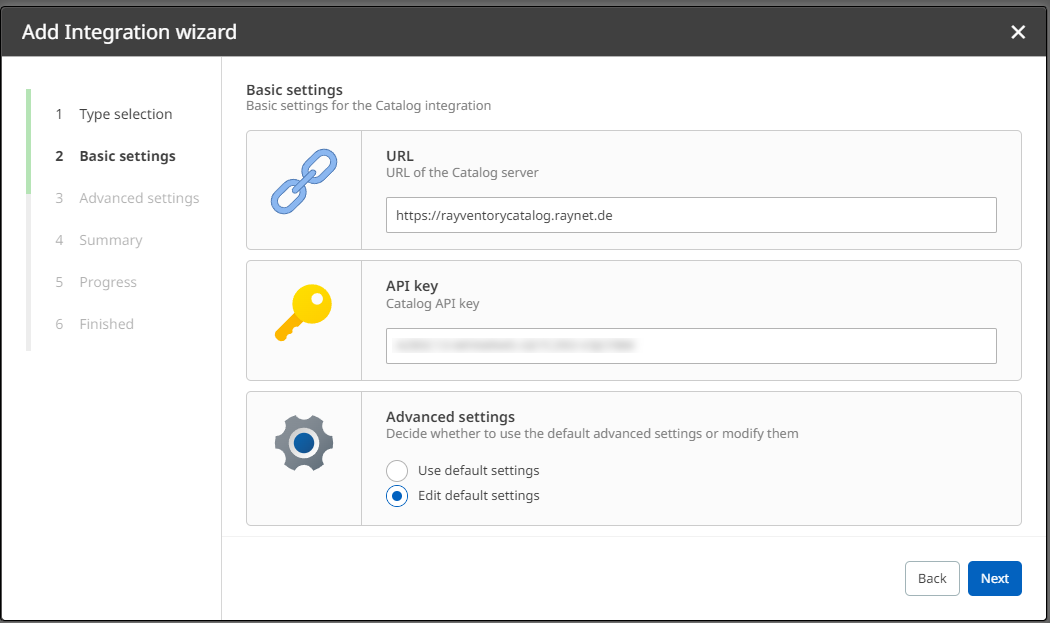
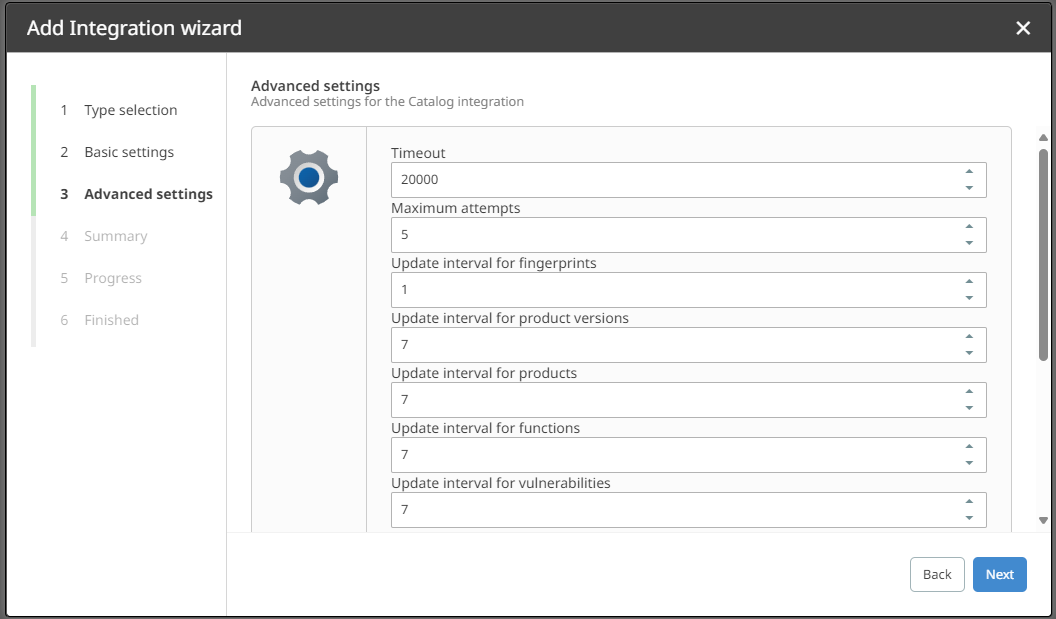
5.Define all relevant parameters under Advanced settings, then proceed via Next.
6.Check your new configurations in the Summary dialog. If they are correct, confirm them via Next. Otherwise, you can always go back in the process.

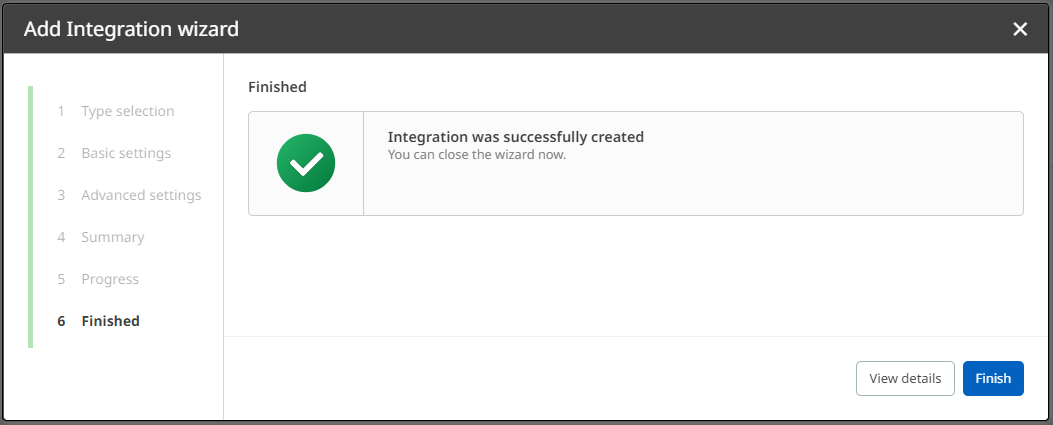
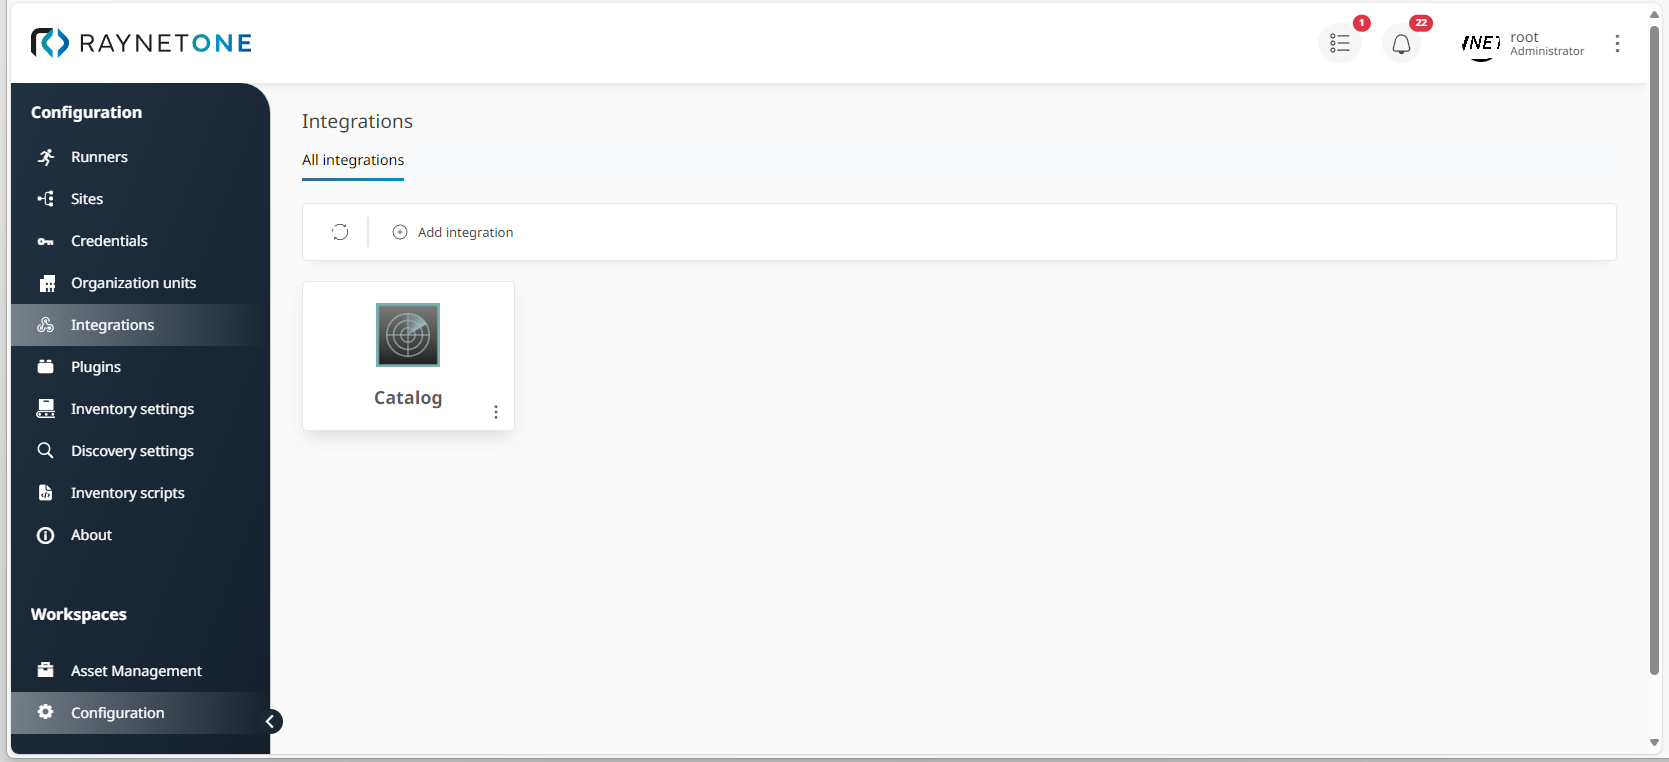
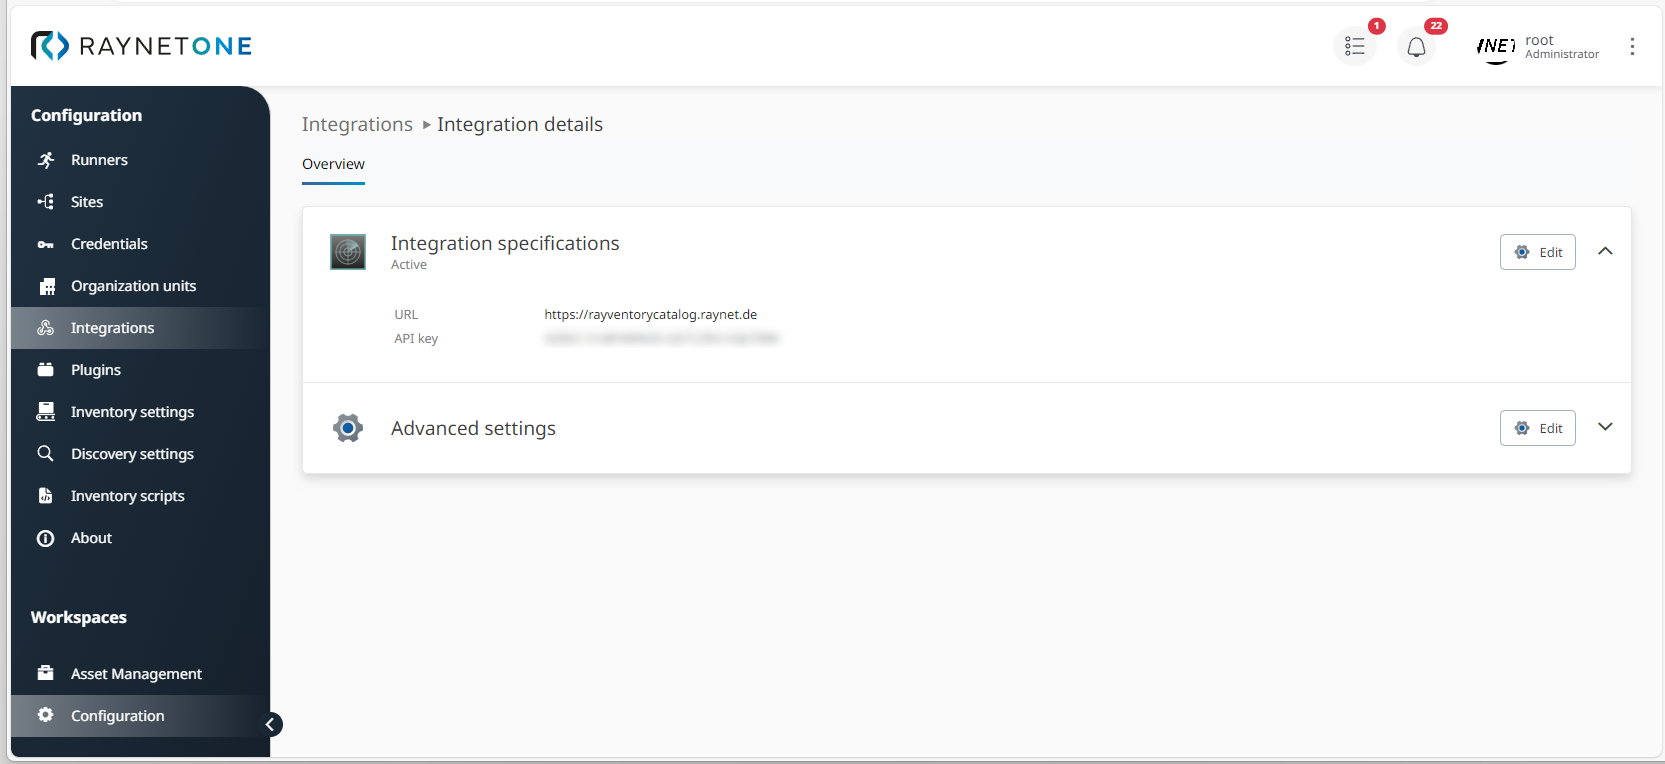
7.Finalize the process by clicking on Finish. Alternatively, it is also possible to view all integration details first. Now, your newly created integration is listed in the Integrations view. From there, you can inspect and edit the integration in the Details view (optional).
