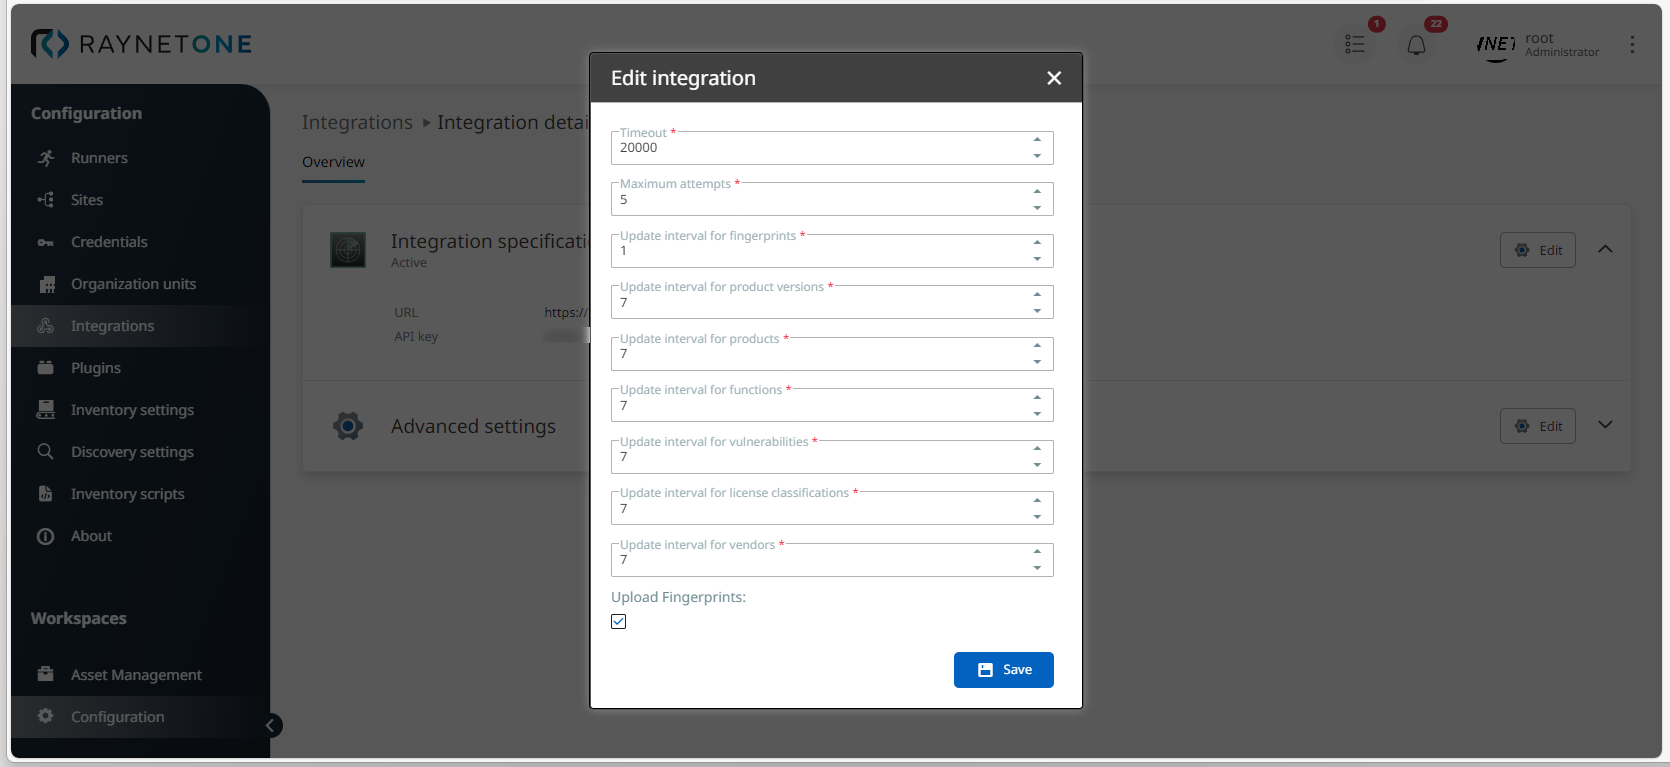
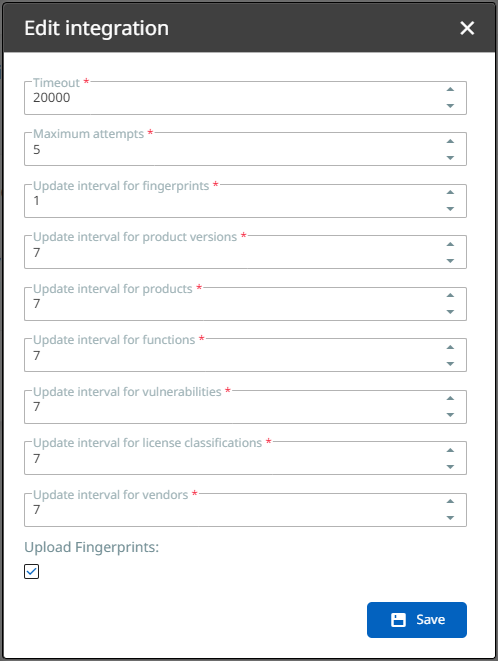
Sometimes you will need to inspect and adapt your automated integration settings due to relevant changes in your IT landscape and work flows. In this case, there's new need to add a new integration and recreate all the settings. Instead, you can compare an existing integration and change single parameters in its configuration with a few clicks. Just follow the step-by-step instructions.
1.Navigate to the Integrations view- It is located in the Sidebar menu in the Configuration workspace.
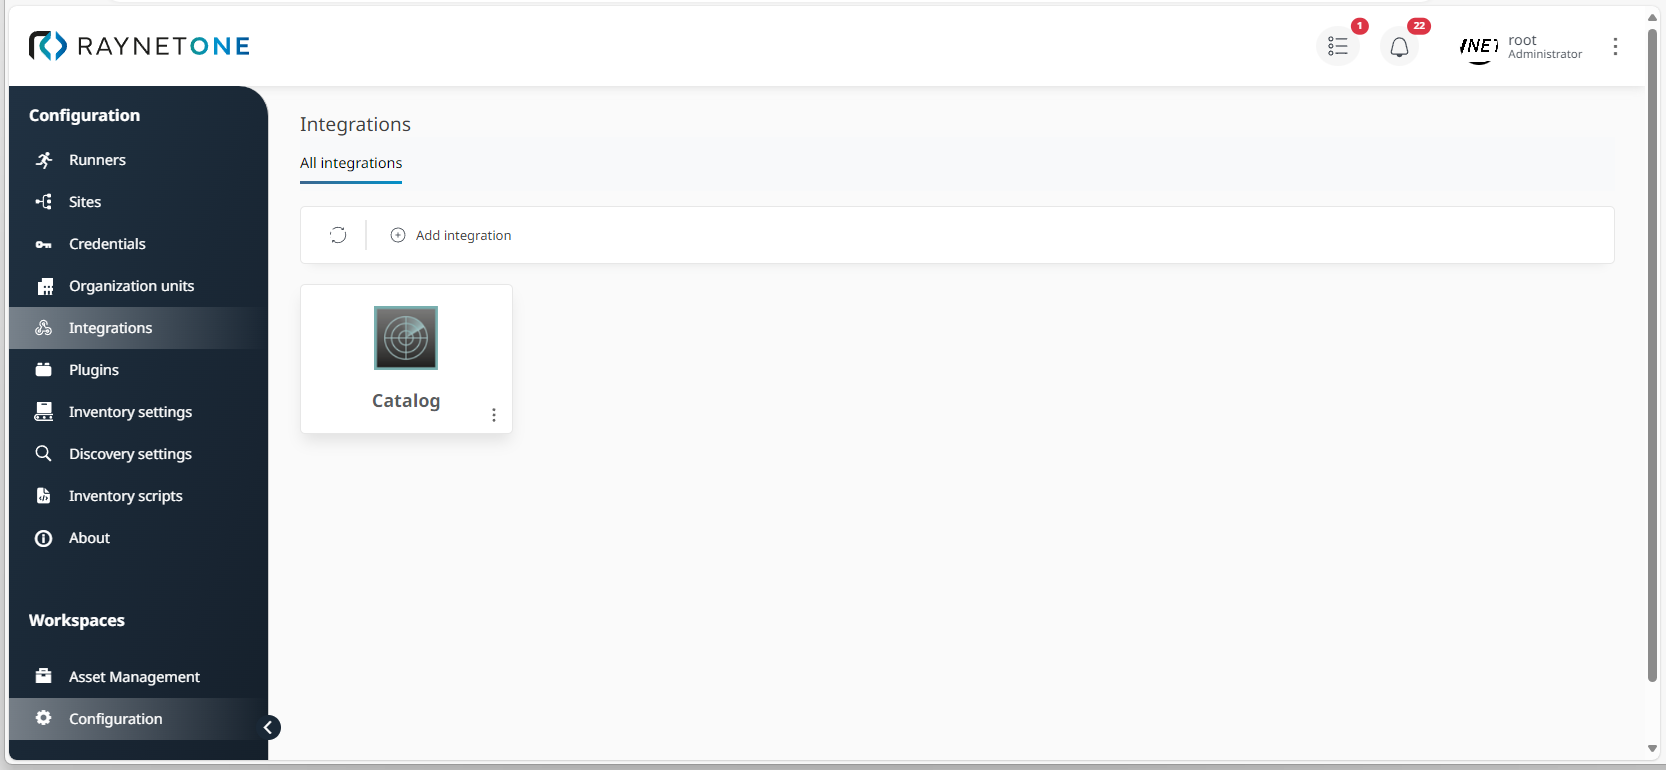
2.Select an integration via right-click. Now you can choose between the options Delete, Details and Deactivate. In this example, it will be Details.
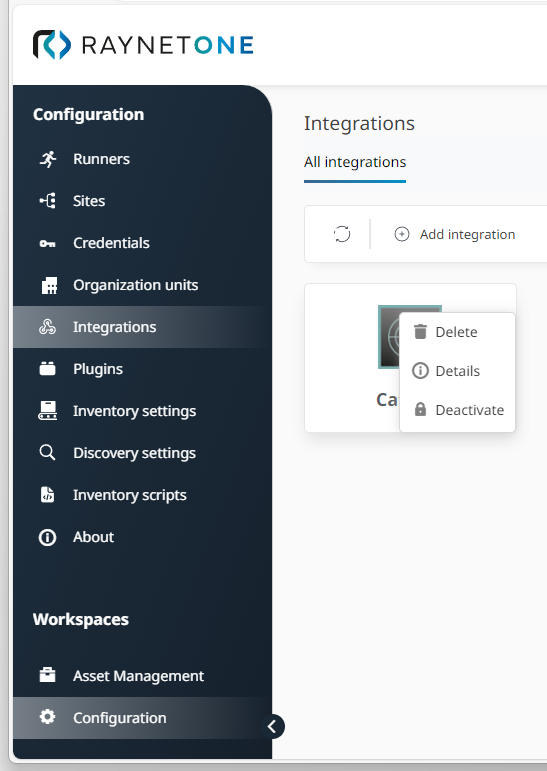
3.Click on Details to open the Integration details view. You can now view available specifications.
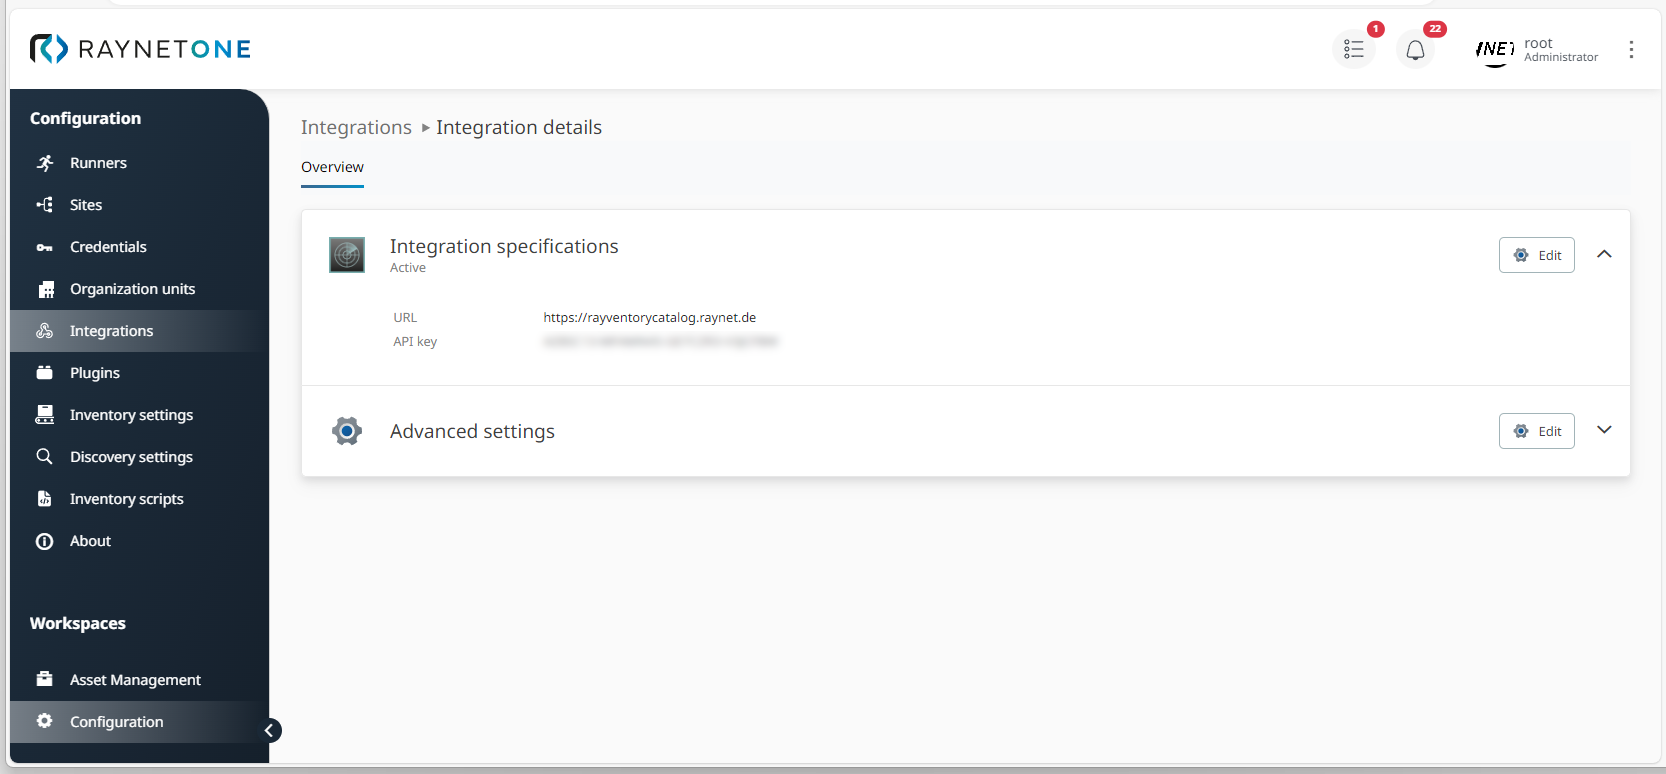
4.In the Integration specifications section, click on Edit to open the Edit integration wizard (optional). Adapt your settings and confirm them via Save.
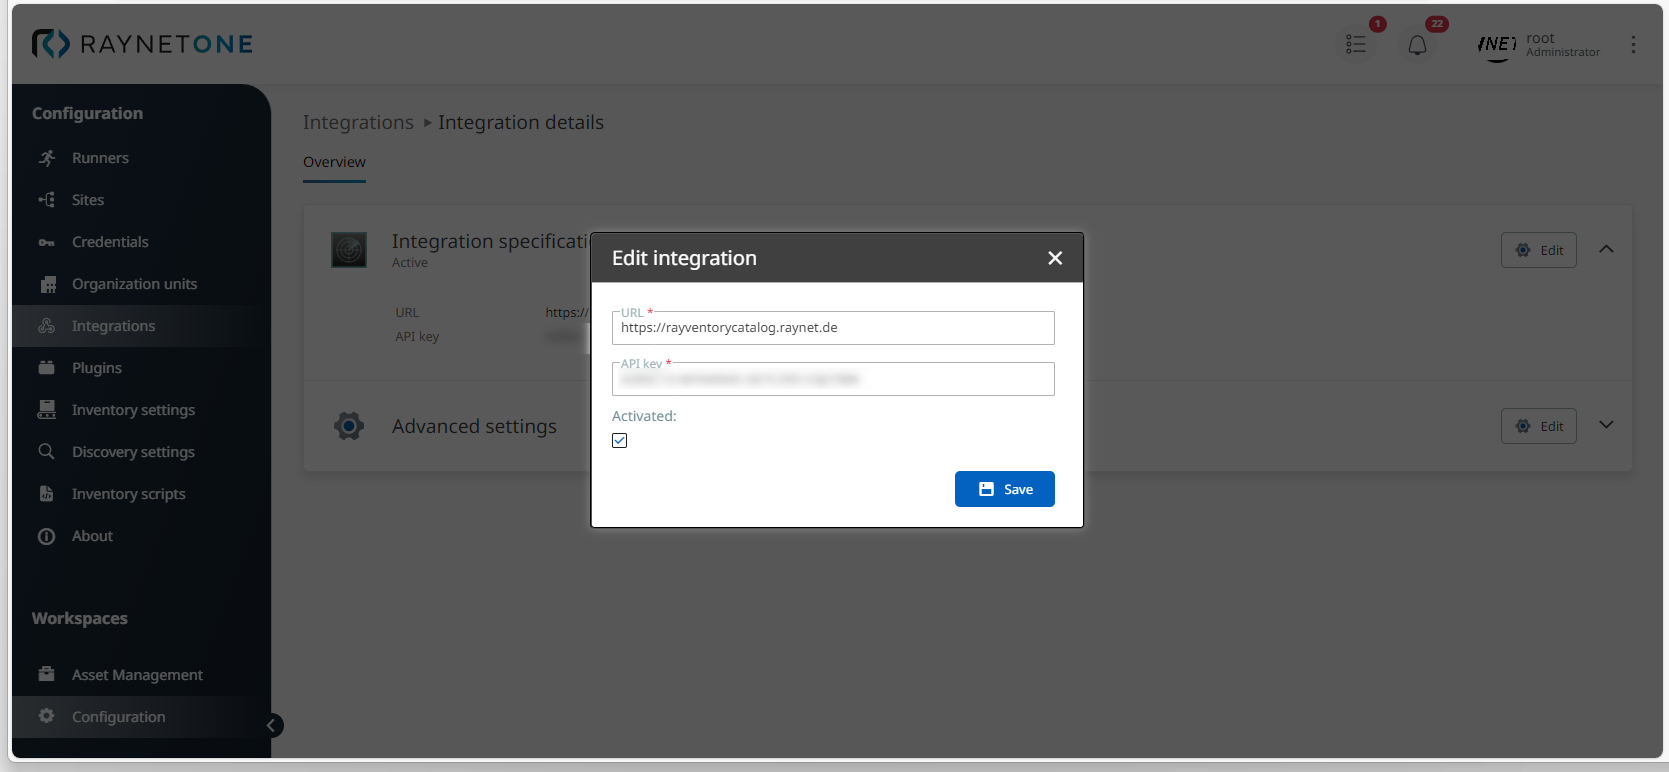
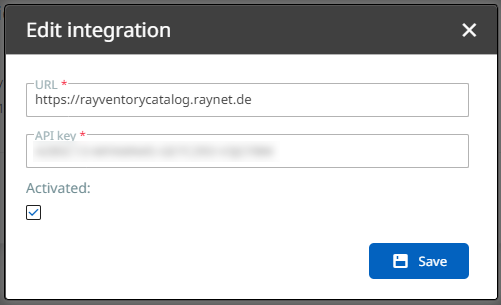
5.If required, click on Edit in the Advanced settings section. In the Edit integration wizard, adapt your settings and click on Save to confirm them. Your integration settings are now up-to-date.
