Before you can discover your IT landscape and create an asset inventory, you have to add explorable networks first. In order to access networks in your managed environment to get data from, you need to add them in the Networks view in the Configuration sidebar.
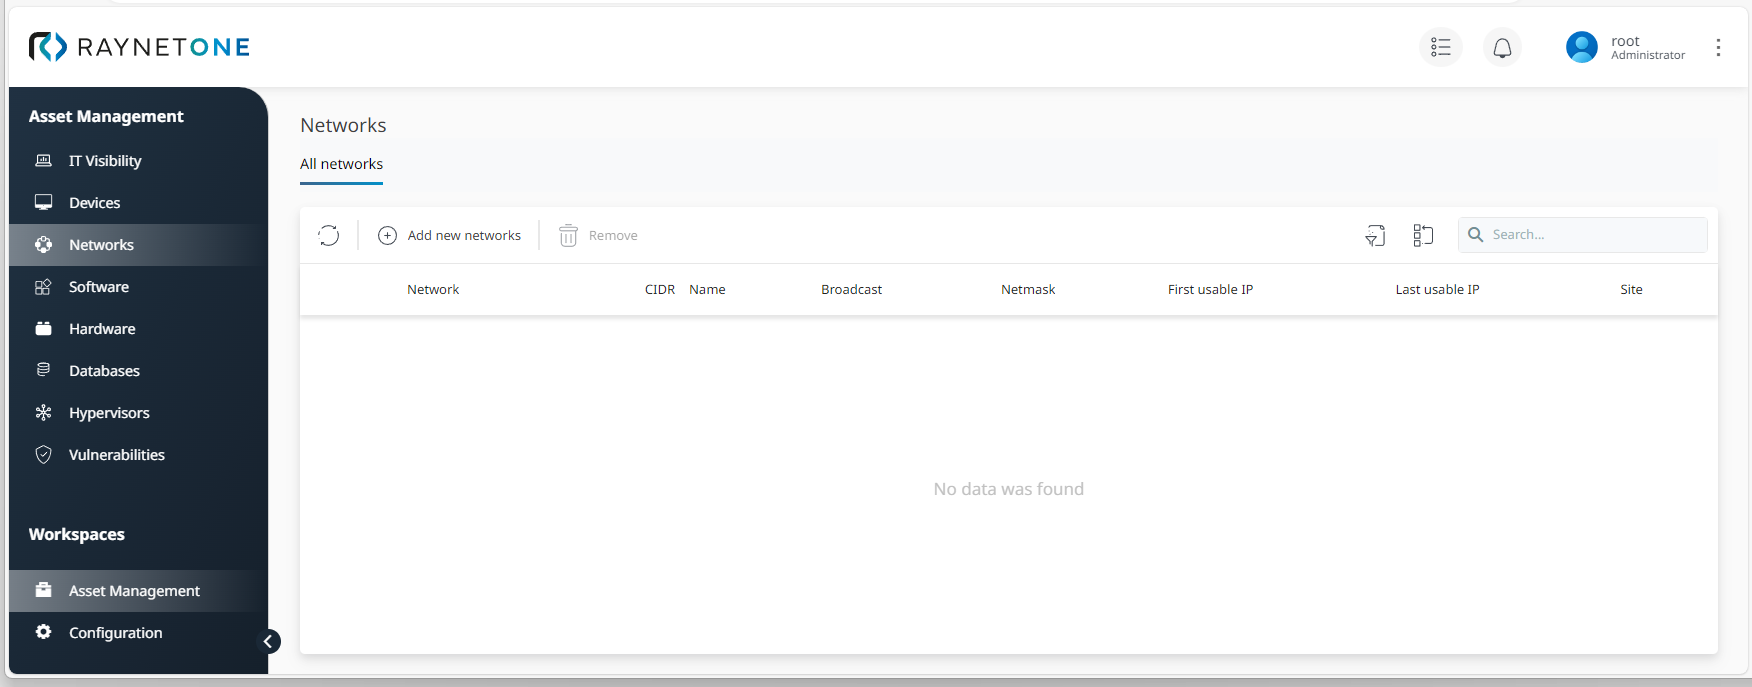
1.Navigate to the Networks view. Then click on Add new networks to open the related wizard.
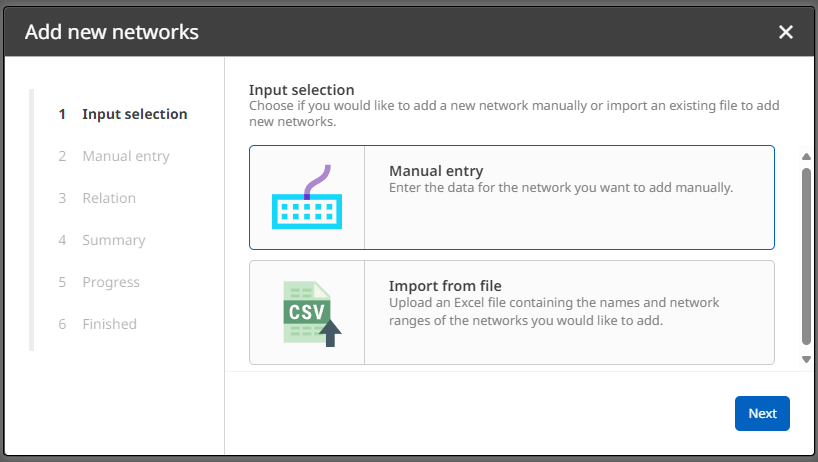
2.Select your preferred option under Input Selection. In this example, it will be Manual entry. Then click on Next to proceed.
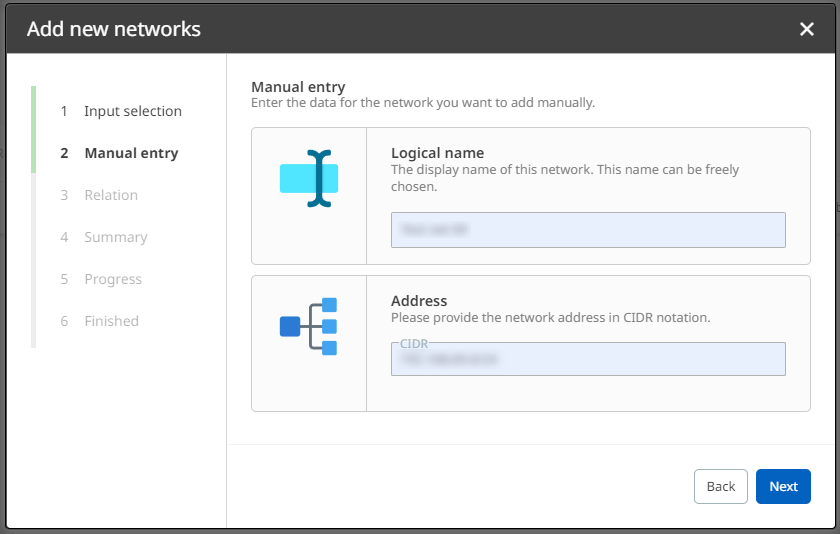
3. Enter a logical name and an address for your new network and click on Next to proceed.
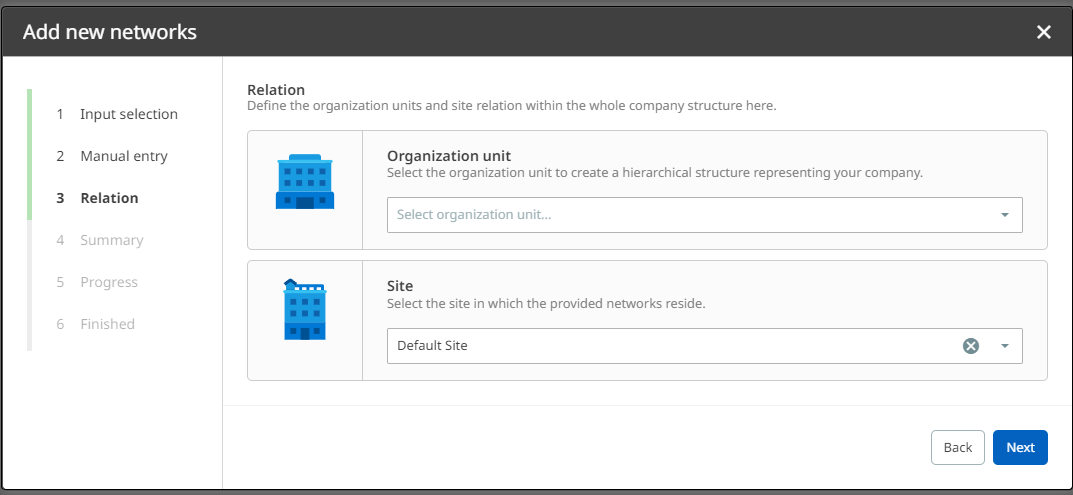
4.Under Relation, assign your network to a site (also see chapter Sites). Optionally, you can also define an organization unit (see chapter Organization units). Proceed to the next dialog.
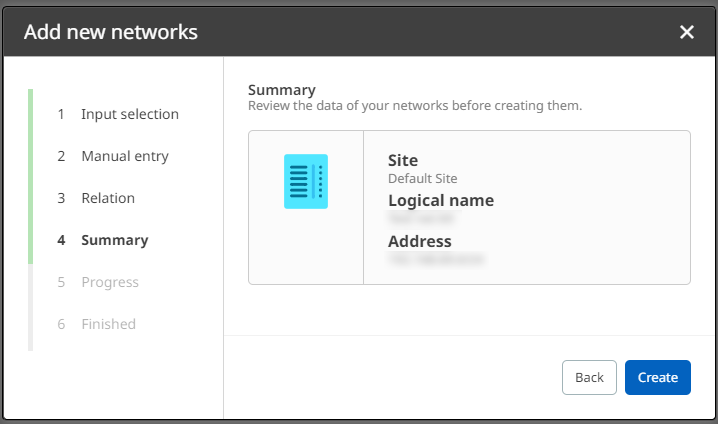
5.Verify the summary of your configurations. If they are correct, click on Create to add the network. Otherwise, you can always go back to previous steps.
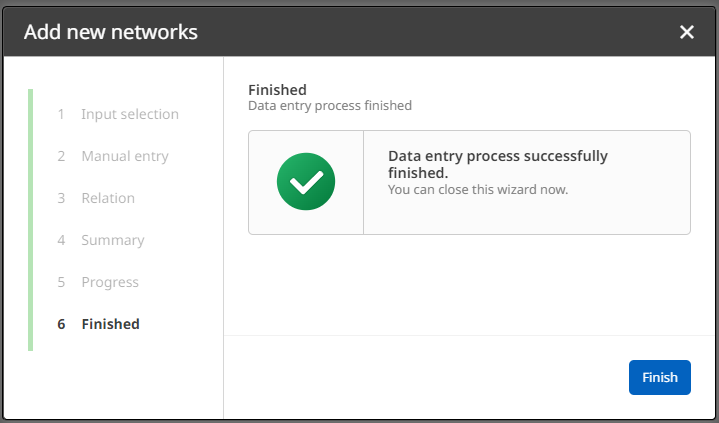
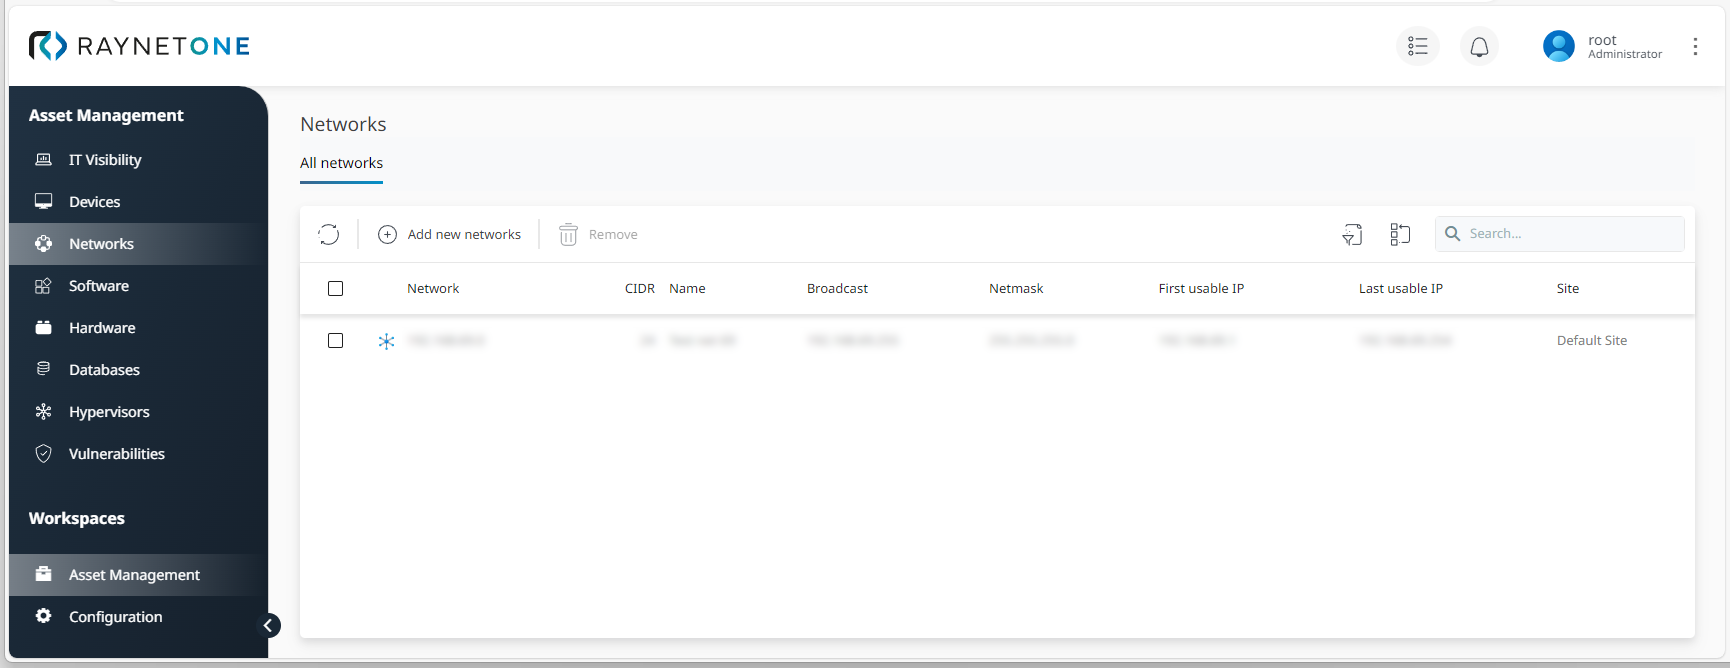
6.Click on Finish to finalize the process. The newly created network is now available in the Networks view and ready for discovery.
|
Tip: |