The Web browser section is shown.
Within the Web browser section, select the browsers the web application should be tested against. There are three browsers available for selection: Internet Explorer 9, Internet Explorer 10, and Internet Explorer 11. A user can either execute tests on a web application for all the browsers or in a mixed mode. Initially all the browsers are selected; users can simply deselect any browser by clicking on it.
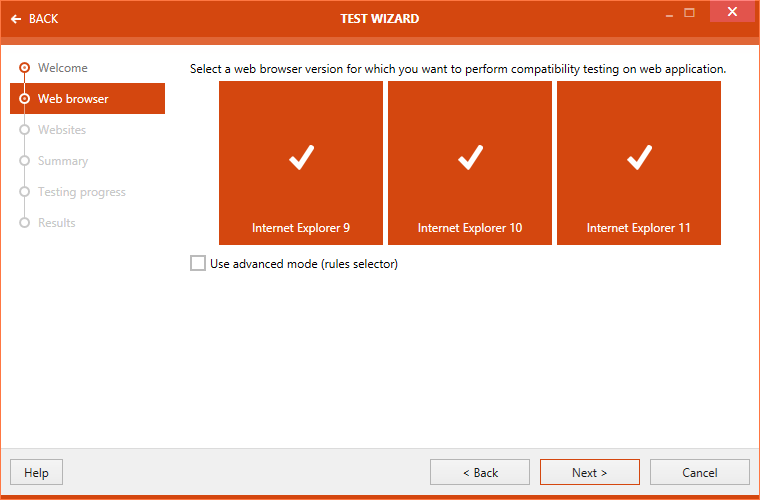
Use advanced mode (rules selector)
Activating the advanced mode, provides the user with an ability to choose testing rules from the supported areas of testing. When this option is not activated, then a package is tested against all the rules from the areas of testing.
Click on the Next > button to proceed.
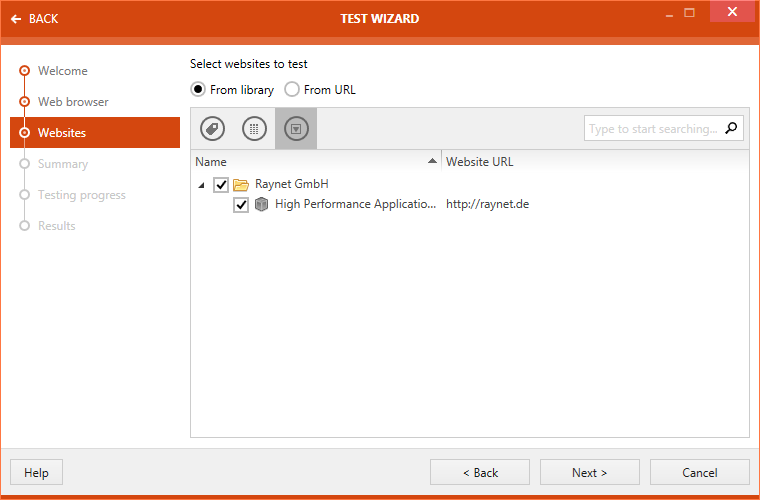
Select package to test.
Two radio button options are available to users: From library and From URL.
From library:
When this option is selected, then the web applications in the software library are shown. Navigate and select the desired web application for testing.
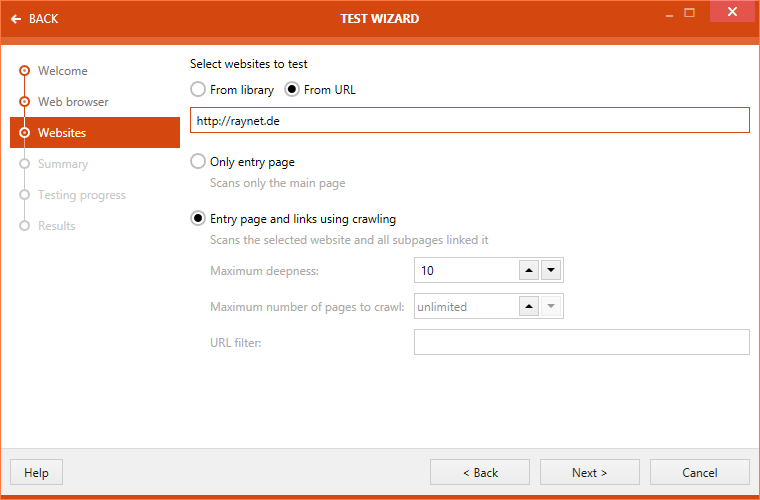
From URL:
a) When this option is selected, enter the URL of the website into the corresponding field. Then specify whether only the entry page should be tested or if crawling should be used.
If crawling is used, define the deepness and the maximum number of pages to crawl. It is also possible to set an URL filter.
|
Be aware: |
Once the web application has been configured click upon the Next > button.
The Summary section is now available. The test criteria are summarized under this section. This summary includes information on the web application and a list of test rules against which the test will be carried out.
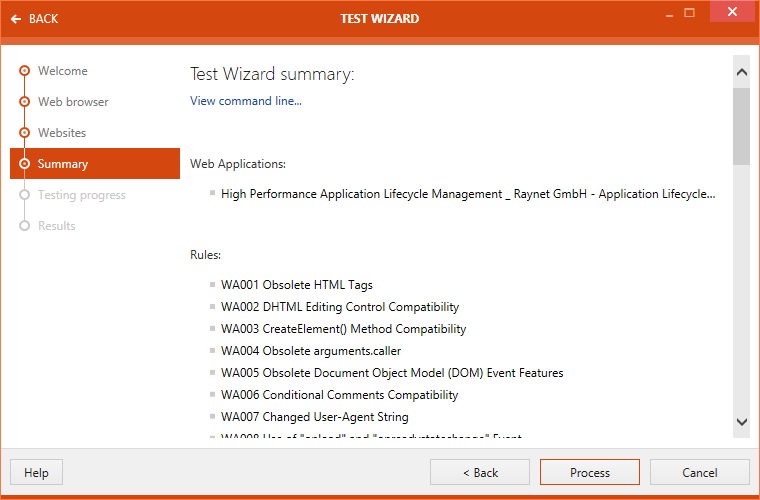
Click on the Process button to start executing test.
|
Be aware: Because the files of the web application that is going to be tested will be fetched in the moment you perform the test, you need a connection to the URL of the target web application. |
The progress of the test is shown.
After the test are finished the Issues and fixes view will be displayed. The issues found in the web application are listed here. Select the issues that are going to be displayed in the report by checking the checkbox next to the issue.
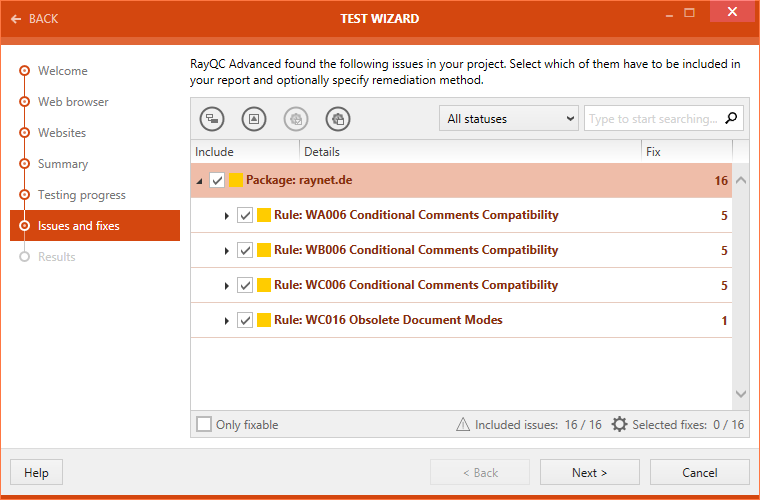
Click on the Next > button to proceed.
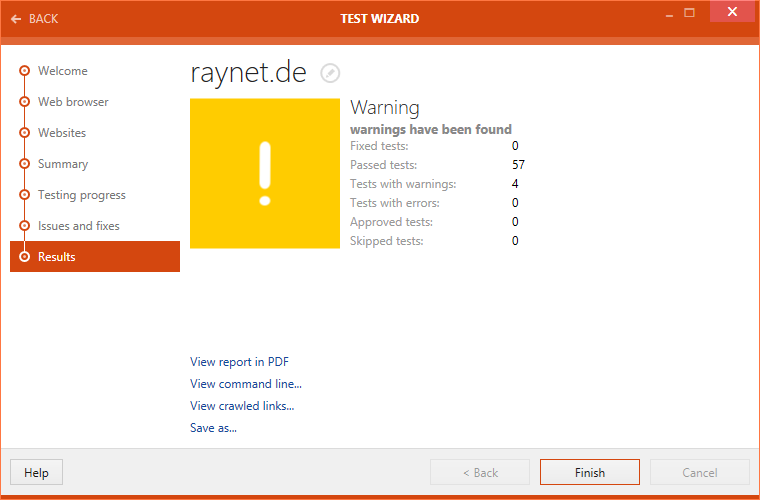
After the test is finished, the result will be shown in the Results section. There are different options available:
•View reports in PDF: Click on this option to open the test result in .pdf format.
•View command line...: Click on this option to view the command line arguments for the current testing scenario.
•View crawled links...: Will show the specific links that have been crawled while testing the application
•Save as...: Click on this option to export the test result in one of various available formats. Possible formats are: .pdf, .docx, .doc, .html, .xps, and .xml.
If the After pressing FINISH save the results of the test scenario in the catalog option is checked the results of test will be saved in the library after clicking on the Finish button. Untick the option if the result should not be saved in the library. By default the checkbox is ticked.
Click on the Finish button to close the TEST WIZARD.