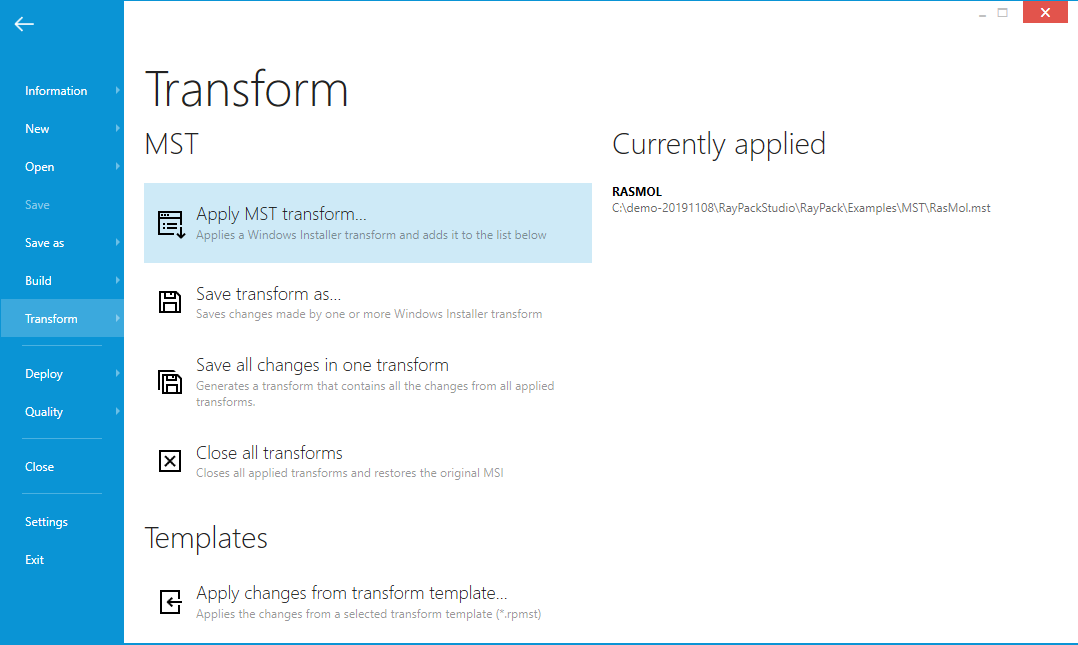
The right hand side of the Transform menu contains two buttons used to load and save transform templates:

Transform template is a small XML file containing a definition of what rows and values have to be added to a standard MSI transforms. More about the format and its purpose can be read in the following section: Adjusting the MST template.
PackDesigner automates saving of transform templates and allows to apply them to the current project. The transform template can be apply to an MST project but also to an MSI/RPP project, making it a great tool for branding and simple snippets of MSI values.
To Apply Changes From a Transform Template
1.Open any MSI/MST/RPP project in PackDesigner
2.Click on FILE button and select Transform option from the left menu
3.Click on Apply changes from transform template... button.
4.You will be prompted for a file path of the transform template (.rpmst) to be used. The initial folder and file name is based on the current settings from the Projects section in the profile configuration.
5.Select a template and press OK to apply the changes to the current project. To verify that all required rows are already in place (they will be highlighted) go to the Tables view.
|
Tip: The default transform template that is coming out-of-the-box is empty. Uncomment the sample XML content to test and use it as a base for own customizations. |
To Create Custom Transform Template
1.Open any MSI/MST/RPP project in PackDesigner
2.Adjust the project to contain the required changes.
3.Go to the Advanced mode > Tables view. The changes made since last time are marked green. Review them carefully, because everything marked green will be a part of the new transform template.
4.Click on FILE button and select Transform option from the left menu.
5.Click on Save changes as transform template... button.
6.Select a file path to the transform template (.rpmst) to be used. The initial folder and file name is based on the current settings from the Projects section in the profile configuration.
7.Select a template and press OK to save the set of currently highlighted changes to the specified location.
|
Tip: It is not possible to save a transform template if there are no changes highlighted. Should this happen, RayPack will show a warning informing that no changes have been found in the package. |
Fine-tuning and Customizing Transform Templates
In the chapter Adjusting the MST template you can find more information about editing of transform templates.
Automating Packaging Tasks Using Transform Templates
Command line tools enable applying RPMST templates to existing MSI, RPP, and MST files. Using the silent switches it is possible to combine smaller bits and snippets represented by RPMST files, for example to automatically apply the branding, certain packaging properties, add required features or even change the Summary Information Stream.
The chapter Applying RPMST Templates contains listing of parameters and samples.