RayPack uses profiles to store the various options and settings required for operation. By utilizing profiles, settings and options can be stored for individual situations. For example, if packages need to be created for two different departments of your organization, or for two different customers. As each department or customer may have differing requirements, simply storing the settings and options for each department / customer in a separate profile allows for easy switching between profiles without having to configure RayPack and any templates every time a package needs to be created.
The Profiles section provides an easy overview and management tools over profiles of RayPack. These include:
•The location of the profiles folder
•The Profile to use during the capture process and the settings and options that are used when a new package project is created
•Creating a new profile, or editing existing profiles

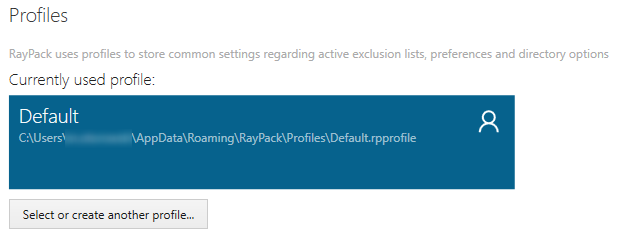
The central section shows the currently selected profile and the full path where the defined profile settings can be found.
Creating a New Profile
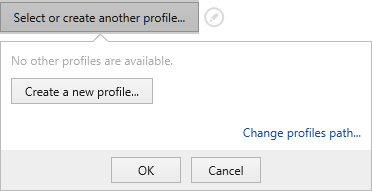
In order to create a new profile, click on the button Select or create another profile...

|
Note: Depending on your environment, this pop-up may list other co-existing profiles. |
1. Click on button Create a new profile...
2. A modal dialog will be shown, prompting for the name of the new profile. By default, the input will be set to the name of the current profile.
|
Note: The name of the profile will be used as a name of its physical data file. Thus, RayPack requires a name that may be used as a valid file name. Additionally, the name has to be unique. |
3. Press OK to create a new profile. RayPack will automatically switch to the new profile.
Changing the Current Profile
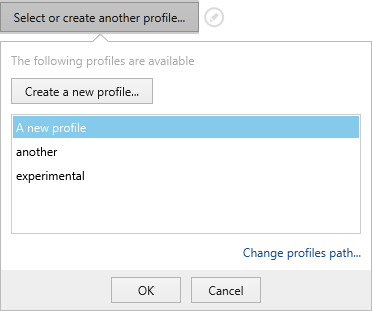
RayPack supports multiple profiles which can be switched as required. To access the profile selector, click on Select or create another profile... button, and then pick up the profile from the list below:

The list contains names of other profiles present on the current system. For a better clarity, the currently selected profile is not being displayed.
In order to apply another profile settings, select the name of the profile to apply, and click on OK button to change the current profile.
Changing the Profiles Path
By default, all profiles are stored in the %appdata%\RayPack\Profiles subfolder. Advanced users may easily change the folder to point to a shared location or elsewhere.
To change the profiles path:
1.Click on Select or create another profile...
2.Click on Change profiles path...
3.Pick a folder that contains at least one *.rpprofile file
4.RayPack will automatically switch to the first profile available in the selected location.
5.If the folder is empty or contains no *.rpprofile file the old profile will be kept. New profiles will now be created inside of the newly selected folder.