This view shows the permission changes to the files and folders of the capture project. For this example, the sub-directory in the captured application (C:\Program Files\7-Zip\Lang) was changed is such a way so that Authenticated Users (SID: S-1-5-11) have Modify permissions on the folder. This was carried out during the capture process. The view has two columns, Account (the account for which the permission changed has occurred) and the Permissions that have been changed.
The actual SID account is displayed according to the language of the system on which the project has been captured on. However, internally the SDDL notation is used when actually creating a package / project from the capture project and is thus language independent.
|
Be aware: As previously mentioned, these settings will only be applied to RPP, MSI or MST projects that are built. If the user wishes to include permission changes to other project types, then it must be done using the methods particular to the specific project type. |
Export
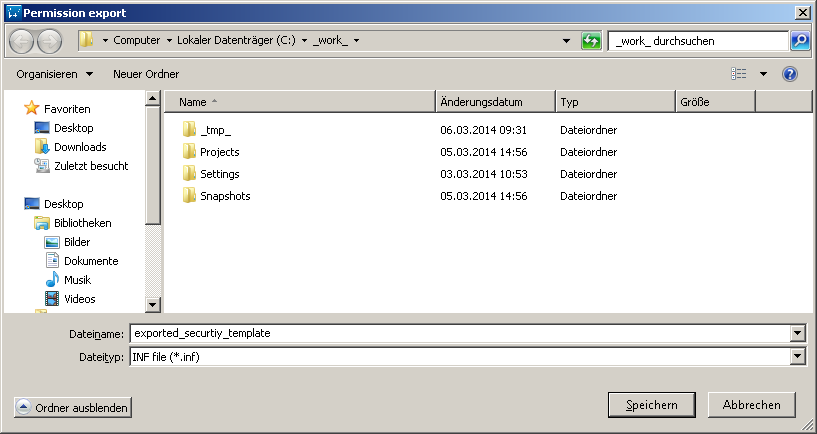
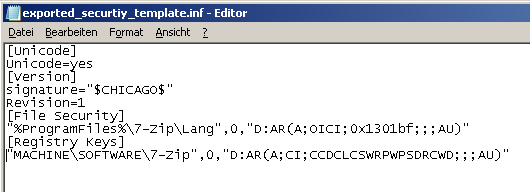
Export can be used to export any (included) permissions that are present to a security template file. This is nothing more than a simple inf file which contains the information required by the SecEdit tool to perform changes to permissions on the system. It will export all items in the view, regardless if they are selected or not, provided they are not explicitly marked as excluded. To export included permission changes, click the EXPORT button, and choose SecEdit INF file
The user will then be prompted to select a name for the file, and a location to save the file.

Once the export is completed, the user will have a security template that can be used with the SecEdit tool.

|
Note: The resulting exported security template will also contain any Registry permission changes if they are also present and have not been explicitly excluded. |
Exclude
If capturing permission changes on the system, the user may be required to manually exclude a specific permission change from the resulting project / package that is to be created from the capture project.
To use the context menu to exclude a permission, select the item that is to be excluded and click the right mouse button, choose the Exclude item from the menu. As an alternative, exclusion may be achieved by left-clicking an item and using the key combination Control + E. If the object is marked with red font color and struck through, it is currently excluded.
Notice also that the INCLUDE option has become active, as the selected item is marked as excluded and now can be included. The user also select multiple items to be excluded, using the standard windows mechanism for selecting multiple items from a list.
Include
If capturing permission changes on the system, the user may be required to manually include a specific permission change from the resulting project / package that is to be created from the capture project.
To use the context menu to include a permission, select the item that is to be included and click the right mouse button, choose the Include item from the menu. As an alternative, inclusion may be achieved by left-clicking an item and using the key combination Control + I.
You may also notice that the EXCLUDE option has become active, as the selected item is marked as to be included, it can now be excluded. You may also select multiple items to be included, using the standard windows mechanism for selecting multiple items from a list.