In the Edit Installer dialog, you can adapt existing package installers according to your environment and targeting requirements. Here's how to do it. While this example relates to a third party installer, other installer types might slightly differ in editing processes. To be sure, you you can view the details on editing Windows installers, third party installers and MacOS in the chapter: The Edit installer dialog.
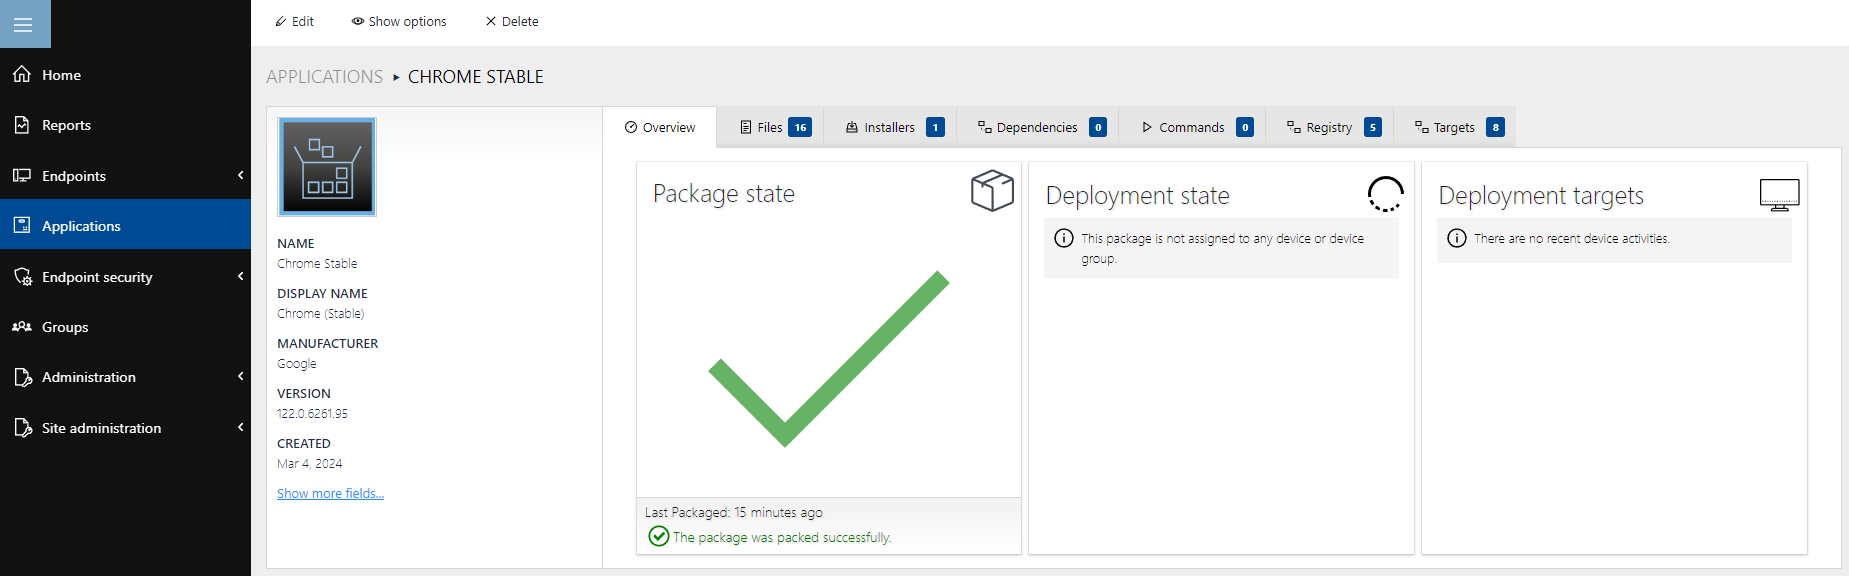
1.Open an application that you want to edit the installers in.
2.Activate an existing installer in the installer list by ticking the checkbox in front of it. Now, you can also select the Edit button.
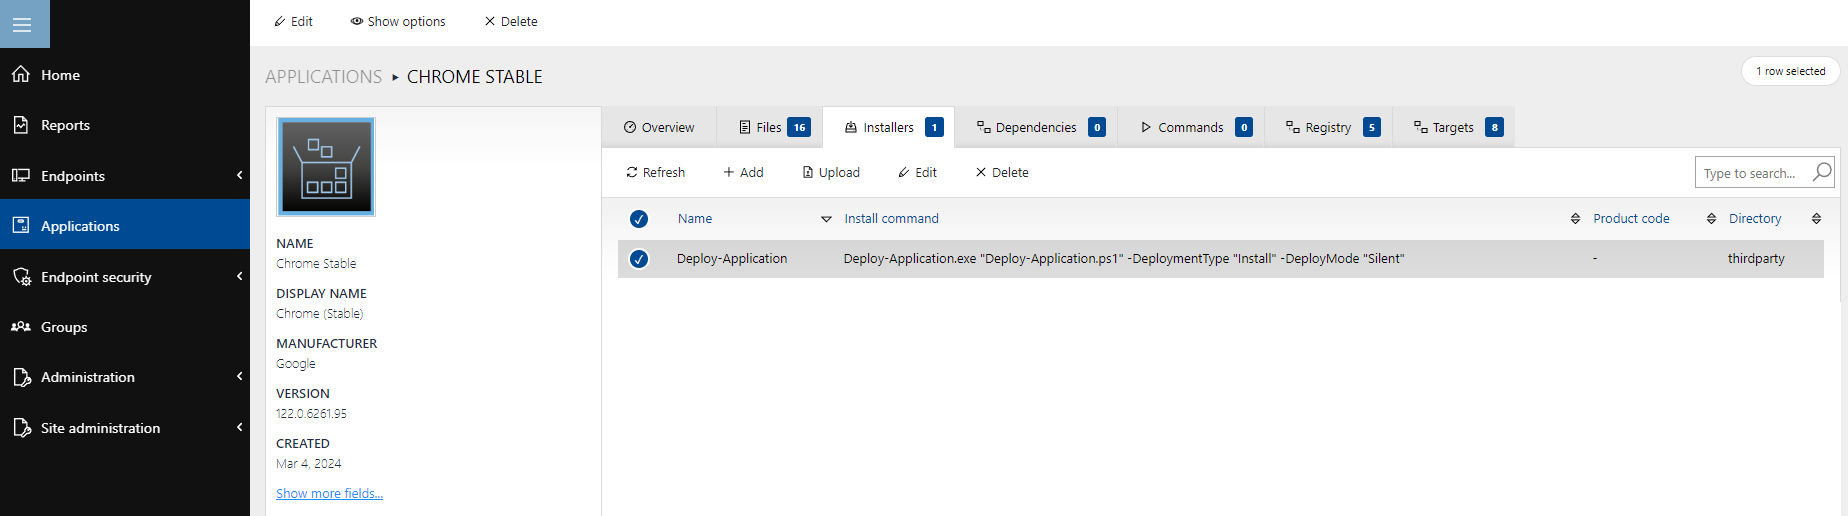
3.Click on the Edit tab in the Installers toolbar to open The Edit installer dialog. This dialogf is divided into three different tabs:General, Detection and Targets.

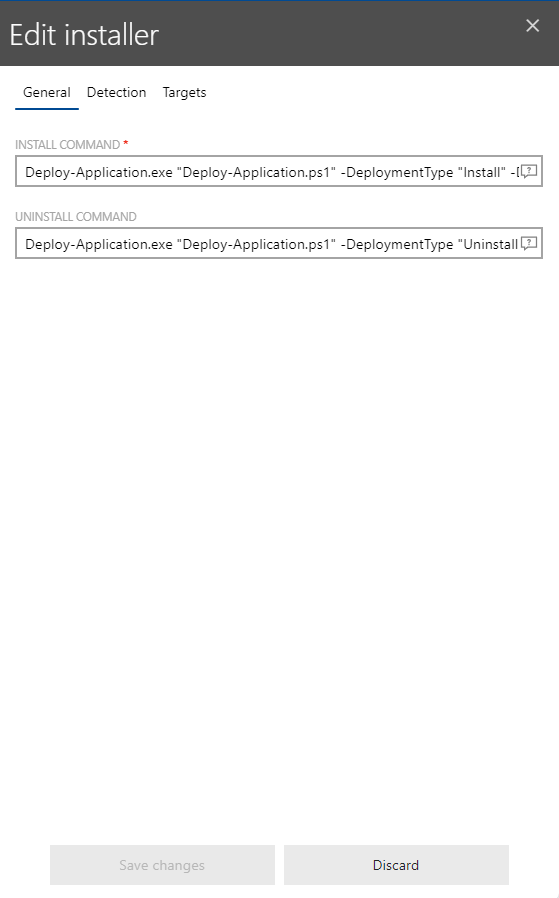
4.Check and adjust your general installer settings under the General tab.
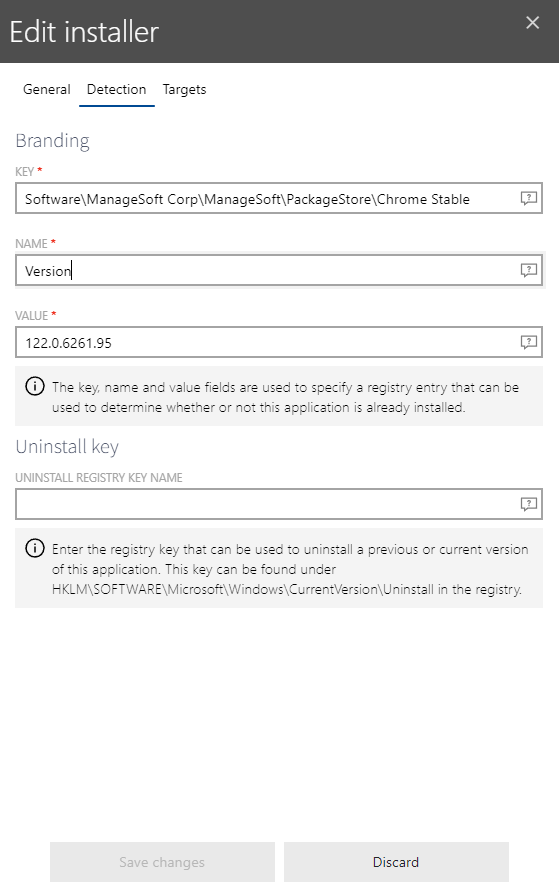
5.In order to identify your installer, fill in the mandatory fields Key, Name and Value under the Detection tab. Filling in the field Uninstall key is optional.
6.If required, select and deselect managed devices and servers in your environment for individual installer targeting.
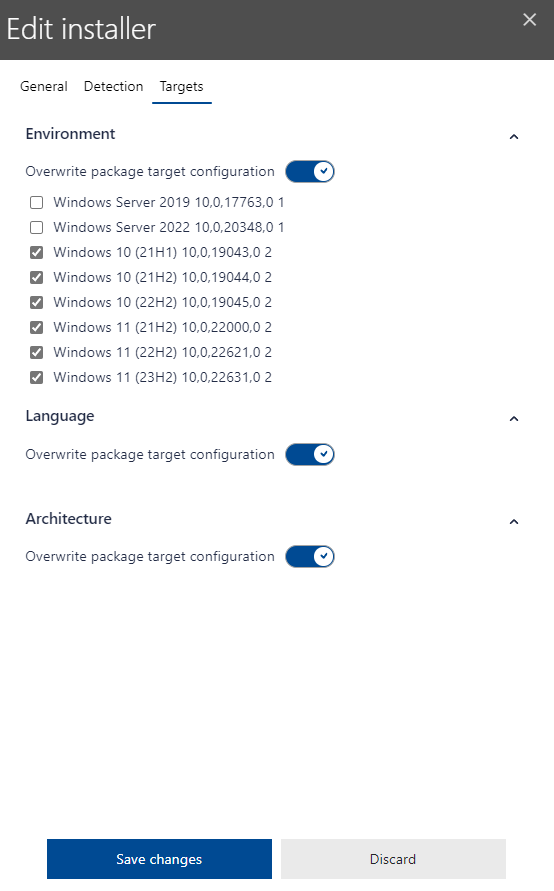
|
Tip: In order to use the Targets tab, you must activate Overwrite package target configuration.
|
7.Confirm your configurations via the Save changes button if they are correct. Otherwise, select Discard and readjust your settings. Usually, you can also save and discard your changes under the individual tabs.