To properly secure the RVIA Data Service HTTP endpoints, the runner needs to use a TLS key pair in the form of digital security certificates. On the Windows platform, the main place for digital trust management is the Windows certificate store. In this chapter, we want to set up TLS connection security for the Windows platform.
View the PKI chapter for more information about digital system security.
Requirements
•A certificate authority to issue the runner service endpoint certificate.
•The TLS certificate issued to the runner's hostname common-name (CN) by the certificate authority, including the public and private keys, inside of a PKCS12 .pfx certificate container file. The certificate application/purpose must include Server authentication.
•The runner is added and authorized.
Steps
1.Open the Windows certificate store local machine MMC snap-in on the runner Windows system. On the English locale, simply press the Windows button on your keyboard and type Manage computer certificates to open it.
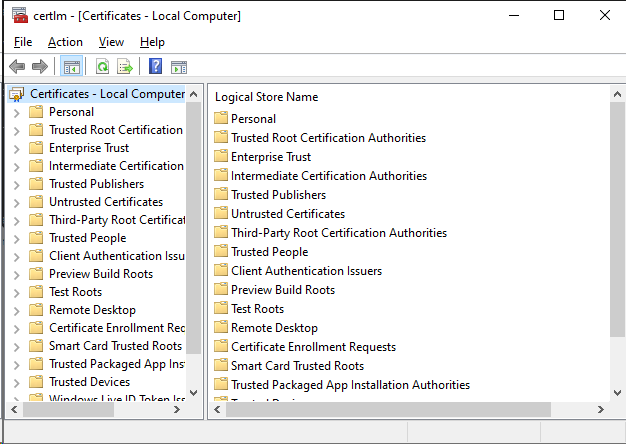
A window titled certlm should have opened.
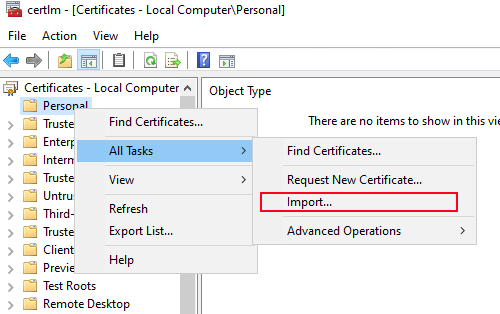
2.Right-click on Personal inside of the tree-view on the left side, hover your mouse over All Tasks and then left-click on "Import...".
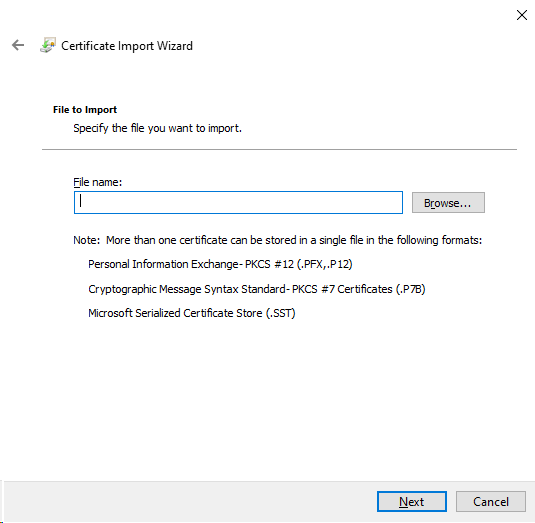
3.You are greeted with the (hopefully) familiar certificate import wizard of the Windows operating system.
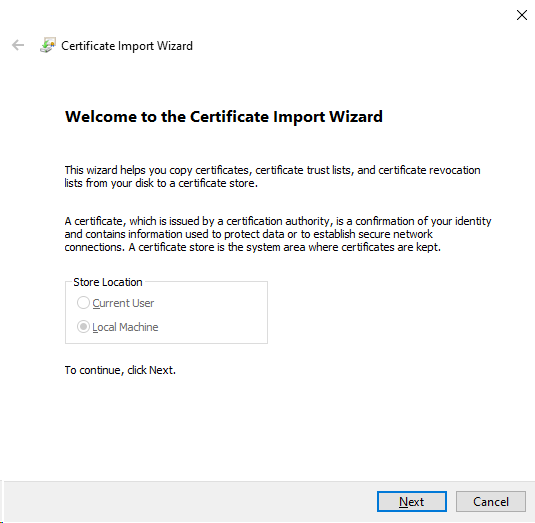
Start this wizard by first left-clicking on Next.
4.Specify the TLS runner service certificate file to import and left-click on Next. Make especially sure that your certificate file truly contains both the public and private keys.
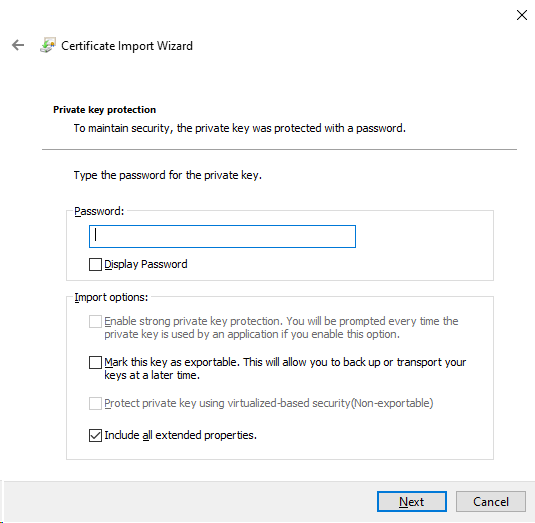
5.Provide authentication details for the certificate and proceed with the wizard.
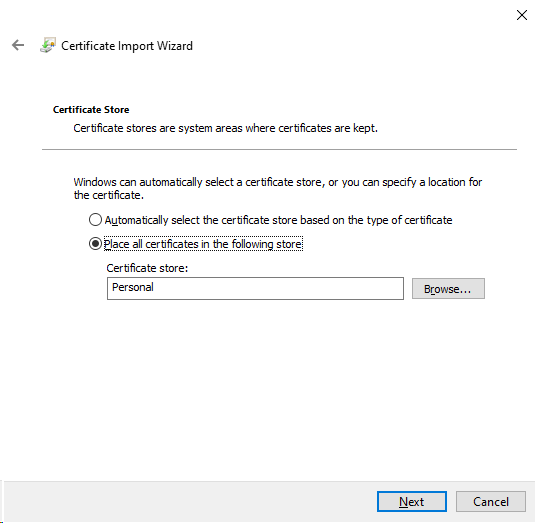
6.Left-click on Next to put the certificate into the Personal folder.
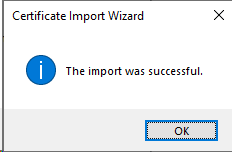
7.Left-click on Finish to complete the certificate import wizard and process.

8.Left-click on OK to close the import configuration message.
9.Double-left-click on Certificates inside of the main view on the right of the certlm window.
![]()
10.Verify the successful import of the certificate into the Windows certificate store. Inside of the main view of the certlm window, you should see a list. In this list, there should be a certificate entry matching the certificate imported just now. To the very left of the certificate entry, there is an icon which looks like a certificate with a key. Important: if the key is missing in the icon, the imported certificate does not contain the necessary private key!

11.Optional: Consider importing the certificate authority hierarchy which signed the runner service TLS certificate, to the runner device to be able to verify the certificate validity by double-click on the certificate entry (see the PKI chapter for further details).
12.Add the RVIA Data Service to the runner with the public key certificate attached. You must specify a compatible file with the .cer extension (DER or base64 format). The public certificate should be matched to exactly one private key, stored in the Windows certificate store.

13.Import the certificate authority hierarchy, the signing hierarchy of the runner service TLS certificate, to the RVIA device(s). This step is required to make the RVIA device trust the server endpoint of the runner device. See the PKI chapter for more details.
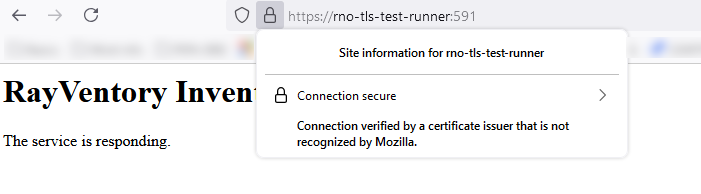
14.Connect to the HTTPS runner service endpoint from the RVIA device using a web browser (for ex. Firefox) to verify the proper validation of runner service endpoint connection security. If the browser fails to verify the connection's integrity, there can be many issues involving PKI or correct procedures in importing certificates to the operating system certificate store. Check the certificate's validity. Follow guides targeted specifically for your operating system to import the signing hierarchy certificate authorities.