If your IT assets include many Windows-based devices, you need to download, install and apply the Windows runner. This is how to do it in the self-service portal. As soon as you've selected your main goals for platform usage in the self-service portal, you're reassigned to runner installation.
Listen to the step-by-step video instructions included in the self-service portal itself. In the following steps we elaborate the runner deployment part of the process.
1.Follow the steps to initialize the system through the self-service portal as described earlier, until you face the runner deployment step. Choose the Windows operating system for deployment. You should be familiar with the following initial screen.

2.This is the step just after you have downloaded the Windows runner. Make sure to choose the right machine for deployment and transfer the Windows installer package to that machine. Then execute the .MSI installer file on the machine.

The self-service portal step just after downloading the Windows runner. The initialization process is waiting for you to connect the first runner.

Your web browser should notify you about the runner's download completion. This is part of the notification pop-up of the Firefox browser.
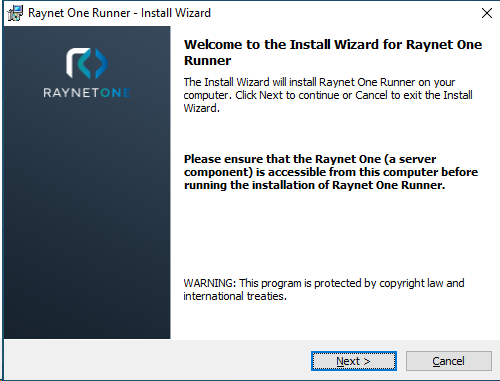
3.You are greeted with the initial welcome installer dialog. Click on Next to start the installation process.
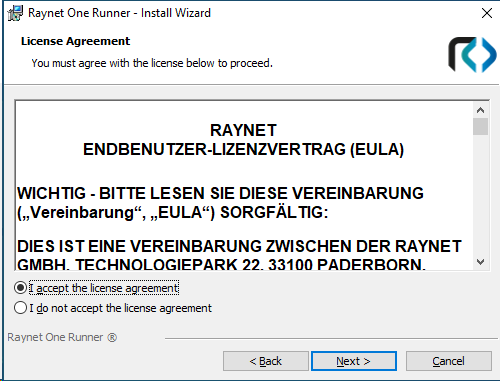
4.In order to proceed with the installation, please read and accept the License Agreement. Afterwards, click on Next.
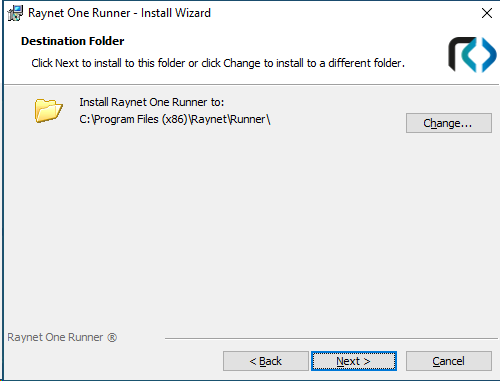
5.Determine a target location for runner installation on the local Windows system. Then, click on Next to proceed.
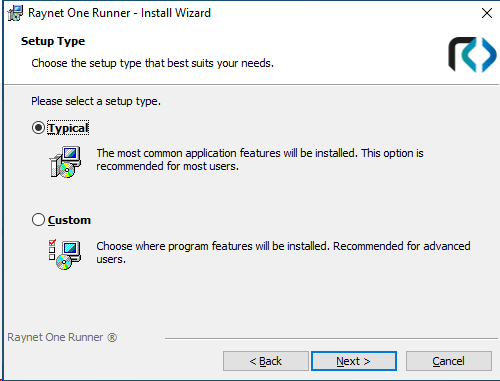
6.Select a setup type, which can be either Typical (sufficient for most users) and Custom (with configuration options for advanced users). We want to choose the Typical option as the installer package, as provided by the user-friendly self-service-portal, is already preconfigured for successful deployment.
7.For confirmation purposes, you are shown the Raynet One backend server URL and the unique enrollment token just for this runner. The enrollment token turns invalid once the runner has connected and registered itself into the system. The backend server URL will be the same for every connecting runner. Click on Next to proceed.
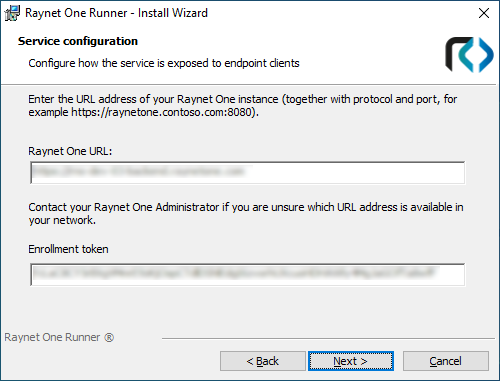
This page contains server connection details used by the runner. Keep those details confidential as they expose API endpoints.
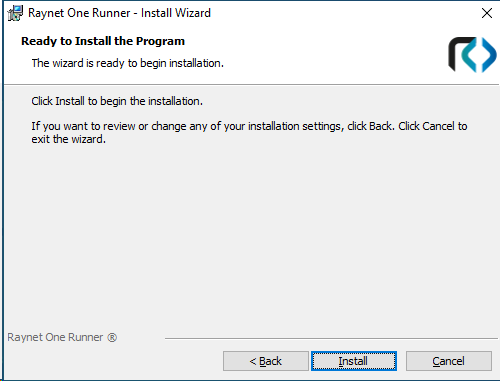
8.In the next wizard dialog, click on Install. The wizard now installs the runner.
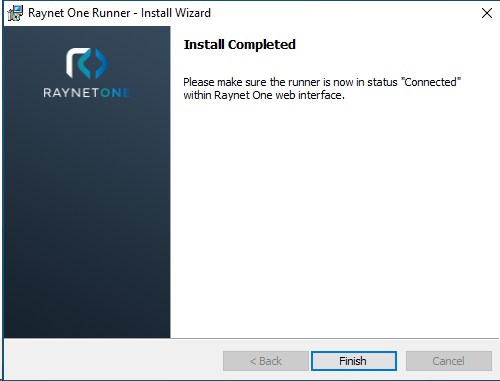
9.Click on Finish to finalize the installation process. The runner starts on the Windows machine and begins the connection process to the system.
10.Go back to the web interface to continue with the usual steps of the system initialization through the self-service portal.

The self-service portal step shown after successful connection of the runner. Please carefully listen to the instructions of the AI-assistant while performing important initial configuration.
|
Tip: |