First things first, let's get in touch with handling our first platform event. In this chapter, we respond to the detection of a new IT landscape device by triggering the device's inventory, per Action center notification!
Requirements:
•A network is added.
•Added authorized runner which is able to connect to the network's devices.
•A device exists in the network and the device is not discovered yet (consider removing an already discovered device).
•Credentials capable for device authentication are added.
1.Switch to the Configuration workspace and click on the Discovery settings sidebar entry.

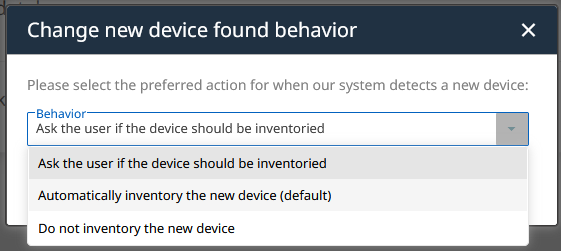
2.Set the option labeled Behavior on newly found devices to Ask the user if the device should be inventoried.

3.Navigate to the list of all networks.
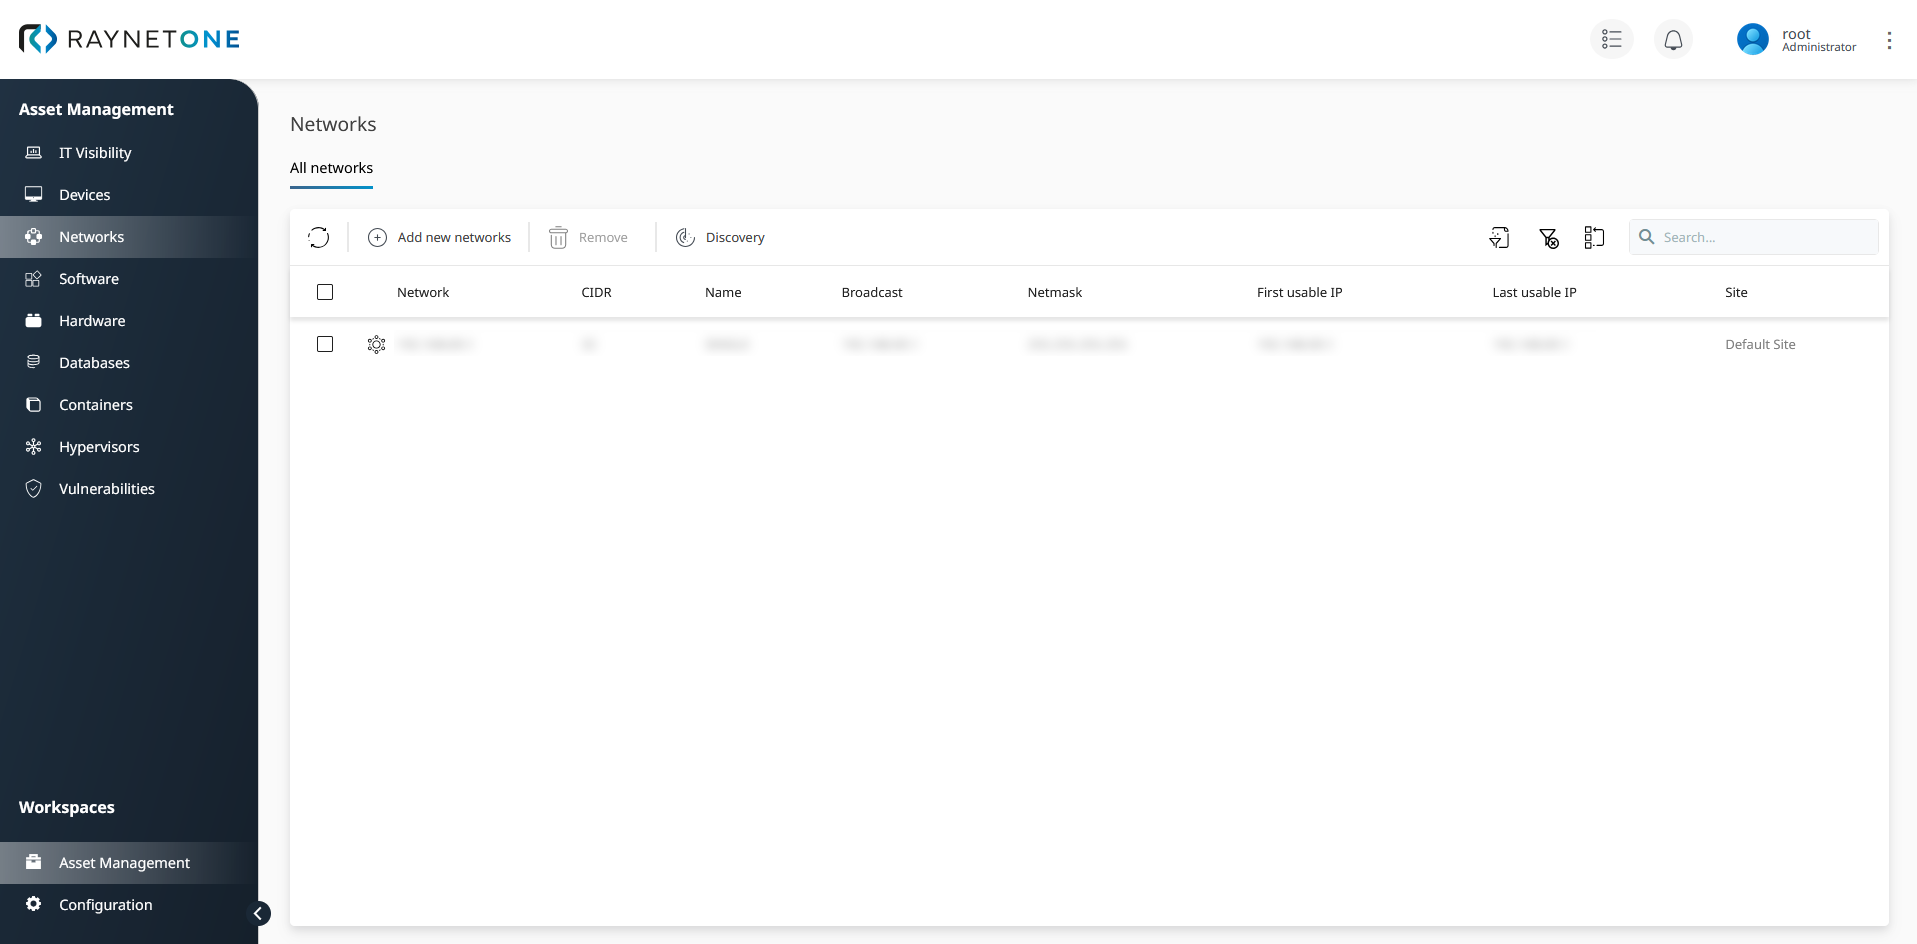
4.Perform network discovery on the network from the requirements. The discovery run should detect the undiscovered device inside of the network.
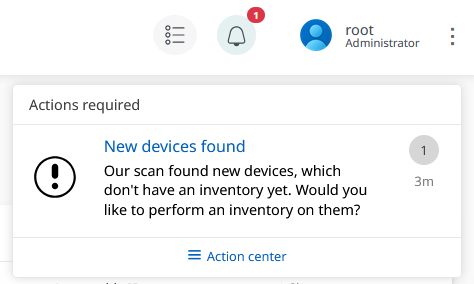
5.Wait for the detection of the undiscovered device. We have configured the platform to notify the user per action center widget. The web interface does update the information about running jobs and pending action prompts in the background. Watch the bell icon until it shows a red circle with a white number one inside.

6.Click on the bell icon to pop-up the action center widget. You see an entry telling you about new devices which lack inventory. It asks you to perform the inventory on them. Click on the notification entry to be forwarded to the action center.
7.You have been redirected to the Action center. Inside of the notification type list you find the entry labeled New devices found, matching the one from the widget previously. Click on it to select it.

There appear to be devices listed in the list on the right. By selecting a notification type on the left, you populate the list on the right with related resources. Only this way you can be sure of having actually related information.
8.The list on the right contains the new, undiscovered device found during the job we requested. Click on the list item to show interaction options.

9.Click on the Inventory button to spawn the Device inventory wizard. Go ahead and request the inventory run using appropriate settings.

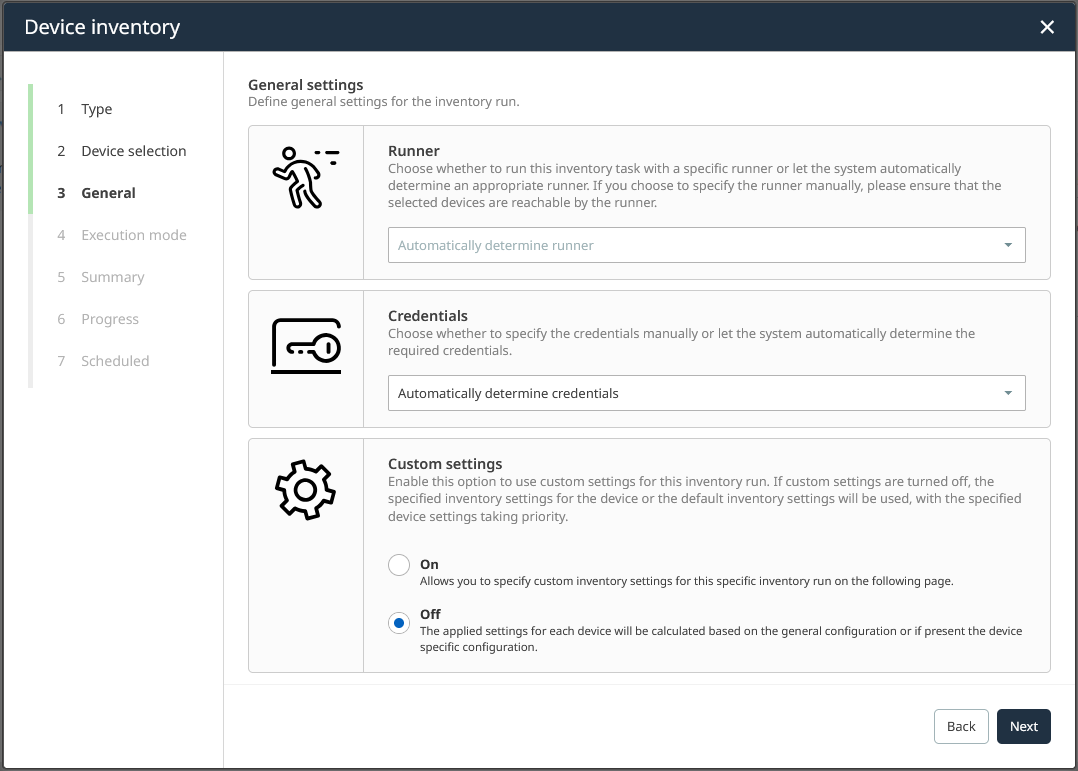
Device inventory wizard on the General step. The device selection is performed by context already.
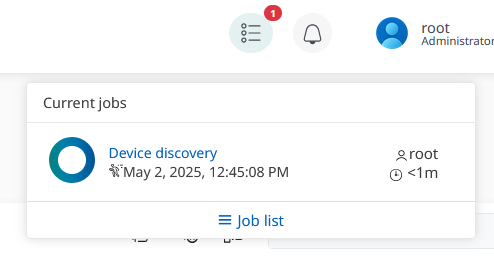
10.Verify the platform response to the job request by inspecting the job list widget. The red circle with the number one is attached to the job list widget button, but has disappeared from the bell icon.

11.Switch to the Configuration workspace and open the Discovery settings sidebar menu entry. Then, revert the option labeled Behavior on newly found devices back to the default one (it is labeled appropriately in the web interface).
After executing the step-by-step guide, we have collected valuable insights into the world of Raynet One platform event handling. There is a multitude of configuration options available to enable different kinds of user interaction (see the introducing chapter for samples).