In many cases, it is not necessary to create new job scheduling configuration if your requirements change. If previously created scheduled jobs are sufficient, but require minor adjustments, you can also edit them according to your needs. Here's how it works.
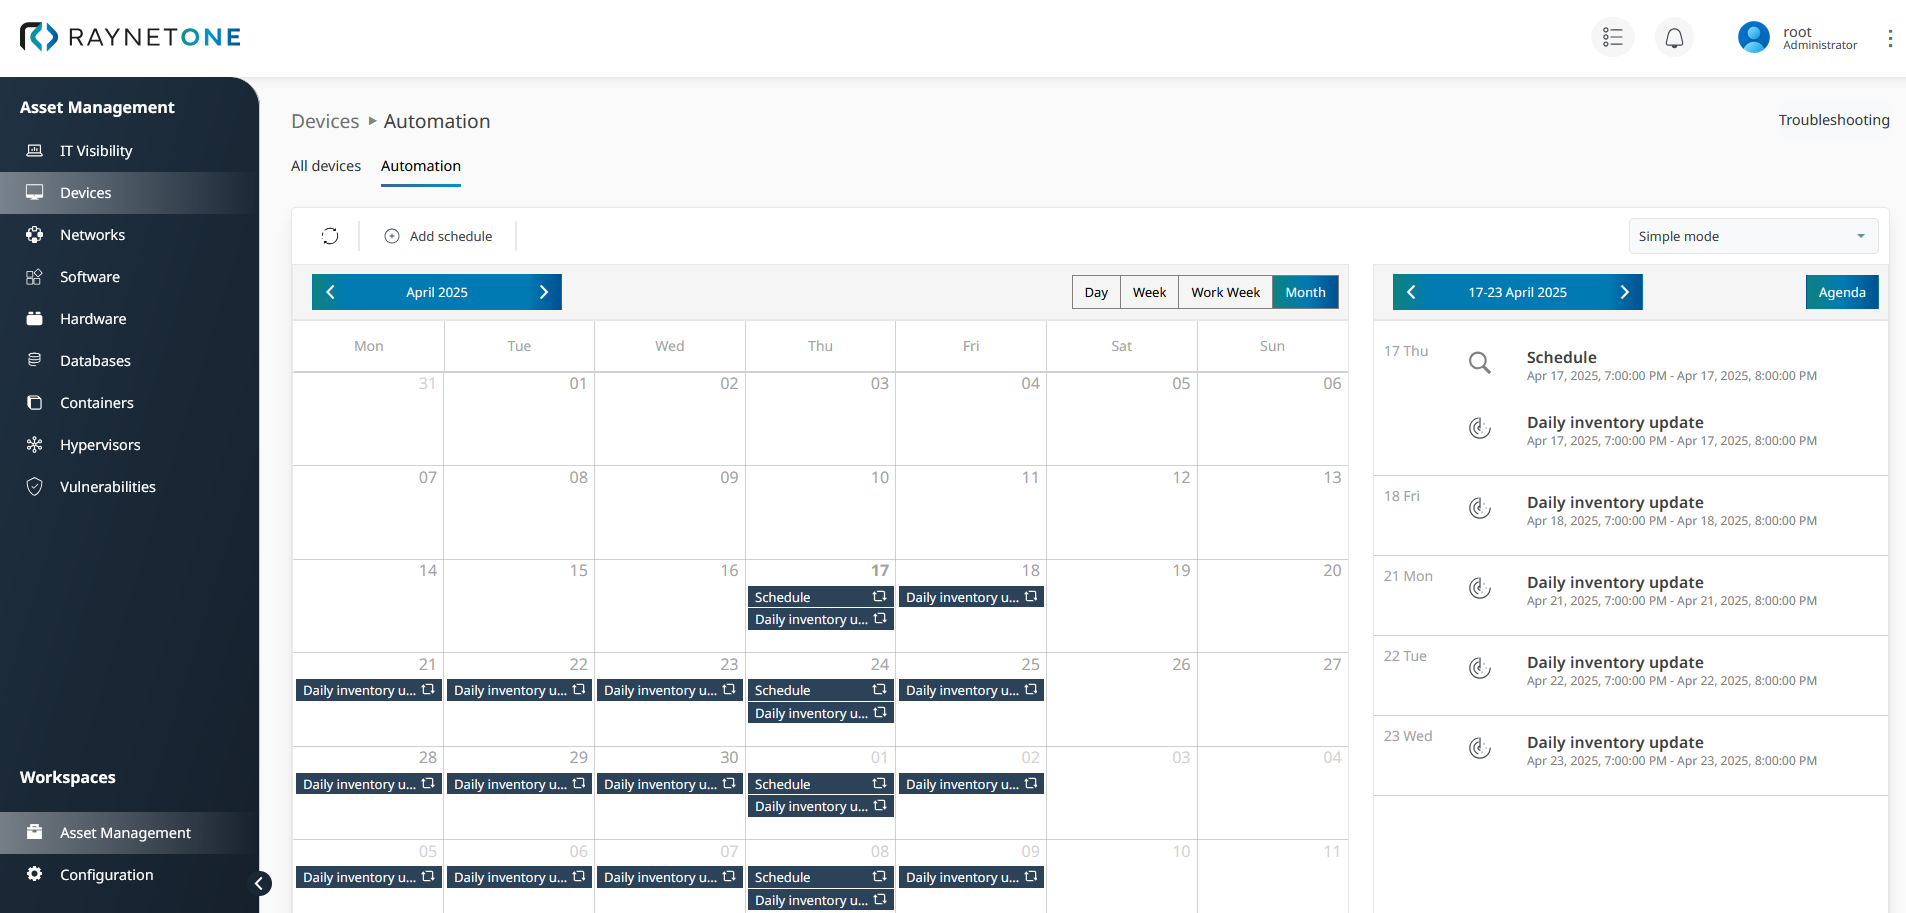
1.Open the Automation view by navigating to Asset Management > Devices and clicking on the respective tab.
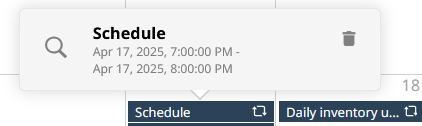
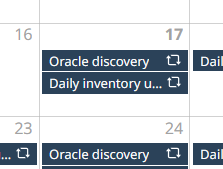
2.Find the schedule which you want to edit. Left-click on it to open the job schedule details pop-up. Left-click on the pop-up to open the job configuration wizard.
3.The job-specific configuration wizard has opened. This wizard matches the design of the job-specific creation wizard, but all input boxes, selections, radio buttons and other UI elements match the current configuration. Make changes to any of the parameters and complete the wizard.
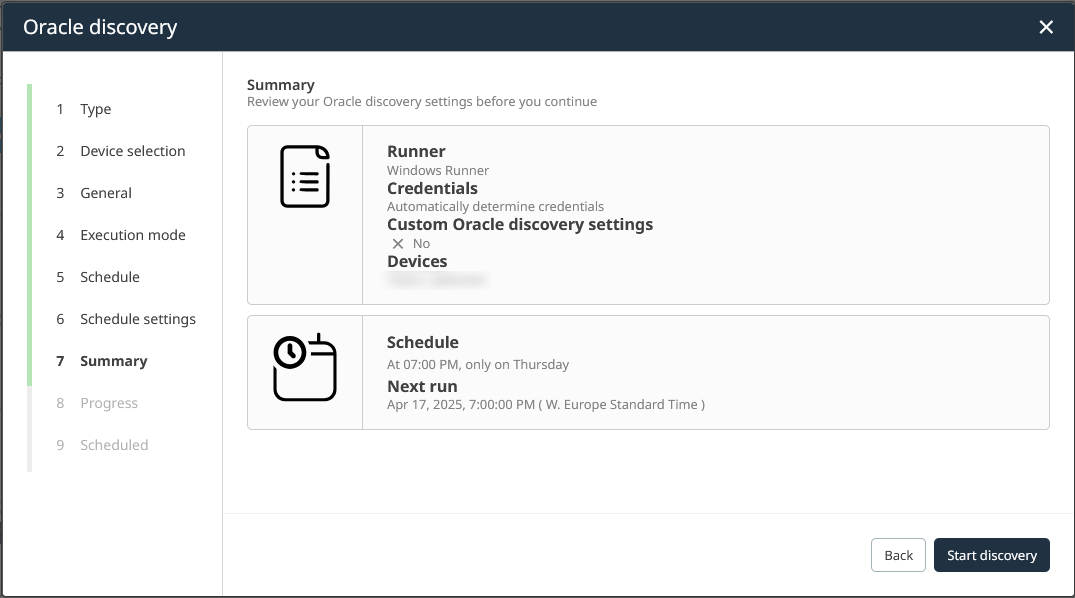
Confirm the summary of job configuration and confirm the changes by clicking on the Start discovery button.
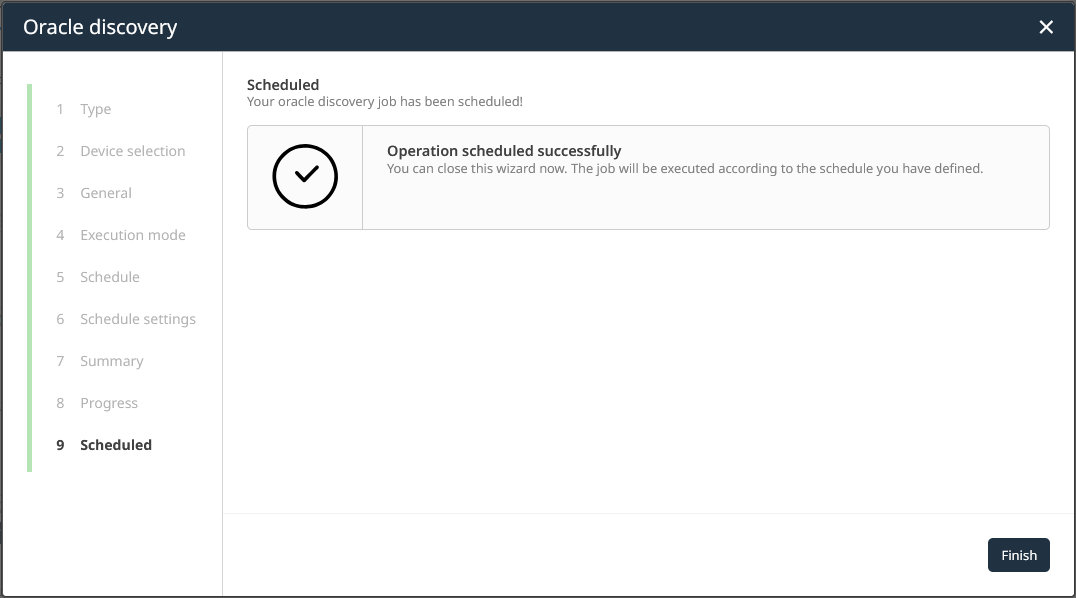
4.Click on the Finish button to return to the Automation page, the changes being applied.
5.Inspect the new timetable on display. By taking a look at the edited job, its details should have changed accordingly.
As can be seen by compact nature of this step-by-step guide, changes to existing platform jobs are intuitive and simple to perform. The same user-interface elements are used across the job creation and editing wizards.

|
Tip: |