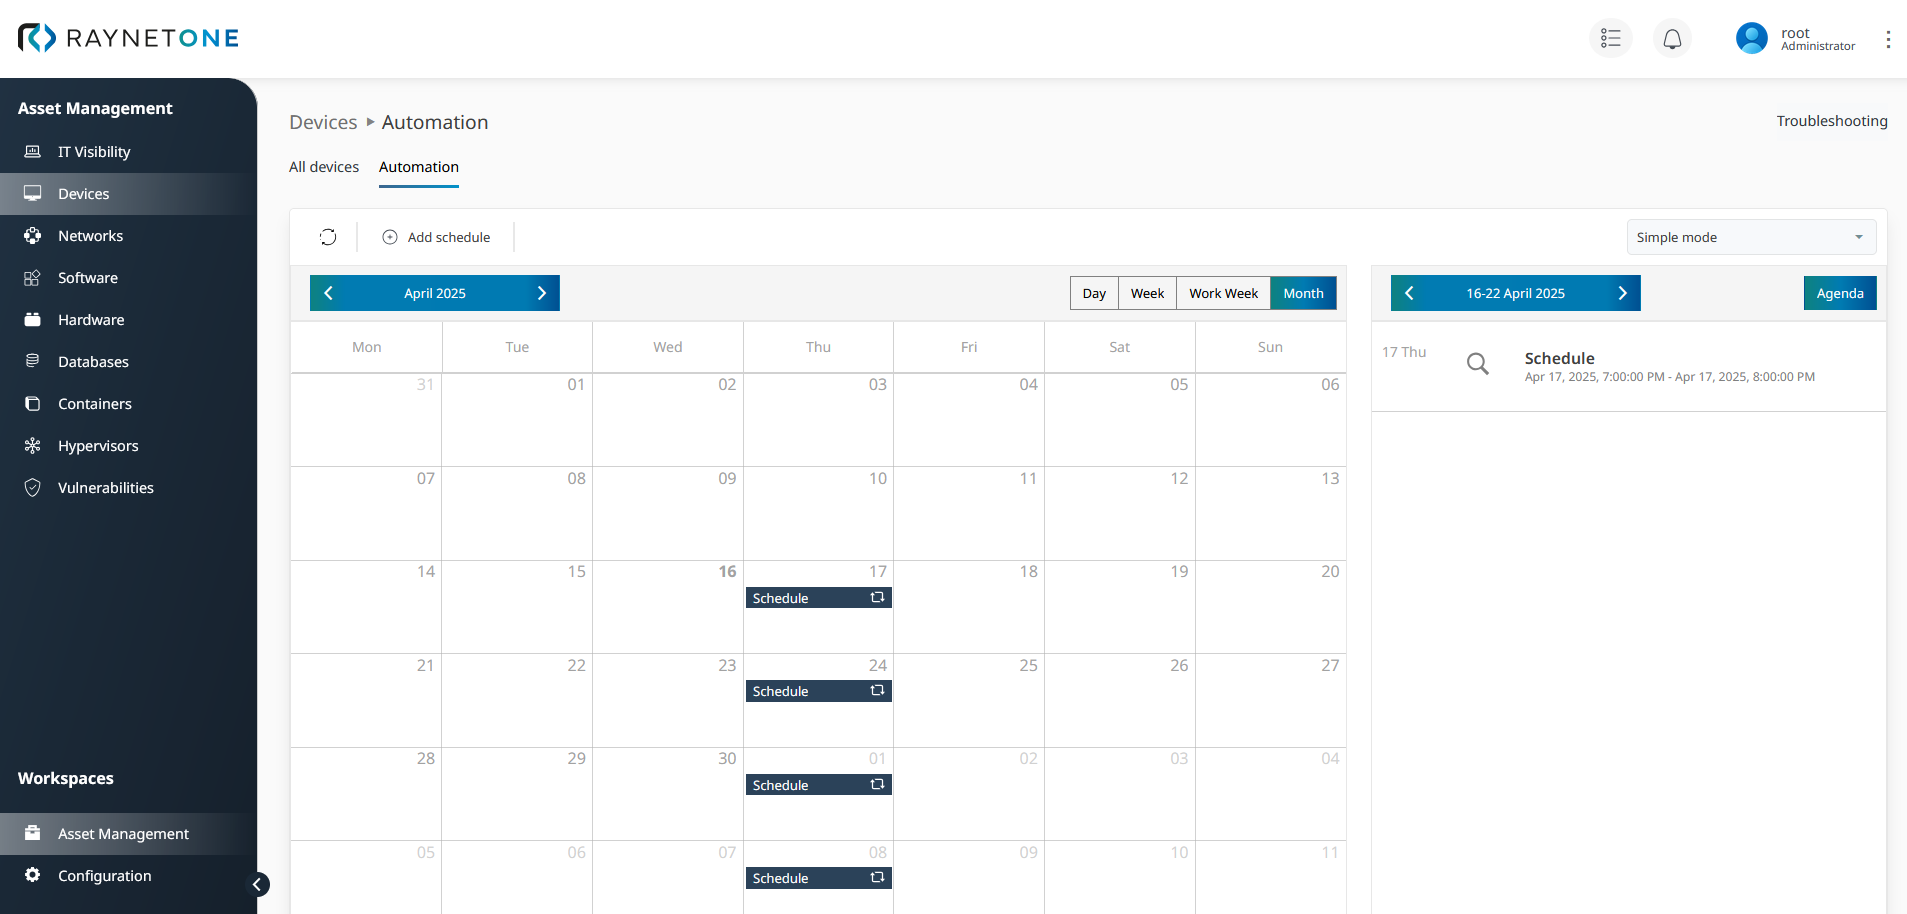
This chapter is about the general job automation capability of actions requested on the platform. You can easily automate and schedule repeated platform operations in order to save time and effort. Once you learn how to automate one kind of job, you can do it for any.
For example, let's configure the weekly Oracle database discovery on one device.
Prerequisites
•A discovered device, favorably a server device which is known to host various kinds of database solutions.
•Device credentials of the chosen (server) device.
•A day and time of week for the job schedule.
•A start and (optionally) an end date to restrict job repetition into.
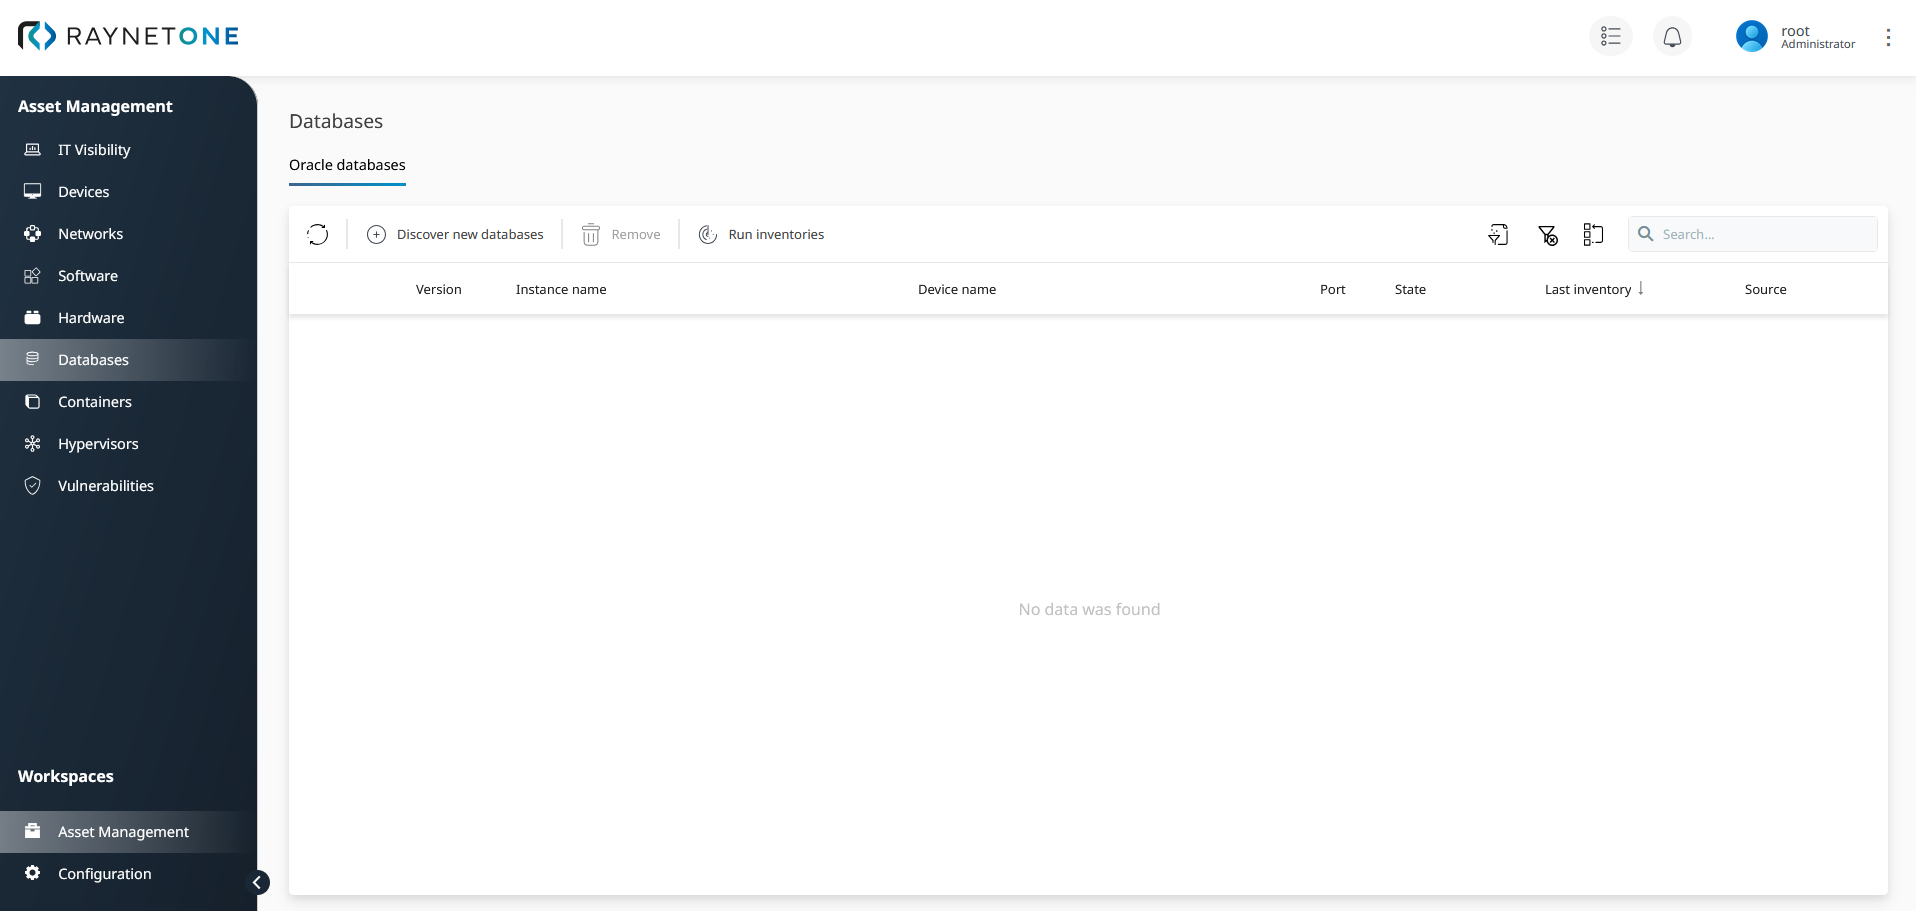
1.Navigate to the Databases view in the Asset Management workspace. Then click on Discover new databases.
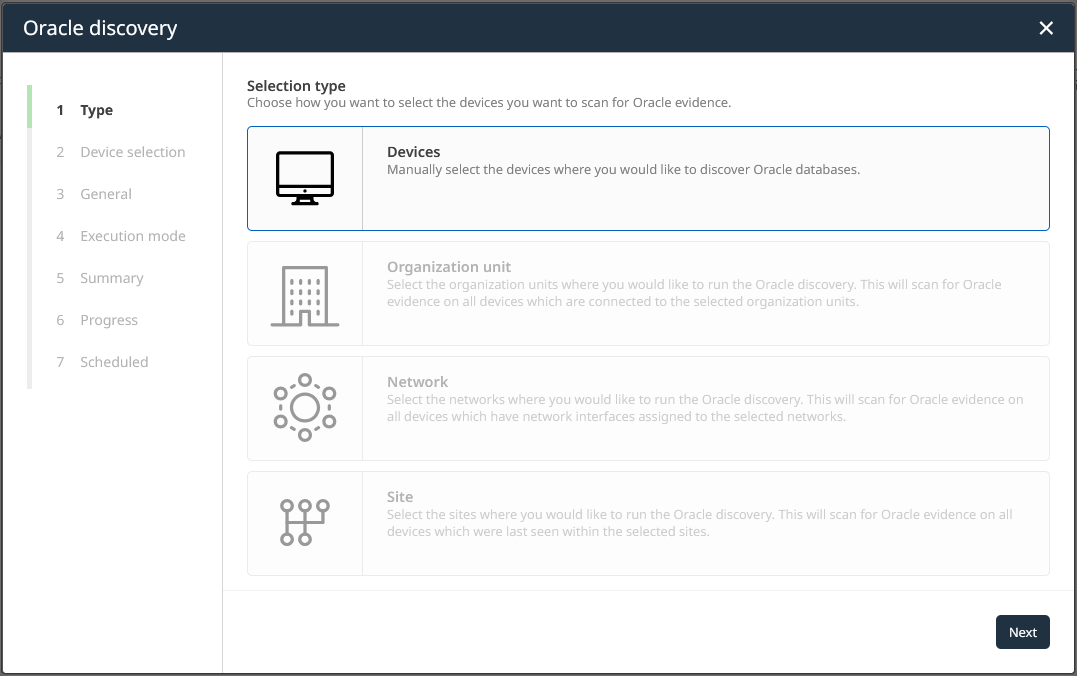
2.The Oracle discovery wizard has opened. In the current product version, Oracle database discovery can be performed on fixed device-sets only. Click on Next to proceed.
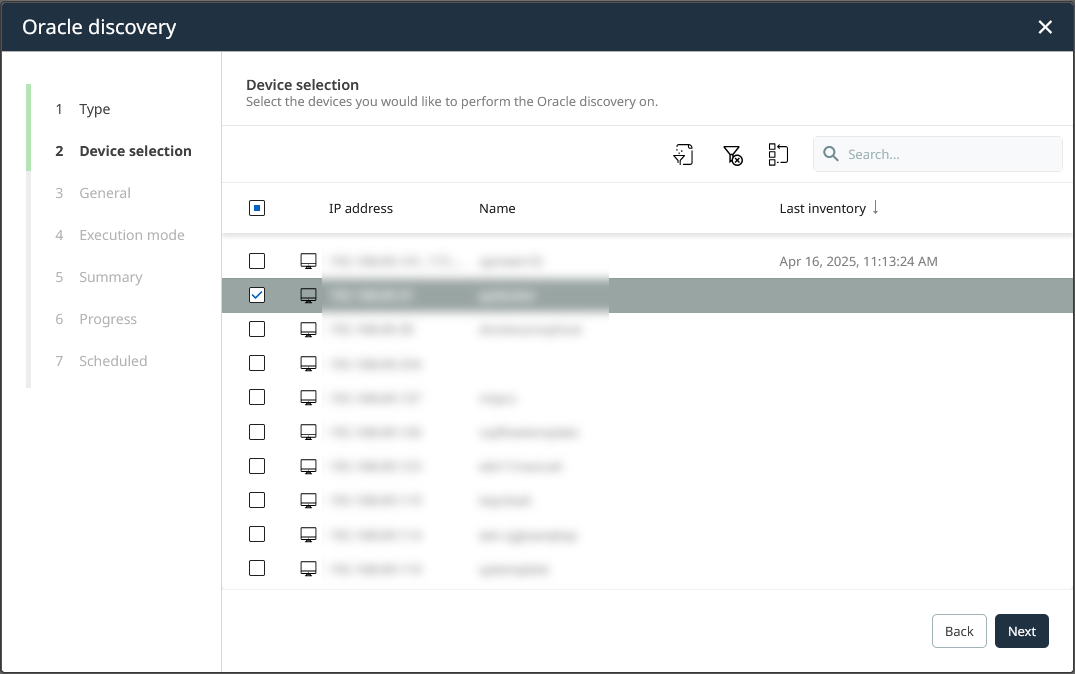
3.Select the (server) device which you want to keep an eye on in terms of Oracle database activity. Use the search and filtering functions of the list view to find it quickly. Click on Next to proceed.
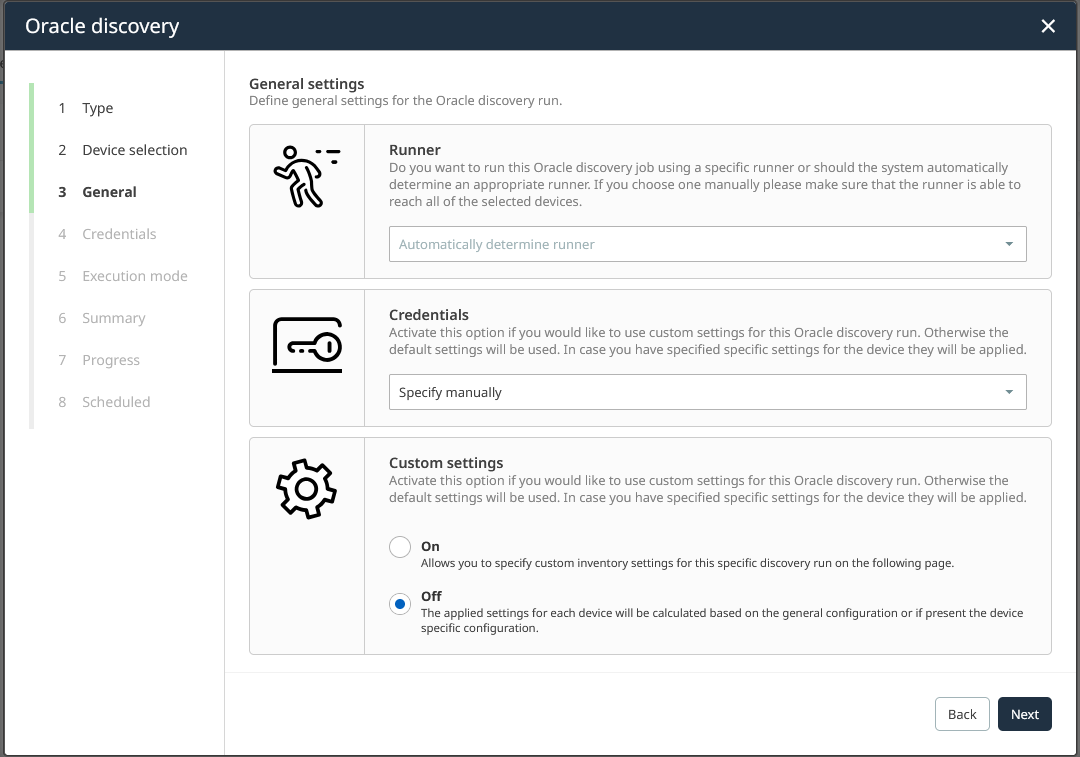
4.Under General Settings, specify the runner and credentials. Select to specify the credentials manually. Keep the Custom settings turned off. Click on Next to proceed.
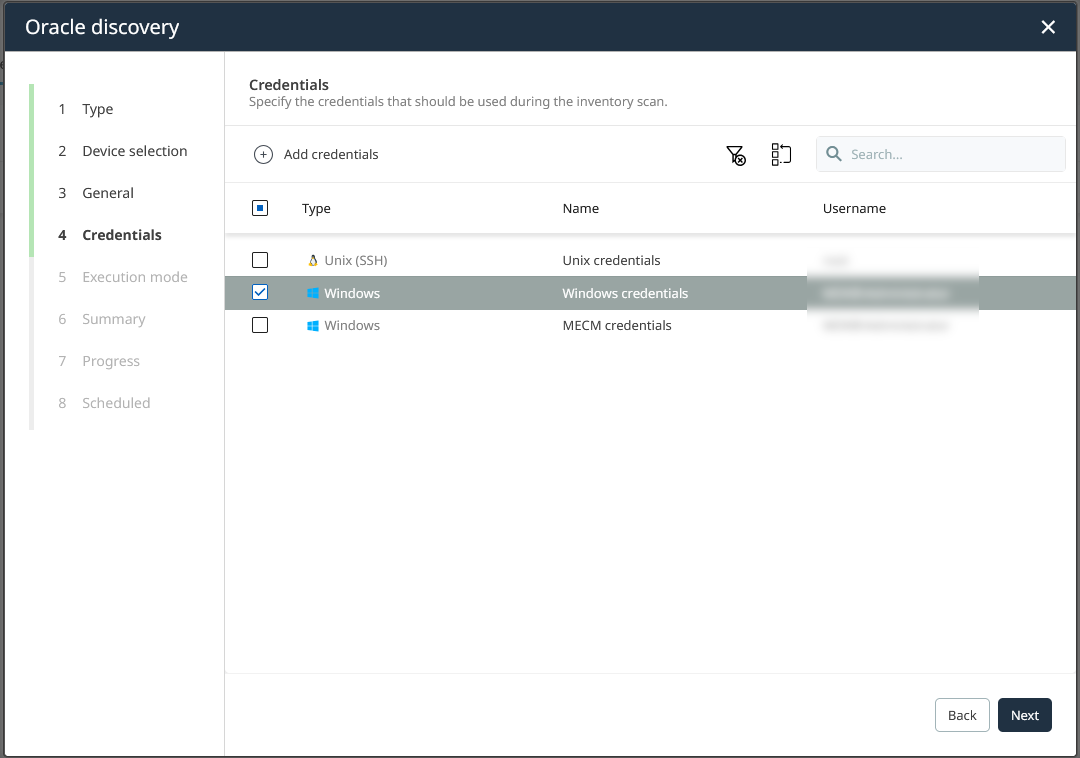
5.Pick the credentials to be used for device authentication. These credentials are not used to authenticate against the Oracle database software. In the event of Oracle database inventory, separate Oracle type credentials are required. After selecting the credentials, click on Next to proceed.
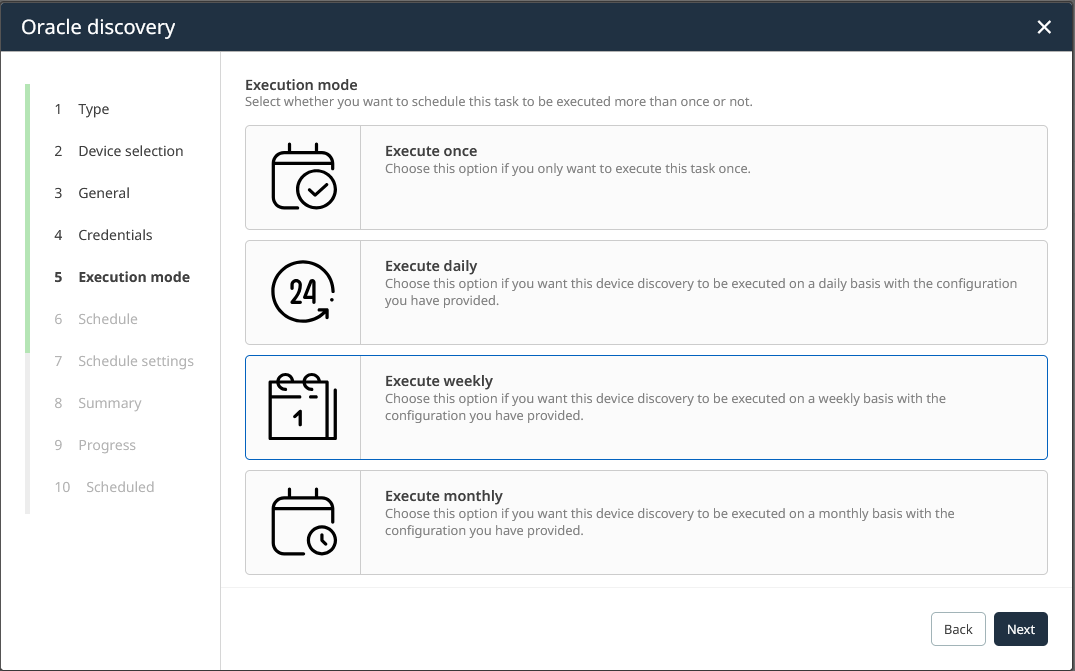
6.Under Execution mode, select the Execute weekly option. Click on Next to proceed.
7.In the Schedule step, define the scheduled day and time. Alternatively to just one day, multiple days sharing the same time-of-day can be specified. Click on Next to proceed.

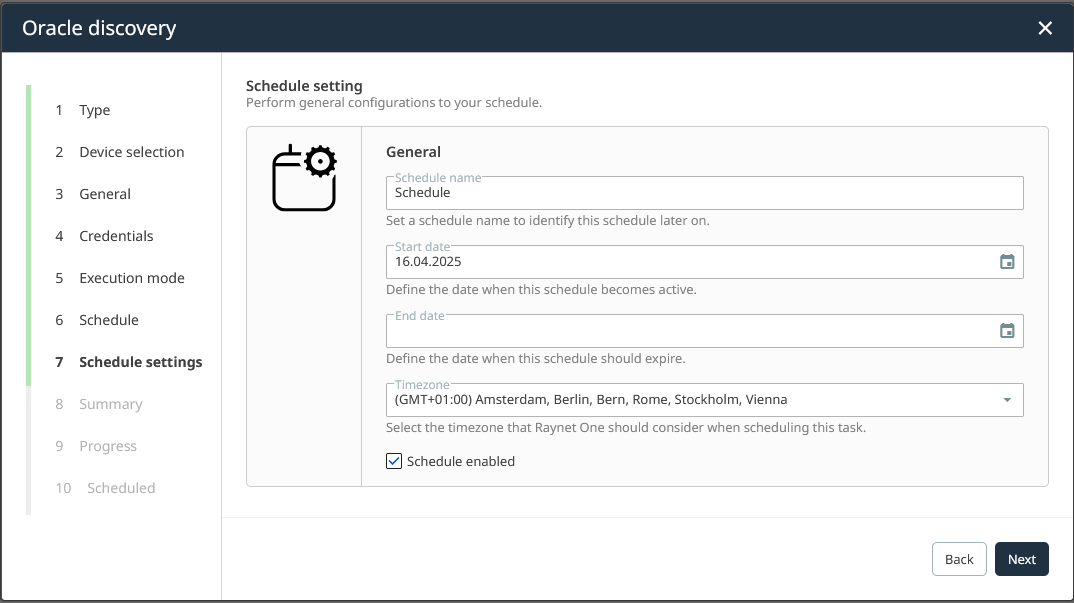
•The Schedule settings wizard step is shown. The parameters of this step identify, restrict and customize the schedule. Pick a good name to display on the job automation overview. Put in the prepared start and end date interval in which the job is allowed to repeat. By leaving the end date field empty, the job will repeat endlessly. The timezone option is a helpful tool to compute the localized job execution times in international scenarios. You have the option to temporarily disable a schedule by unchecking the Schedule enabled checkbox. Once you have provided all the details, click on Next to proceed.
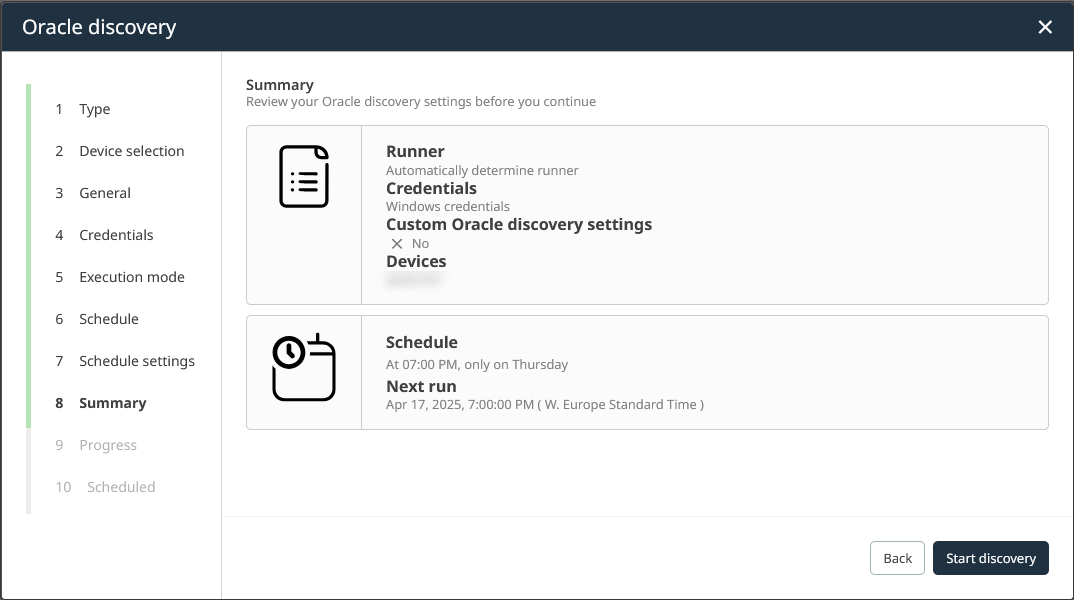
8.On the Summary step, verify the displayed details with your intended configuration. Does the displayed information match your schedule plan? If it does, click on Start discovery to submit it. Otherwise, click on the Back button to revise the configuration in previous steps.
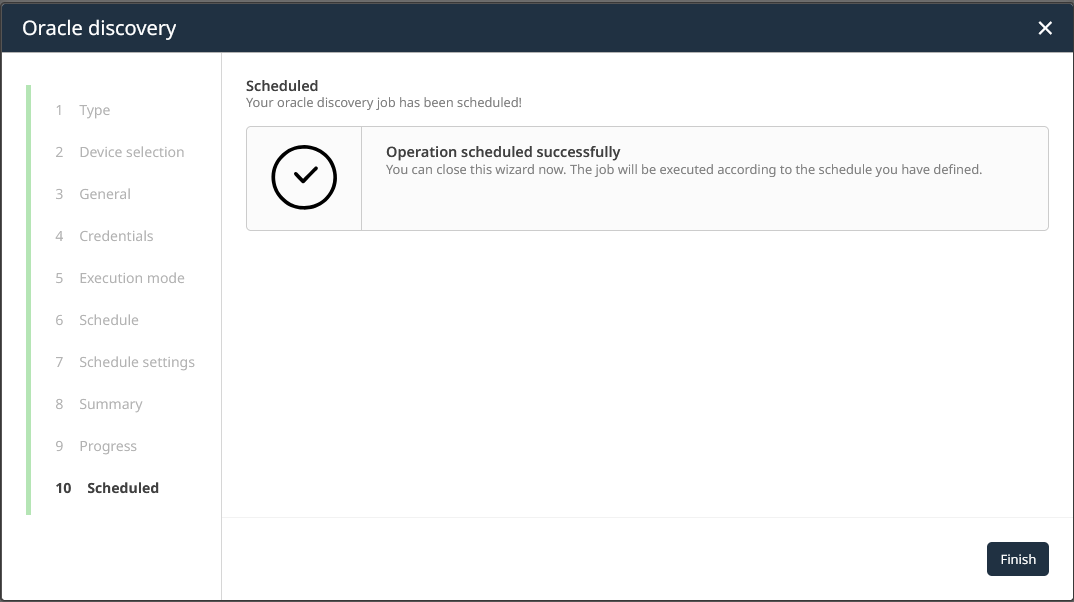
9.After submission of the job configuration, the Progress step is displayed briefly. During that step the schedule object along with all provided information is created on the platform. Finally, you are redirected to the Scheduled step. Click on Finish to finalize the process.
In conclusion, we have learned how to create a basic weekly schedule involving recurring elements of job scheduling configuration. Use the experience gained in this guide to configure any kind of future job schedule. Get comfortable with the way of date and time interval specification. Discuss with your team on how to properly label the scheduled jobs so that every team member can easily identify them. In the next chapters, we want to dive into management aspects of job scheduling.
|
Tip: |
|
Note: |