Follow the steps mentioned below to successfully install RayFlow.
After installing the prerequisites for the RayFlow Server start the RayFlow installer.
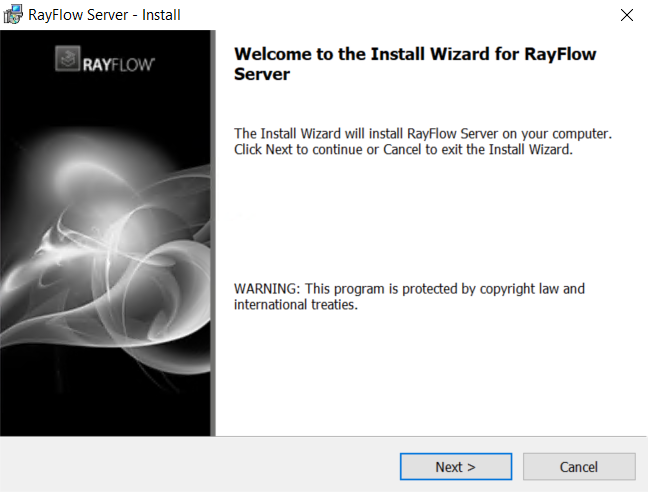
1. RayFlow installer start-up page is shown. Click on the Next button to proceed.
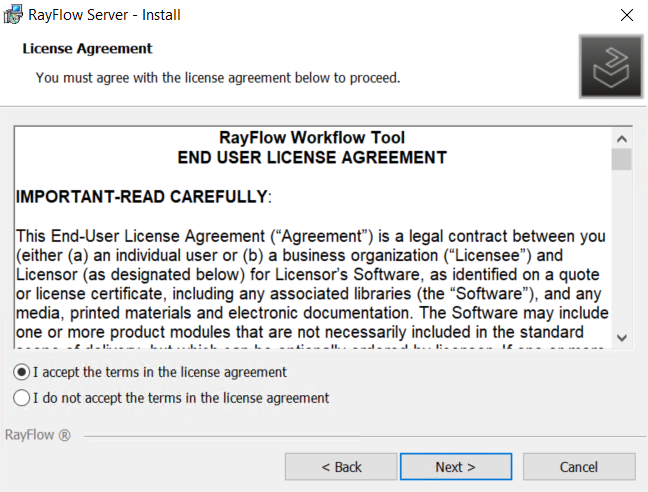
2. Read the license agreement. To proceed accept the license terms (activates the next button) and click on the Next button.
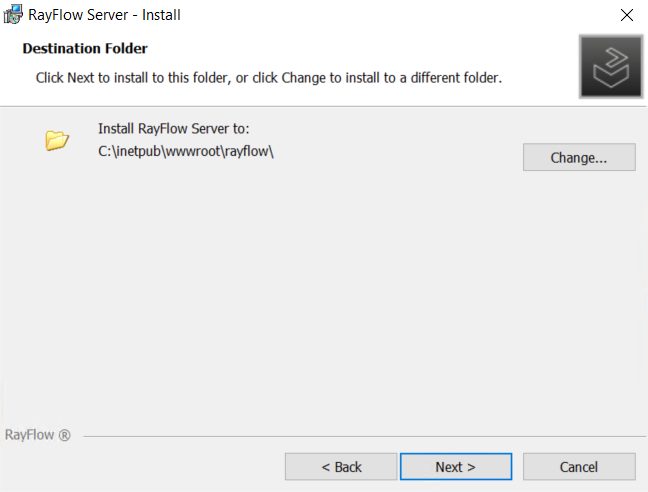
3. If the installation directory is required to be changed then click on the Change.. button and select the new installation directory. Click on the Next button.
4. Setup type options are shown. Select the type as required.
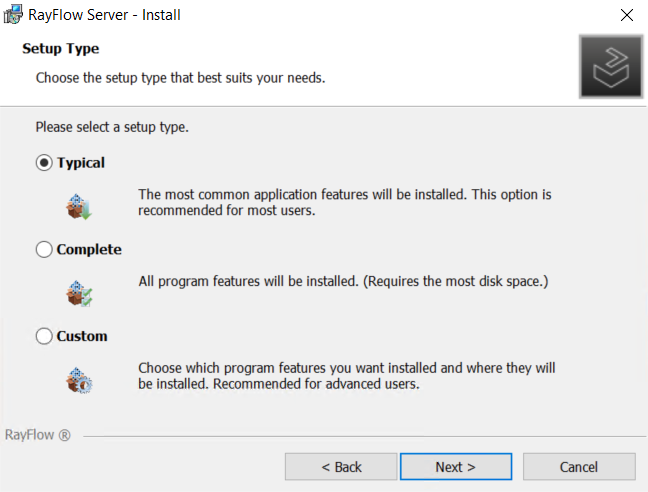
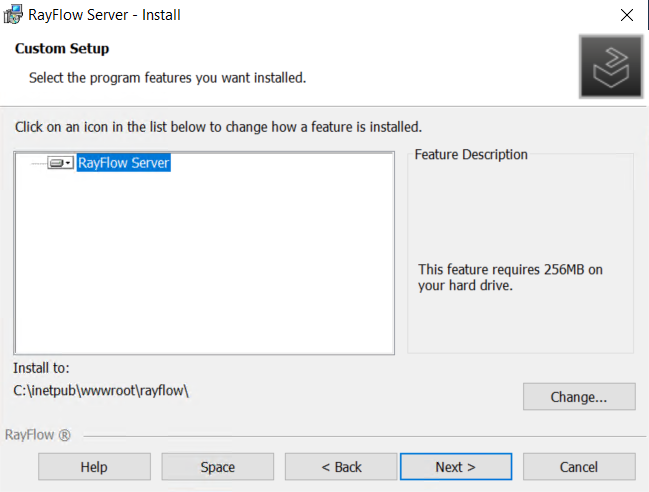
5. When Custom is selected as the installation type, The custom setup page is shown. Click on the Next button to proceed.
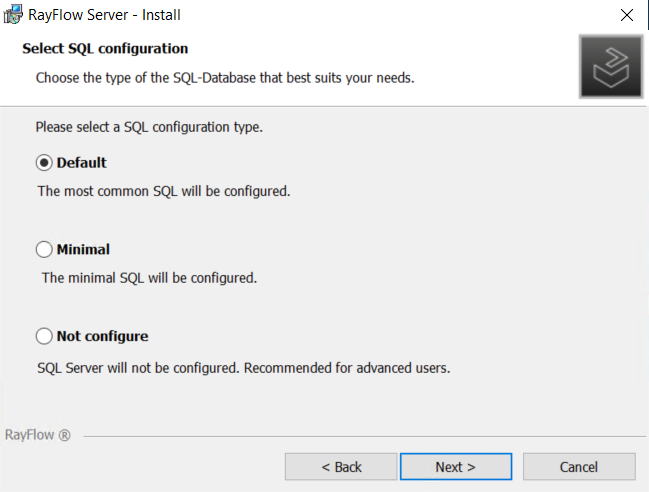
6. SQL Configuration options are shown:
•Default: When this option is selected, the installer creates RayFlow database and sets up a test project along with the default project into it.
•Minimal: RayFlow database is created and only default project.
•Not Configure: User can choose to manually configure RayFlow database.
Select the Default option and then click on the Next button.
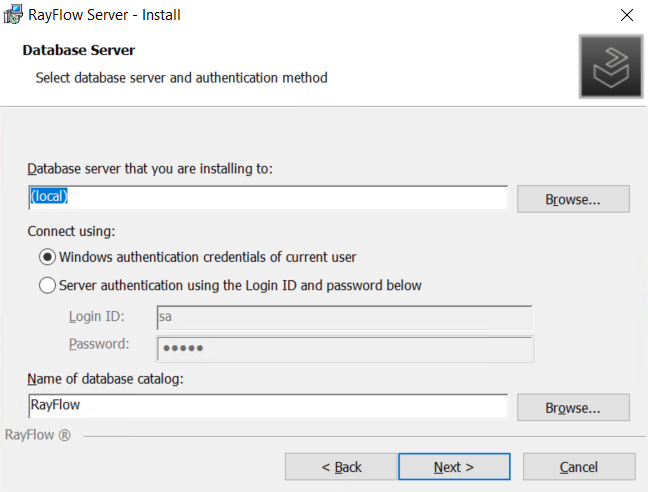
7. Select the SQL database on which RayFlow database will be hosted. If RayFlow server is on the same machine as SQL Server then simply leave default local.
In case the connection is made using SQL Server authentication, select the option and enter Login ID and Password.
Specify the name of the database catalog and then click Next.
8. The installer checks the connection to SQL database and if successful the IIS Web Application configuration page is shown. Use default or specify the IIS Configuration properties and then click on the Next button.
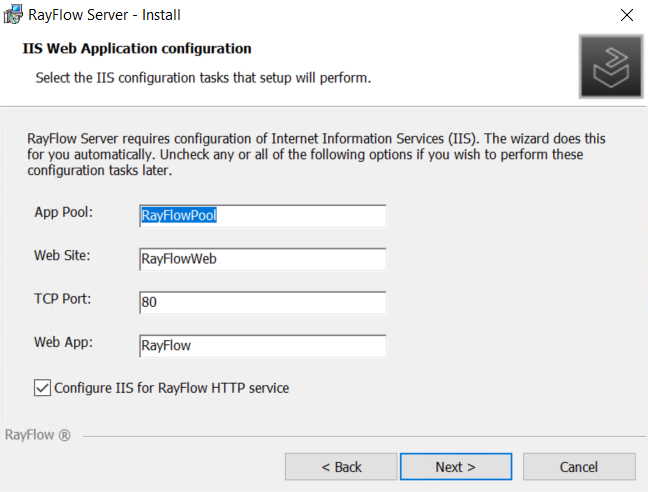
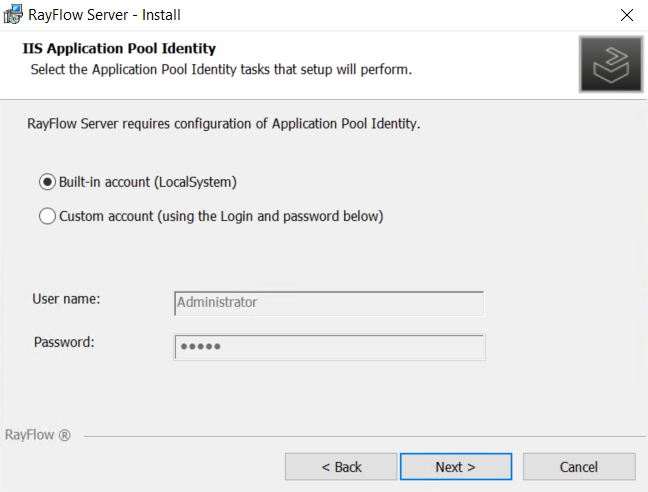
9. Local account can be used as the IIS Application Pool Identity. However, when the server is part of a domain, from security point of view a user can use a domain user as identity by selecting Custom Account.
Click on the Next button.
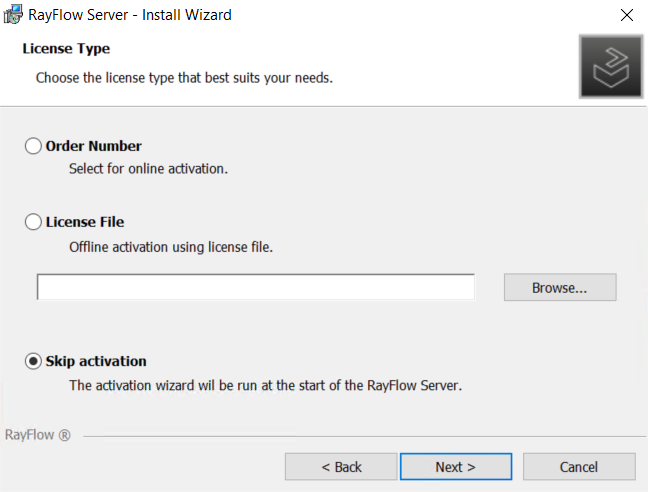
10. RayFlow server registration page is shown. If at hand provide the order number of license file for your RayFlow Server. Otherwise select Skip activation to activate later and then click Next.
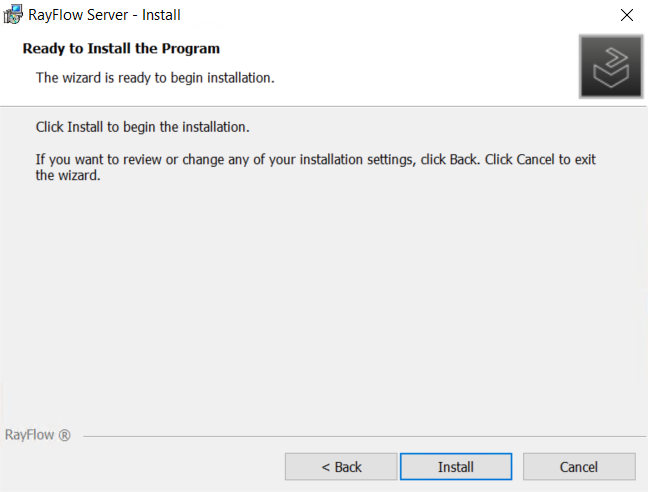
11. Click on the Install button to startup the installation routine.
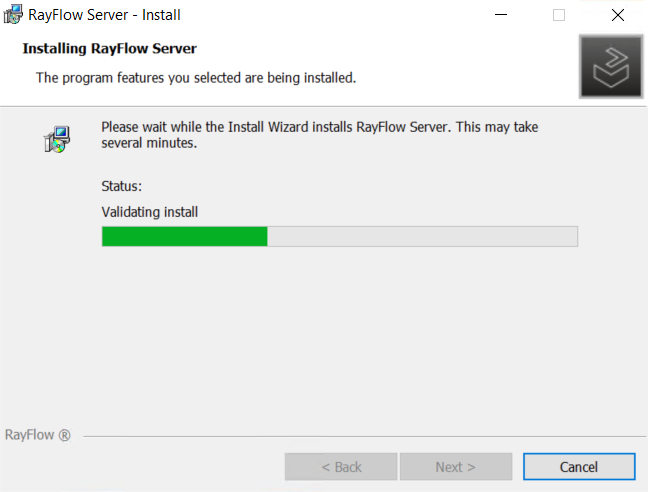
12. Installation progress is shown.
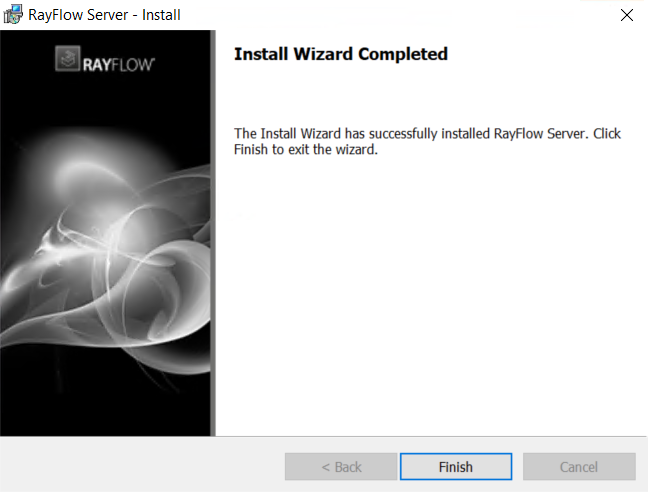
13. Click on the Finish button to finalize installation of RayFlow.
13. Launch RayFlow. The login page is loaded into the view. To continue to work on a project, a user will first need to activate RayFlow with a valid licence. For more information on license activation, please refer to Product Activation chapter of the RayFlow Server User and Administration Guide.