RayFlow offers four different ways to create a new task:
Create a new task manually - type in the task information manually in predefined datafields
Clone a task - clone a task from the current project or from another project
Import a task from CSV - import the task information from external files
Task from Package Store - Create task in Integration with PackageStore
Create a New Task Manually
The user has the possibility to create new task by typing in the initial properties.
Therefore open the order phase (first phase in the phase sequence) or the site menu item "Package Order". Please make sure that the sub menu new task is opened.

In the first step the SLA, the Type, and the Category must be defined. This is mandatory information. Click on the Next button to continue.
The SLA is necessary to control if a task goes through the workflow in time and also gives the user a visual alert if takes too much time.
The Category is a semantic value to classify the task. It can be used to filter tasks in phases or in mail notifications.
The Type defines the type of the task. Different types can be defined in Configuration > Task Types.
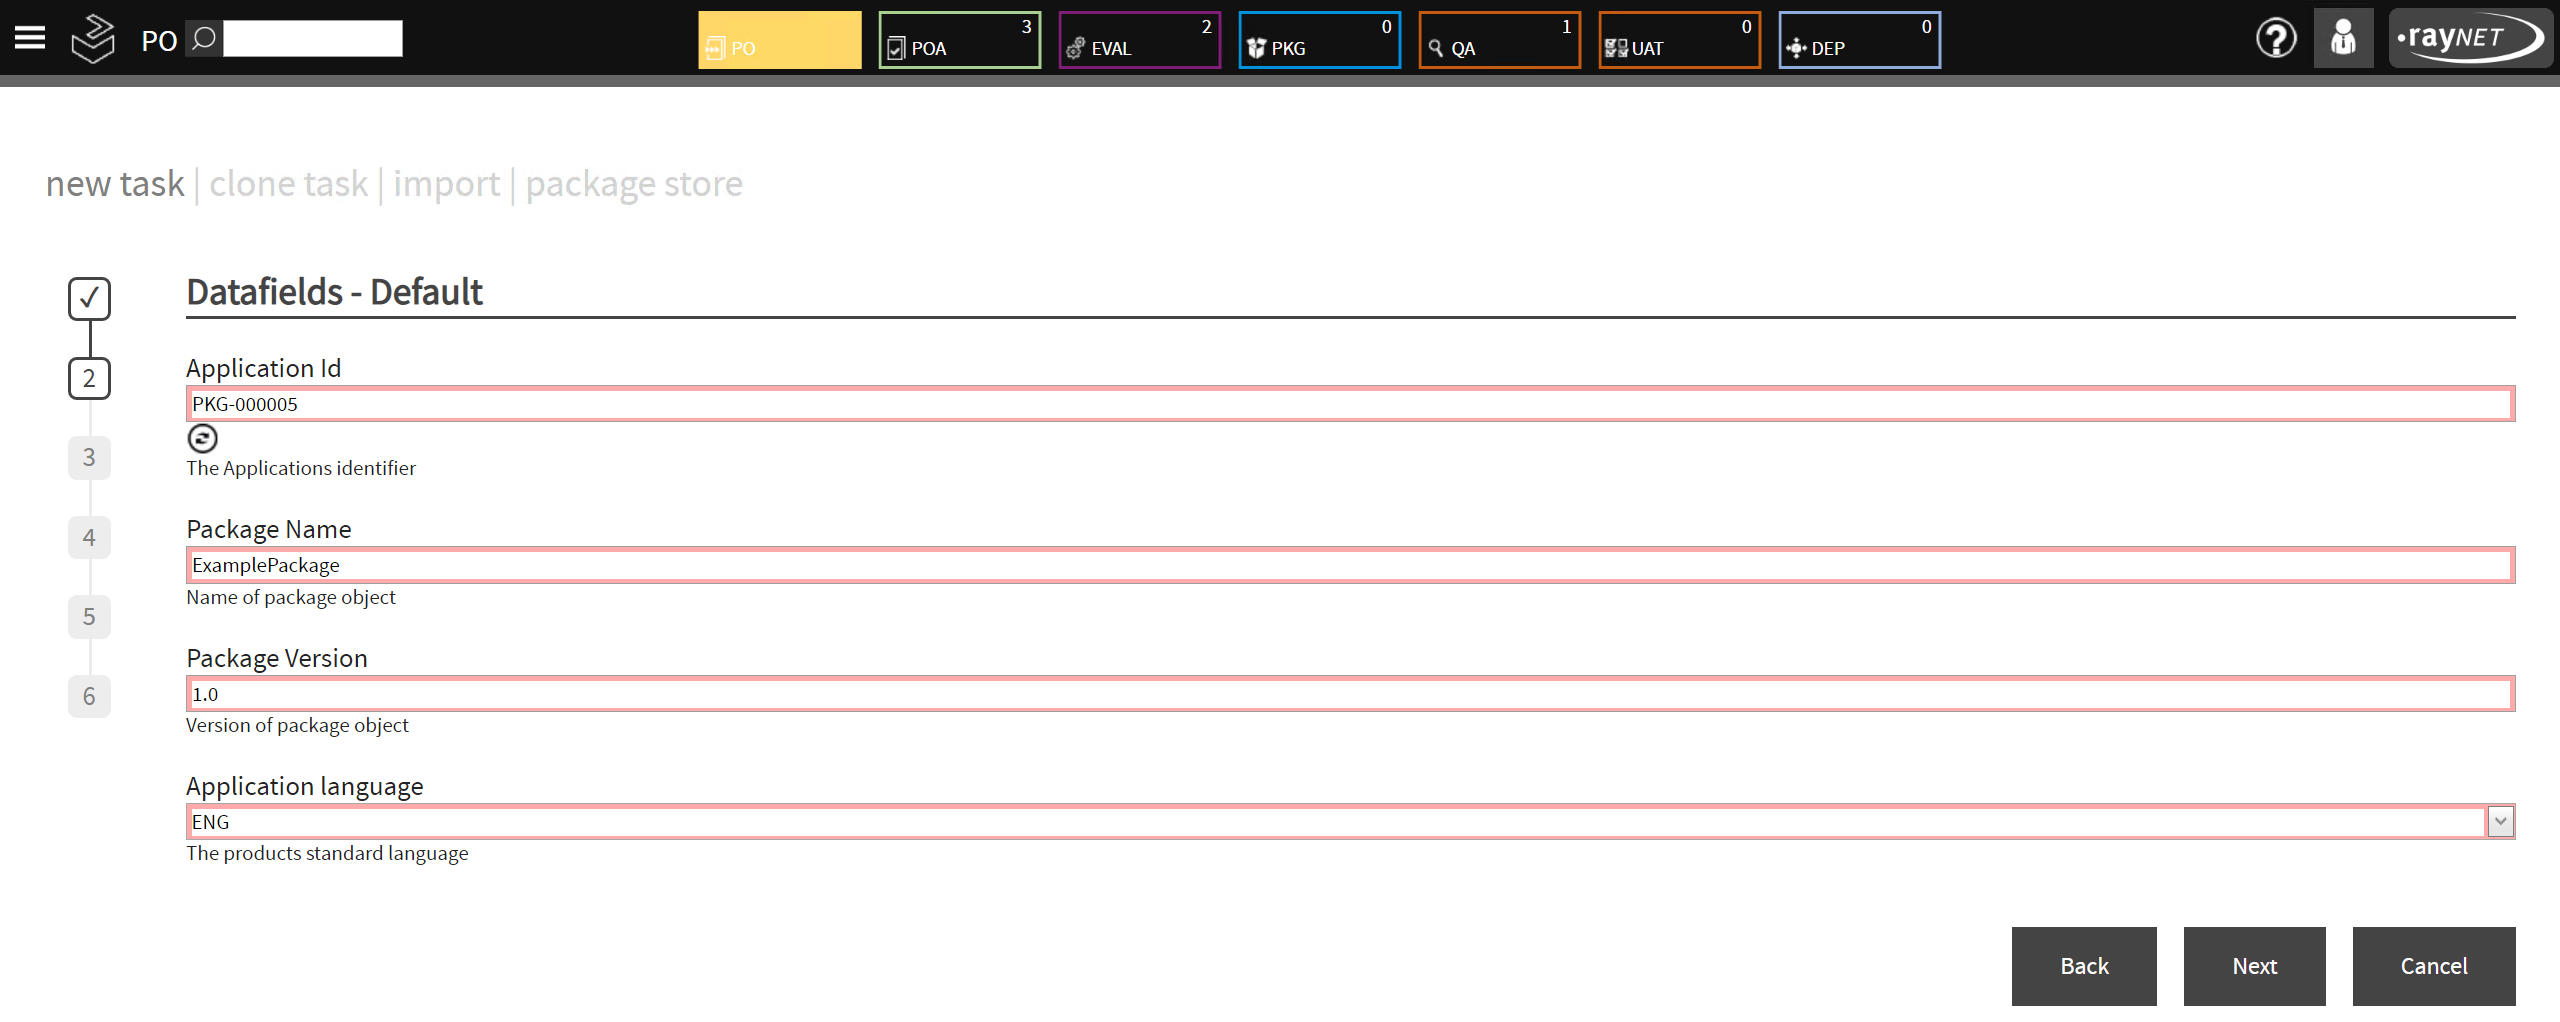
In the second step fill out all fields and click on the Next button to continue. The Application Id can be updated by using the Refresh button underneath the field.
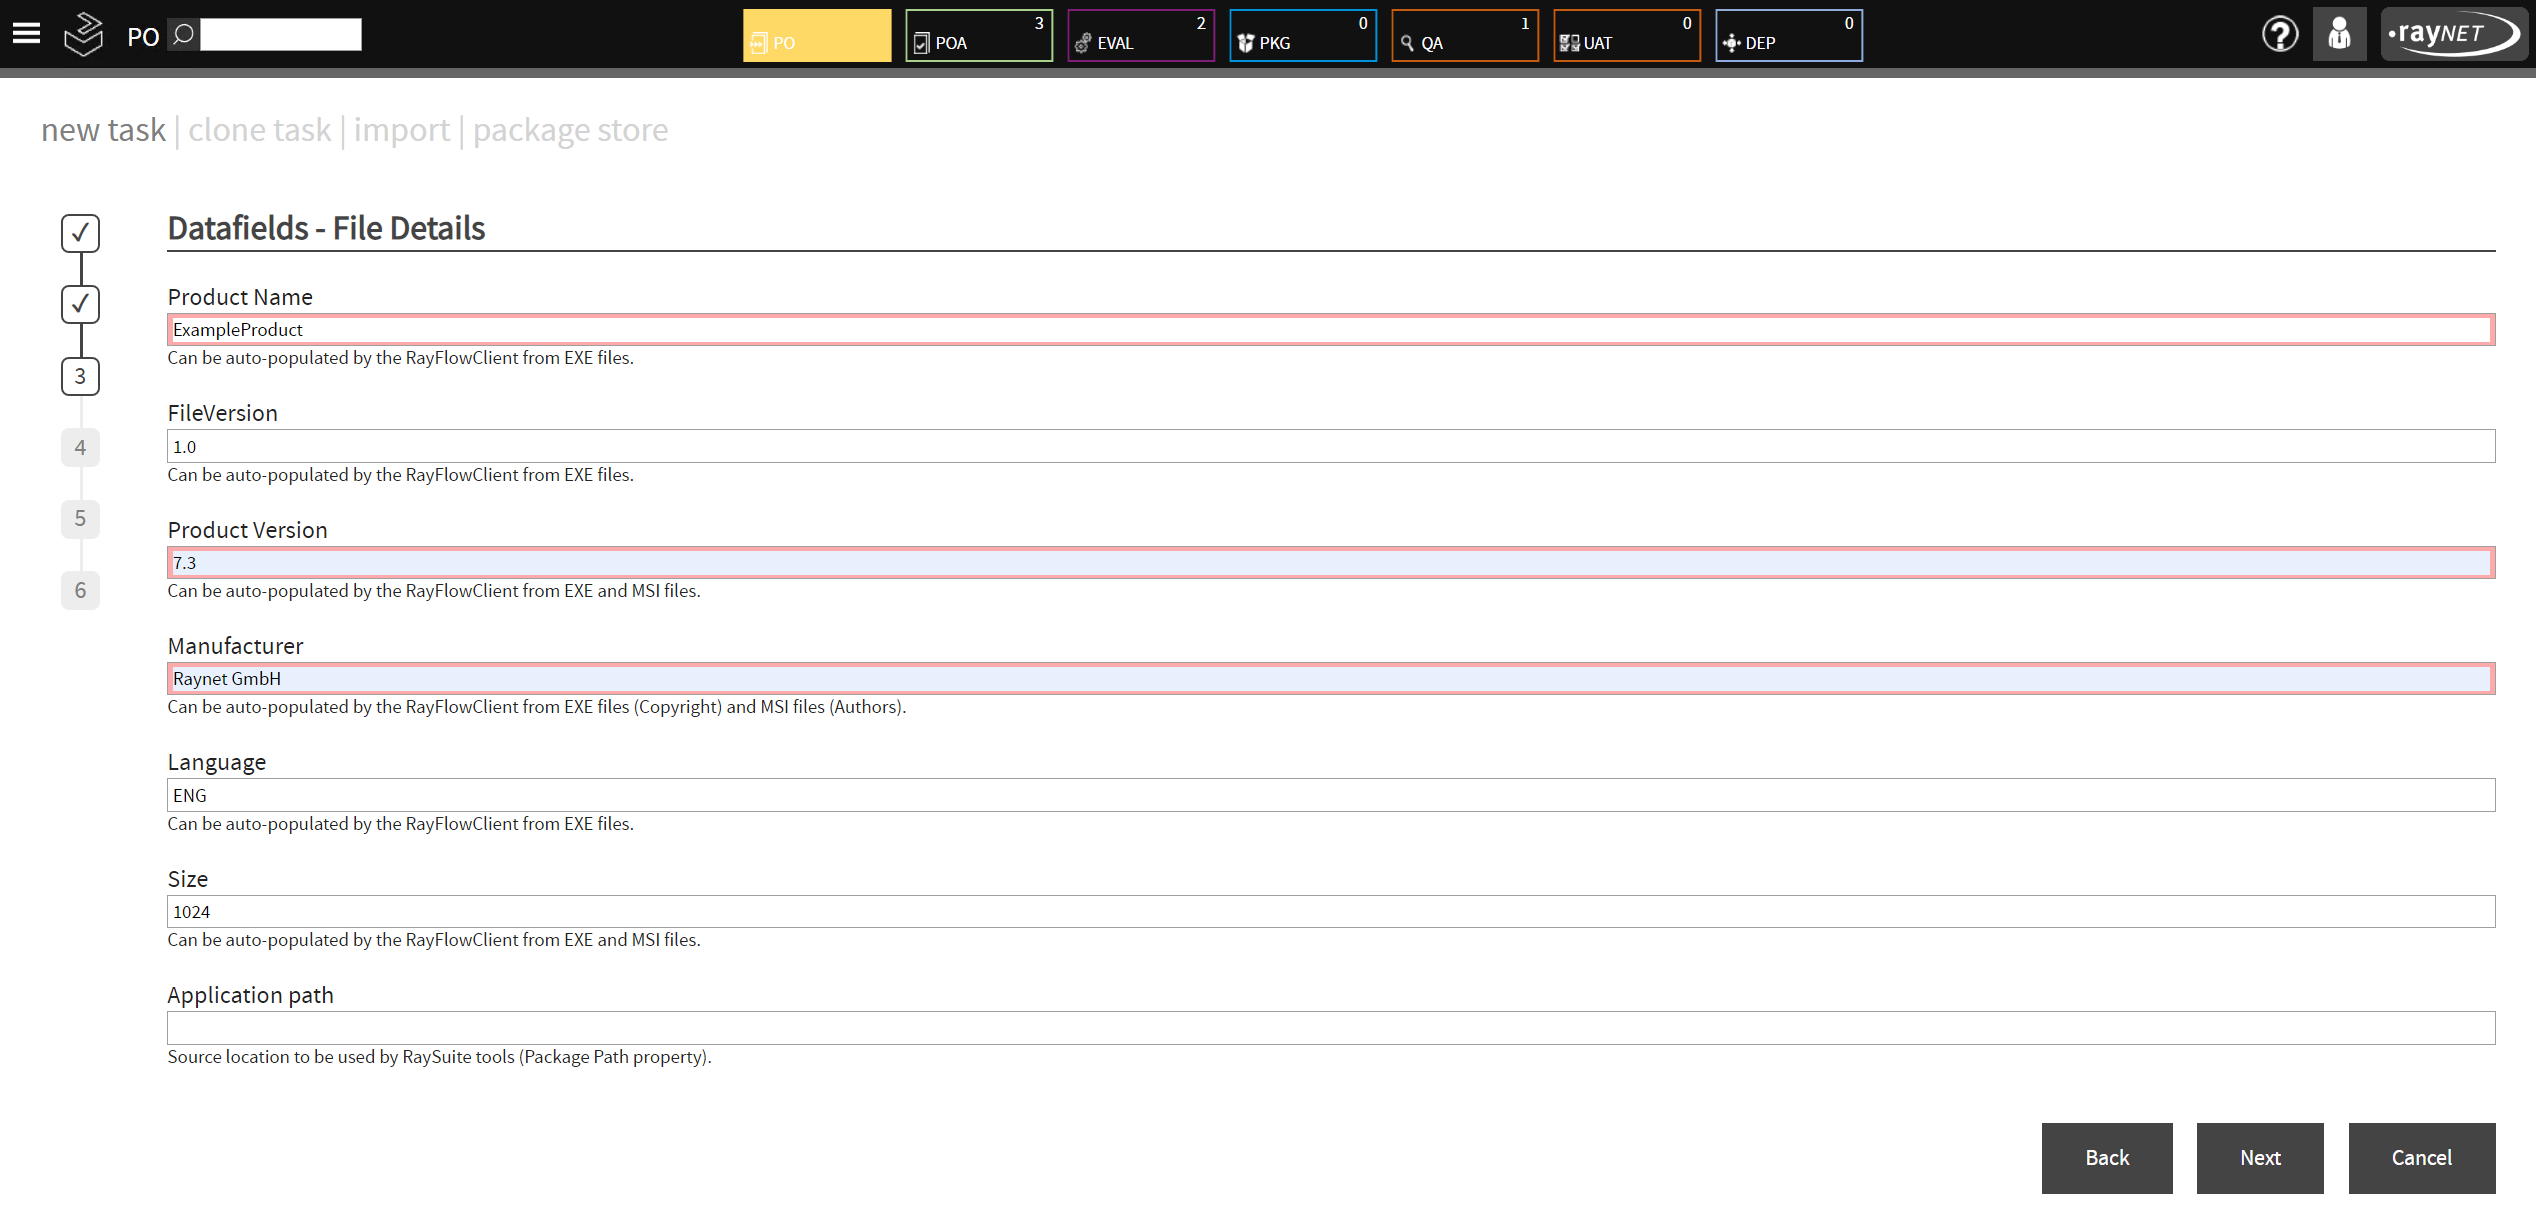
In the third step fill out all mandatory fields (red outline). Only Product Name, Product Version, and Manufacturer are mandatory. All other fields are optional. Click on the Next button to continue.

In step 4 files can be added and the File Depot can be defined. This data is optional. For more information please have look at the sections File Depots or Up- and Downloads. Click on the Next button to continue.
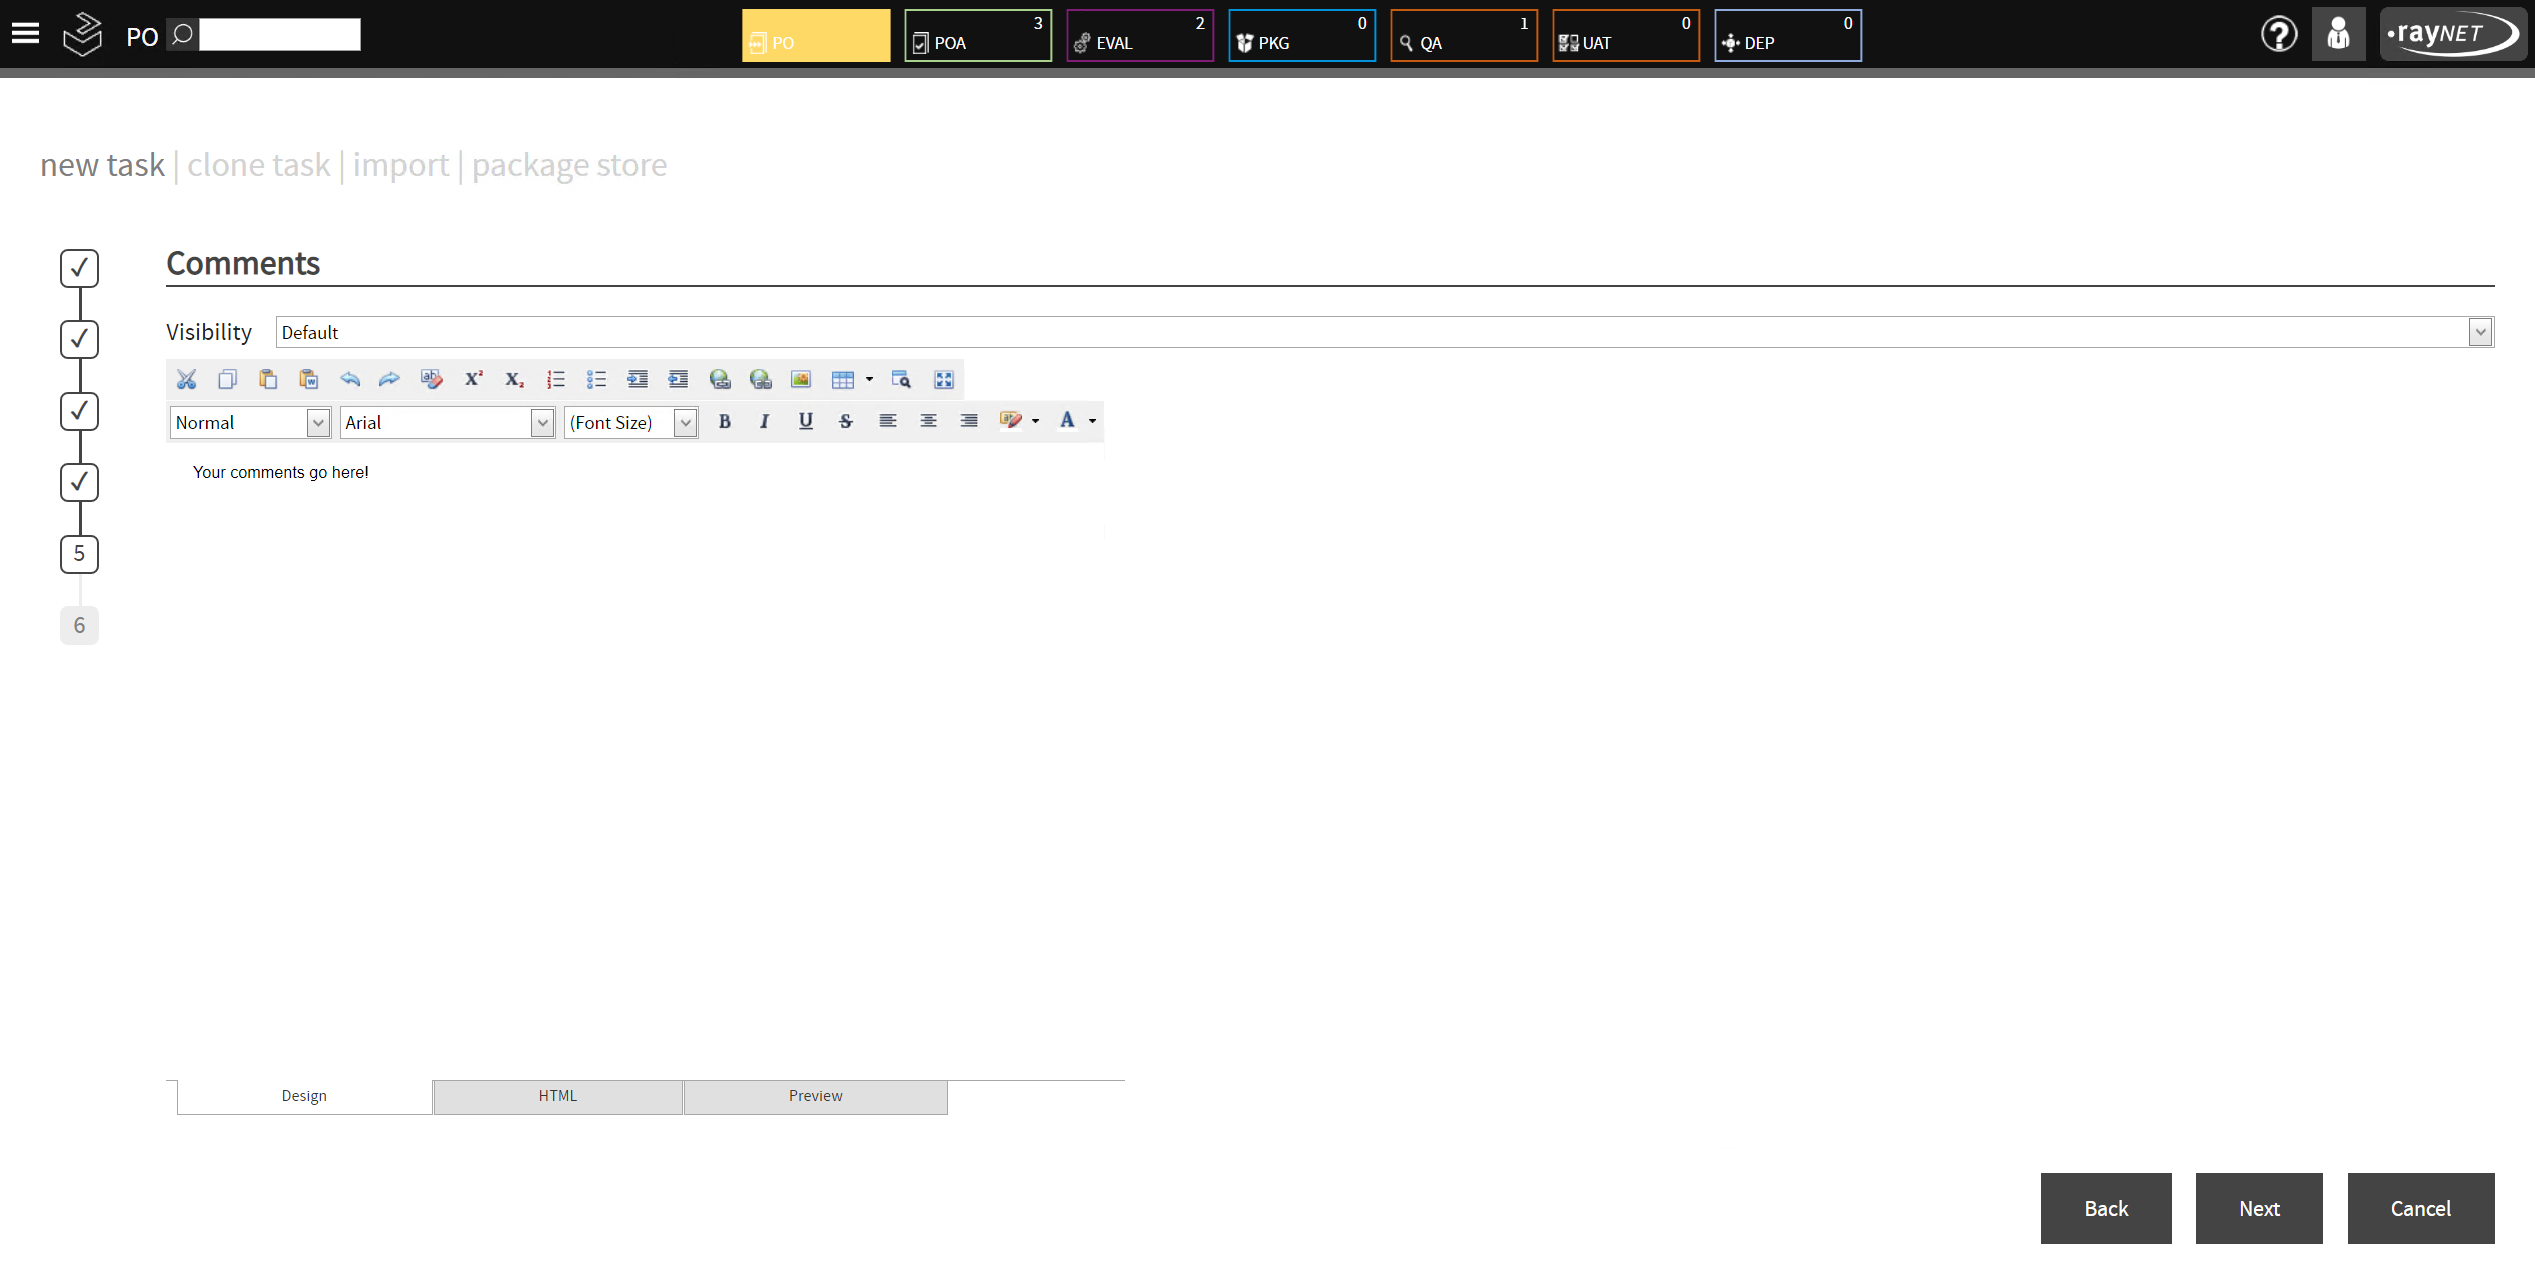
In the fifth step an optional comment can be written. This data is optional. For more information please have look at the section Comments. Click on the Next button to continue.
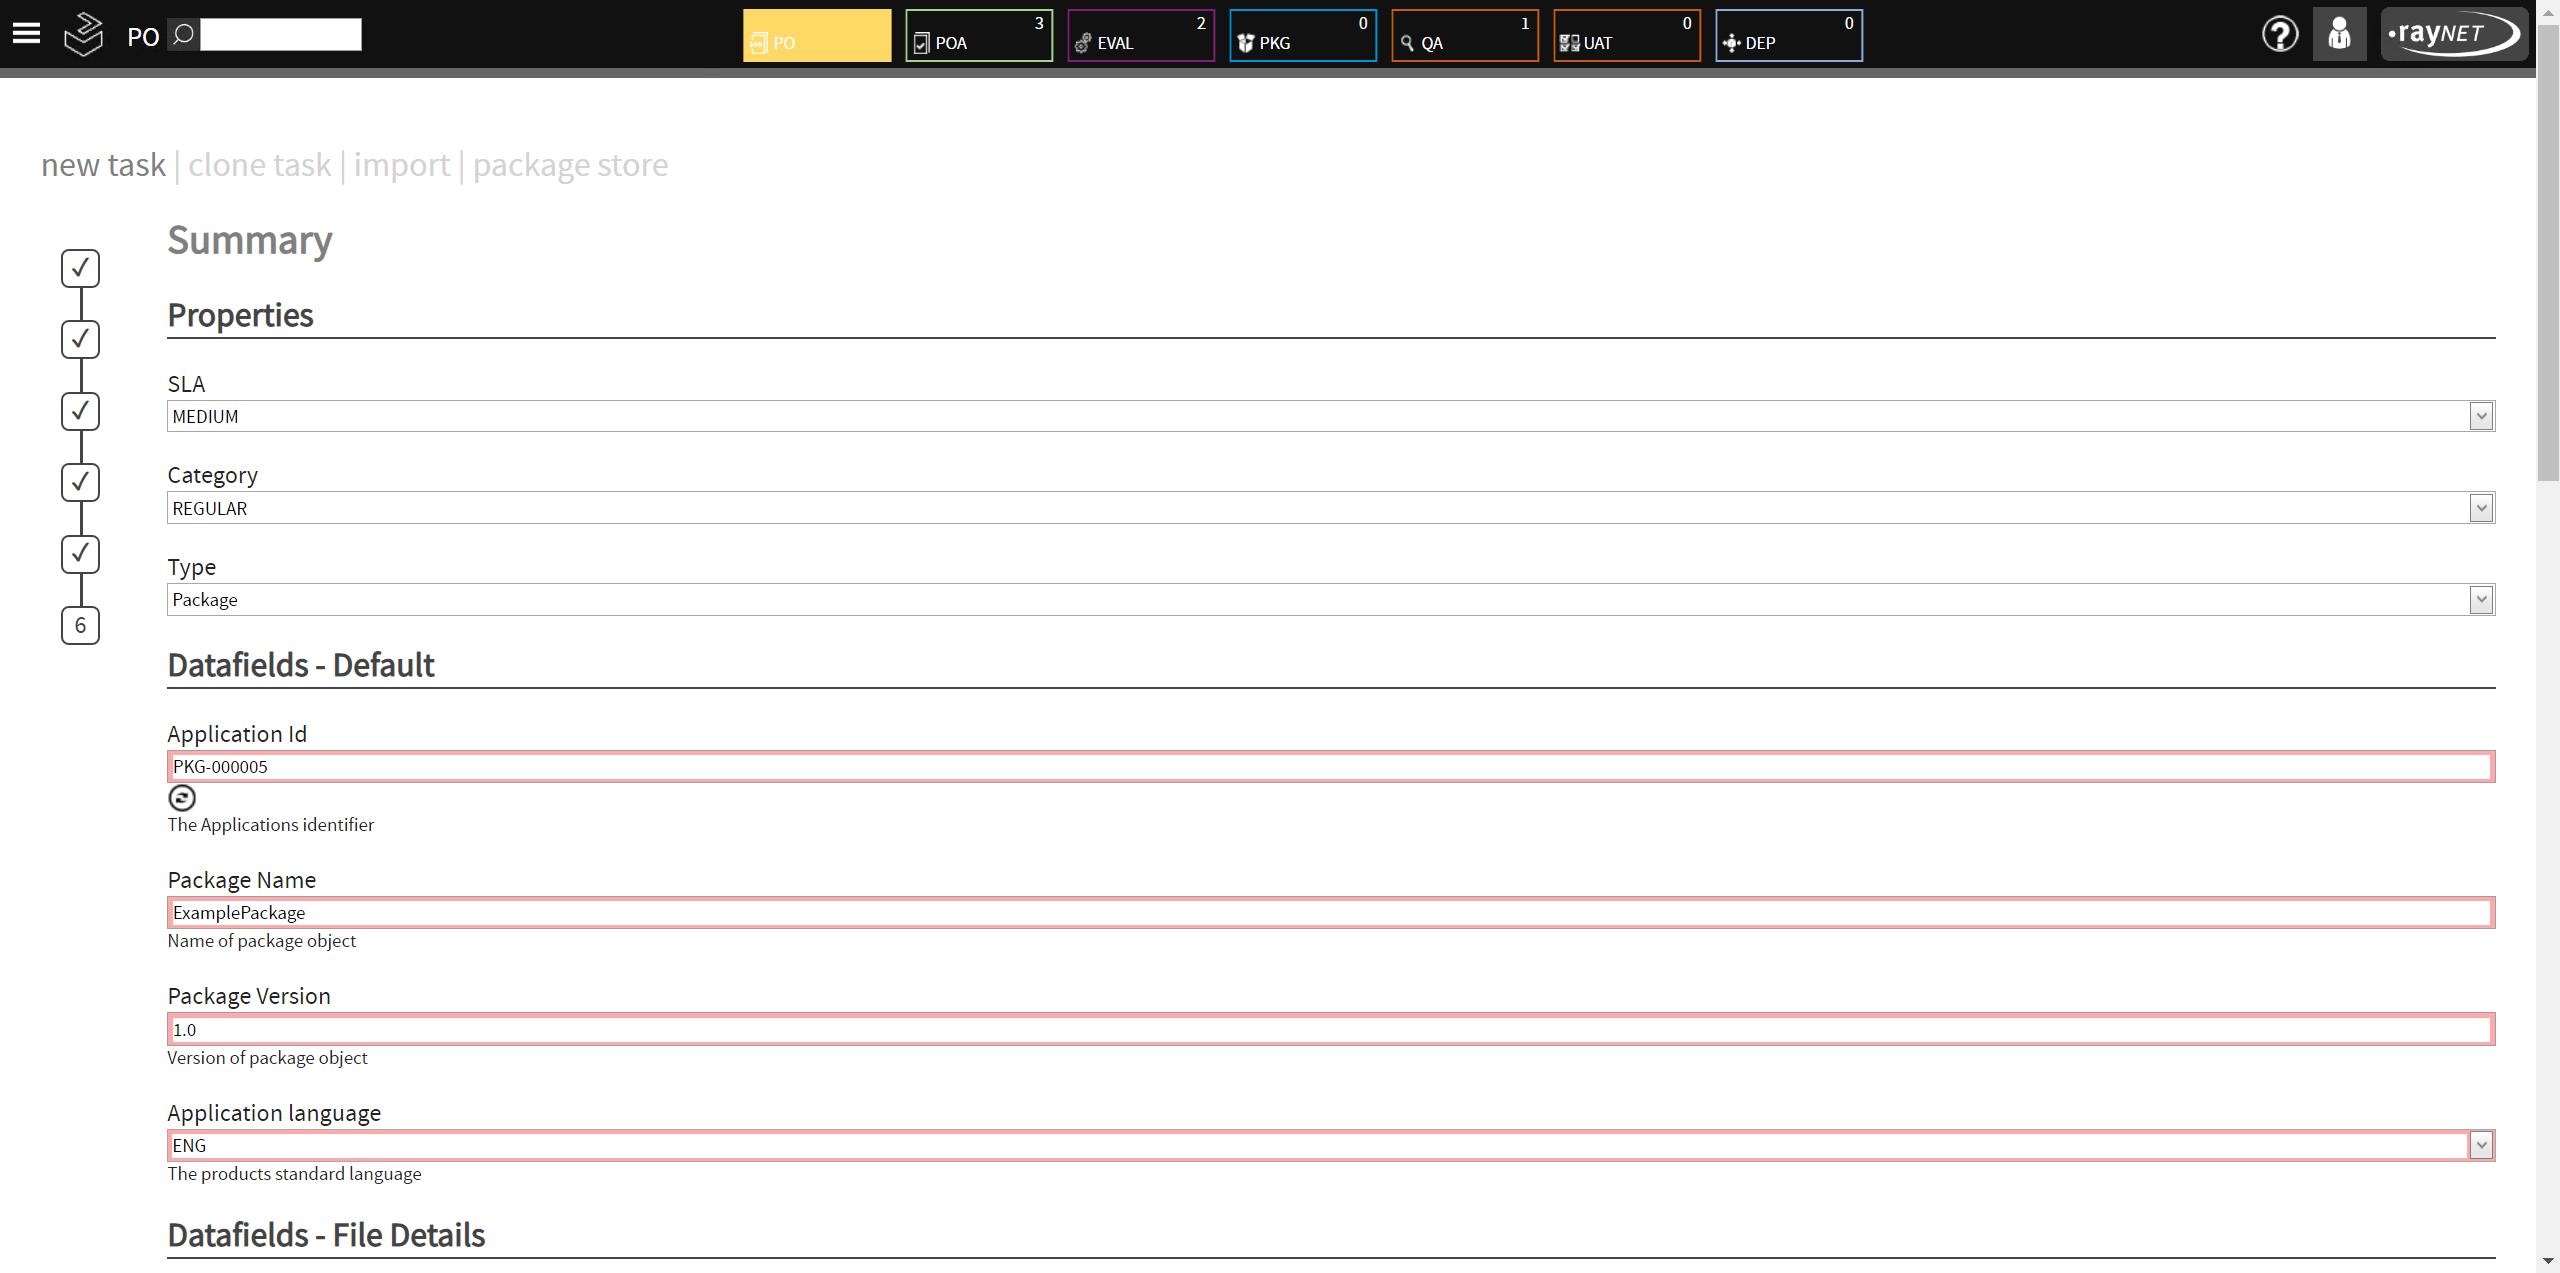
The final step shows all information that have been entered. Check all information while scrolling down to the bottom of the page.
To create the task, click on the button Create new order.
|
Note: The new task, which can be found in the next phase (for example POA), has the status Open and is not assigned to a user. |
Clone a Task
The user has the possibility to clone a task from the current project or even from other project.
Therefore open the order phase (first phase in the phase sequence) or the site menu item Package Order and go to the sub menu clone task.
All clone-able tasks are listed and can be selected by clicking on the ratio button in the row. After selecting the task which should be cloned, click on the Clone Selection button.
The initial properties will be copied to the new task view and can be edited before the task is created.

To clone multiple tasks at ones a user can activate the checkbox with the caption Enable multi task clone right above the list.

All ratio buttons in the list change to checkboxes and enable multiple selections. After selecting the task and clicking on the clone selection button, all selected task will be created with the same properties as the original.
|
Note: The user cannot change the initial properties of the cloned value by using multi clone option. |
Import a Task from CSV
The user has the possibility to import multiple tasks from a semicolon separated value (CSV) file.
Therefore open the order phase (first phase in the phase sequence) or the site menu item Package Order and go to the sub menu import.

To upload a CSV file, click on the ...-button and a browser default upload dialog shows up. Choose the file and press open. Press Upload to complete the upload process.
The uploaded sample file has the following content.
Category |
SLA |
Application Id |
Application language |
Application name |
Application path |
Application vendor |
Application version |
Comment |
EASY |
LOW |
PKG-000004 |
ENG |
Flash |
\\path\to\package\flash.msi |
Adobe |
17.0 |
Test comment |
REGULAR |
MEDIUM |
PKG-000005 |
GER |
Reader |
\\path\to\package\reader.msi |
Adobe |
11.0 |
Import task to RayFlow |
COMPLEX |
HIGH |
PKG-000006 |
ITA |
FileZilla |
\\path\to\package\filezilla.msi |
Tim Kosse |
3.0 |
and even comments |
|
Be aware: The column headers should have the same title as the datafields used in the package order view! Be aware, that all datafields that are mandatory in the create phase have to be included in the CSV file and need to have valid datafield values! |
The upload history gives the user information about the upload date and the name of the user as well as the status of the upload. A successfully uploaded CSV file can be selected from there and the task information is shown on the right site.
It will be stored for later use.
To import the uploaded tasks, select the tasks by activating the checkbox in the row. To select all tasks activate the checkbox in the header of the list.
Press Import Selection to import the selected tasks.
|
Note: The new task, which can be found in the next phase (for example POA), has the status Open and is not assigned to a user. |
Task from Package Store
To import a task using the PackageStore, select the package Store tab in Package Order. Select an application from the applications that are shown. The search field can be used to reduce the number of applications that will be shown and make it easier to find the correct application. Underneath the packages, it is possible to switch through the pages of packages that are shown by either clicking directly on a page number or by using the arrows.
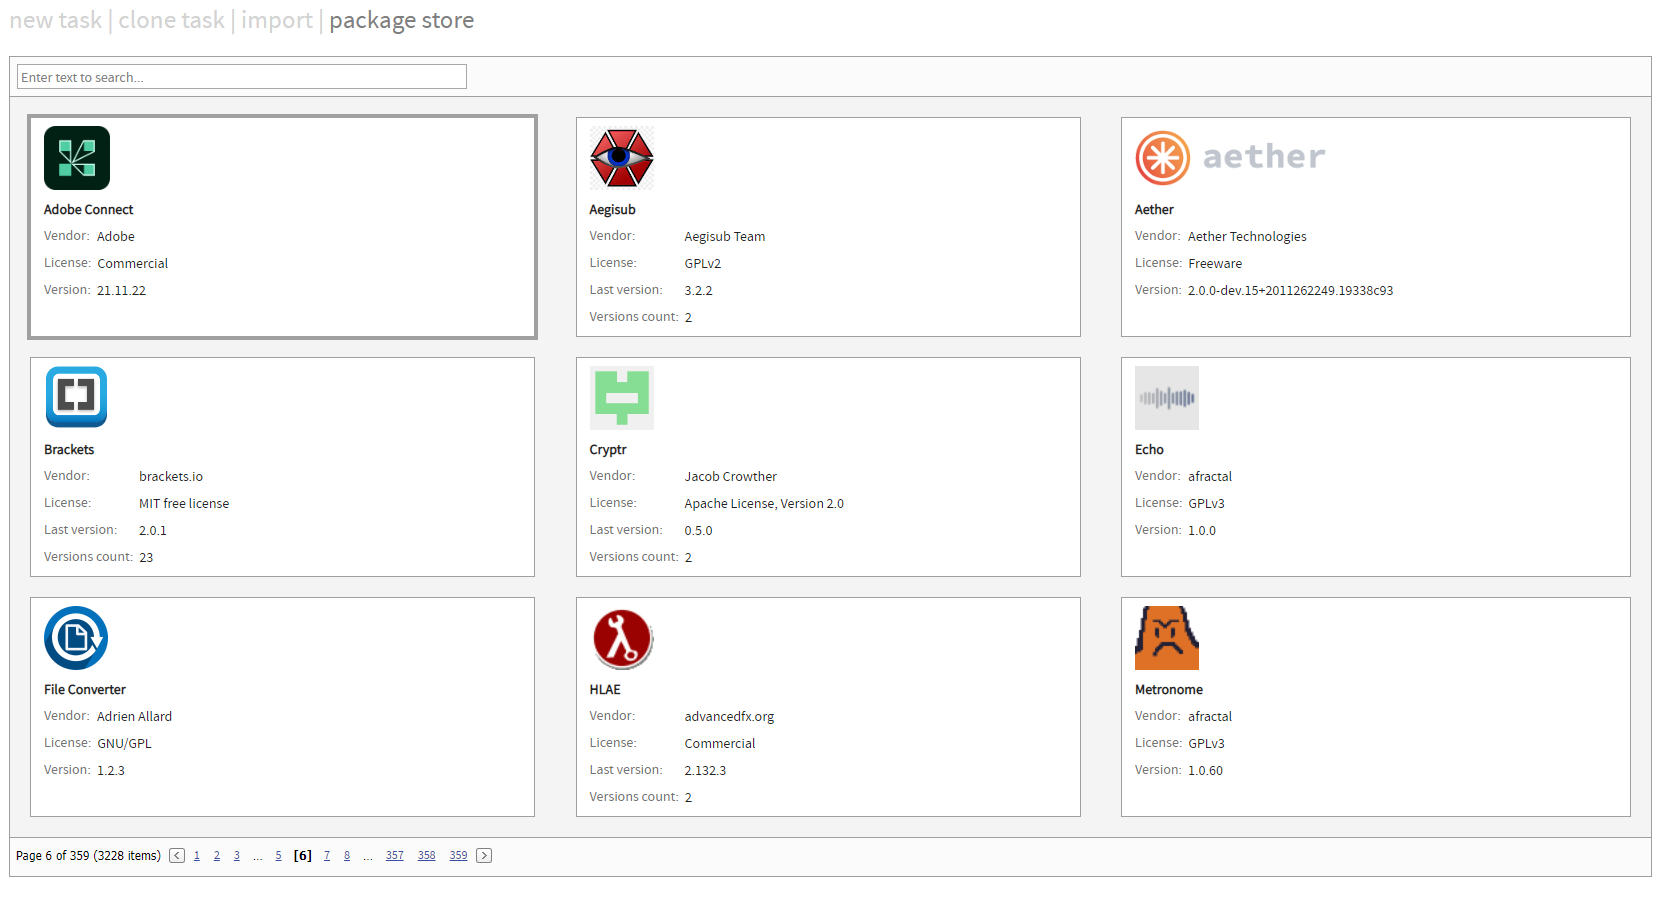
In addition to the name, the following information is available for each of the packages.
•Vendor: The vendor of the package.
•License: The license used by the package.
•Version: The latest version of the package.
•Version count: The number of versions that are available for the package.
Click on a package to open the dialog that is used to select the version and import the package.
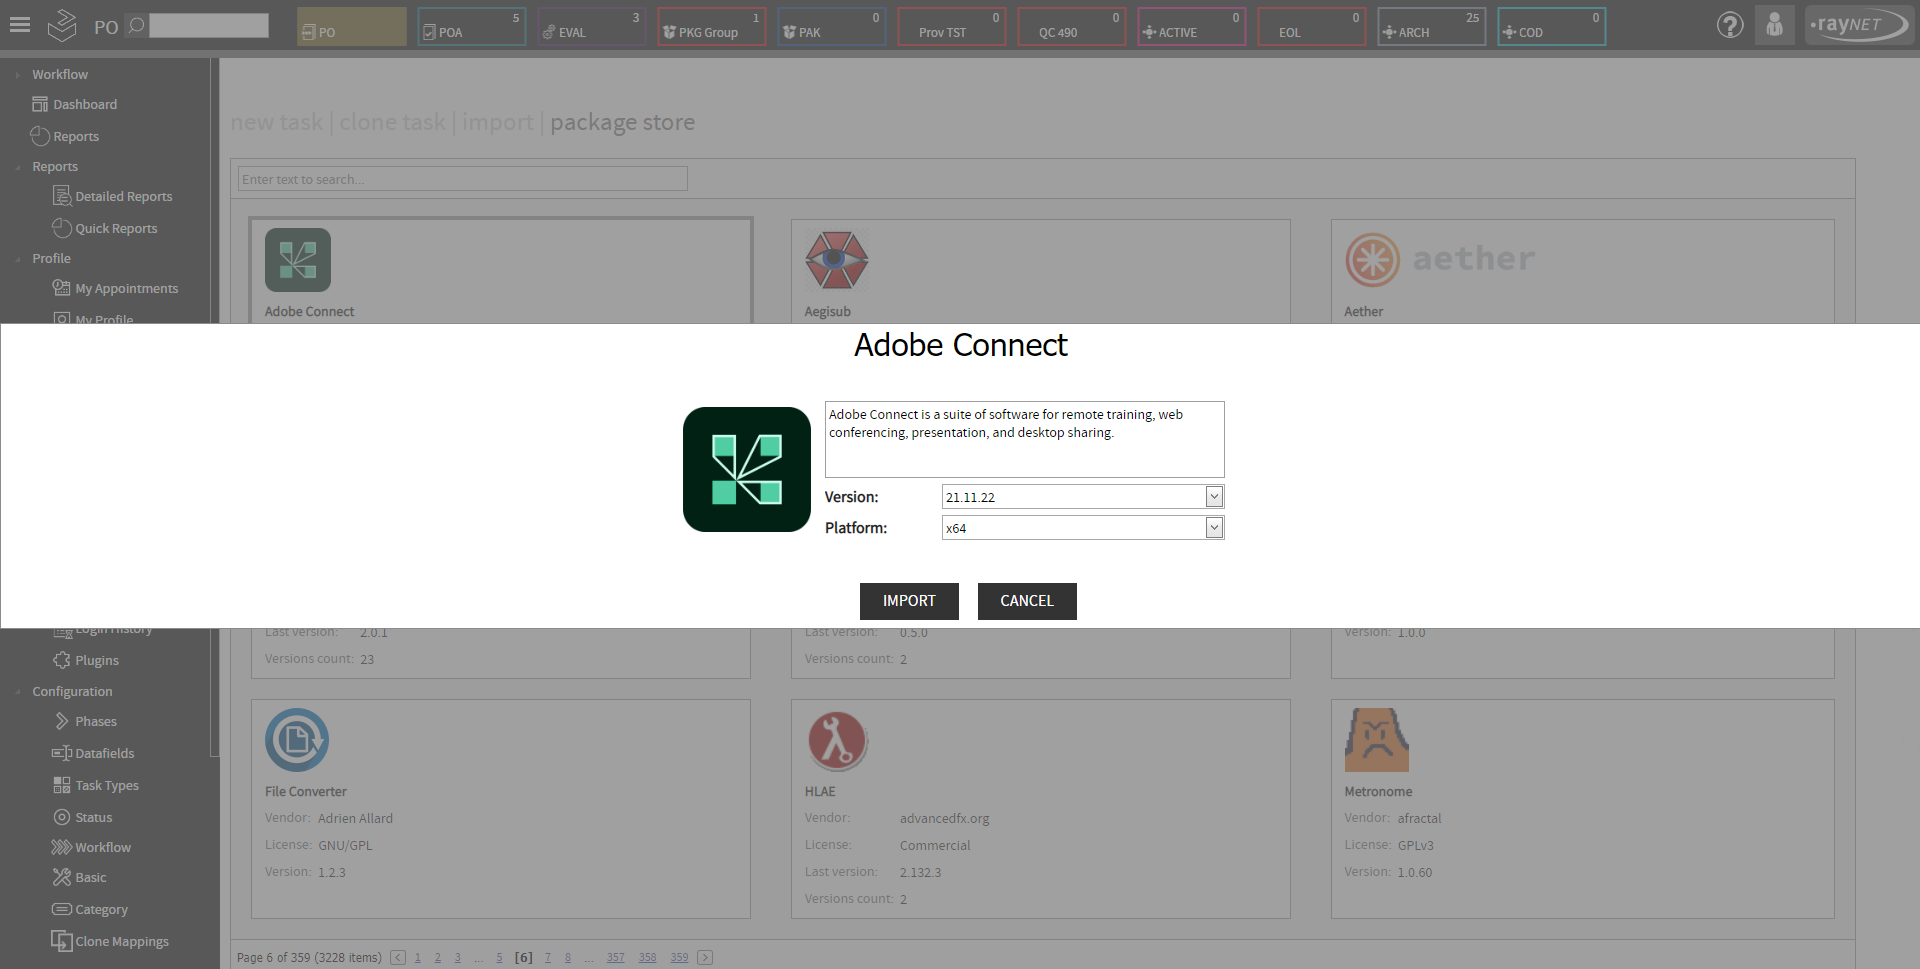
Select the version of the package from the Version dropdown menu. Furthermore, if there are versions for different platforms, it is possible to select the target platform in the Platform dropdown menu.
Click on the IMPORT button to import the package. The package will be imported in the .xml format. There are a few exceptions where there are additional files (for example if there are transforms or additional files that are necessary for the configuration of the package) in the package. In this case, the package will be imported in the .zip format.