The possibility to create a new project in RayFlow is available through the Projects page of the Default project. RayFlow offer its users, three options for creating a new project:
To create a new project log in to any project as root user. It is not relevant which of the available projects is chosen.
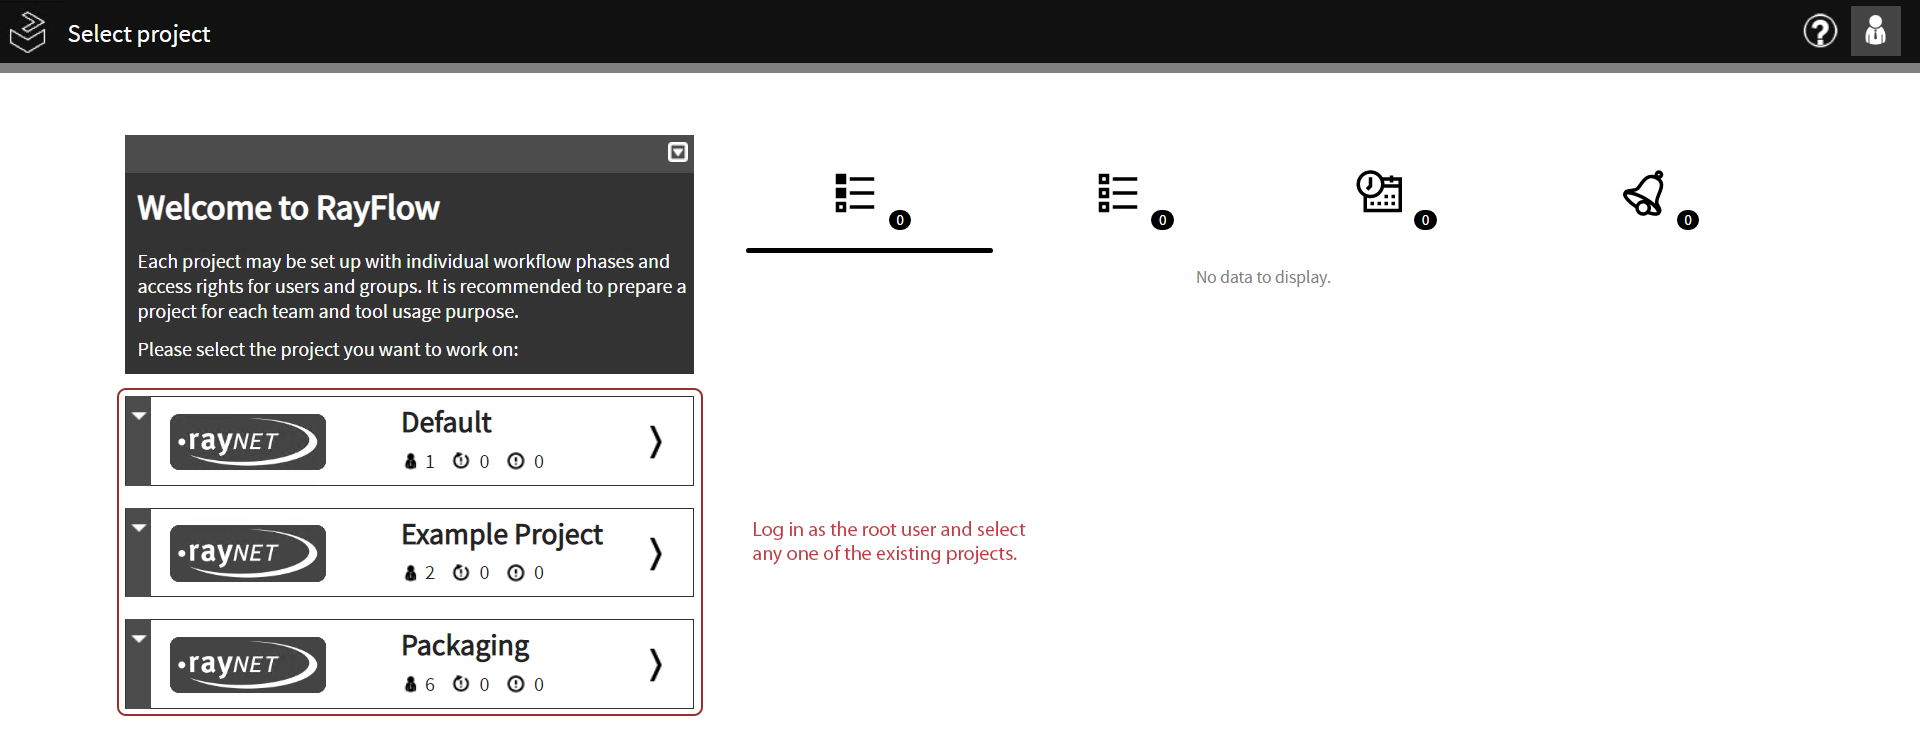
After logging into a project, navigate to Administration > Projects. This projects can be easily accessed by expanding the Administration section of the vertical navigation bar and selecting the Projects entry.

The Project page is divided into three areas:
•All projects: All the existing projects are listed under the All Projects area.
•Property category: For each of the projects in the All Projects area respective properties are categorized into General Information, Properties, Users, and Clone Task Settings. More information on properties related to a project can be found in the Project Properties section of this document.
•Project Properties: Properties belonging to different categories are shown under the properties area.
Create a New Project
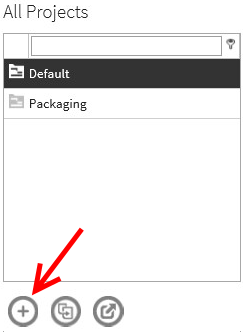
Click on the + icon at the bottom of the projects list to add a new project.
Enter the project name and browse to the file of the logo.
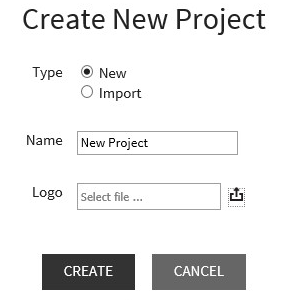
The logo file has to be put in the images folder of the RayFlow Installation root directory before it can be used for the project. The logo can be in .gif, .jpg, or .png format.
|
Be aware: The maximum file size for a logo is 4 MB. If the file used as logo is bigger, the default logo will be used instead! |
The project created by this method is just a shell and it cannot be accessed until a user and a group have been assigned to it.
Import a Project
Users can export projects into a XML file by clicking on the Export project icon.

As with copy project the user can select the items he wants to be exported. As with copying a project, some items need others as a prerequisite and will be selected automatically.
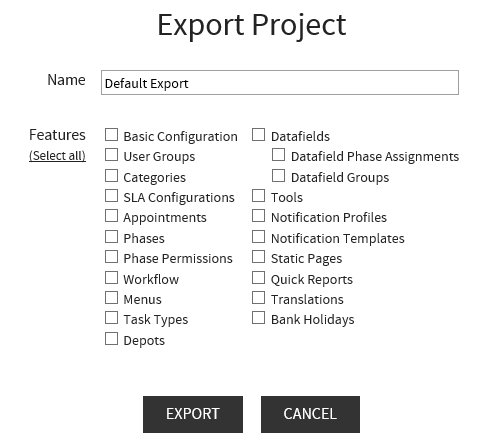
A click on EXPORT generates the XML file which can be edited further.
The edited XML file can be imported as a new project. To import such a XML file, click on the Create new project icon, the Create New Project dialog will be available.
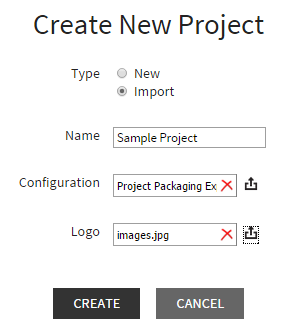
Provide name and logo for this new project, and then select the project configuration file. Click on the CREATE button to finalize creating this new project.
Keep in mind that user assignments cannot be copied over. The reason for this is, that users can only be assigned by their name which is not reflective of the actual user. After exporting tasks and importing them into a different instance this may lead to rights escalation. Therefore it is only possible to copy structural information, but not assignments to Projects, Groups, Notifications, and Appointments.
Copy an Existing Project
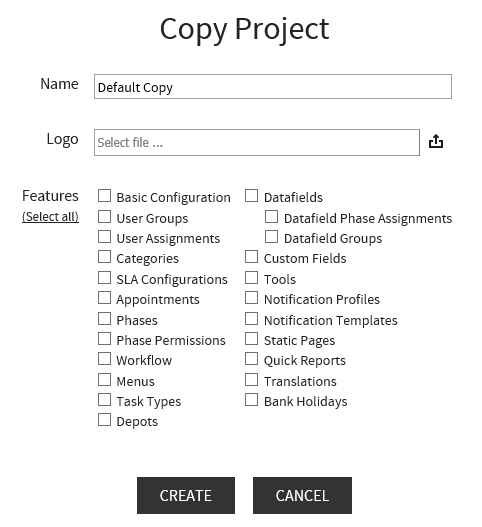
RayFlow provides the possibility of copying the settings and configuration from an existing project.
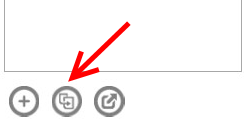
To do so, select the project from the list and click on the Copy Project.
A list of items is shown for copying. Select the items which are required to be copied from the existing project to the new project. Some items require others to be selected as well. Those will be selected automatically and will be shown with a grayed out icon which cannot be unselected as long as items that require them are still selected.
