1.Click Next >.

2.Check I accept the license agreement and click Next >.

3.Select the Installation Destination folder for RayVentory Server and click Next >.

4.Set the Warehouse Destination Folder and click Next >.

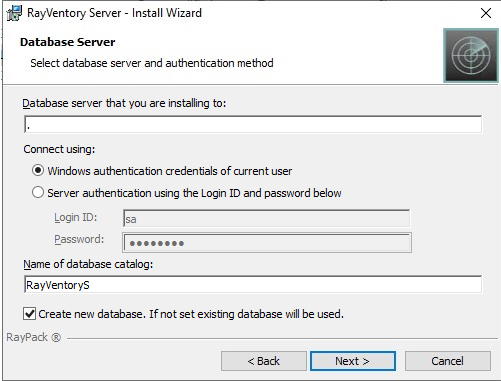
5.Input the Database server and the name of the Database and click Next > to proceed.
6.Specify in which context the schedules should be running and click Next >.

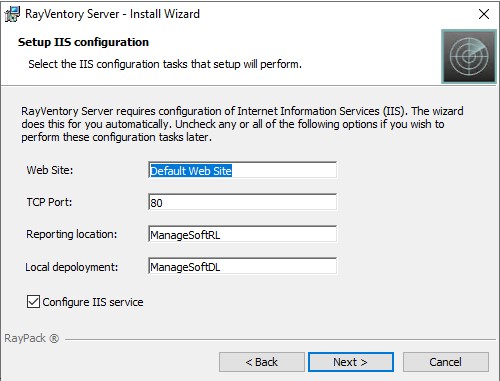
7.Setup the IIS configuration and click Next >.
|
Be aware: The TCP port option is for the HTTP protocol only. The HTTPS bindings need to created after the installation using the IIS Manager. |
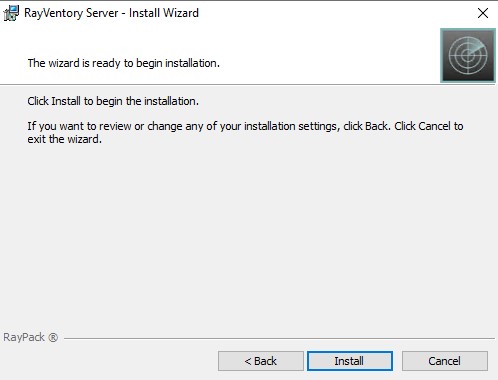
8.Click Install to start the installation process.
9.The installation is running.
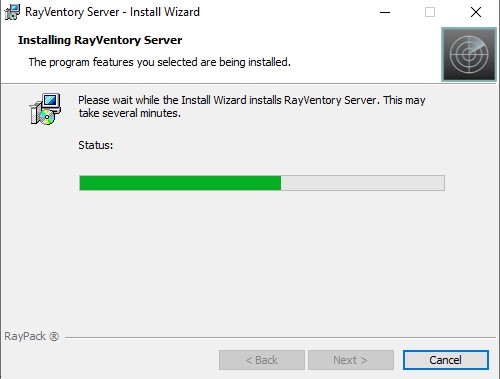
10.The Database gets created.

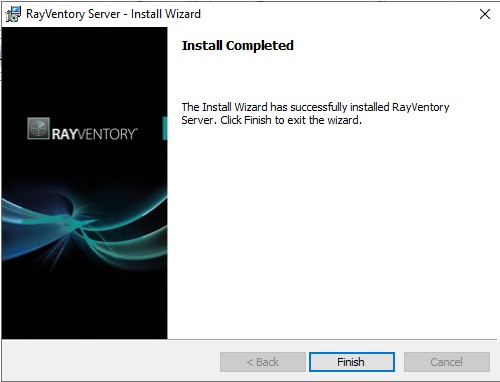
11.The installation has finished.
