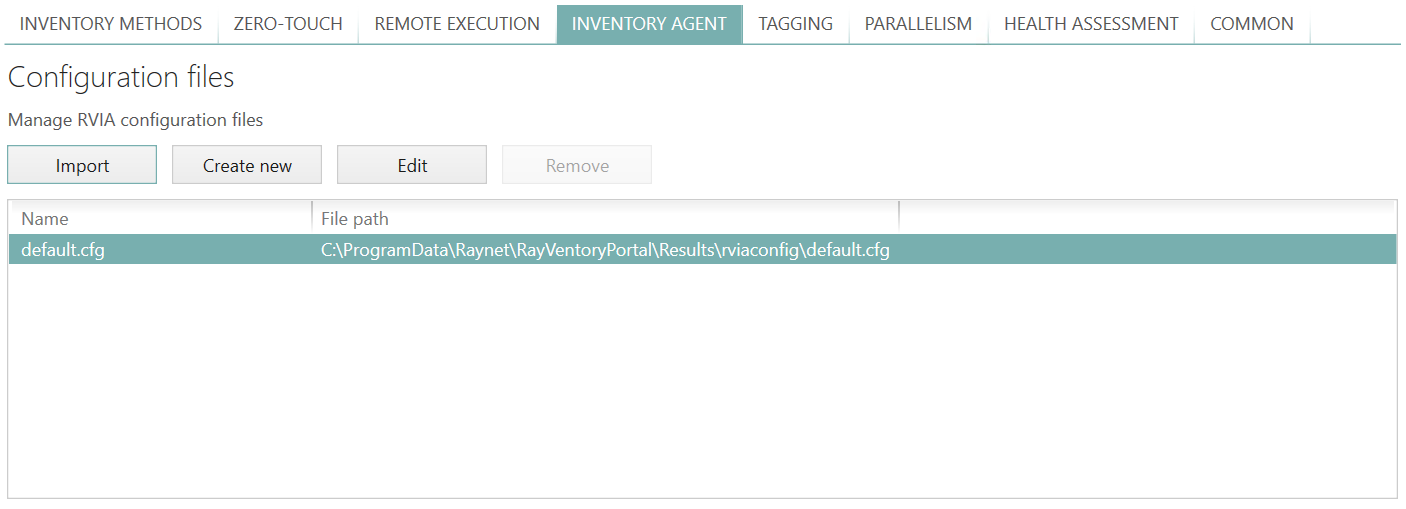
These settings control the configuration, which is served for the purpose of the RayVentory Inventory Agent.

RayVentory Scan Engine serves default values, which are reasonable for most of simple use cases. To further control the settings, new configurations may be added.
Creating or importing new configuration
To add a new configuration:
1.Go to the Settings screen > Inventory > Inventory Agent
2.Press Import to import an existing file, or Create new to create a new one from a template
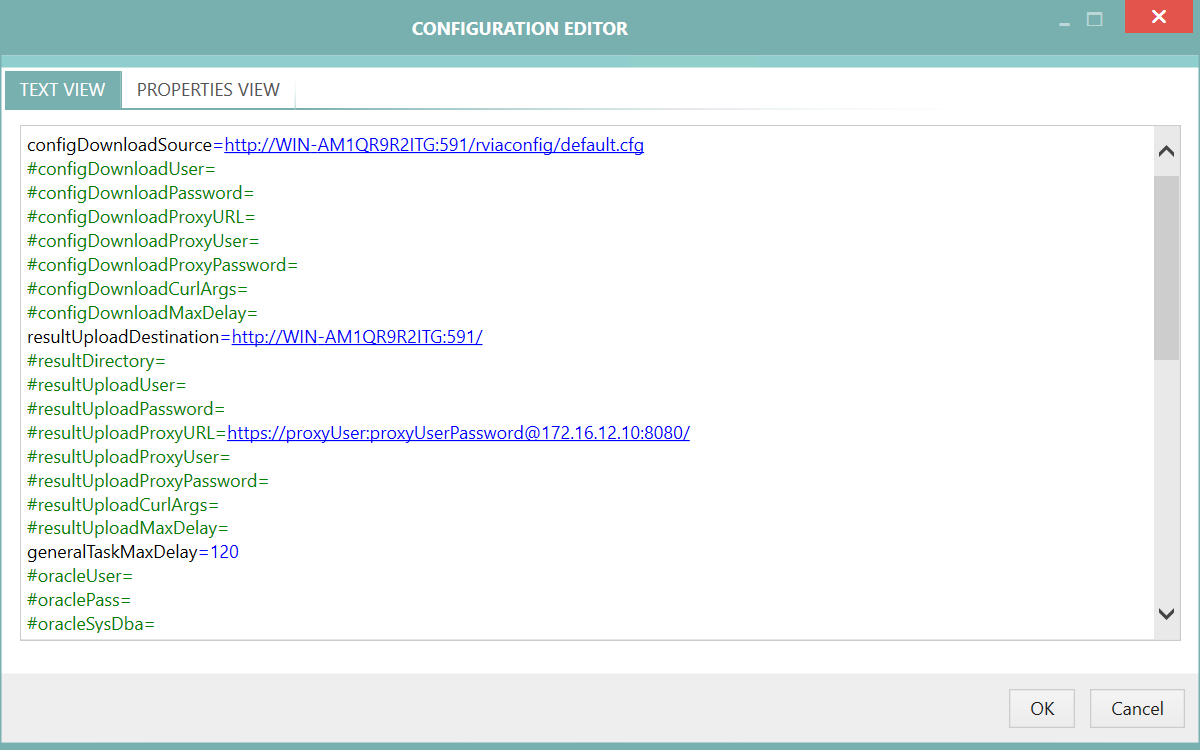
3.Edit the content of the file. The default values have many commented lines, which you can activate by removing the leading # character.
4.Once the configuration is finished, press OK to save the changes.
Chapter Inventory Agent (sections Configuration and command-line) explains in details how to control getting the settings by the Inventory Agent.
Editing configuration with WYSIWYG editor
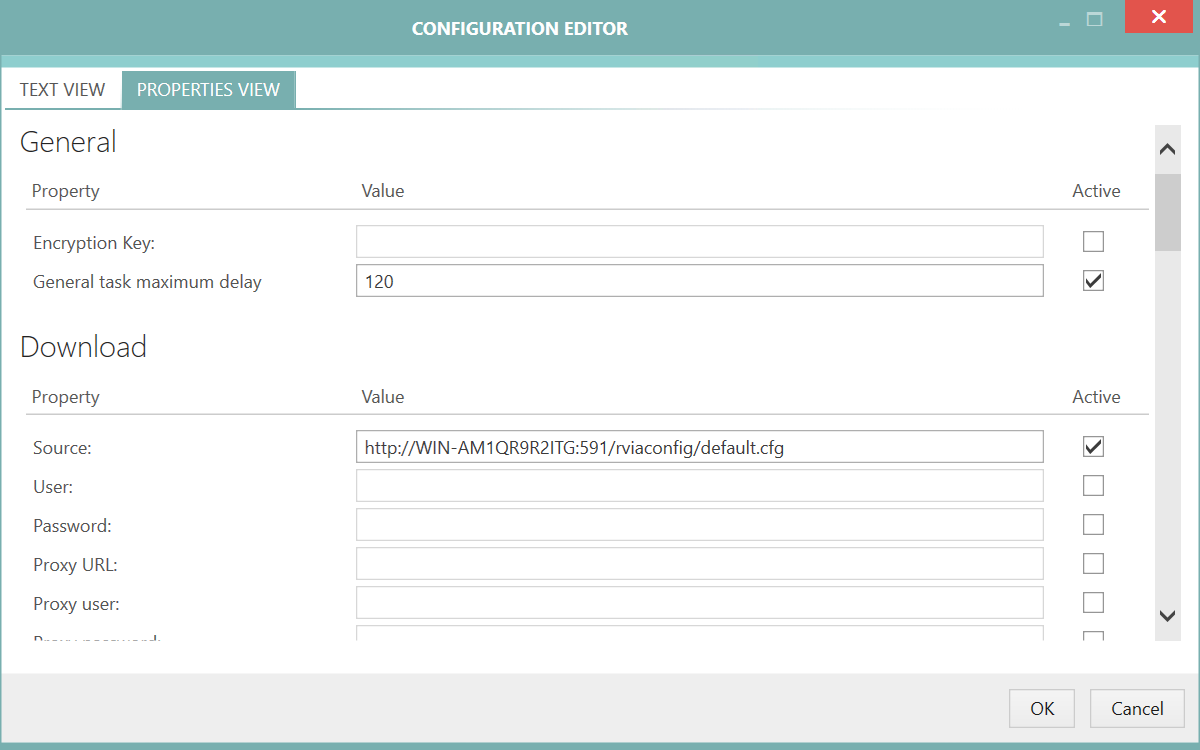
It is possible to toggle between raw editing (default, great for experienced users and for quick copy and paste between different dialogs and config files) in the TEXT VIEW tab and a more structured form which guides through the options exposed by the Inventory Agent in the PROPERTIES VIEW tab.

TEXT VIEW tab
In the TEXT VIEW tab the configuration files can be edited directly by changing the content of the file.

PROPERTIES VIEW tab
In the PROPERTIES VIEW tab the configuration file can be edited using the easily accessible GUI. The options in the PROPERTIES VIEW are divided into different sections. Options can be switched on and off by checking or unchecking the Active checkbox.
The different parameters that are used can be found in the chapter Parameters.