The AppLayers section is shown.
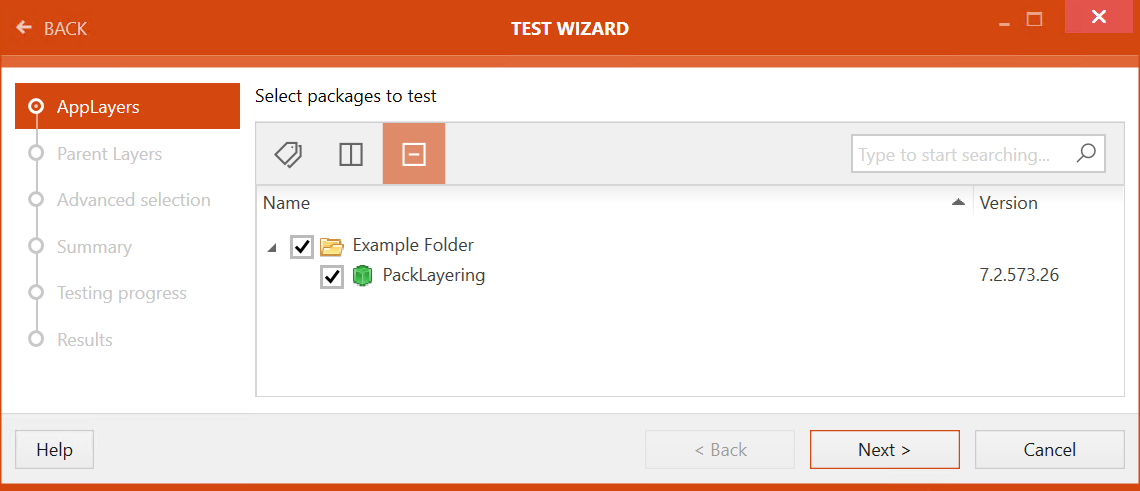
Select at least one application layer from the software library by navigating the tree structure of the library and selecting the target layer.
Click on the Next > button to continue.
|
Be aware: In order to test Citrix layers, at least two layers need to be selected. One of these layers must be an application layer selected in the AppLayers step. It is also possible to select more than one application layer in the AppLayers step. If this is the case, selecting an OS layer or a platform layer in the Parent Layers step is optional. If only one application layer has been selected, an OS layer or a platform layer must be selected. |
The Parent Layers section is now available. Select the layer or layers that are used to test the .laypkg against.
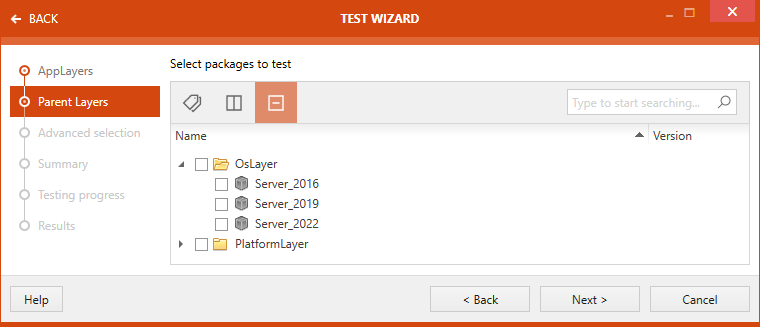
After the layer has been selected, click on the Next > button to proceed.
The Advanced selection section is now available. Under Advanced selection section, a user can select / deselect rules for executing different test types. Test types shown here are directly related to the testing areas chosen.
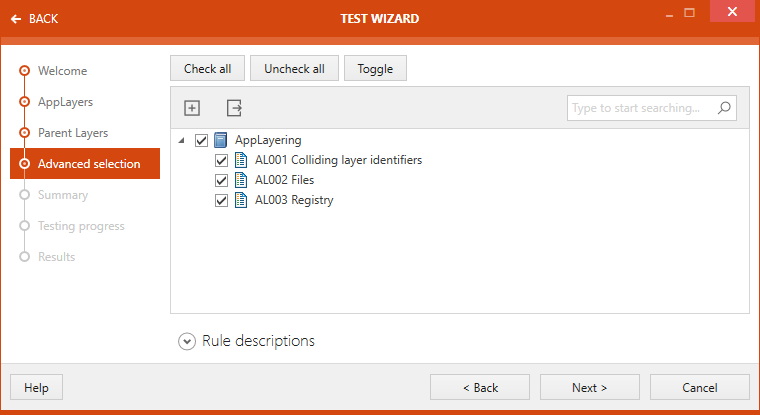
When a rule is selected, description of that rule is shown under the Rule descriptions.
On top of this section, three buttons are shown: Check all, Uncheck all, and Toggle.
•Check all: Selects all the rule, covered under different test areas.
•Uncheck all: Deselects all the selected rules, covered under different test areas.
•Toggle: Toggle the selection of rules.
Click on the Next > button to proceed.
The Summary section is now available. The test criteria are summarized under this section. This summary includes information on the web application and a list of test rules against which the test will be carried out.
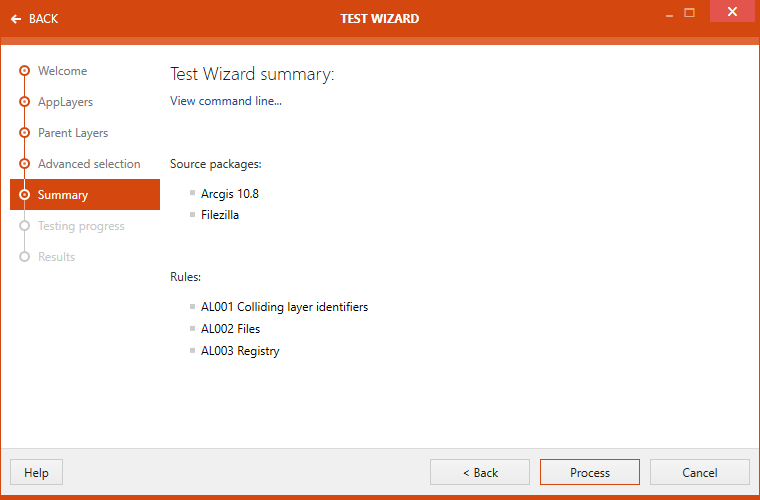
Click on the Process button to start executing test.
The progress of the test is shown.
After the test are finished the Issues and fixes view will be displayed. The issues found in the web application are listed here. Select the issues that are going to be displayed in the report by checking the checkbox next to the issue.
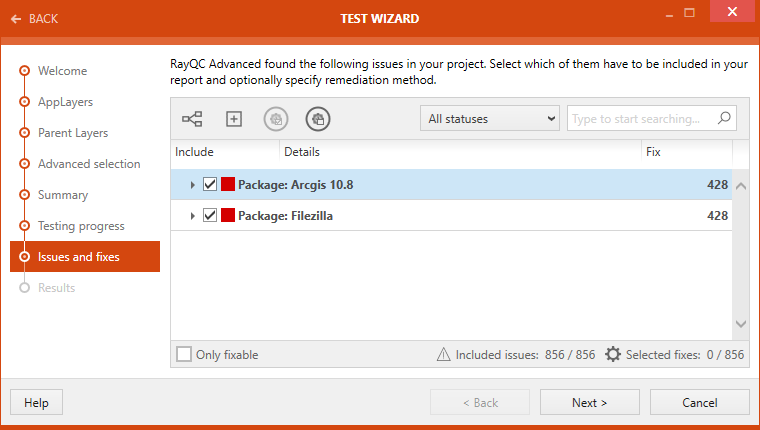
Click on the Next > button to proceed.
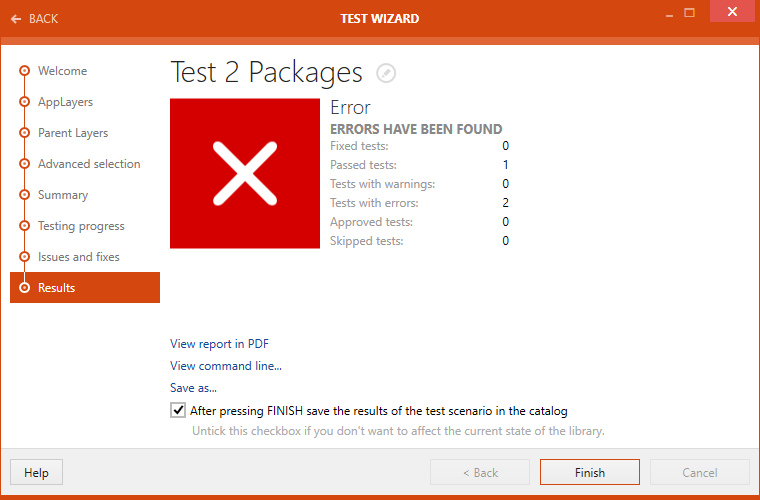
After the test is finished, the result will be shown in the Results section. There are different options available:
•View reports in PDF: Click on this option to open the test result in .pdf format.
•View command line...: Click on this option to view the command line arguments for the current testing scenario.
•Save as...: Click on this option to export the test result in one of various available formats. Possible formats are: .pdf, .docx, .doc, .html, .xps, and .xml.
If the After pressing FINISH save the results of the test scenario in the catalog option is checked the results of test will be saved in the library after clicking on the Finish button. Untick the option if the result should not be saved in the library. By default the checkbox is ticked.
Click on the Finish button to close the TEST WIZARD.