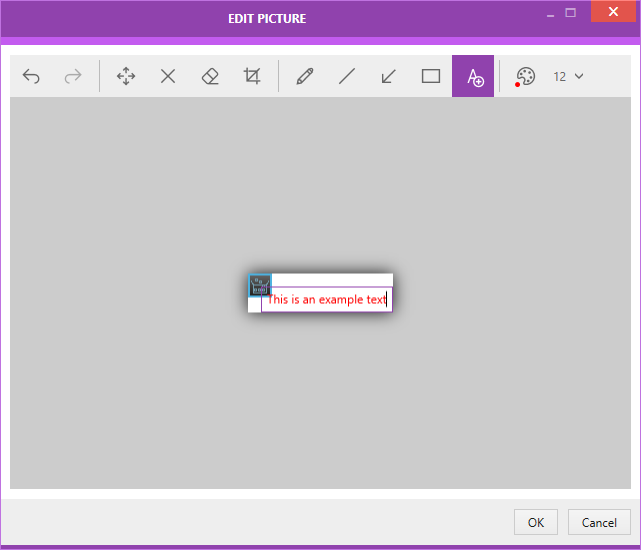
The screenshot editor for a specific screenshot can be opened by clicking on the Edit... option in the context menu when opening the context menu on a step containing a screenshot or in the swipe-bar at the bottom with the Edit picture button. If the step does not contain a screenshot, the Edit... option will be grayed out.

The following options are available in the editor.
•Undo - Can be used to undo the last action.
•Redo - Can be used to redo the last action that has been undone.
•Move - Move the currently selected content to another position.
•Delete - Delete the currently selected content.
•Eraser - Can be used to erase a part of the screenshot.
•Crop - Crop the screenshot to the borders of the currently selected content.
•Pencil - Can be used to draw a free-form line.
•Line - Can be used to draw a straight line.
•Arrow - Can be used to draw an arrow.
•Rectangle - Can be used to insert a rectangle.
•Text - Can be used to insert a text.
•Color - Can be used to select the color that will be used by the aforementioned tools.
•Size - Can be used to select the size of the text that will be entered.
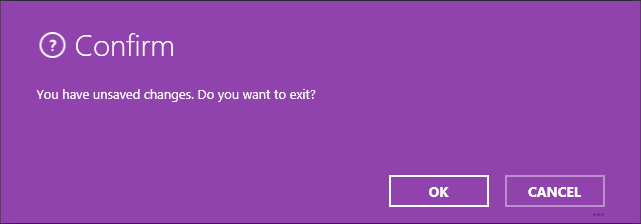
Changes can be saved by clicking on the OK button at the bottom of the editor. When clicking on the Cancel button or closing the editor without saving a confirmation prompt will be shown.
