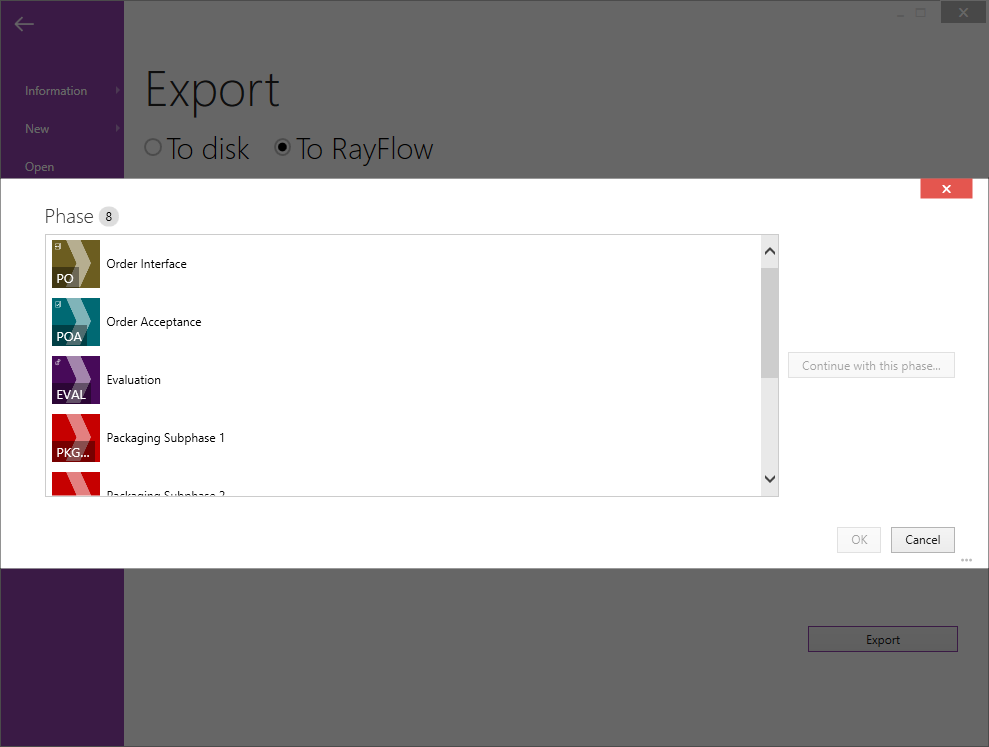
Now that the evaluation process for a package is completed and all the essential details have been provided, continue to the last step towards finalizing the evaluation. This step involves saving the changes made to the project and exporting them as a document which could be provided to persons with defined roles ranging from packager or tester to project manager.
RayEval provides the possibility to export the evaluation project as Word and PDF formats or to export them directly to RayFlow. Follow the next steps to successfully export your evaluation project:
From the RayEval File menu, select the option Export. The Export screen will be shown.

Export as Images:
1.To save the evaluation project as a collection of images, go to the Export section of the RayEval.
2.If not already selected, select Images from the available export formats.
3.Select the desired format from the dropdown menu.. The available types are PNG, JPG, and BMP.
4.Click on the Export button to start the export of the file. The file explorer is opened.
5.Select the target location for the export file. The name of the file is provided by default (see Project Configuration), however it may be changed as desired.
6.Click on the Save button.
7.The progress of the export process is shown.
Export to PDF:
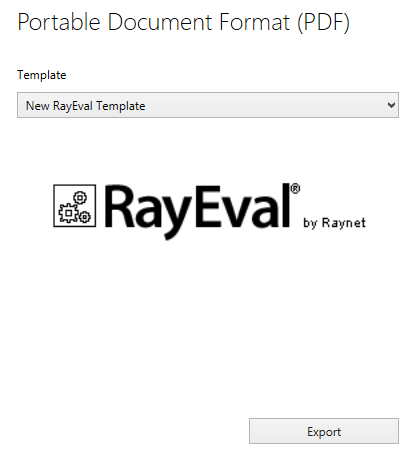
1.To save the evaluation project as a .pdf file, go to the Export section of the RayEval.
2.Select PDF from the available export formats.
3.Select the desired Template for the .pdf document from the drop down menu.
4.When the option, Open exported file automatically when finished is set to YES, the generated file opens after the export process is successfully concluded.
5.Click on the Export button to start the export of the file. The file explorer is opened.
6.Select the target location for the export file. The name of the file is provided by default (see Project Configuration), however it may be changed as desired.
7.Click on the Save button.
8.The progress of the export process is shown.

Export to Word:
1.To save the evaluation project as a word file, go to the Export section of the RayEval.
2.Select Microsoft Word from the available export formats.
3.Select the desired template (for information on templates see the Project Configuration chapter) for the word document from the drop-down menu.
4.When the option, Open exported file automatically when finished is set to YES, the generated file opens after the export process is successfully concluded.
![]()
5.Click on the Export button to start the export of the file. The file explorer will be opened.
6.Select the location target location for the file. The name of the file is provided by default, however it may be changed as desired. It is also possible to select the type of the file. Choose if the file should be saved as either .docx file or as .doc file.
7.Click on the Save button.
8.The progress of the export process is shown.
9.The exported word file is opened automatically.
Export to RayFlow:
To be able to export an evaluation project to RayFlow, the RayFlow Server URL needs to be specified in the RayEval settings or RayEval needs to be started with command line arguments that allow the export to RayFlow. Command line arguments are usually used in the RayFlow Client. To learn how to configure RayEval as a tool in RayFlow refer to the chapter Tool Configuration in the RayFlow Administration and Configuration Guide.
1.To export the evaluation project to RayFlow, go to the Export section of RayEval.
2.Select RayFlow as the target location for saving the file..
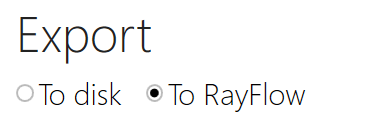
3.Select the PDF or Word plugin depending on the document format you want to upload.
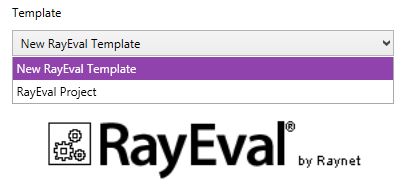
4.Select the desired template from the drop-down menu.
4. Click on the Export button which is available in the bottom-right corner of the window. If a user is logged in to RayFlow a pop-up window will appear that allows to select the destination of the RayFlow package to which the exported document will be assigned.
