Preparing the Installation
The PackBench installation resources come along as an MSI file with additional documents, such as the current Release Notes. Before the application is installed on a server, some preparations are needed:
1.The server machine has to meet the system requirements described within the chapter System Requirements.
2.A Windows User with sufficient rights for installations has to be logged in.
3.Close all dispensable applications during the setup routine execution.
4.Ensure that the machine contains all necessary prerequisite software as mentioned in chapter prerequisite software.
|
Be aware: If no other configuration has been made, PackBench is using port 23624 by default. Please ensure, that this port is not blocked by a firewall. More details about required security configuration are to be found in chapter Security and required firewall configuration. |
Installing PackBench
Launch the PackBench setup with a double-click on the MSI file and wait for the Welcome Screen to be prepared.
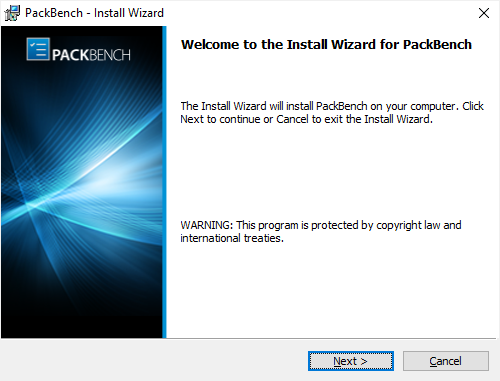
Click Next > to proceed.
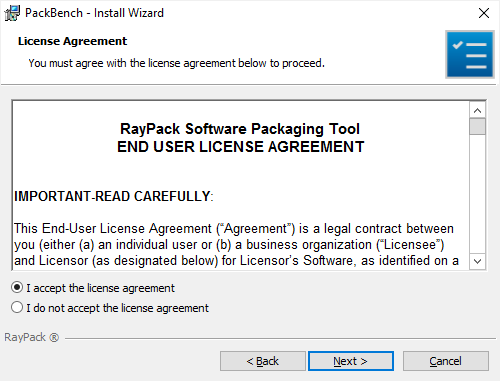
In order to be allowed to install PackBench, the End User License Agreement has to be accepted. To do so, select the upper radio button and click Next > to proceed.
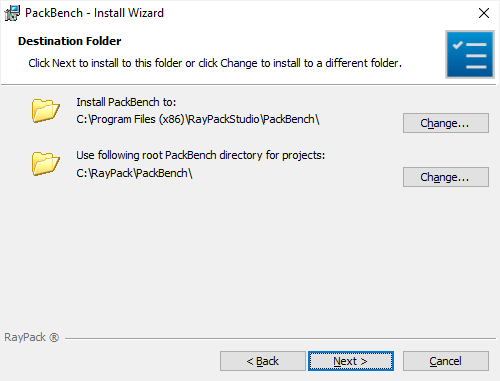
Please choose the destination folder and the root directory for projects by either keeping the suggested default or clicking on the Change... button to select another target directory.
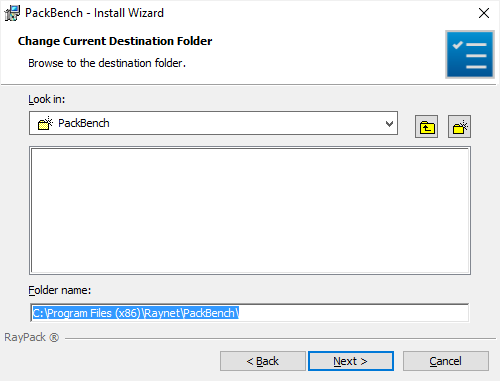
If a custom destination folder has to be defined, the dialog displayed above has to be used. Please use the icons to navigate to the desired installation directory or to create a new one where necessary. As soon as the right target is defined, click OK to return to the Destination Folder screen. It will be updated to display the custom destination recently selected.
On the Destination Folder screen, click Next > to proceed.

The Setup Type screen is displayed, presenting the three options available for PackBench installations:
•Standalone installs required components on a same machine. This is the simplest configuration, requiring only an access to an SQL server..
•Client installs the client component only. The client will need access to a server. This type of installation requires that there is a server running PackBench server components.
•Server installs the server component only. This instance can be accessed by all clients that have access to this physical machine. This type of installation requires configuration details of SQL database being in use.
Press Next > to continue. The content of the upcoming step depends on the selected type.
Connection Configuration Server screen
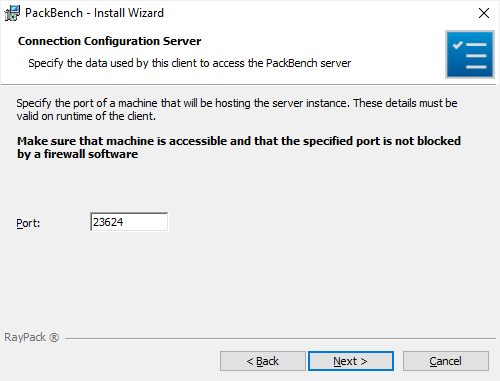
The port of the server is specified on this page. Before continuing with the next step ensure that the port is accessible.
|
Warning: Ensure that the machine is accessible and that the given port is not blocked by a firewall software! |
Click on the Next > button to proceed.
Select SQL database installation type screen
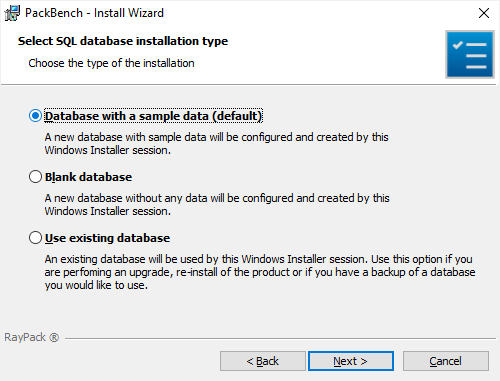
The type of the database configuration is chosen in this screen. There are three options available:
•Database with a sample data (default): If this option is chosen, a new database will be created. The database will already contain some sample data. As already indicated, this is the default option.
•Blank database: If this option is chosen, an empty database will be created.
•Do not configure: If this option is chosen, no database will be configured. Continue with the Ready to Install Program screen.
Select the desired option and click on the Next > button to proceed.
SQL Server Configuration Screen
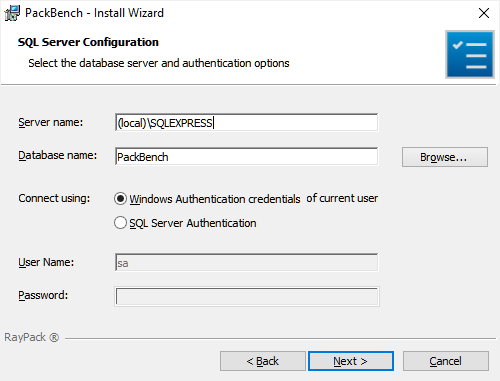
In the SQL Server Configuration screen the SQL server connection credentials will be set up.
•Database server that you are installing to: The SQL server needs to be defined. Please specify the server together with the instance (if an instance is required). The server can be specified either by its name or by its IP address. The SQL server must exist and must have a user which can create a database and has read and write access to the newly created database. Click on the Browse... button to select the instance by browsing to it.
•Connect using: The authentication method which is used for PackBench is defined here. There are two options available:
•Windows authentication credentials of current user: If this is chosen, the Windows authentication of the current user will be used for login.
•Server authentication using the Login ID and password below: If this is chosen, enter an ID into the Login ID field and a Password into the Password field.
•Name of database catalog: Define the name of the database which will be used by PackBench. When clicking on the Browse... button a window will open which shows databases which are already configured at the server.
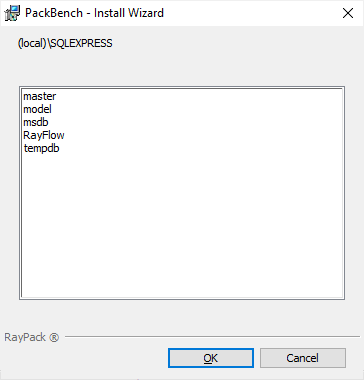
Select one of these databases and click on the OK button to use an already existing database.
Click Next > to proceed.
Ready to Install the Program screen
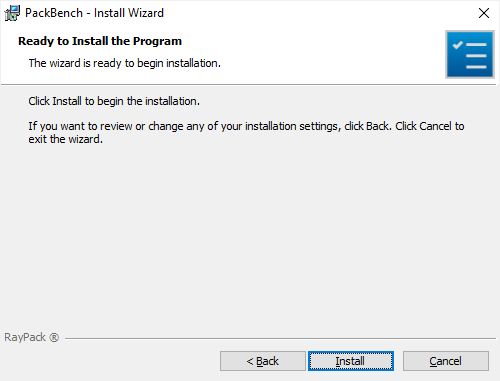
All required settings and properties are defined - PackBench is ready to be installed. Click Install to start the process.
A Progress Indication dialog is displayed as long as the installation steps are executed.
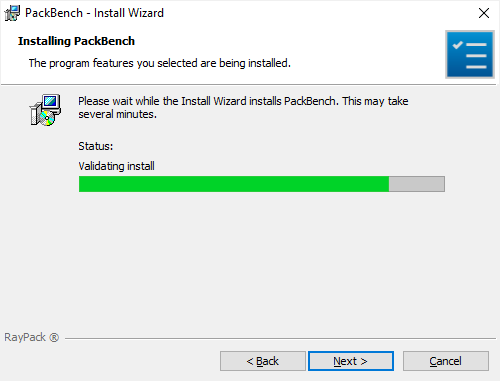
Whilst the installation is executed, Windows may present a User Account Control message like the one shown below:
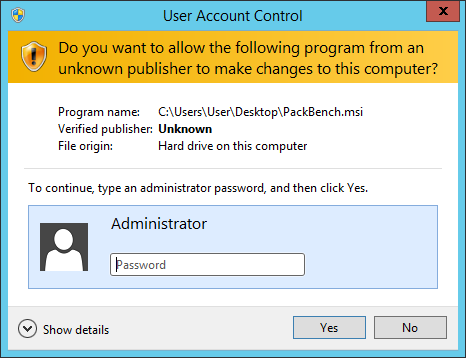
Click Yes to perform the installation.
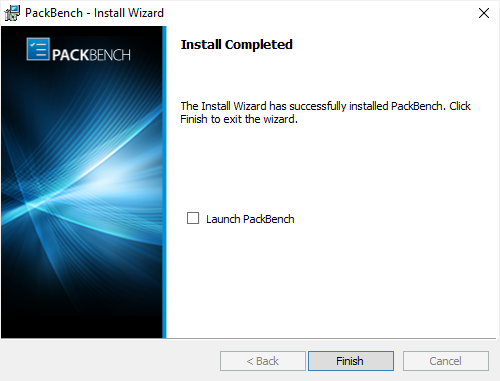
As soon as all required measures are done, the Install Completed dialog is presented. Activate the checkboxes to immediately launch PackBench and to read the Release Notes with essential information about the requirements of the installed product version, as well as listings of new features and issues which have been solved or documented.
Click Finish to exit the setup.
If the Launch PackBench option has been activated, the application is loaded immediately. During the software launch, another Windows User Account Control message may be displayed.
Please click Yes to proceed if this message occurs.