Go to the Connectors page and search for the ServiceNow Table connector.

Click on the connector to open the Edit connector settings dialogue.
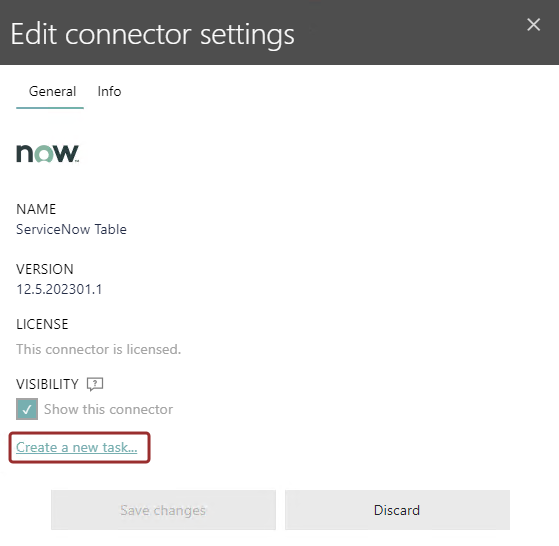
Click on the Create a new task... button to open the Add task dialogue.
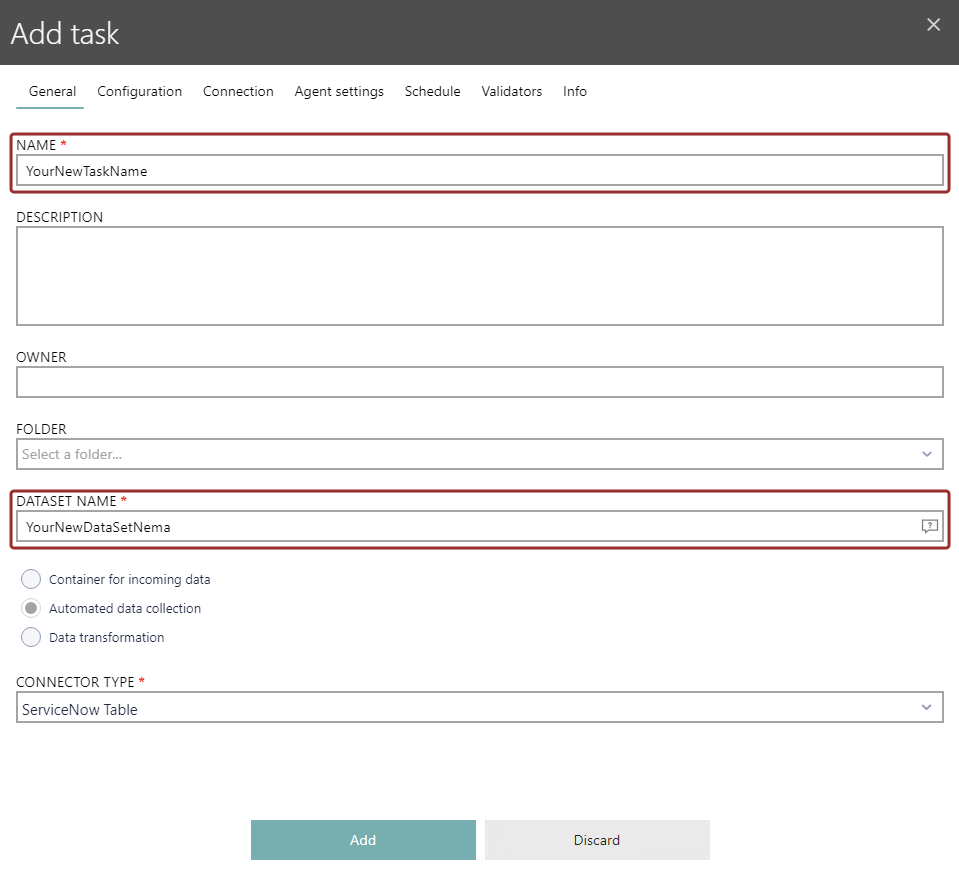
In the General tab, enter a descriptive name for the new task in the NAME field. Enter a name for the dataset in the DATASET NAME field (information on how to best name the dataset can be found in the Naming Conventions chapter). Finally check that CONNECTOR TYPE is set to ServiceNow Table. More information about the options in the General tab can be found in the Task > Creating or Editing Tasks > General chapter. When all mandatory information have been entered, switch to the Configuration tab.
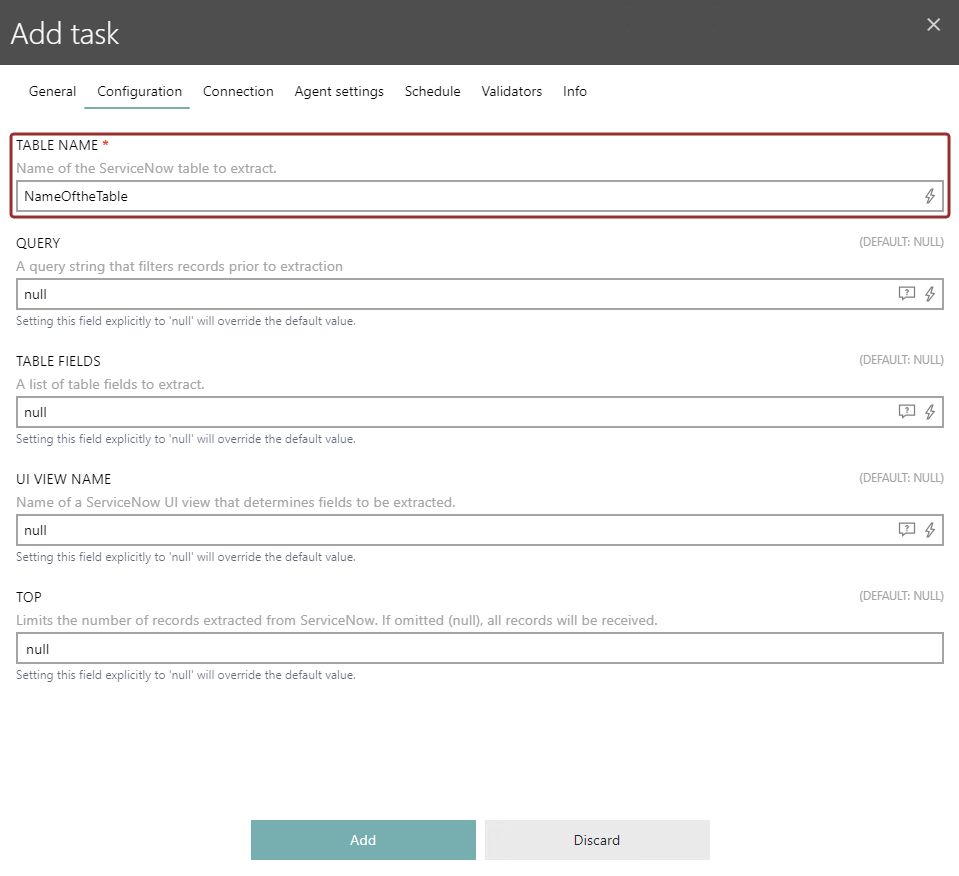
In the Configuration tab, enter the target ServiceNow table in the TABLE NAME field. The TABLE NAME field supports auto-completion. This is the only mandatory field in the Configuration tab. Switch to the Connection tab.
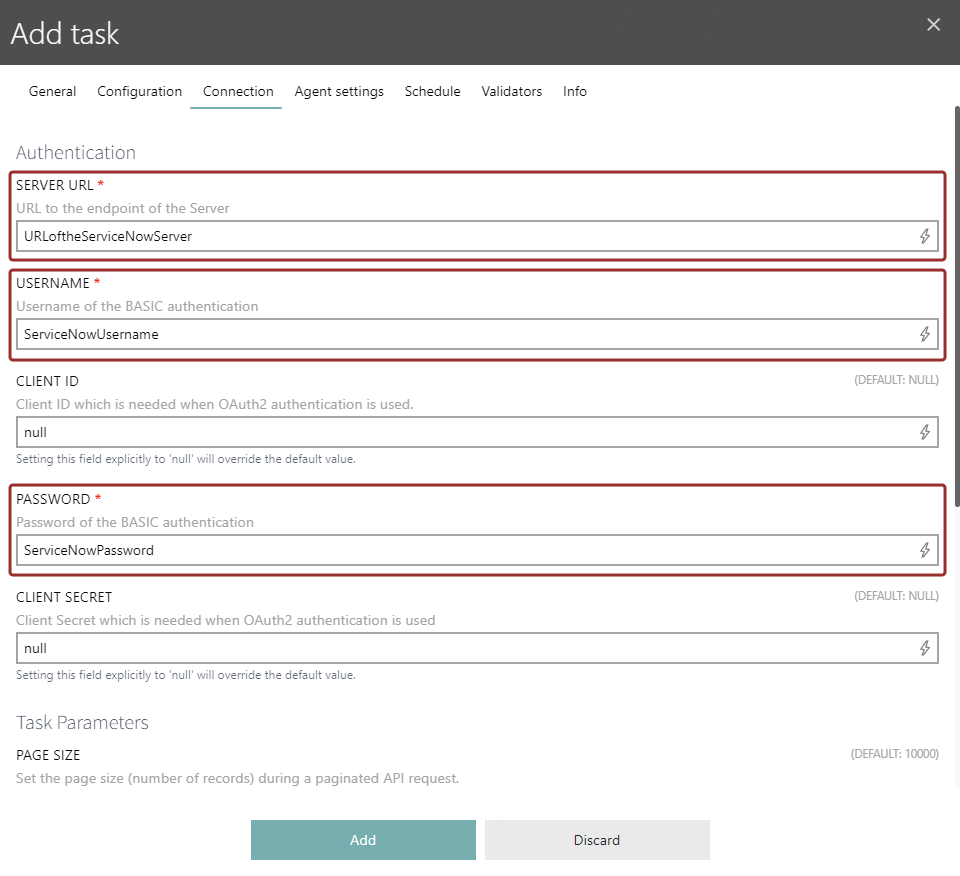
In the Connection tab there are three mandatory fields that are necessary for the configuration of the task. Enter the data from the Setup Service Now chapter into the SERVER URL, USERNAME, and the PASSWORD field. Continue to the Agent settings tab.
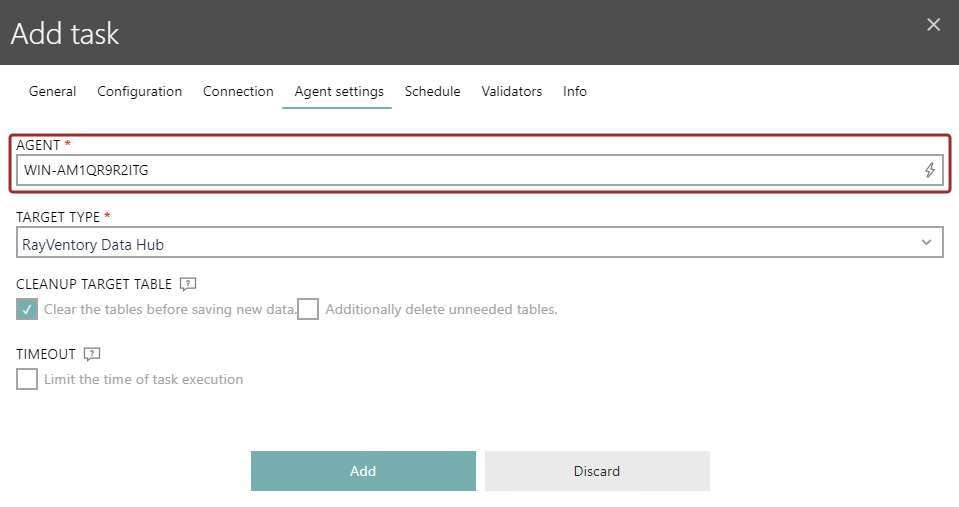
Define the agent that will be used in the AGENT field. The field supports auto-completion. Once the agent has been configured, select the target type in the TARGET TYPE field. The target type defines where the data will be saved. More information on the Agent settings tab can be found in the Tasks > Creating or Editing Tasks > Agent Settings chapter.
Click on the Add button to create the new task. It is recommended to execute the task manually at least once in order to verify that the task has been configured correctly. After this, continue with the Getting Started > Platform-specific Guides > Normalization of Data from ServiceNow > Create a Report or a Dashboard chapter.