A new tranformation can be added by clicking on the + Add button located at the top of the screen in the Transformations screen and selecting the + New option from the dropdown menu. The Add Transformation dialog will be opened.
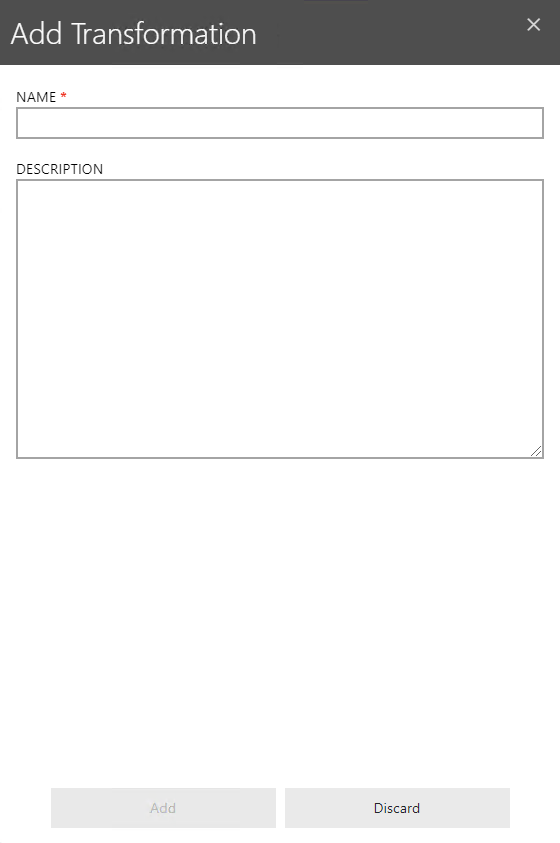
Enter a name for the new transformation into the NAME field and enter a short description for the transformation into the DESCRIPTION field (the description is optional). Click on the + Add button to create the empty transformation. Now add the necessary transformation steps and custom macros as described in the chapter Creating and Editing Transformation Steps and the chapter Adding Custom Macros to Transformations.
Import a Transformation
A transformation can be imported by clicking the + Add button located at the top of the screen in the Transformations screen and selecting the Import option from the dropdown menu. It is also possible to import a transformation by clicking the Import button at the top of the screen on the details page of a transformation. The Transformation Import dialog will be opened.
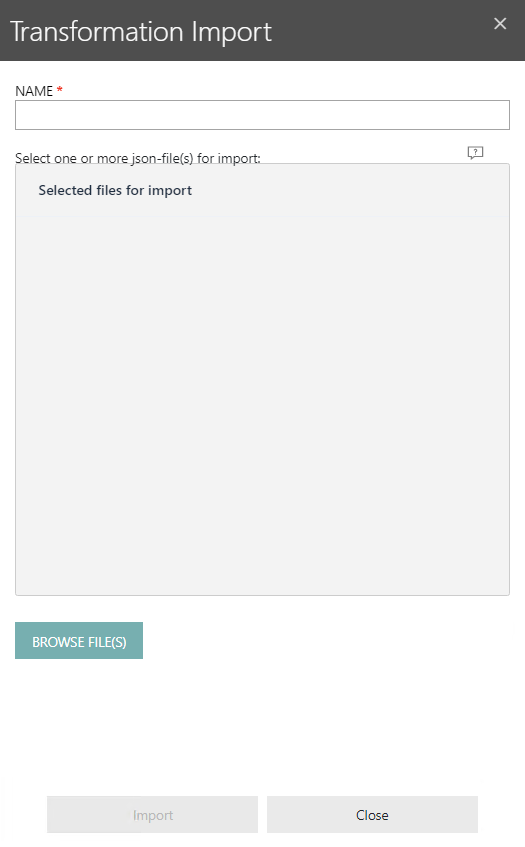
The Transformation Import dialog can be used to import transformation files in the JSON format. In order to import a transformation, enter a name for the transformation into the NAME field. Click on the BROWE FILE(S) button to add one or more .json files to the the dialog. When all files have been added, click on the Import button to create the transformation and to import the files.