This section of the document provides basic information on how to configure an AWS account to enable the Raynet One Data Hub agent to authenticate against the account and inventory the data from the Amazon Elastic Compute Cloud.
Identity and Access Management
The AWS Identity and Access Management (IAM) feature enables its users to manage access to AWS services and resources under the respective AWS user account. Furthermore, it allows users to set the interconnection between AWS accounts. IAM includes four major areas/components:
•Users: AWS accounts
•Groups: A collection of user accounts under one set of permissions
•Roles: A role can be created and assigned to AWS resources
•Policies: A document that defines one or more permissions
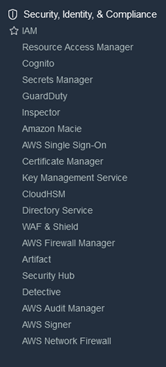
Use the Management Console to access the IAM login to the AWS account. After the login select IAM under the Security, Identity, & Complicance category of the AWS Service list.
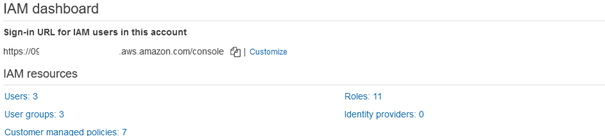
Once the IAM dashboard is loaded select the Users from the IAM resources.
User Setup
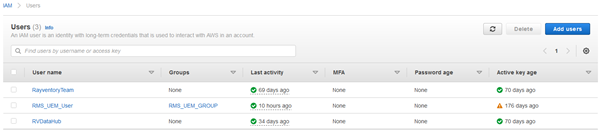
Click on the Add users button on the IAM -> Users dashboard.
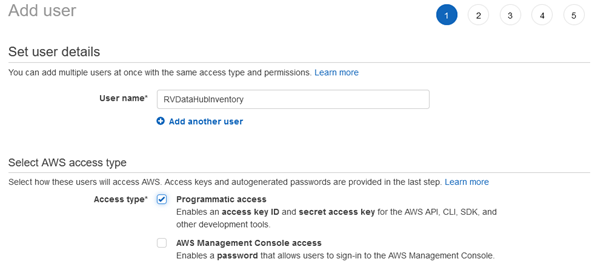
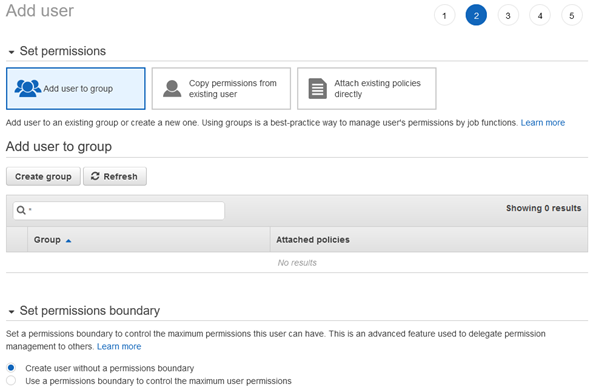
Follow the steps as illustrated below to add a new user for the inventory.
1) |
|
2) |
|
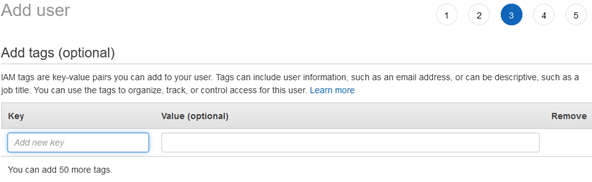
3) |
|
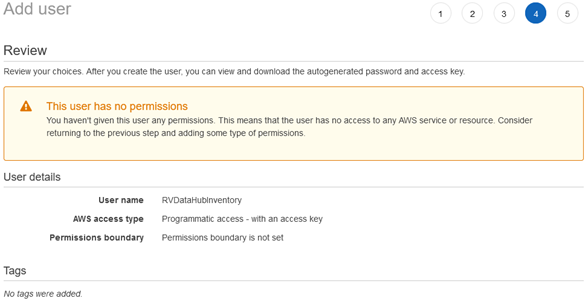
4) |
|
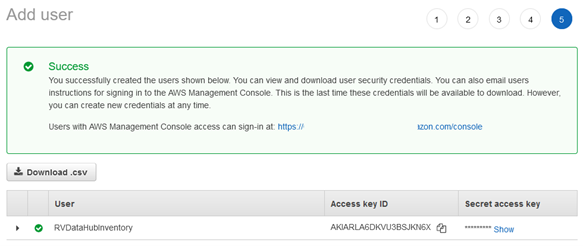
5) |
|
•Only allow programmatic access for the user.
•Permission assignment will be done later.
•Once the user is created, download the Access Key and the Secret Key as .csv file.
•Store the .csv file in a secure location.
Role Setup
To add a new role, navigate back to the IAM console and then select roles. Follow the steps below in order to add a new role.
1) |

|
2) |
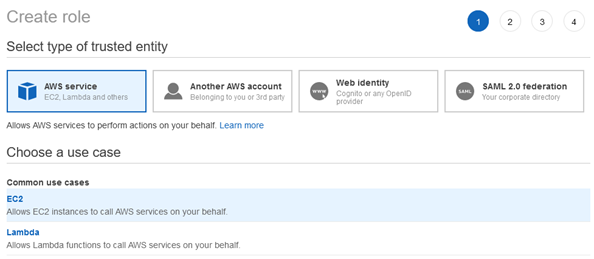
|
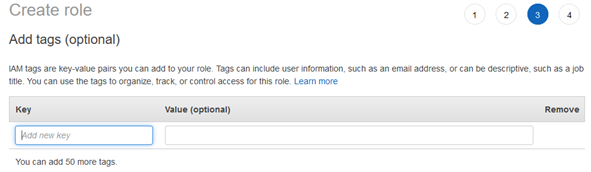
3) |
|
4) |
|
5)
|
|
6) |
|
7) |
|
8) |
|
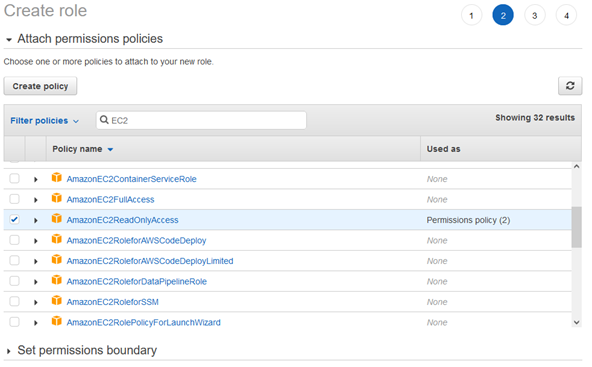
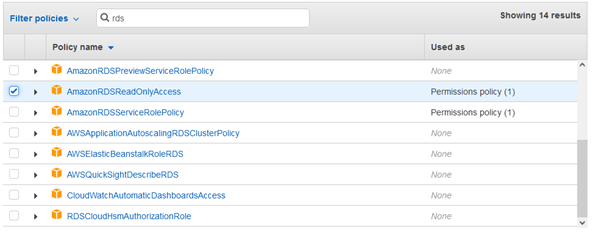
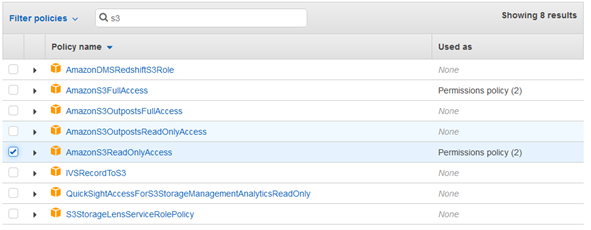
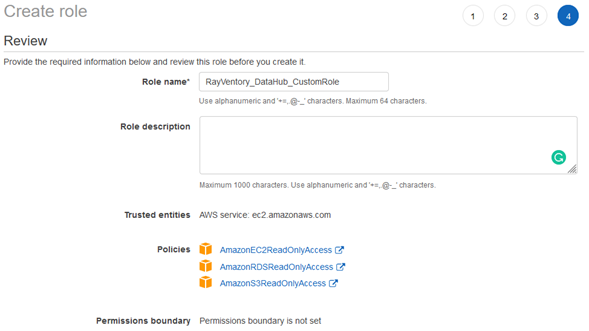
Create a new role and attach the following managed policy to the role:
•AmazonEC2ReadOnlyAccess (if also using the other AWS connectors also attach the AmazonRDSReadOnlyAccess and the AmazonS3ReadOnlyAccess policies to the role).
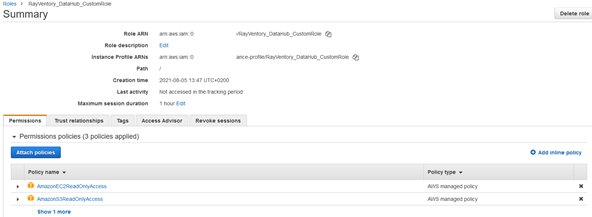
Edit the Trust Relationship to point to the parent user account.
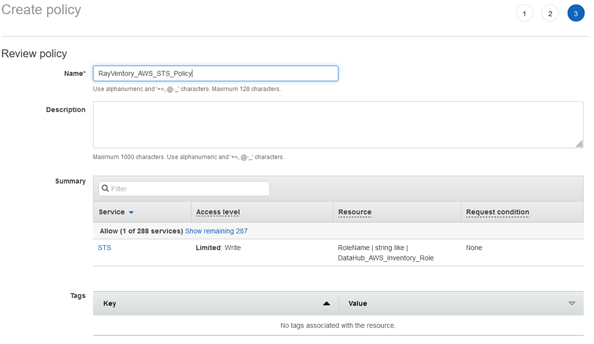
Copy the Role ARN for the next step.
Assign User Account to the Role
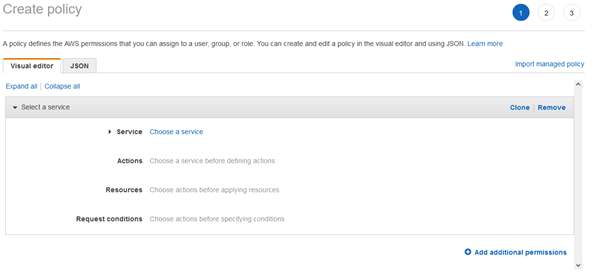
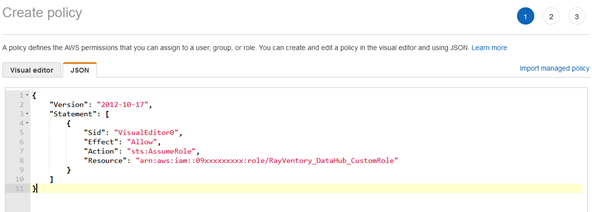
At this step, assign the permission to use AssumeRole to the user account created in the first step. AssumeRole is an action available under the AWS Security Token service that returns a set of temporary security credentials that can be used to access the AWS resources. These temporary credentials consist of an access key ID, a secret access key, and a security token.
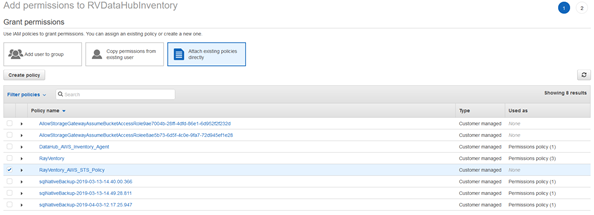
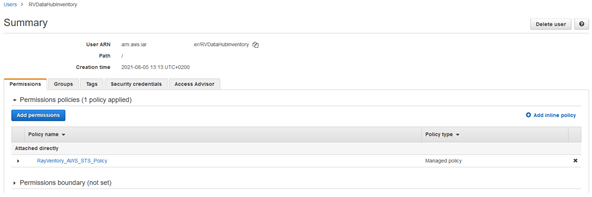
To assign the permission navigate back to IAM > Users. Select the user created in the previous step. Once selected click on the Add permissions button located in the Permissions tab. This will open the Grant permissions page. Follow the steps to grant the required permissions.
1) |

|
2) |

|
3) |
|
4) |
|
5) |
|
6) |
|
7) |
|