The runner installer wizard provides both basic and advanced installation options. The regular installation process as provided by clicking on the Install now button is designed to fit the common needs. While this option may fit for most of the users, the advanced wizard does offer multi-deployment parameters and insight into the enrollment requirements. If you are a technically-inclined user, feel free to follow these steps to learn about the advanced setup.
Before starting to deploy a new runner into Raynet One, you need to add a new registration dedicated to it through the web interface. This procedure is exactly the same as in the parent chapter. Thus, you are provided with a dedicated enrollment token and backend server URL. Remember these parameters to complete the following steps.
1. Double-click on the runner .MSI installer file to execute the runner install wizard.
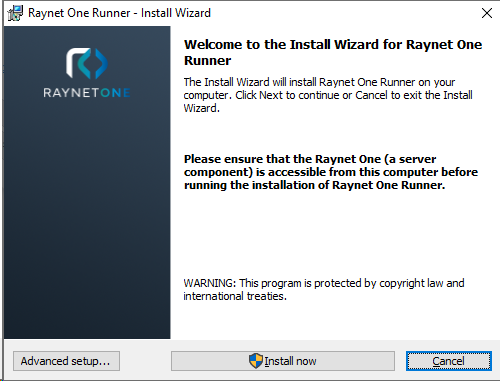
2.Click on the Advanced setup... button to enter the advanced setup.
![]()
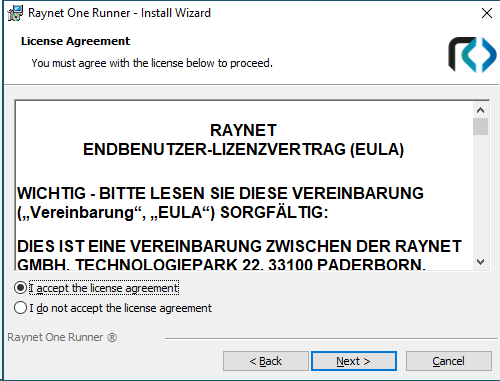
3.Please read and accept the License Agreement. Afterwards. click on Next.
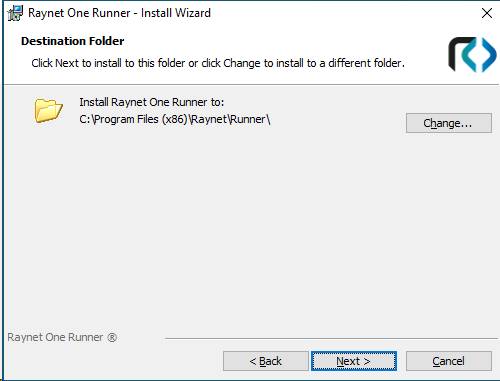
4.In the Destination Folder dialog, specify the installation folder for the runner. By default, it is installed into the Windows program files folder of the provided architecture. Click on Next to continue.
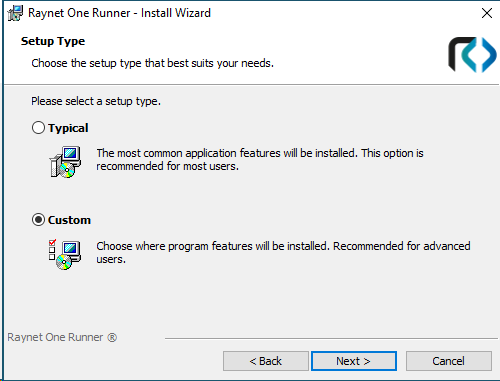
5.In the Setup Type dialog, select Custom before moving on. This is important because some configurations for this setup type are hidden behind this option.
6.Paste the enrollment token (see step 4). If required, you can also adjust your Raynet One backend server URL, your proxy settings and service user identity.
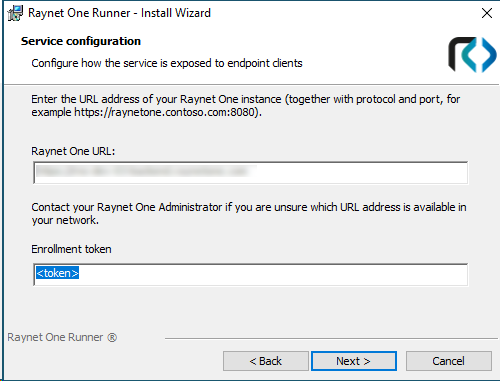
Click on Next to apply the service details.
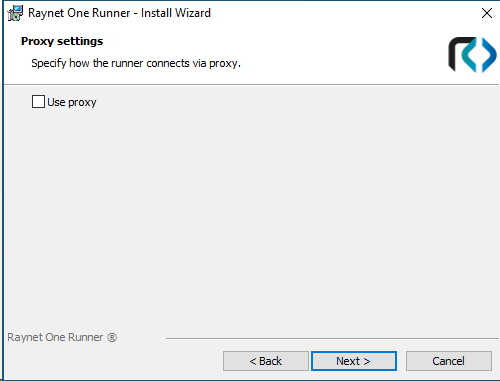
Click on Next to apply the proxy configuration.
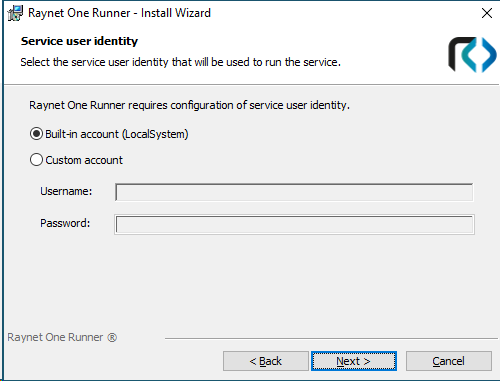
Click on Next to apply the Windows account that the runner should execute as. This Windows user account will be considered for Windows network operations with the use of current session credentials.
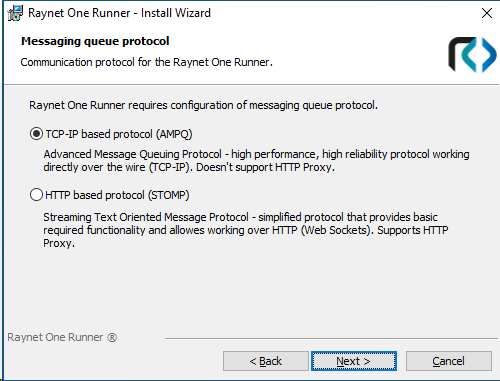
7.Select the protocol used during communication through the Raynet One URL. The available protocols differ in the level of abstraction and performance. Click on Next to continue.
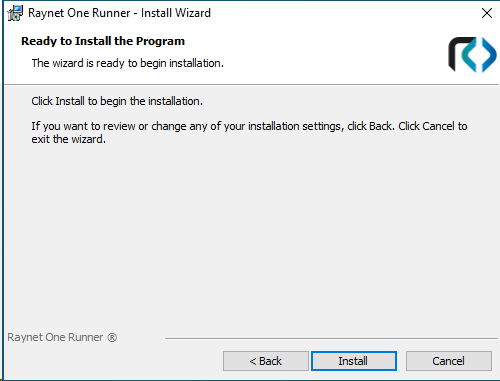
8.With all installation settings determined, click on Install to start runner installation. You will see the installation progress page as the runner is deploying. You may be prompted by the Windows operating system to confirm system changes by the runner installer. Click on the Yes button to confirm them.
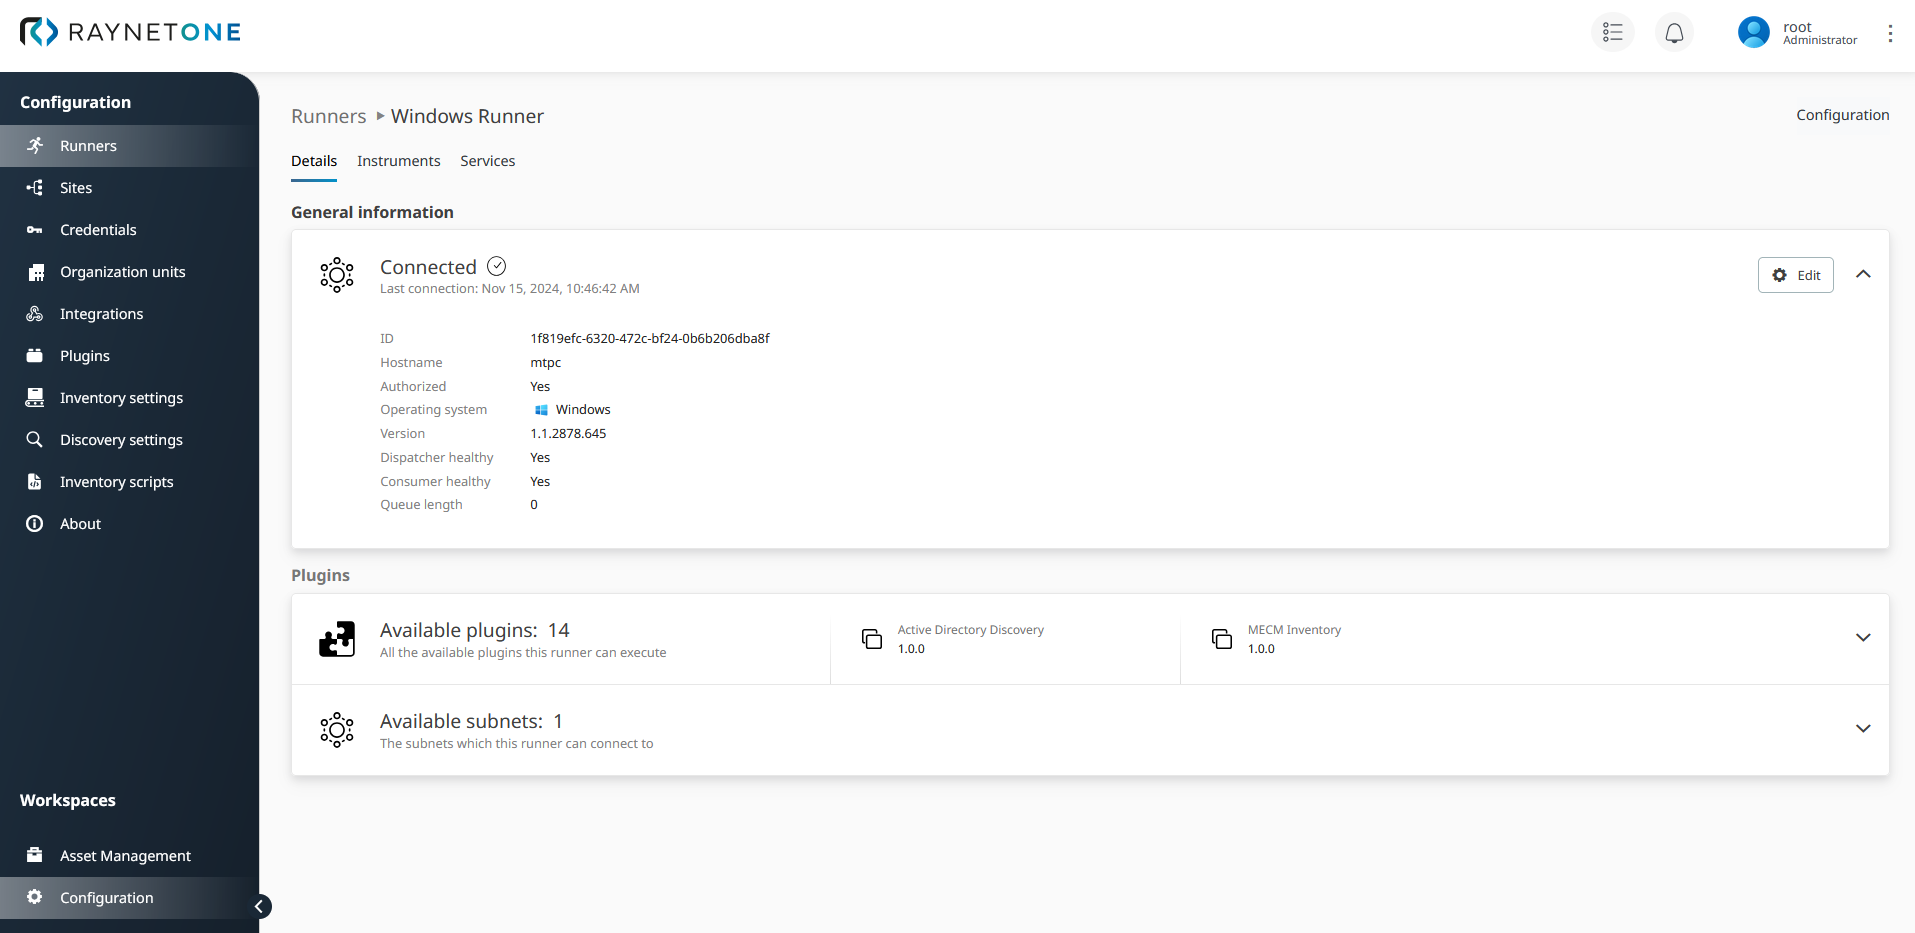
9.The installation has completed successfully. Go back to the web interface and refresh the runner's details page (using the browser's F5 key). You should be greeted with the full runner details view listing its hostname and IP address, among other maintenance details.
