Occasionally, you will need to inspect and adapt your integration settings. Relevant changes in your IT landscape and work-flows may require new parameters. In this case, there's no need to start all over. Instead, you can compare an existing integration and change single parameters in its configuration with a few clicks.
In this chapter, we want to inspect and edit the Technology Catalog integration which we added in the previous chapter.
The Timeout should be adjusted on changes in networking virtualization , the length of network paths or computational/bandwidth traffic load on network nodes. The Maximum attempts parameter is relevant for platform server maintenance only. The update intervals define the responsiveness of integration data provision. Shorter interval length benefits you, but longer one overall service availability. The community aspect is relevant as well as the contribution quality. The Upload fingerprints parameter depends on management decisions (see the explanation on data sources).
To get started, follow the step-by-step instructions.
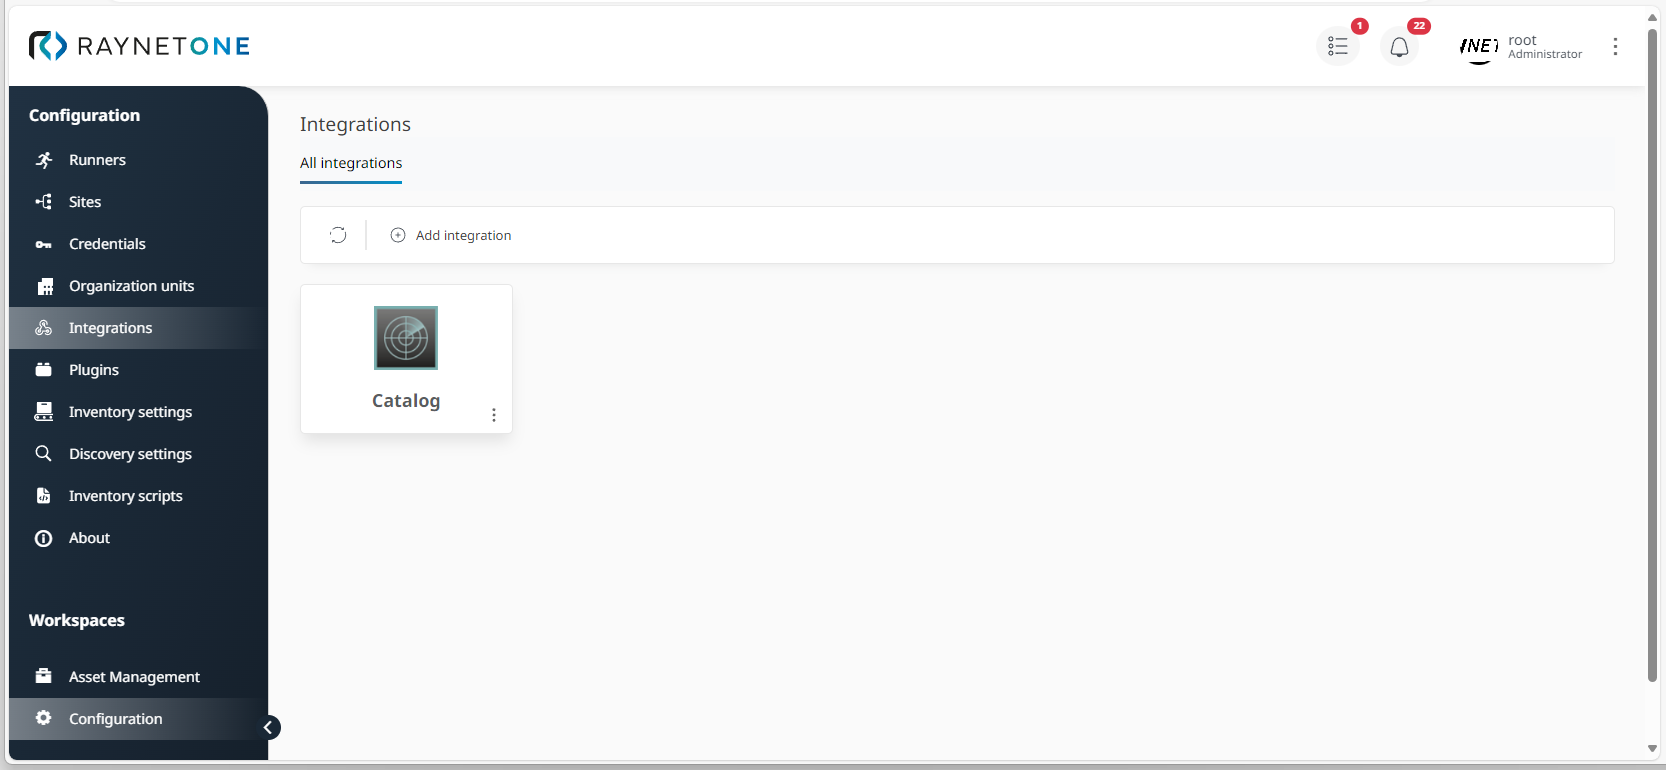
1.Navigate to the Configuration workspace. Click on Integrations in the sidebar menu to open the view.
2.Right-click on the Catalog labeled integration and left-click on the Details option of the spawned context menu.
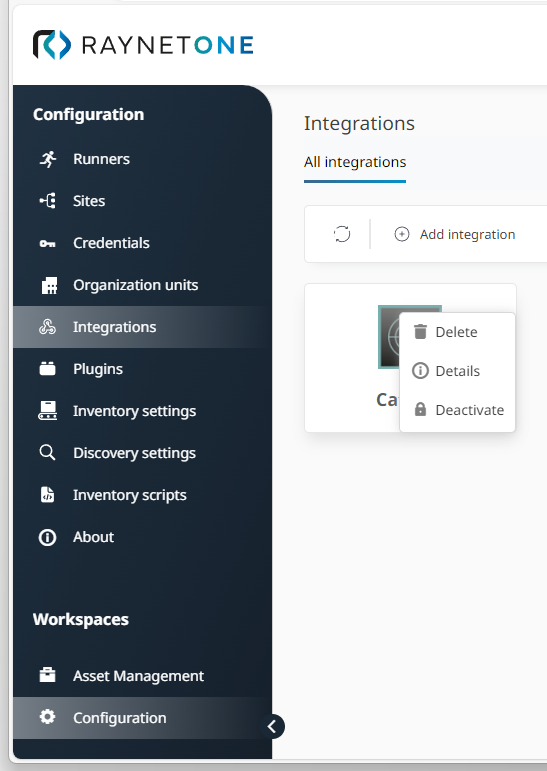
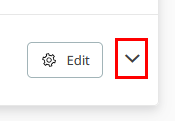
Integration context menu opened by left-clicking into the center. Alternatively, you can left-click on the three dots in the bottom right corner of the integration rectangle. Doing so will open the same context menu.
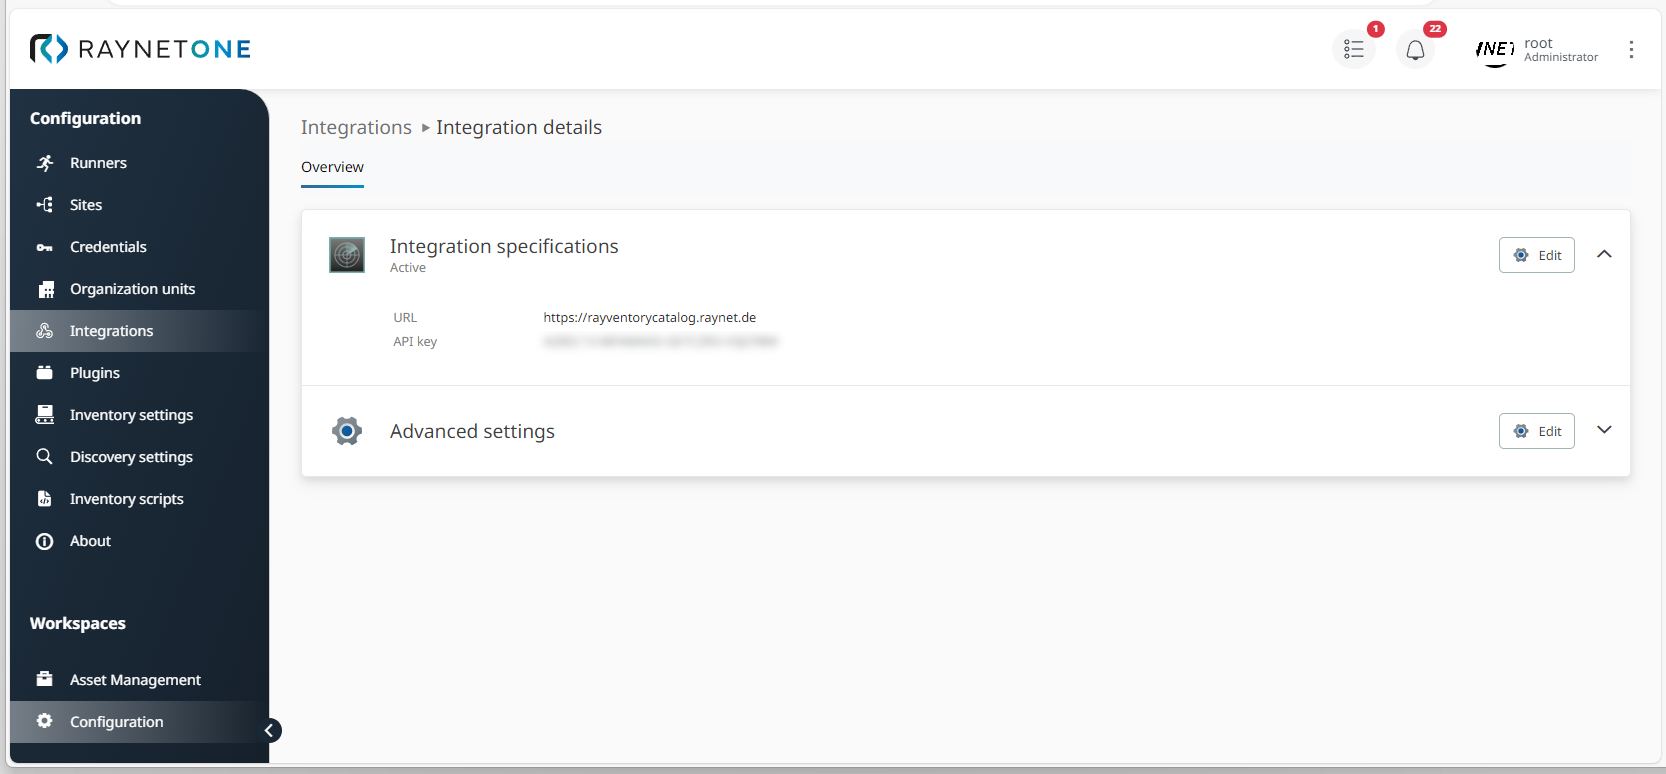
3.The Integration details view is shown. You can see the Integration specifications and the Advanced settings sections. Click on the Edit button inside of the Integration specifications section.
4.The Edit integration sub-window is shown. Inside of it, you can edit the service URL and API key. Perform any needed changes. Afterwards, confirm them via Save.

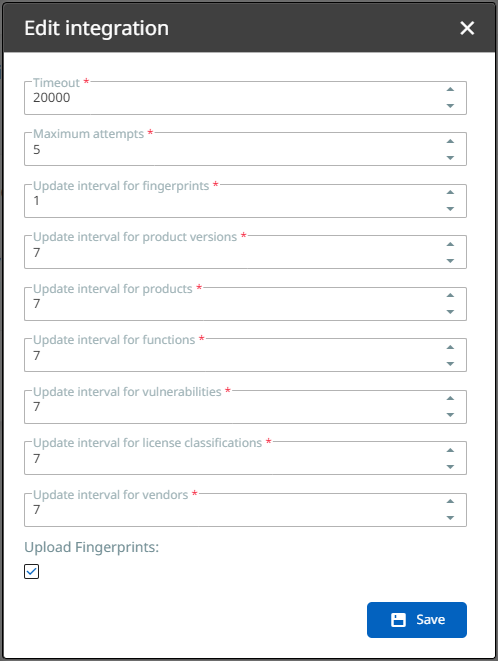
5.You are returned to the Integration details view. Click on the Edit button inside of the Advanced settings section.
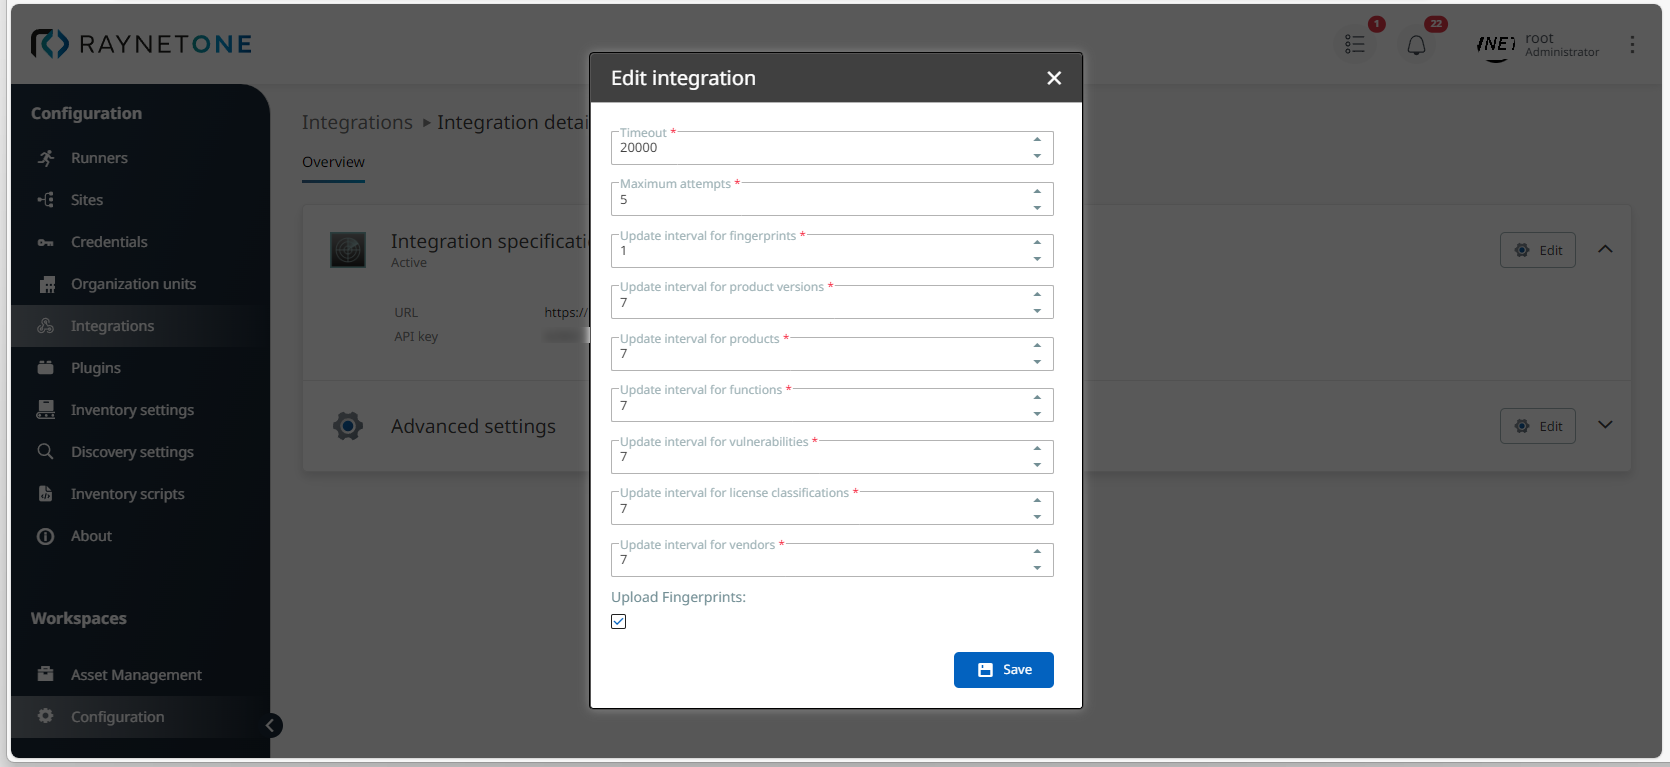
6.The Edit integration sub-window is shown. Find out more about the displayed parameters by reading the Add an integration chapter. The motivation for parameter change is explained in the beginning of this chapter. Perform any needed changes and click on Save to confirm them.
7.You are returned to the Integration details view. The needed changes should be applied now. Click on the bottom-facing arrow inside of the Advanced settings section to the right for the display of a configuration summary. Verify that the configuration matches your expectation.
The bottom-facing arrow is used to expand sections. After expansion, details related to the section are shown. Check section heading to identify the section's meaning.
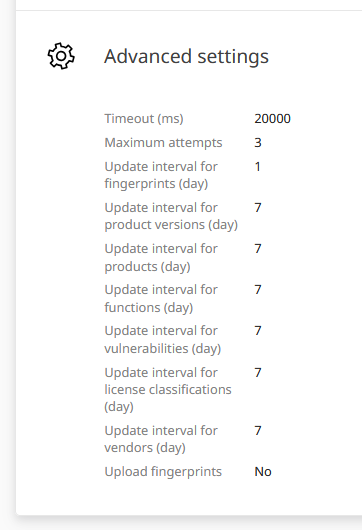
Expanded details of the Advanced settings section. All of these parameters can be adjusted by following the step-by-step guide of this chapter.