As mentioned before, you can and should integrate data sources into Raynet One in order to get the full array of data information during inventory and discovery jobs.
In the following step-by-step-guide, we learn how to add the Technology Catalog integration.
Requirements:
•API key for authentication against the Technology Catalog service
•URL to the service provider (default: https://rayventorycatalog.raynet.de)
•The integration is not yet added.
1.Navigate to the Configuration workspace by clicking on the respective sidebar item. Then, click on Integrations to open the view.
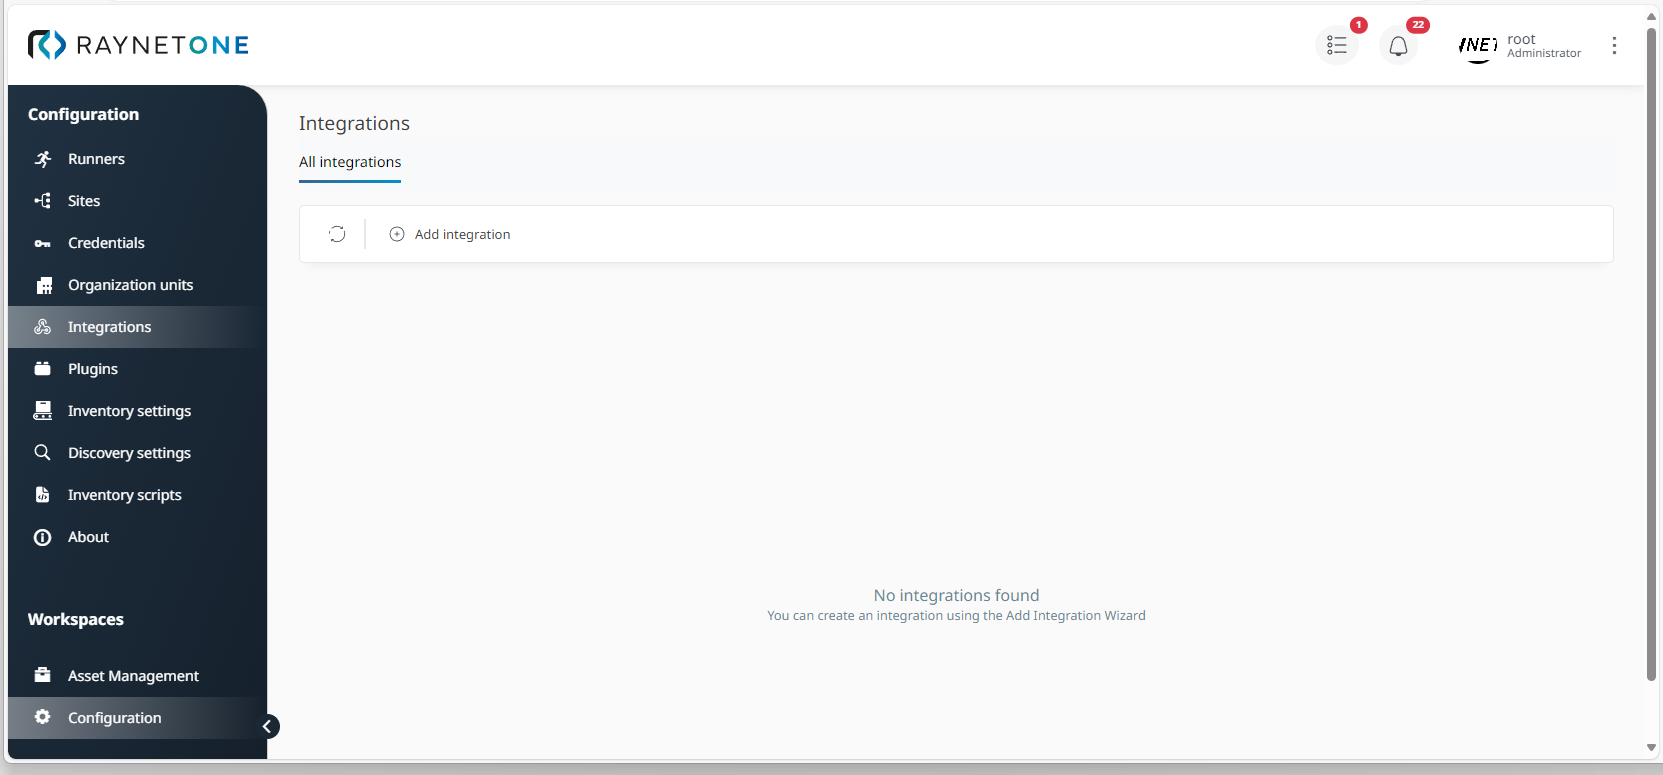
Integrations view of the Configuration workspace. It displays all added integrations as rectangular sections, having the integration icon and name inside. As expected, there are no integrations added yet.
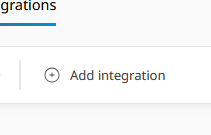
2.Click on Add Integration to open the Add integration wizard.
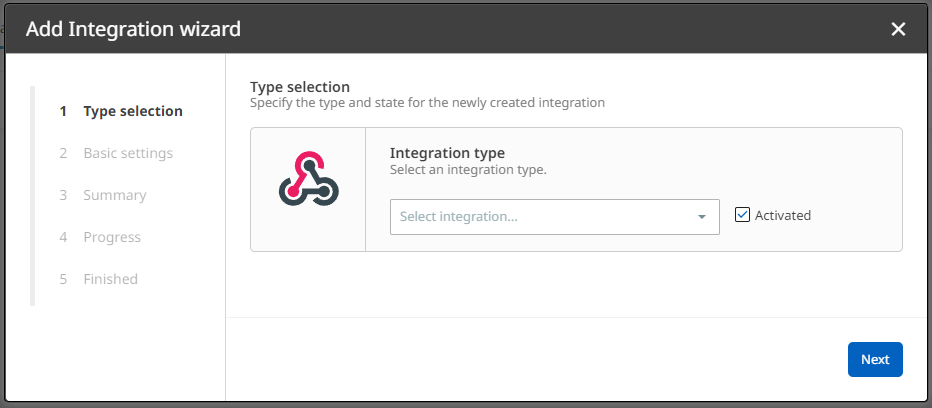
3.Under Type selection, select the Catalog integration. If you want to activate it right after registration, enable the Activated check box (enabled by default). Then, click on Next to proceed.
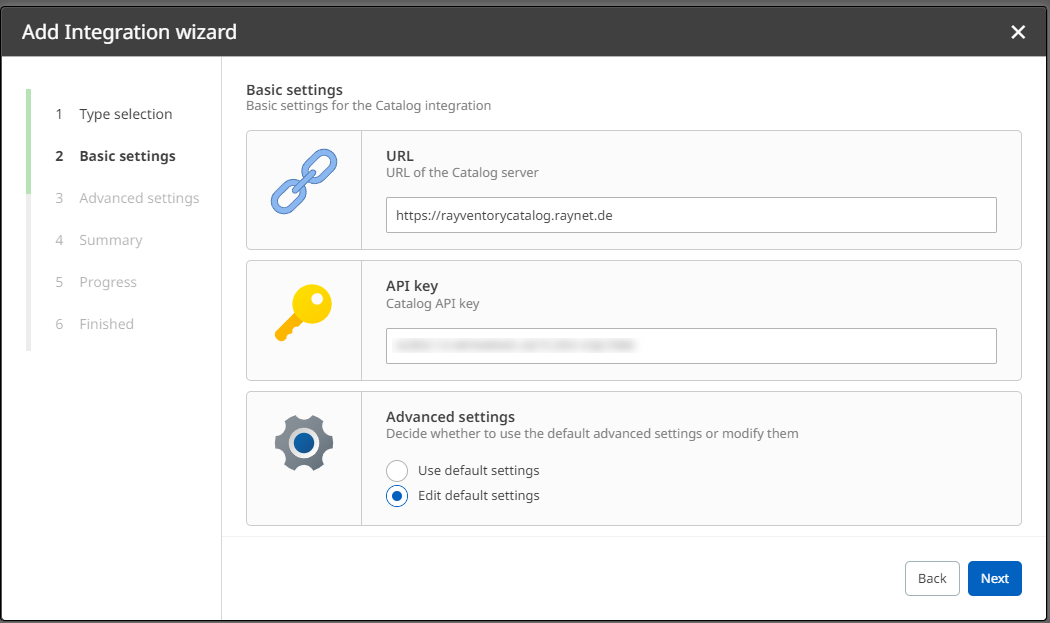
4.In the Basic settings dialog, enter the service URL and API key from the requirements. In the Advanced settings section, select to edit the default settings (you can skip it in future integration additions).
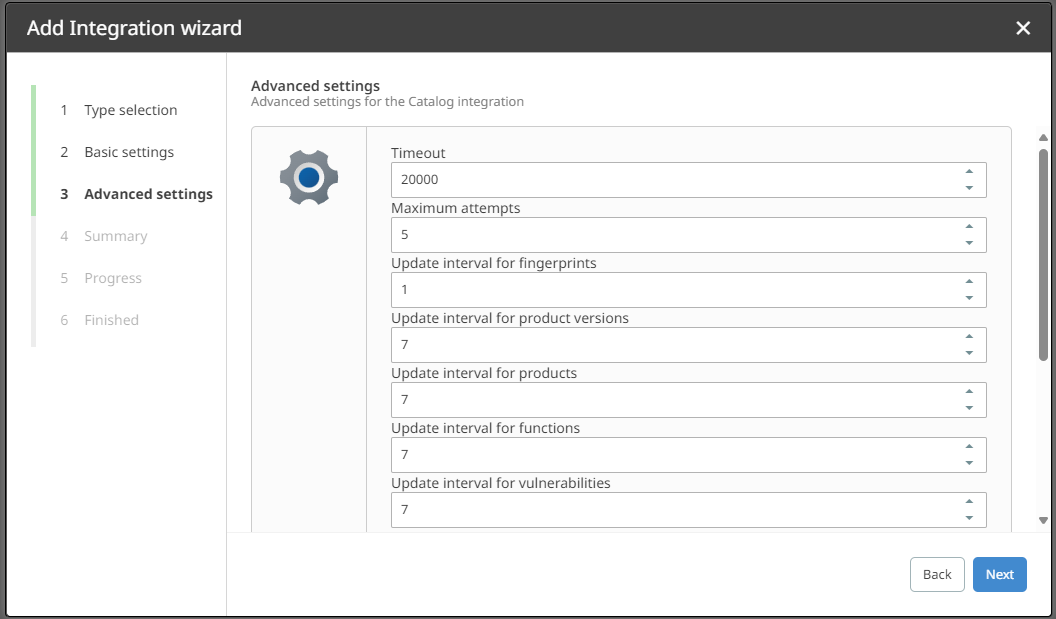
5.Define all relevant parameters under Advanced settings. Click on Next to proceed.
The Timeout parameter specifies the time in milliseconds a request to the service is allowed to take. If the specified time has elapsed and the query request has not been fulfilled, the request attempt is marked as failed.
The Maximum attempts parameter specifies the count of request to try to fulfill one particular query. If the retry count has reached the value, the query is marked as unfulfillable. In that case, the data-set related to the query is not amended by related information.
There are multiple update interval parameters. Each one defines the amount of time in days between the described operation.
The Upload fingerprints parameter signifies the contributory aspect of the data source. Check the main chapter for the detailed explanation of the topic.
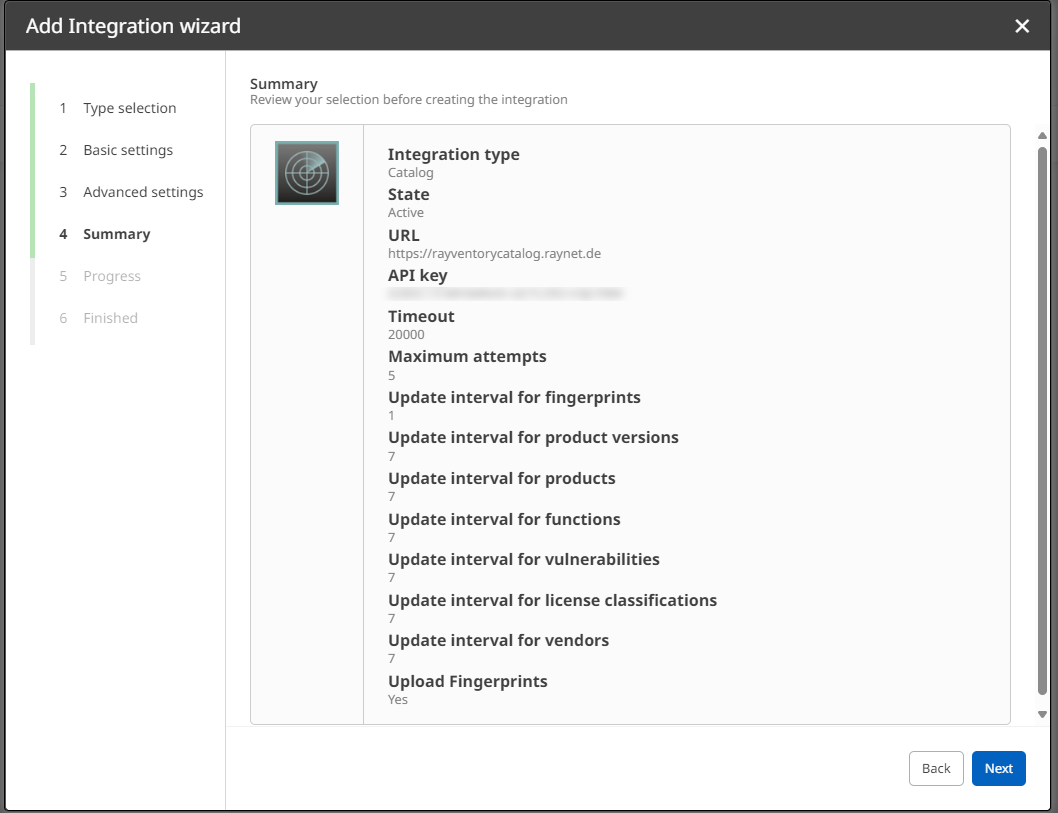
6.In the Summary step, check the integration configurations compared to your expectation. If it looks fine, confirm it via Next. Otherwise, click on Back to revise in previous steps.
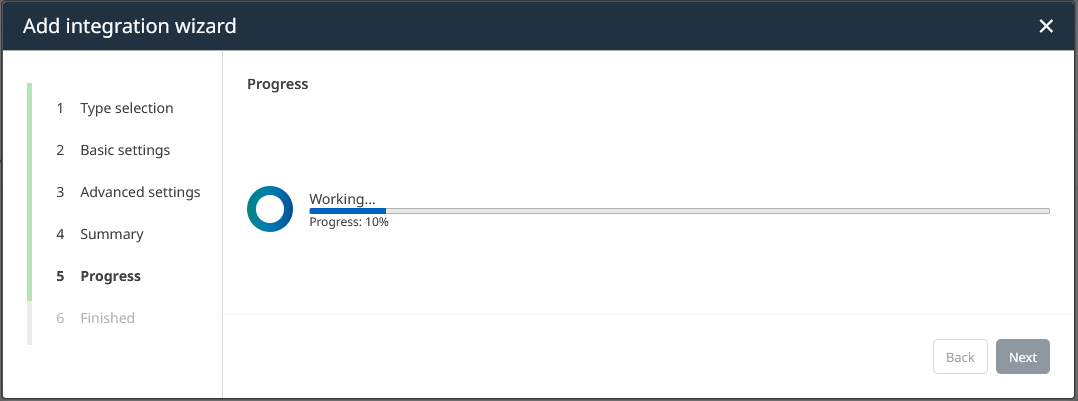
7.The Progress step of the wizard is shown. In the background, the platform server is connecting to the Technology Catalog. Please be patient as this process may take a few seconds. You will be taken to the next step on completion.
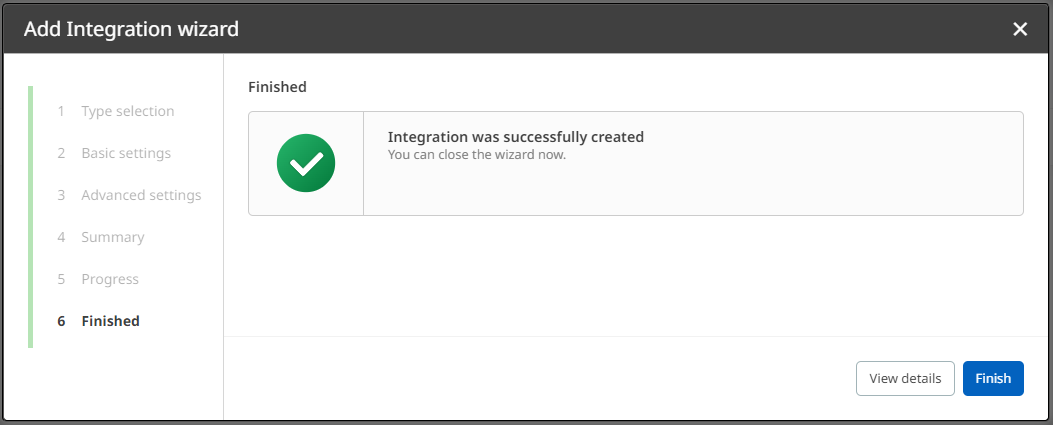
8.After successful connection establishment, you are shown the Finished step. Finalize the integration addition by clicking on Finish. Alternatively, click on View details to see integration details.
By following this guide, you have successfully added the Technology Catalog integration into the platform. Your newly created integration is listed in the displayed Integrations view. From there, you can inspect and edit the integration in its Details view.
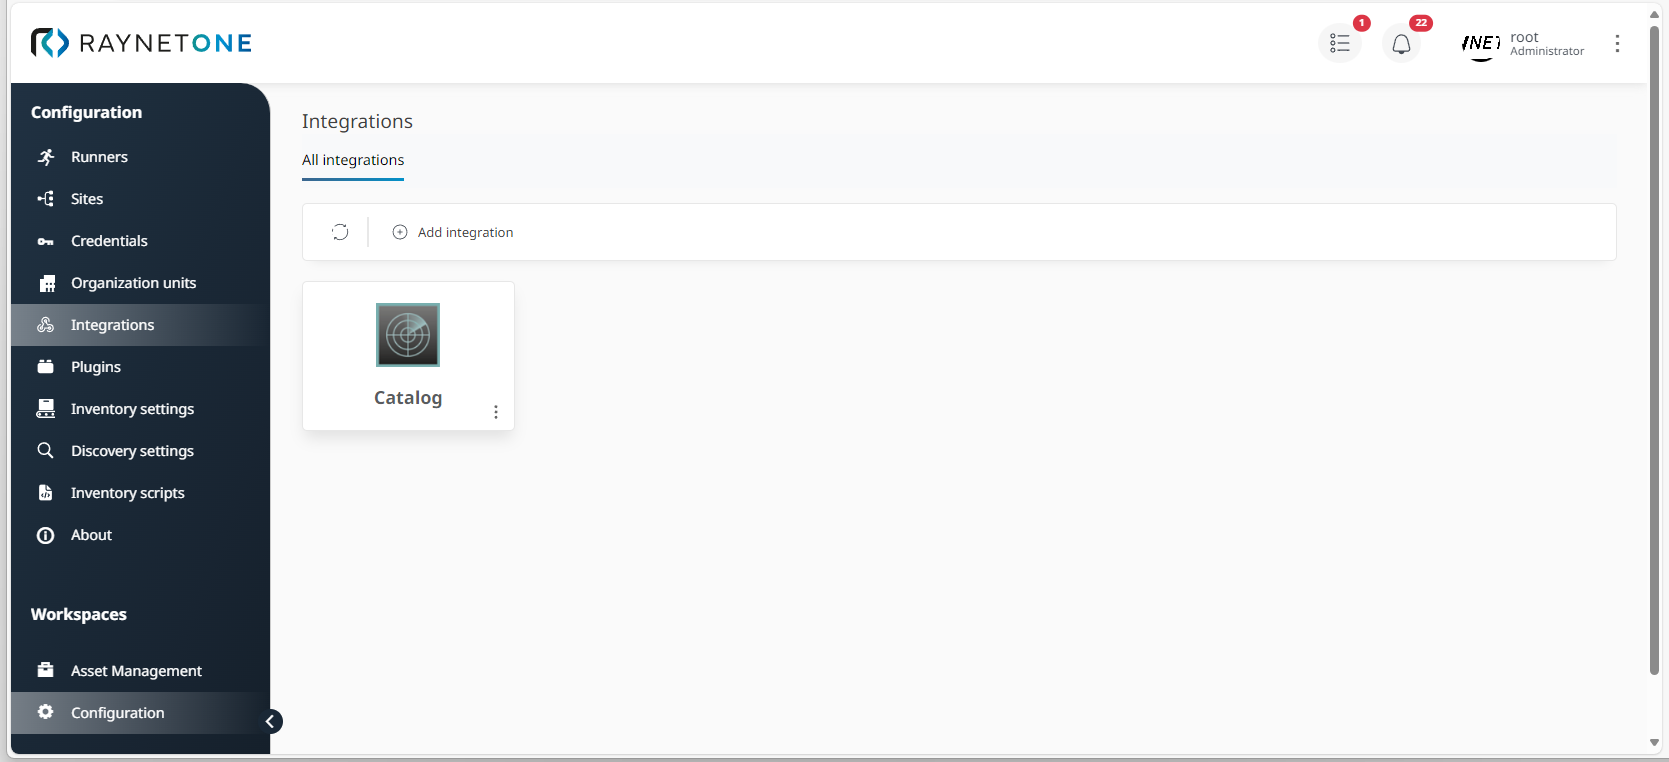
Integrations view of the Configuration workspace. As explained previously, the new integration is shown in its own information rectangle. Click on the three dots in its bottom right corner to open the integration context menu, providing management options. By left-clicking into its center, you are redirected to the integration details view.