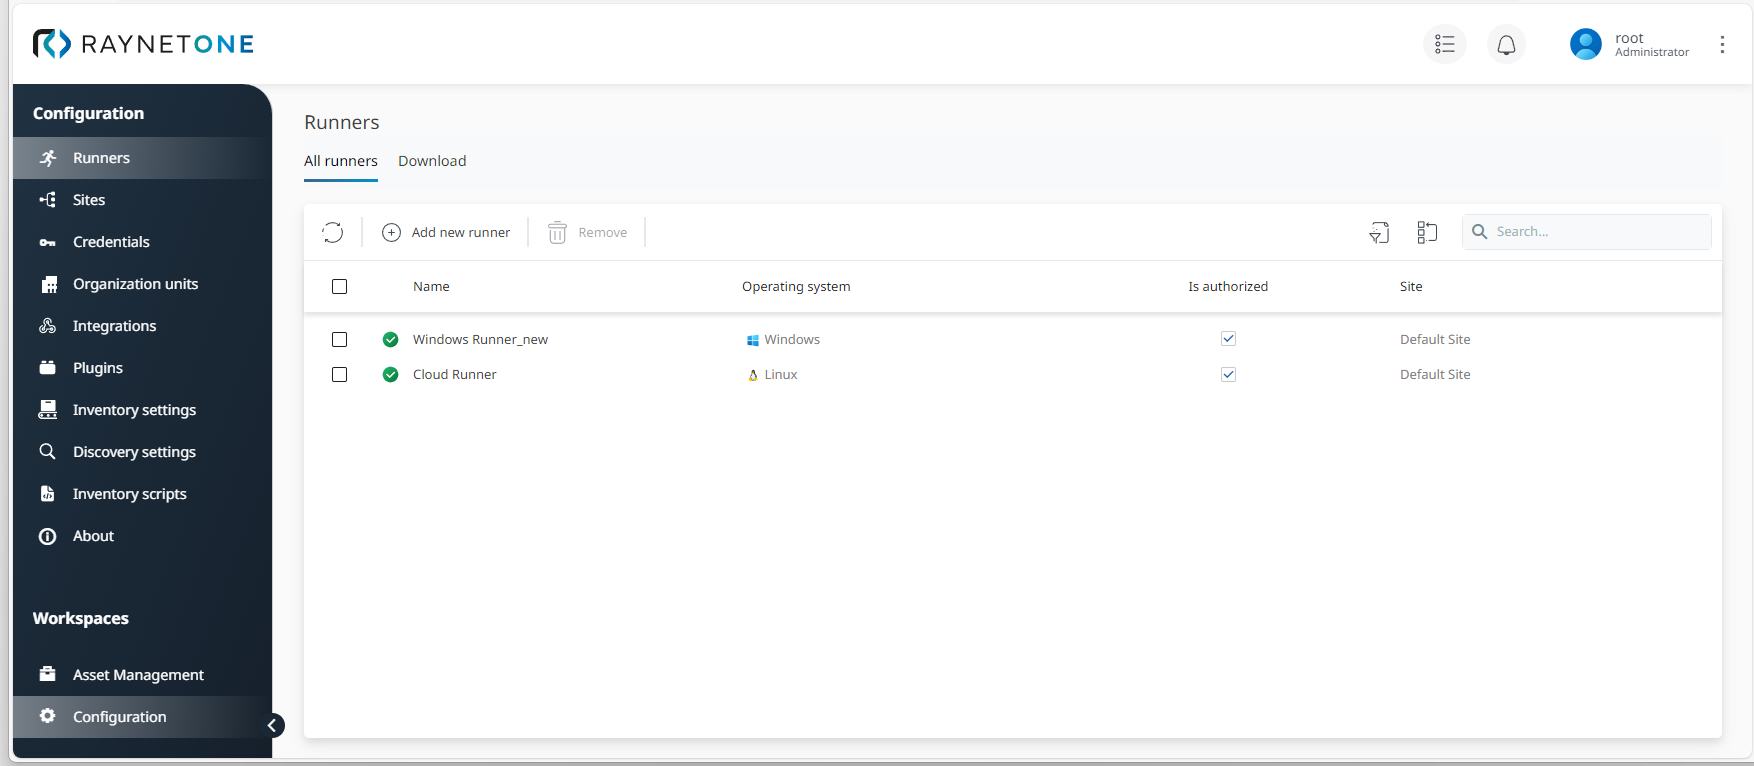
In case you skipped the self-service portal, there is naturally another way of creating required runners via the Runners menu in the sidebar. This item is available in the Configuration workspace. Here's the way to go - in ten steps.
1.Select Configuration under the Workspaces menu item in the sidebar. Then navigate to Runners.
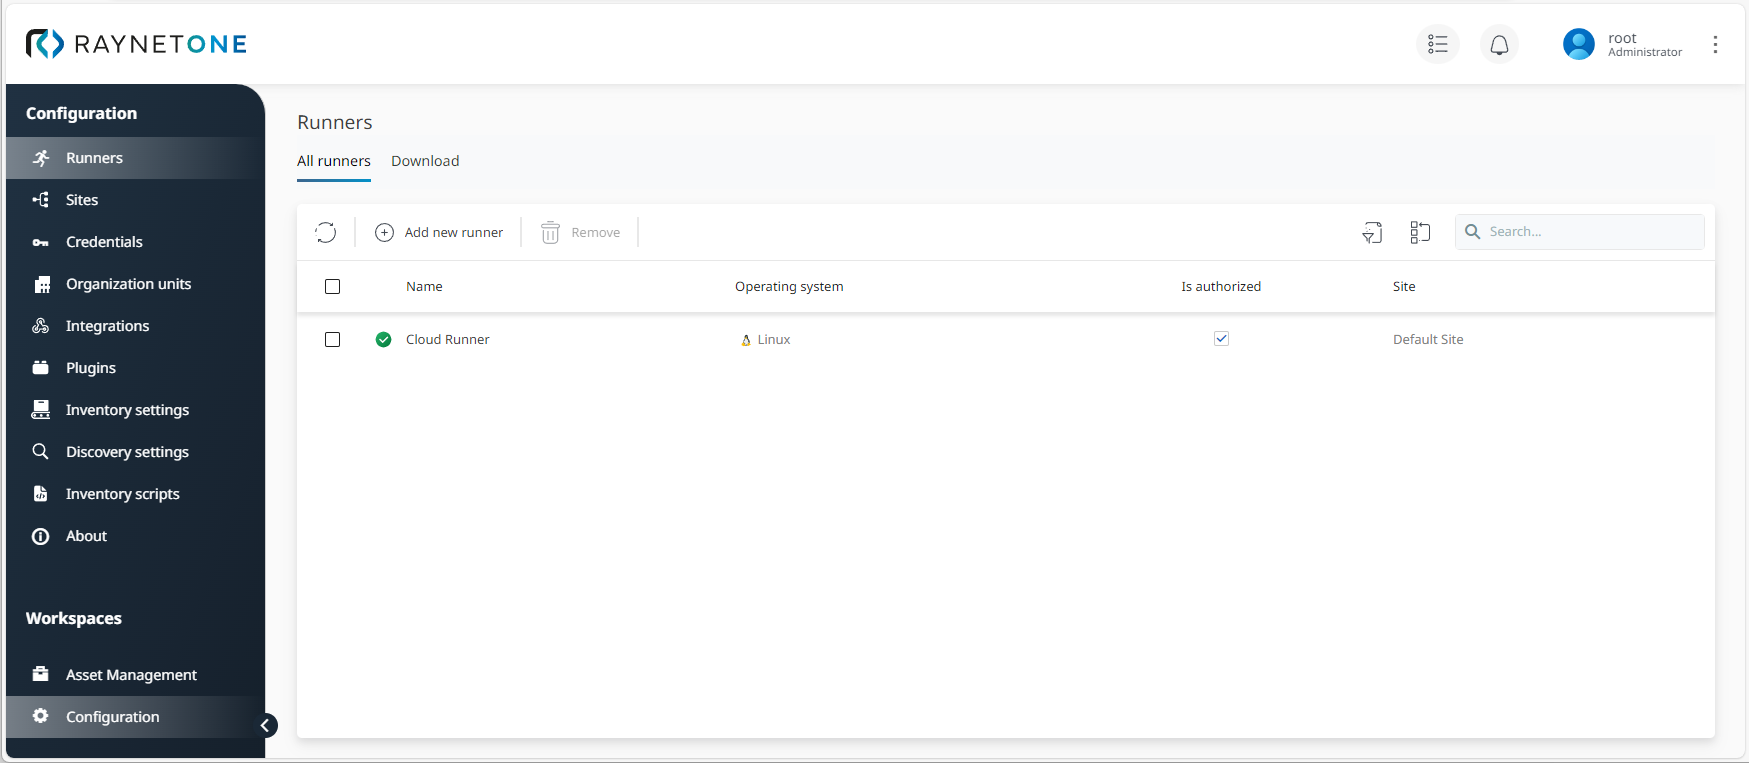
2.Under the All runners tab, click on Add new runner to open the wizard for runner creation.

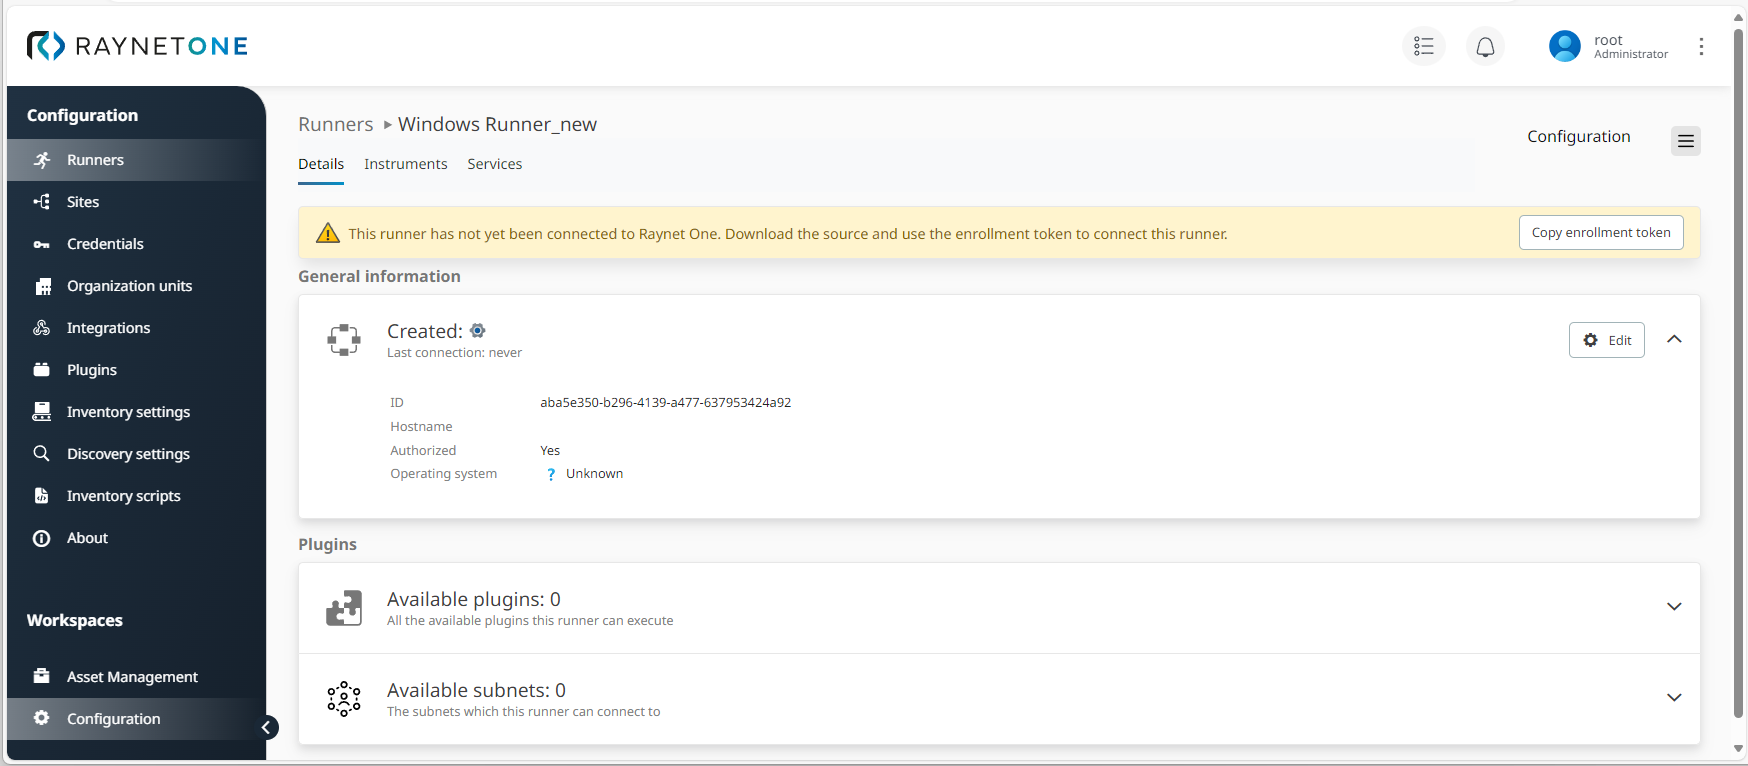
3.Define a name and site for your runner and click on Save. Also authorize the runner to perform jobs.
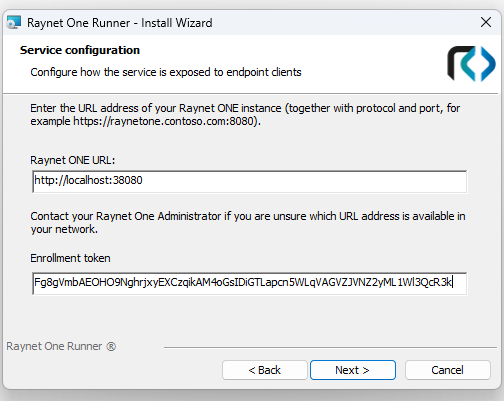
4.Copy the enrollment token on the runners page as you will need it for installation. However, you can also return to this view to copy the enrollment token later.
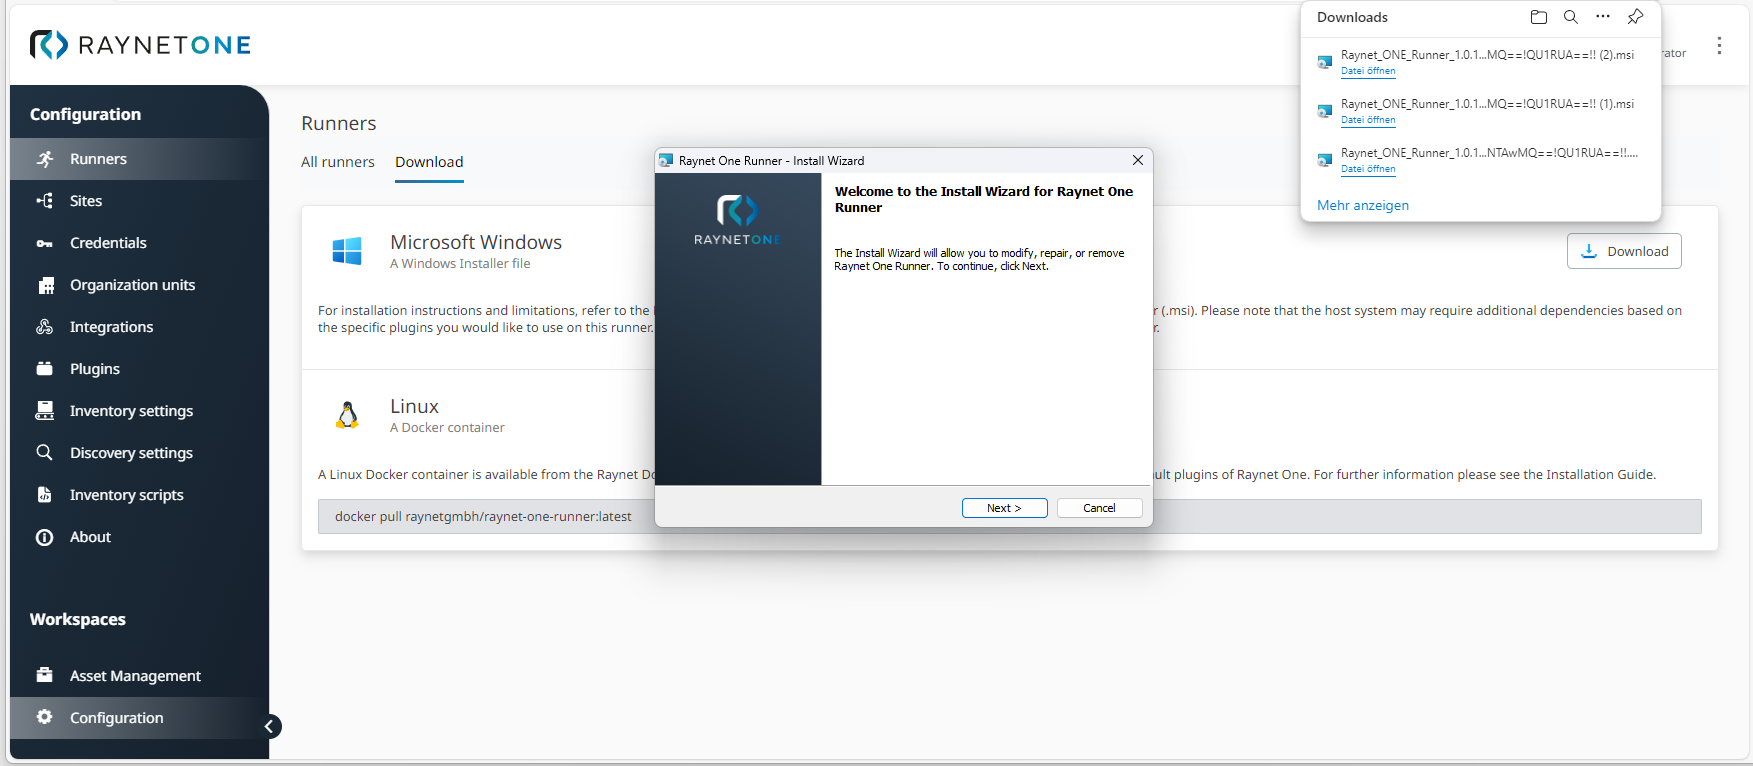
5.Download the Windows runner and open the .MSI file.
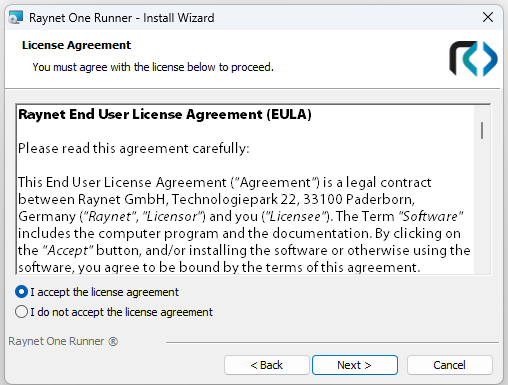
6.Accept the License Agreement and click on Next.
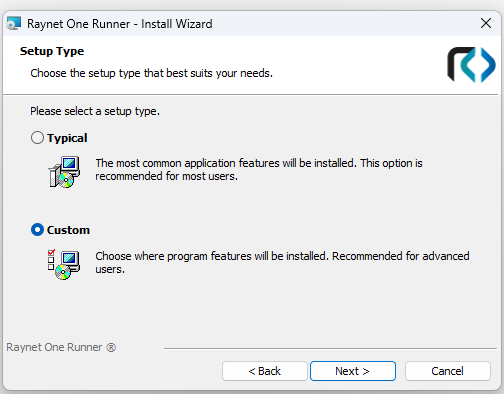
7.In the Setup Type dialog, select Custom before moving on. This is important because some configurations for this setup type are mandatory,
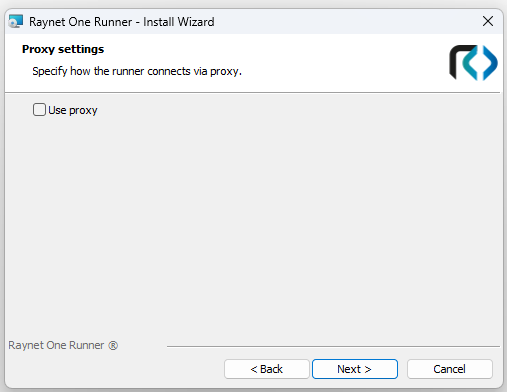
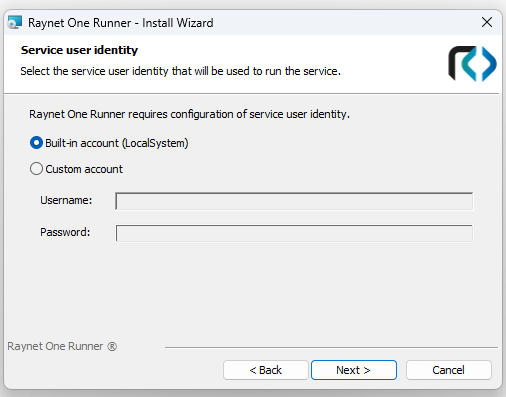
8.Paste the enrollment token (see step 4). If required, you can also adjust your Raynet ONE URL, your proxy settings and service user identity.
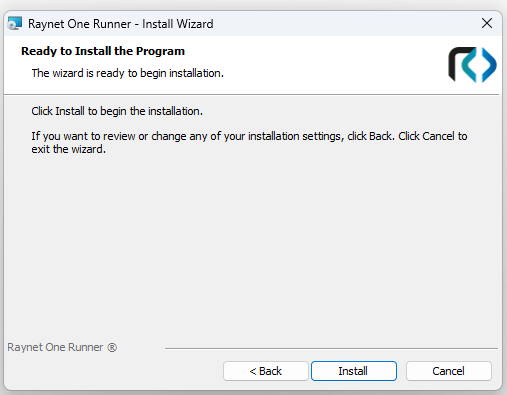
9.With all installation settings determined, click on Install to start runner installation.
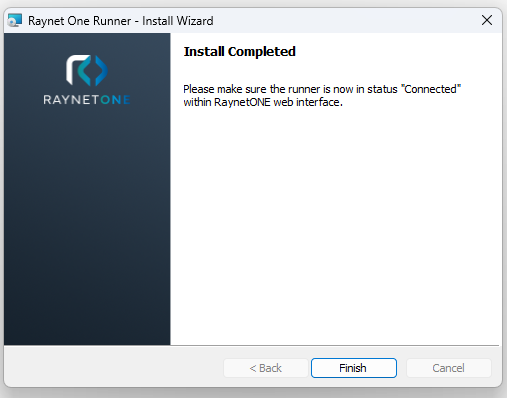
10.Click on Finish to finalize the installation process. Now your Windows runner is installed, connected and ready to go.
.