If your IT assets include many Windows-based devices, you need to download, install and apply a Windows runner. This is how to do it in the self-service portal. As soon as you've selected your main goals for platform usage in the self-service portal, you're reassigned to runner installation. Although the self-service portal includes step-by-step video instructions, here's also some written summary of the process.
1.Select Start now! to get into the service portal. An AI-generated video instructor provides the basic facts about Raynet One. and its purposes of use.


2.Click on use-case tabs which are relevant for you (optional). Then move on via Continue. Then. the portal automatically leads you to runner installation.

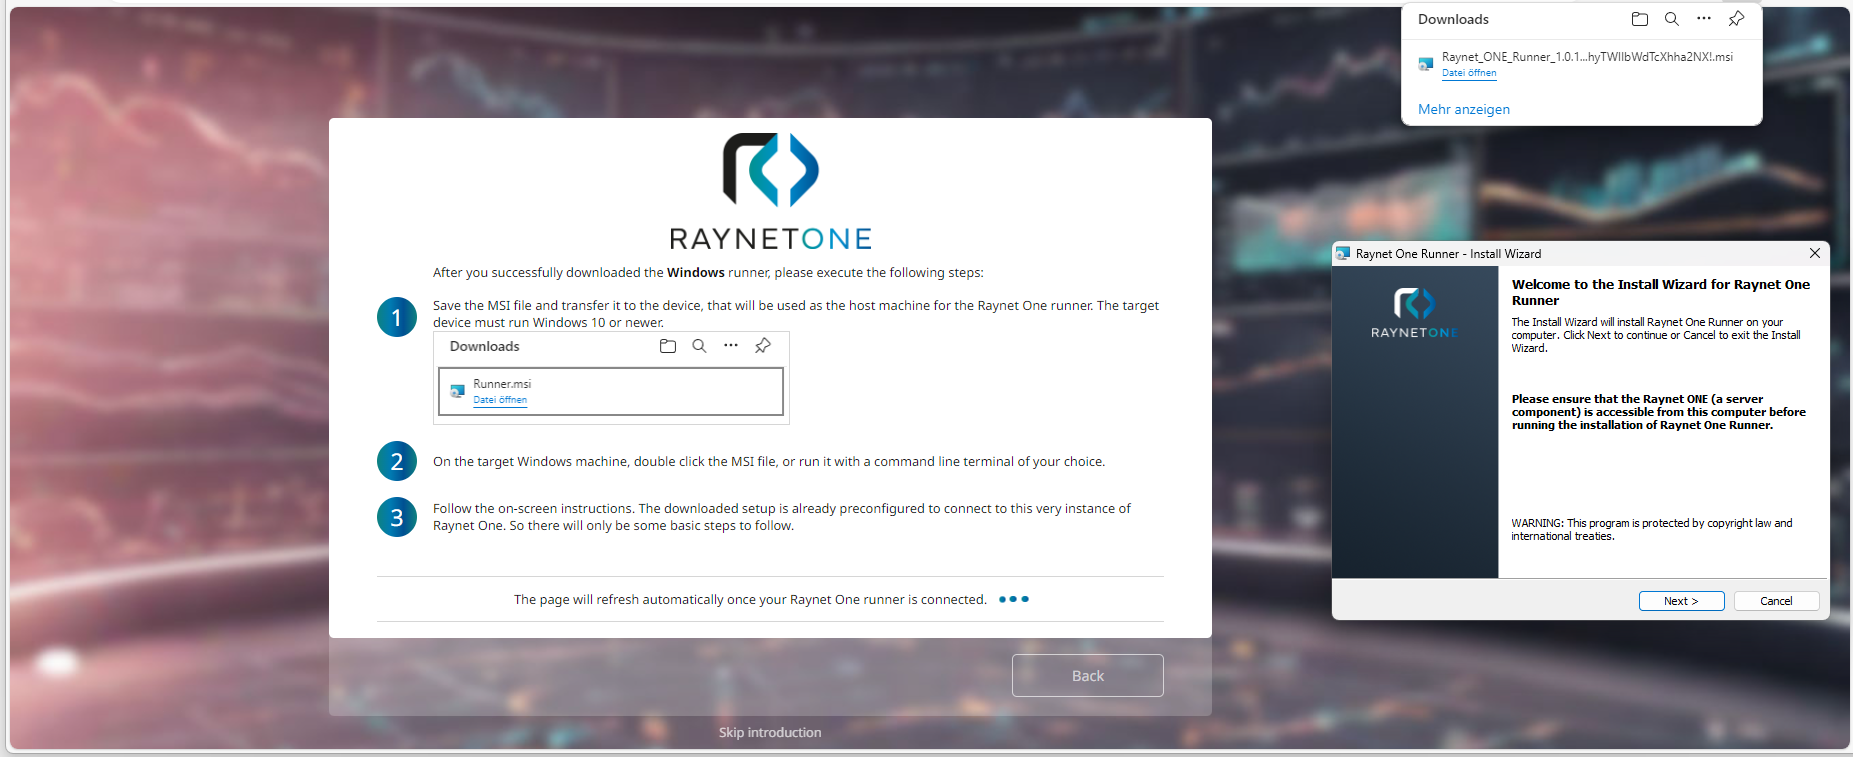
3.Select the Windows Runner tab and download the .MSI file. Then open the install wizard and click on Next.
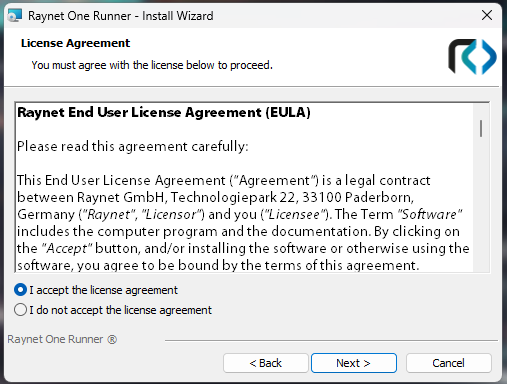
4.In order to proceed with installation, accept License Agreement.
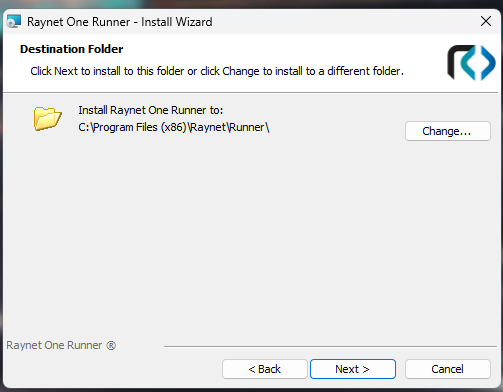
5.Determine a target location for runner installation.Then click on Next to proceed.
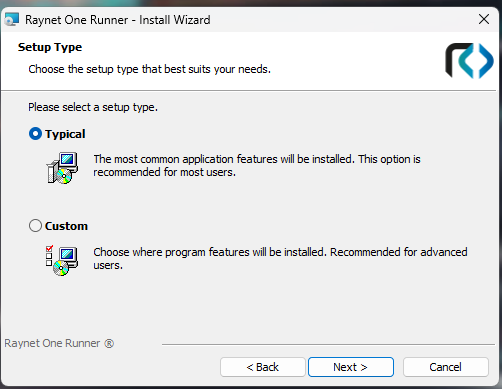
6.Select a setup type, which can be either Typical (suficient for most users) and Custom (with configuration options for advanced users).
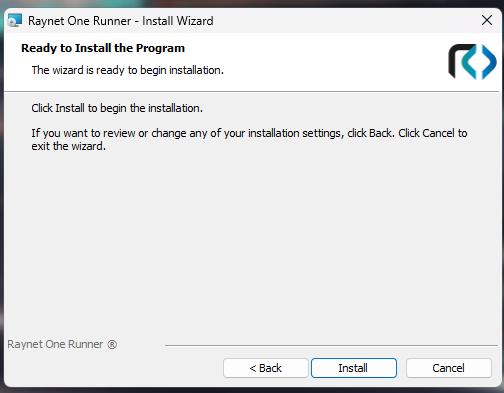
7.In the next wizard dialog, click on Install to start installation.The wizard now installs the runner.
8.Click on Finish to finalize the installation process.

|
Tip: |