Static pages allow static contents to be accessible from the RayFlow web interface. Adding a new static page to the RayFlow is a three step process:
2. Create a new menu item for the page created
Creating a New Static Page
1.Log into a RayFlow project as an Administrator
2.Go to Configuration -> Static Pages in the left side-bar
3.Click on the Create new Static Page icon

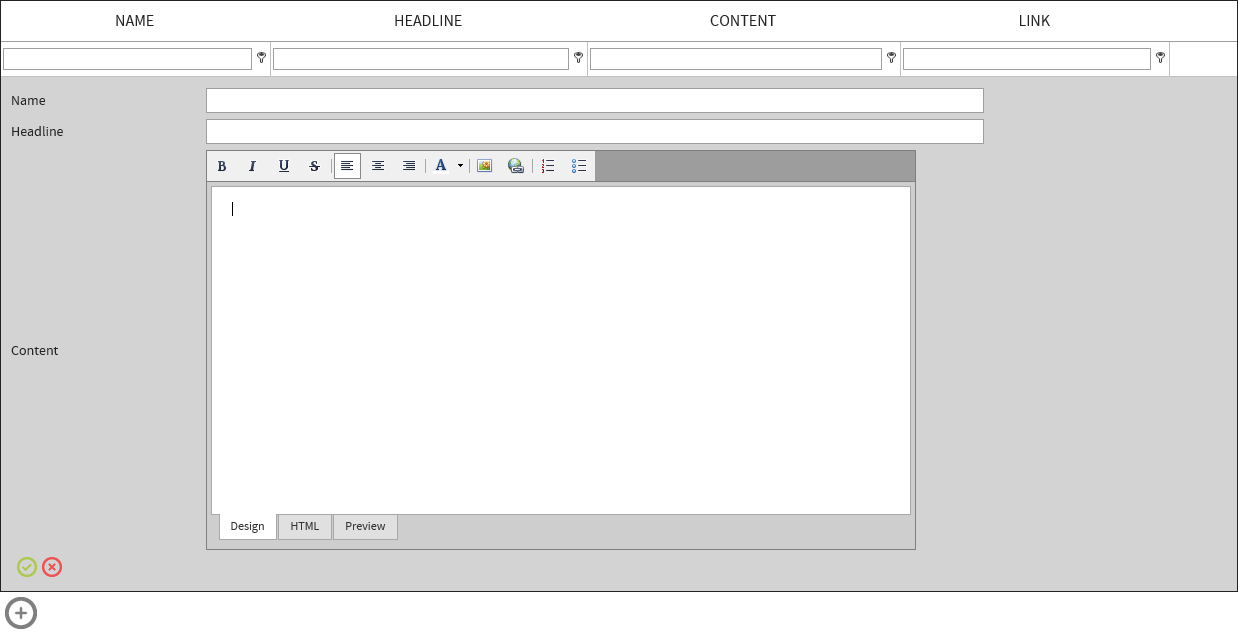
4.The Static Page editor is shown

5.Specify the properties of the new static page:
•Name: Name of the static page
•Headline: Header name of the static page. This name is shown in the RayFlow header section.
•Content:Static content for the page. The content section is divided into three sections: Design, HTML, and Preview.
6. After specifying the properties of the static changes, click on the Save icon to finalize creating the static page.

Creating a New Menu Item for a Static Page
To make the static page accessible to the RayFlow users, the link to this static page is required to be connected with a menu item. This can be done through the Groups page of RayFlow Administration.

For more information on how to add new menu items and define user permission to it, refer to the Menus topic of the Groups chapter.
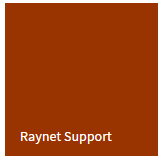
A new tile is added to the RayFlow Dashboard.

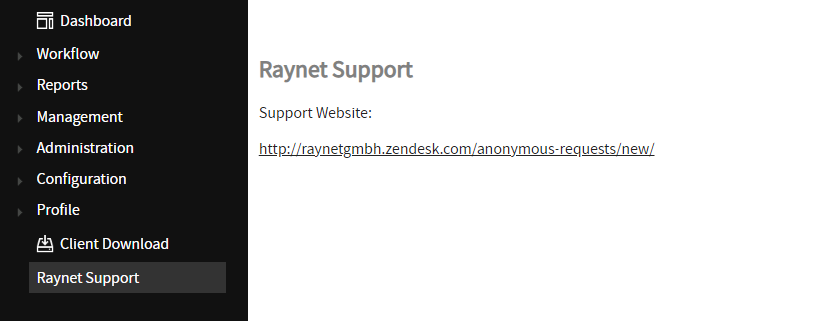
When clicked upon this new tile, the configured static page will be loaded into the view:
